

As photographers and photo-editors, you’re often found using Photoshop to edit clear and crisp images with the expectation of printing them for physical display. After capturing the perfect shot, you move into Photoshop for the painstaking editing before being ready to print. One crucial thing to note between editing and printing is ensuring you’re using an appropriate DPI resolution. Viewing images on your monitor often provides a false sense of security for resolution. While your picture might look clean and crisp on your monitor, printing it large from a low DPI could leave you with a blurry, pixelated mess. Setting the correct resolution and DPI of your image is a crucial step in the editing process before sending it to the printer, and the editing power of Adobe Photoshop makes this adjustment a walk in the park. Depending on what medium or application you’re printing for, selecting the appropriate DPI goes a long way to ensuring your print looks its best, so it’s important to know how to change it.
Related
7 free and open-source tools that rival the best creative software
Paid software has its perks, but going open-source has never been more feasible.
What exactly is DPI?
One of many important resolution metrics
Dots per inch, or DPI, is a metric that measures the density of printed ink dots found within every inch of the final printed image. In theory, this means the higher the DPI of an image, the more detail and quality is printed. Realism shows that you cannot out-DPI a low resolution image; there is a limit.
A high DPI is usually desired for any high-quality image being viewed up close, like a gallery print, poster, or magazine image, while a lower DPI can be used for larger images viewed from afar, like billboards. DPI is also closely related to megapixel number in your camera’s sensor — to have a high DPI, there needs to be enough megapixels transferring image data. For most at-home and small-scale printing needs, you do not require a DPI of anything higher than 300.
If you’re keeping your image screen-based rather than printing it, you should look at PPI instead of DPI. PPI stands for pixels per inch, which is what screen-based visuals are made up of. For digital-only imagery, a PPI of 72 is recommended, as you don’t benefit from much by using a higher PPI on screens.
Changing DPI in Adobe Photoshop 2025
The latest and greatest from Adobe
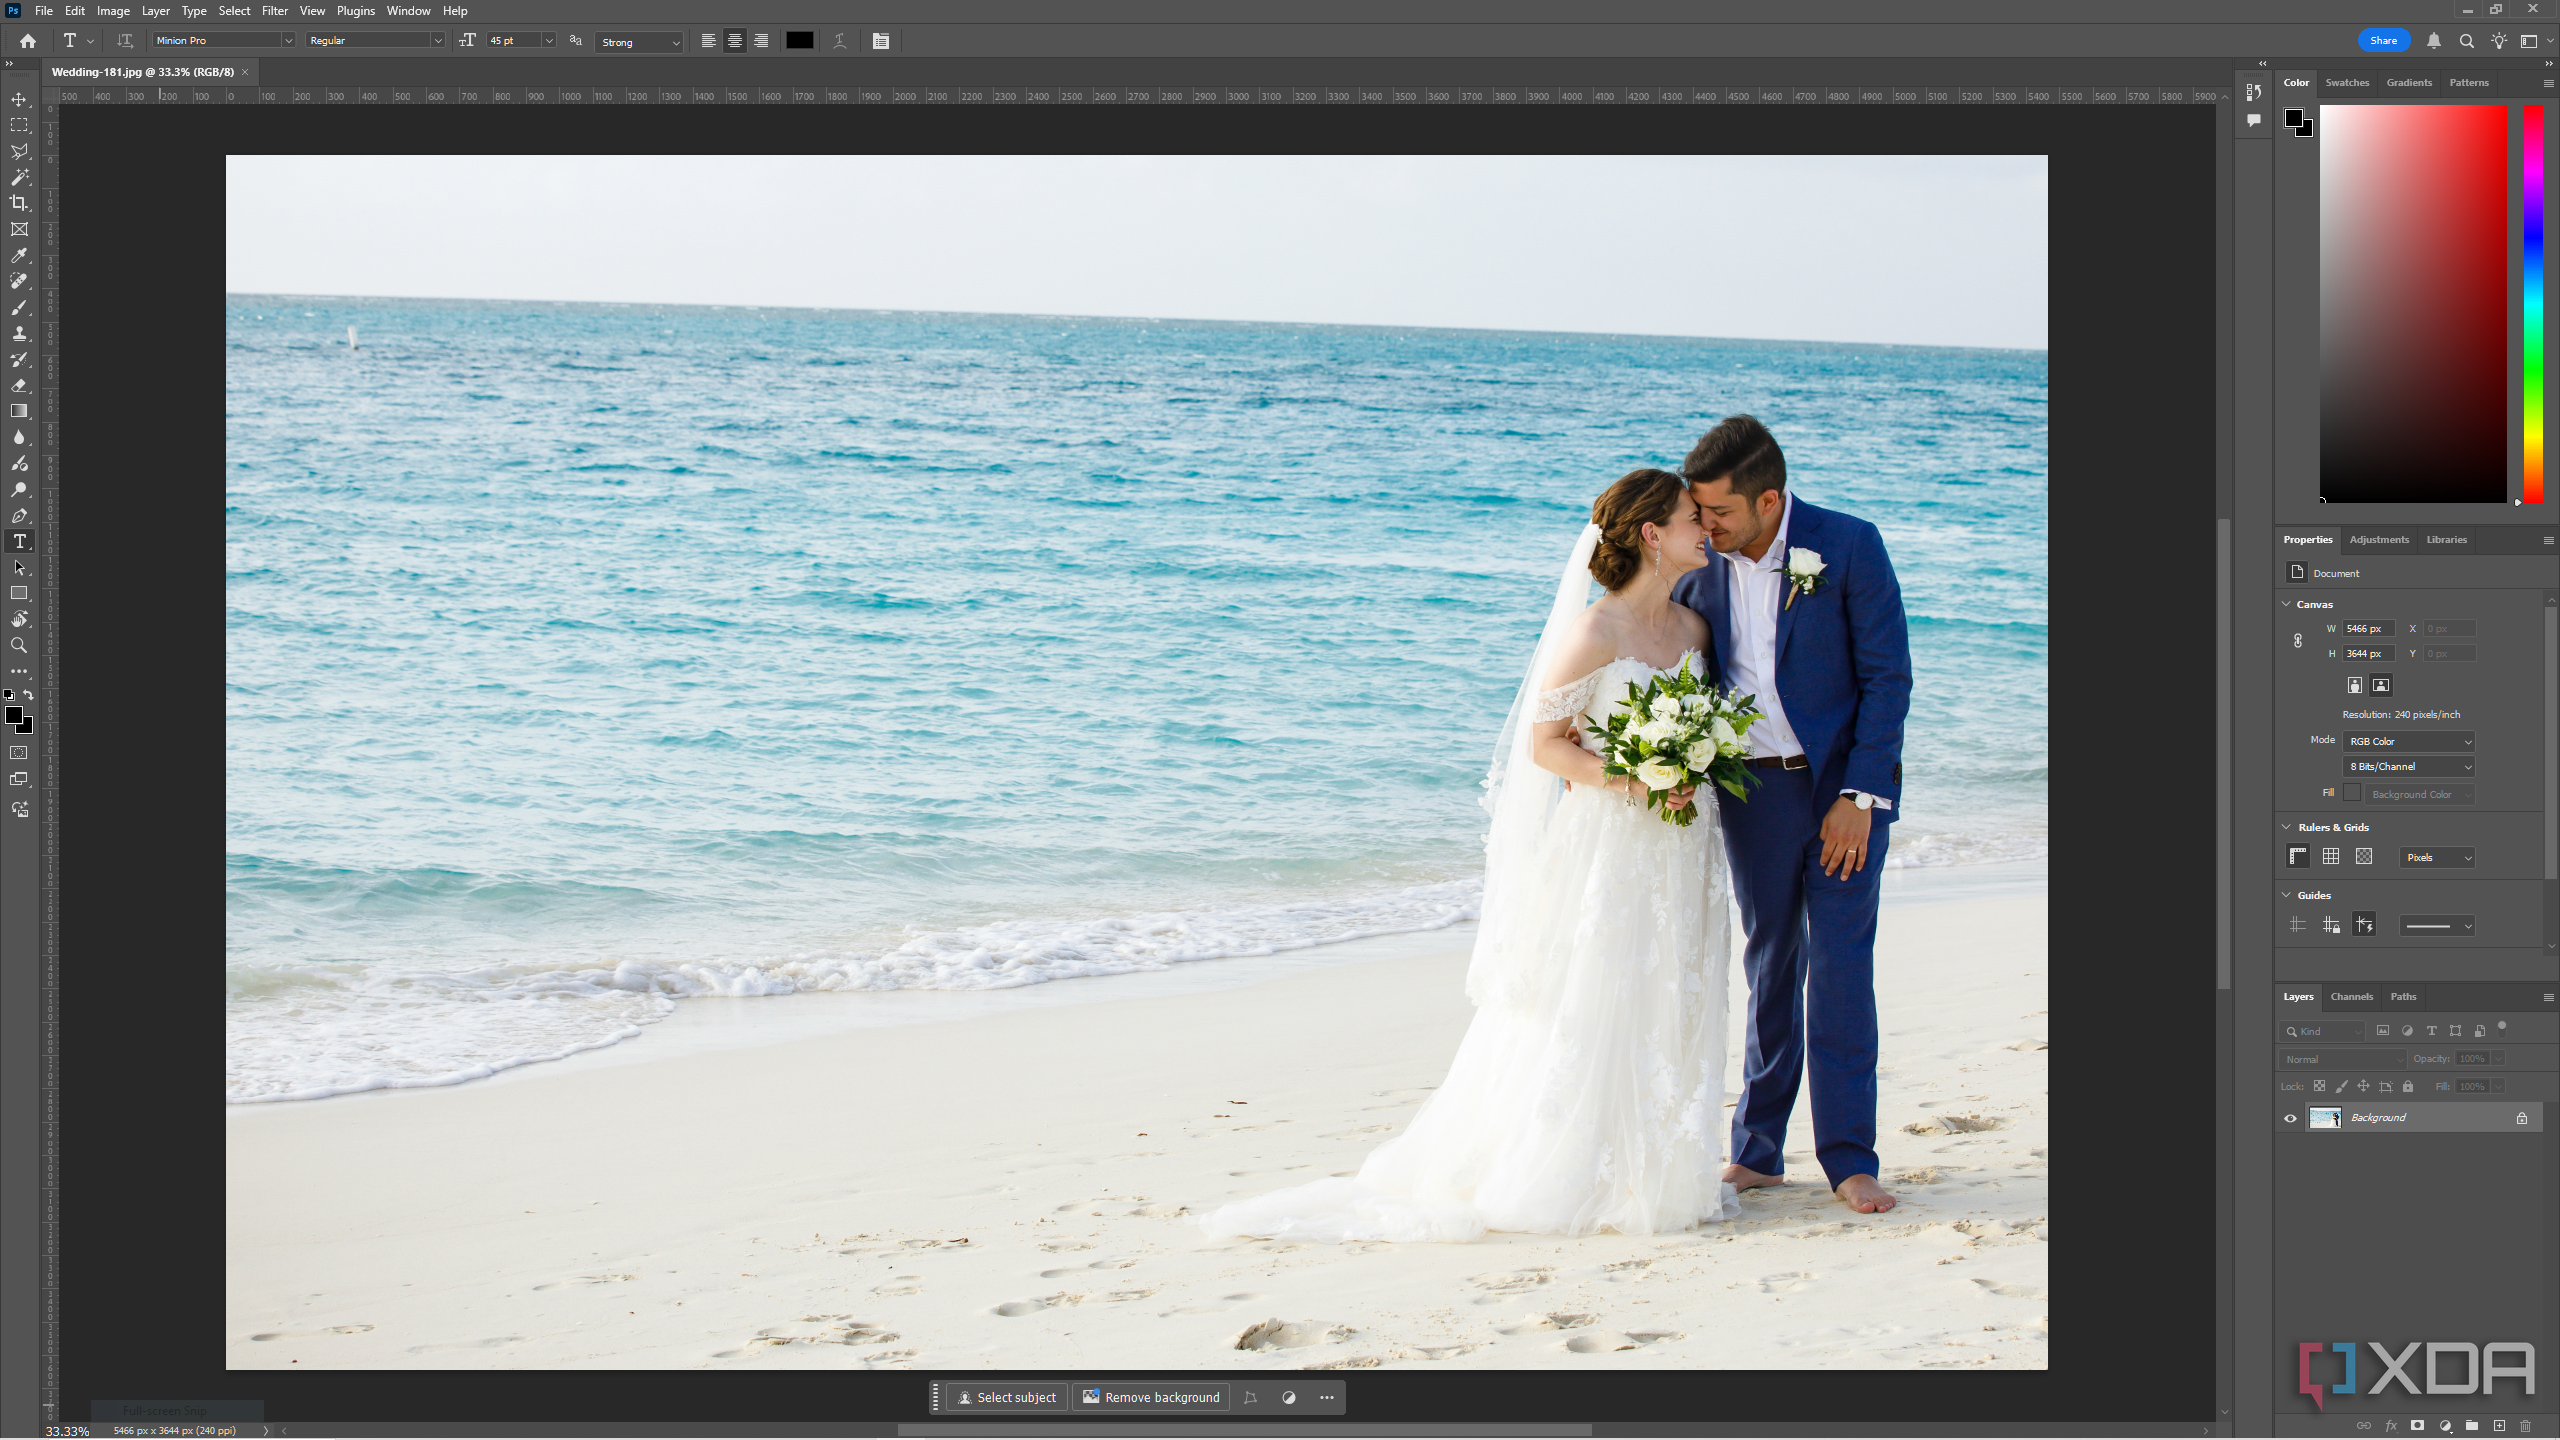
- On your PC or Mac, launch Adobe Photoshop.
-
Drag your desired image into Photoshop.
-
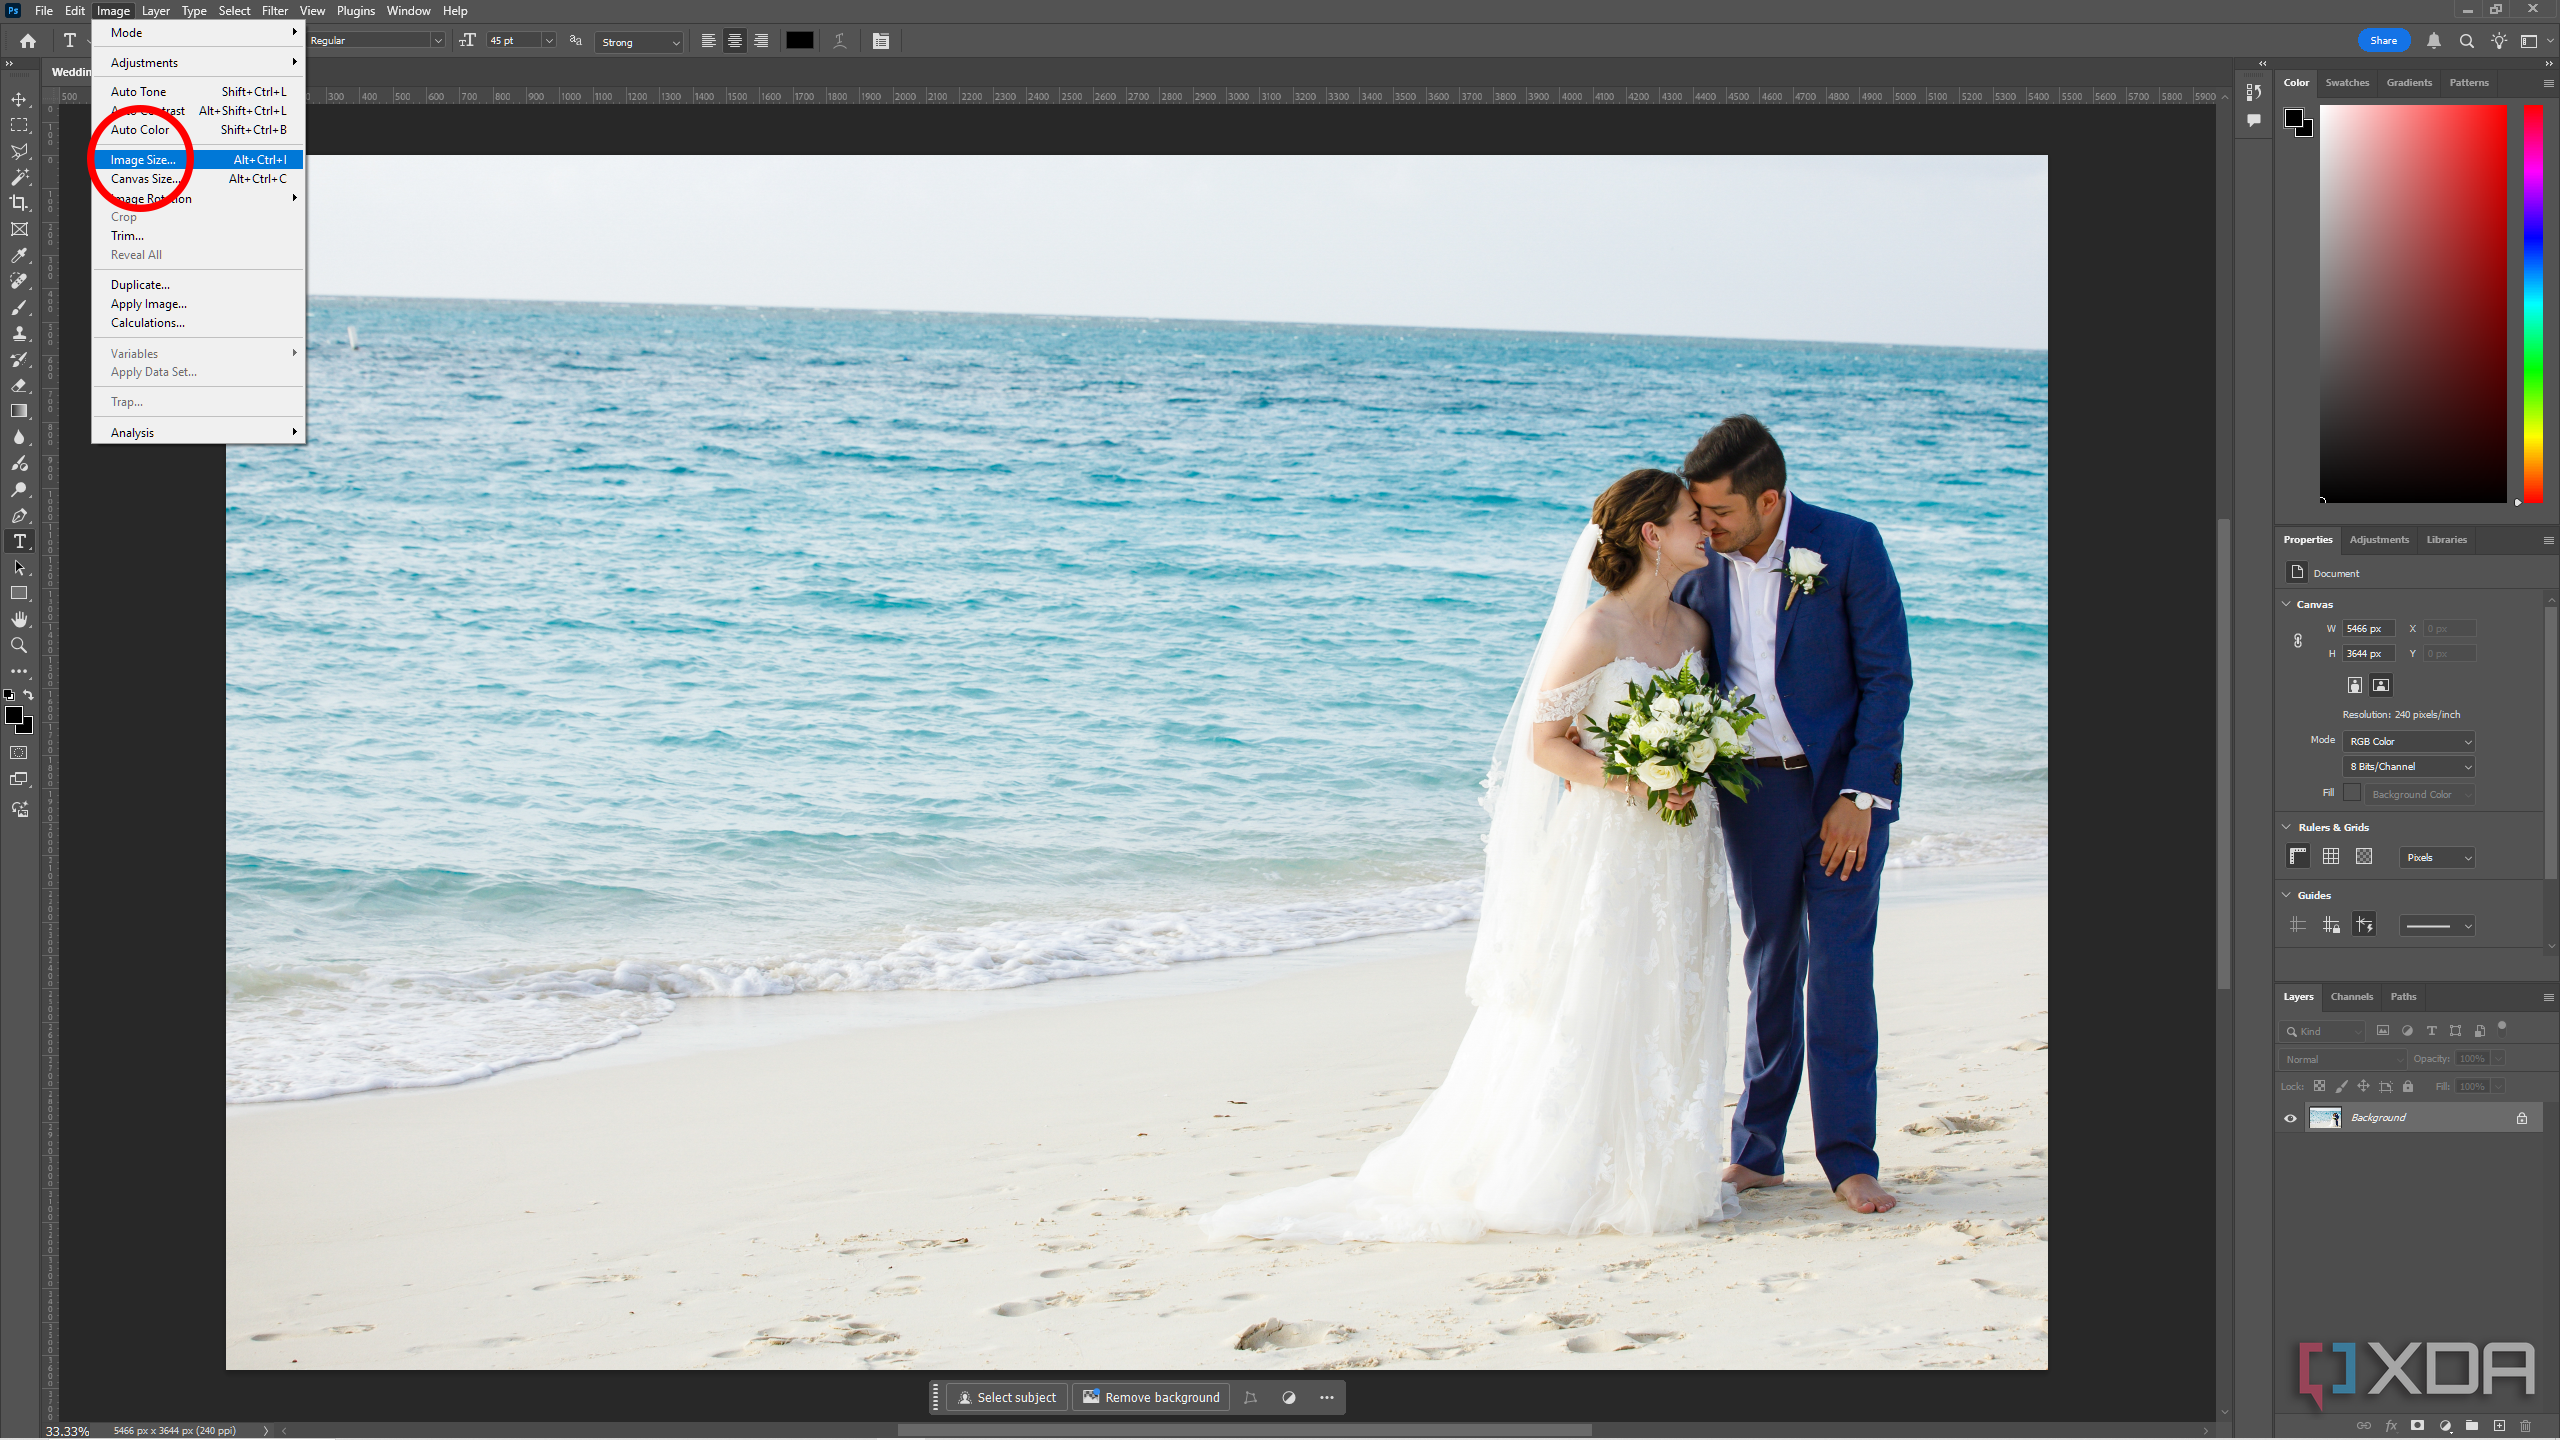
Navigate to the menu bar at the top left and select Image, then from that menu select Image Size
-
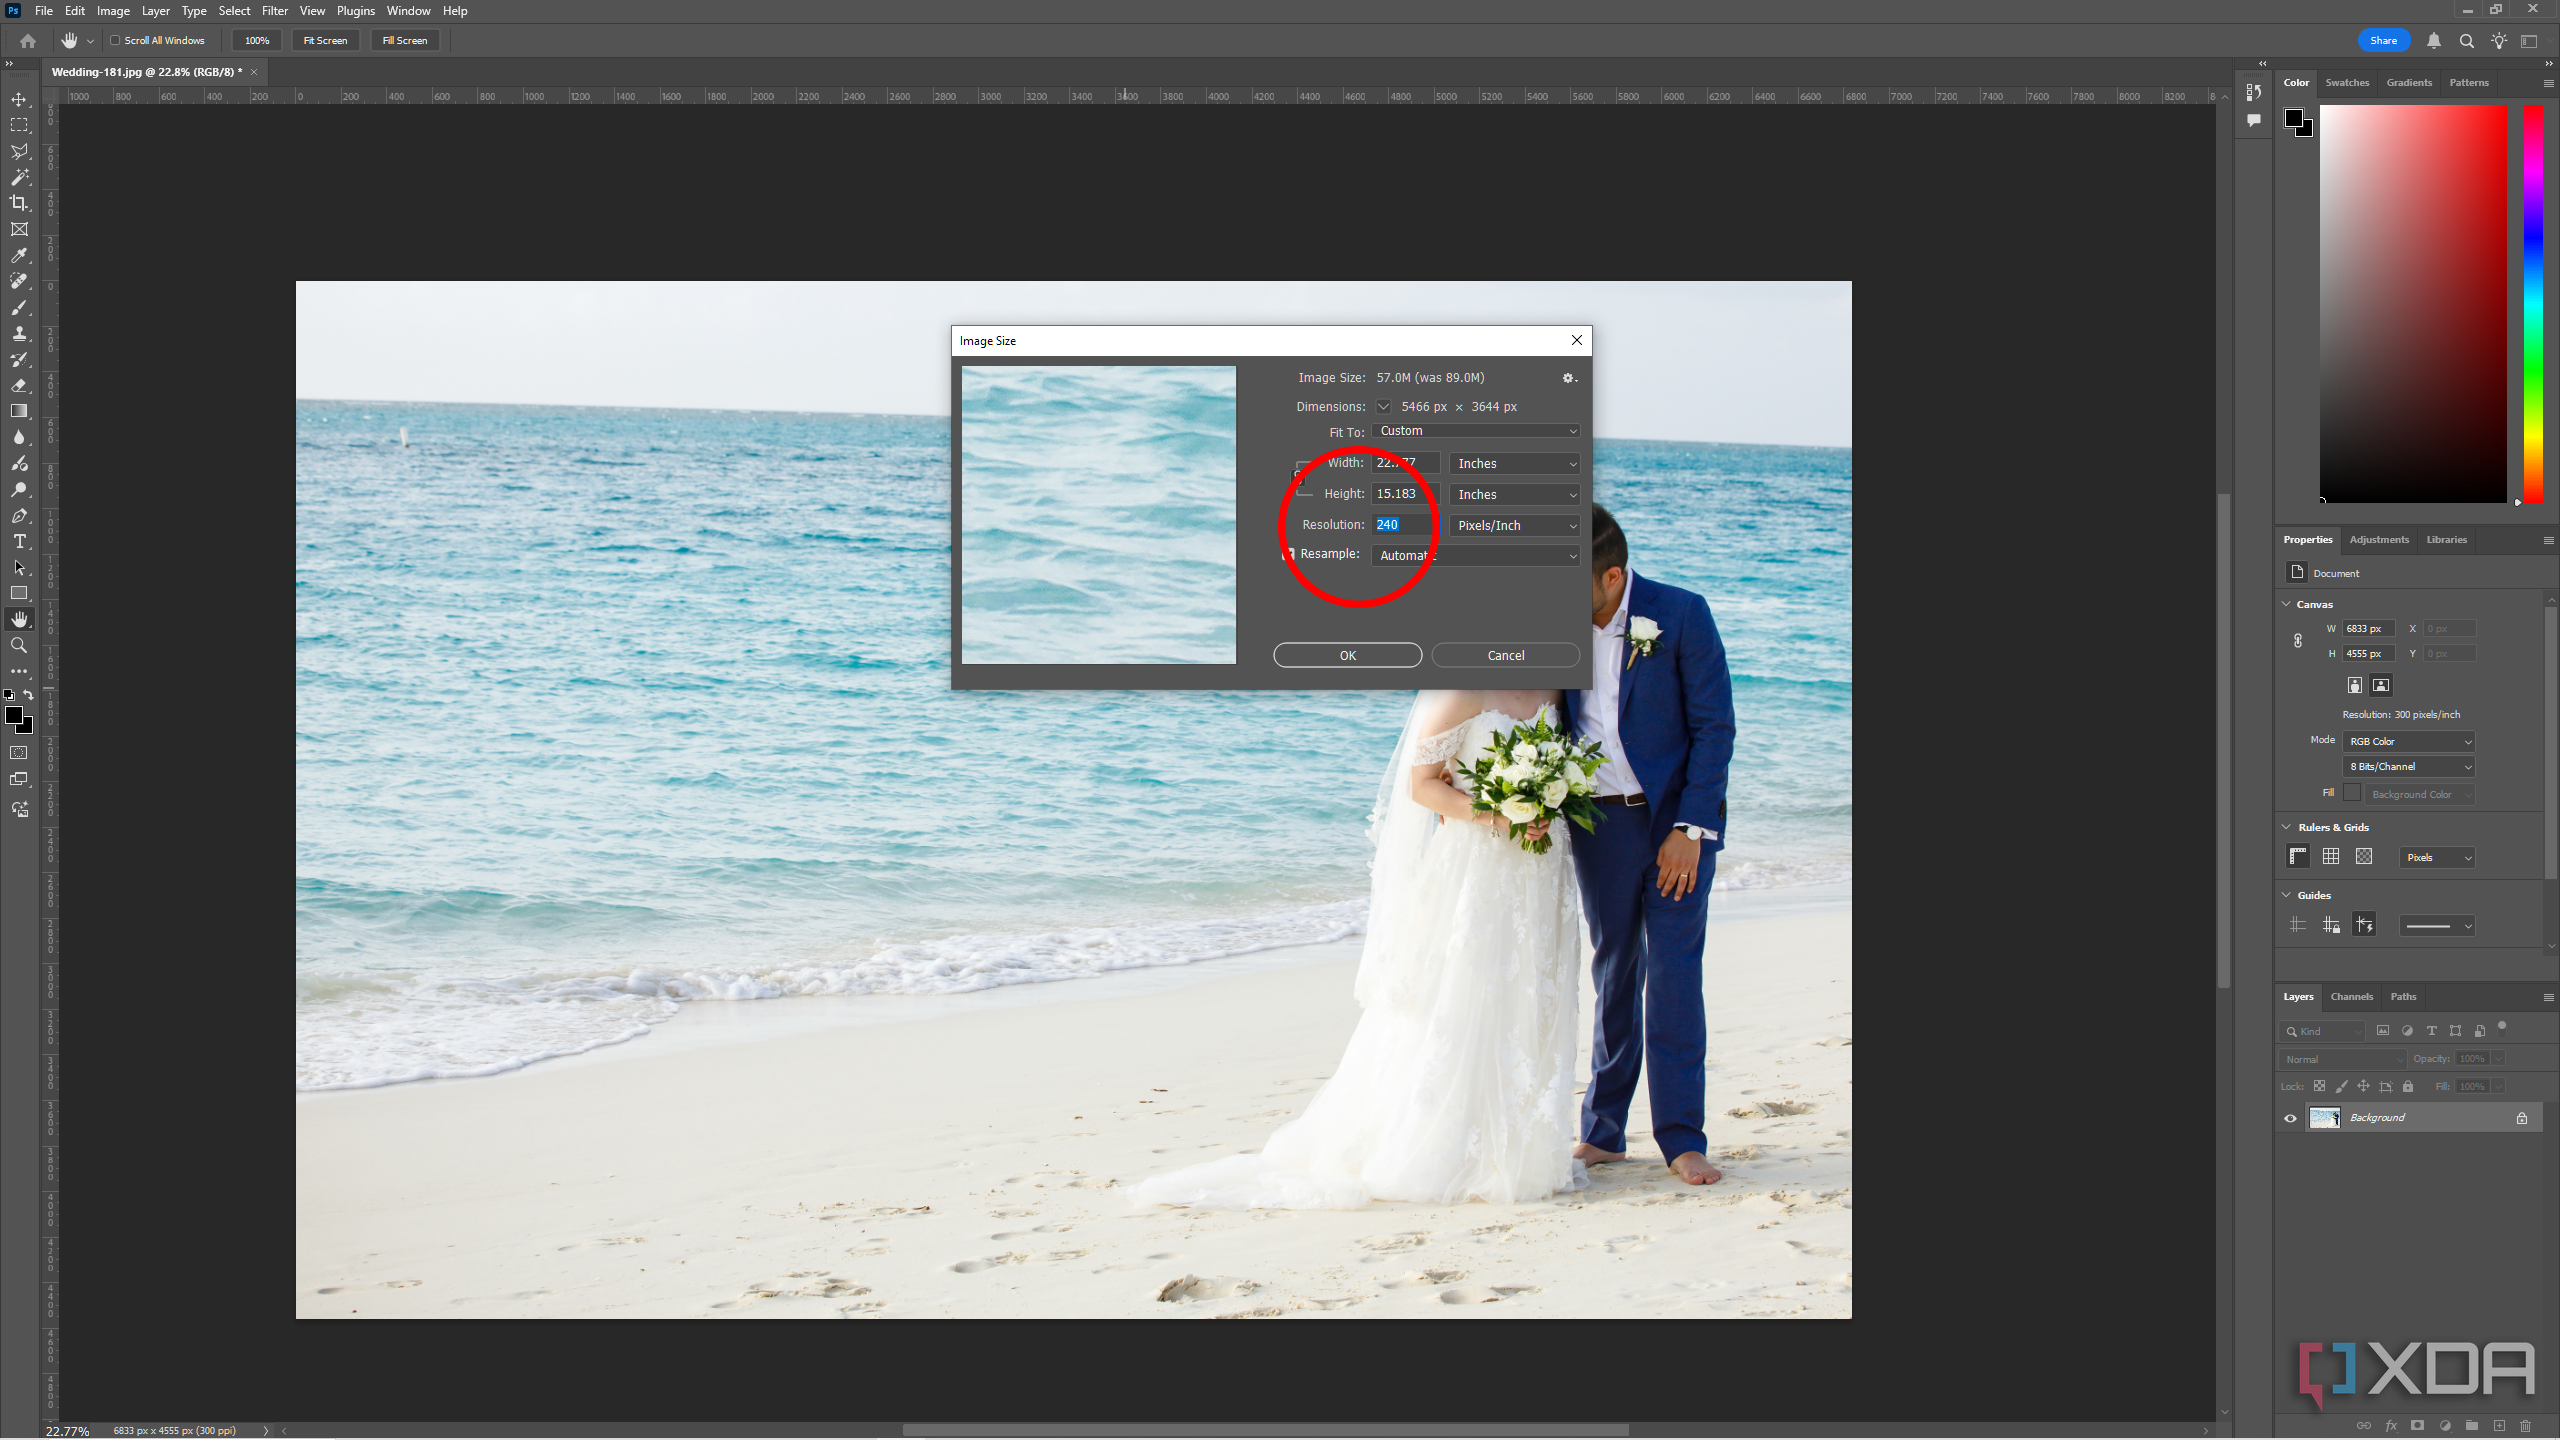
The Image Size menu will open, and you will see the option to edit Resolution. This is where you will enter your desired DPI.


What to consider when selecting your DPI
Is resolution the same as DPI?
First, it’s worth pointing out that in Photoshop, the term ‘Resolution’ applies to both PPI (for screens) and DPI (for prints), depending on the intended use of your image.
The quality of your print is only as good as the quality of the original image. While a higher DPI may yield more accurate prints, DPI alone cannot improve the quality of your image.
Your file size changes dramatically as you increase or decrease your desired resolution. Settings of 300, 600, or 900 DPI — typically used for high-quality prints — could render file sizes that approach or exceed a gigabyte per image. This is really reserved for gallery-quality printing.
When increasing the resolution in Photoshop, the height and width of your image will automatically change. You can re-set those metrics while keeping the DPI at your new set number, if you want a smaller print at a higher resolution.
If you’re just posting your image online or adding it to some content destined to be read on a computer screen or mobile device, then DPI does not apply here and reducing your PPI can yield a much smaller file size that is easier to work with. For screen-based images, you do not need a PPI higher than 72 as it receives no further quality benefits to be higher when viewed on a screen.
Your image is ready to be printed and displayed
A picture says a thousand hours of editing
Once you’ve finished the long night of painstakingly editing your images in Adobe Lightroom and Photoshop, take a few seconds to check and set the correct and intended DPI and resolution for your printing needs. Then get ready to see your images come to life on some quality photo paper or canvas prints — ensuring your print size matches the digital image size you’ve set along with the matching resolution.
While Photoshop is unquestionably one of the most powerful editing tools on the market, it doesn’t suit everyone’s budget. If that’s the case, you can also change your DPI using any number of free photo editors available online.

Related
10 essential photography tips for iPhone users
Once you get to know your iPhone camera a bit better and learn how to use the various settings, you will be able to take much better photos.
#Print #high #quality #photos #changing #DPI #Photoshop
source: https://www.xda-developers.com/how-change-dpi-photoshop/

