

Adobe Lightroom is the gold standard for photo editing, with tools akin to those found in a traditional darkroom, as well as modern technological features to enhance your photography. To further manipulate your beautiful photos, you can edit Lightroom photos in Photoshop to turn them into interesting images with text, texture, and anything else Photoshop offers. You can even send your photos back and forth between Lightroom and Photoshop until you’re happy with your final result.
To start with, Adobe Lightroom and Adobe Photoshop should both be available on your device. If you have the Creative Cloud All Apps plan or the Adobe Photography plan, they’re both included. The plans include Lightroom CC and Lightroom Classic; you can use either version of Lightroom to edit your photos in Photoshop.
How to open and edit a Lightroom Classic photo in Photoshop
Adobe Lightroom Classic allows you to save and open photos directly from your system’s local storage. Unlike most Adobe software, Lightroom Classic doesn’t use the cloud for storage, but you can still edit your Lightroom Classic photos in Photoshop.
To import your photos into Lightroom Classic, select the Library tab and then Import. Lightroom is a great place for editing RAW format images, but you can also open and edit most images and even video formats. Check the image or images you want to import, then select Import to move it to your Library.
You can choose to send your Lightoom photo directly to Photoshop from the Library tab, or edit it first in Lightroom from the Develop tab. If you edit your Lightroom image, you can also choose between sending the original unedited image or the Lightroom-adjusted photo to Photoshop.
If the image is RAW (and you want to edit it as a RAW file) there will be slightly different options for sending and editing in Photoshop. But first, here are the steps to follow for transferring your non-RAW photos to Photoshop.
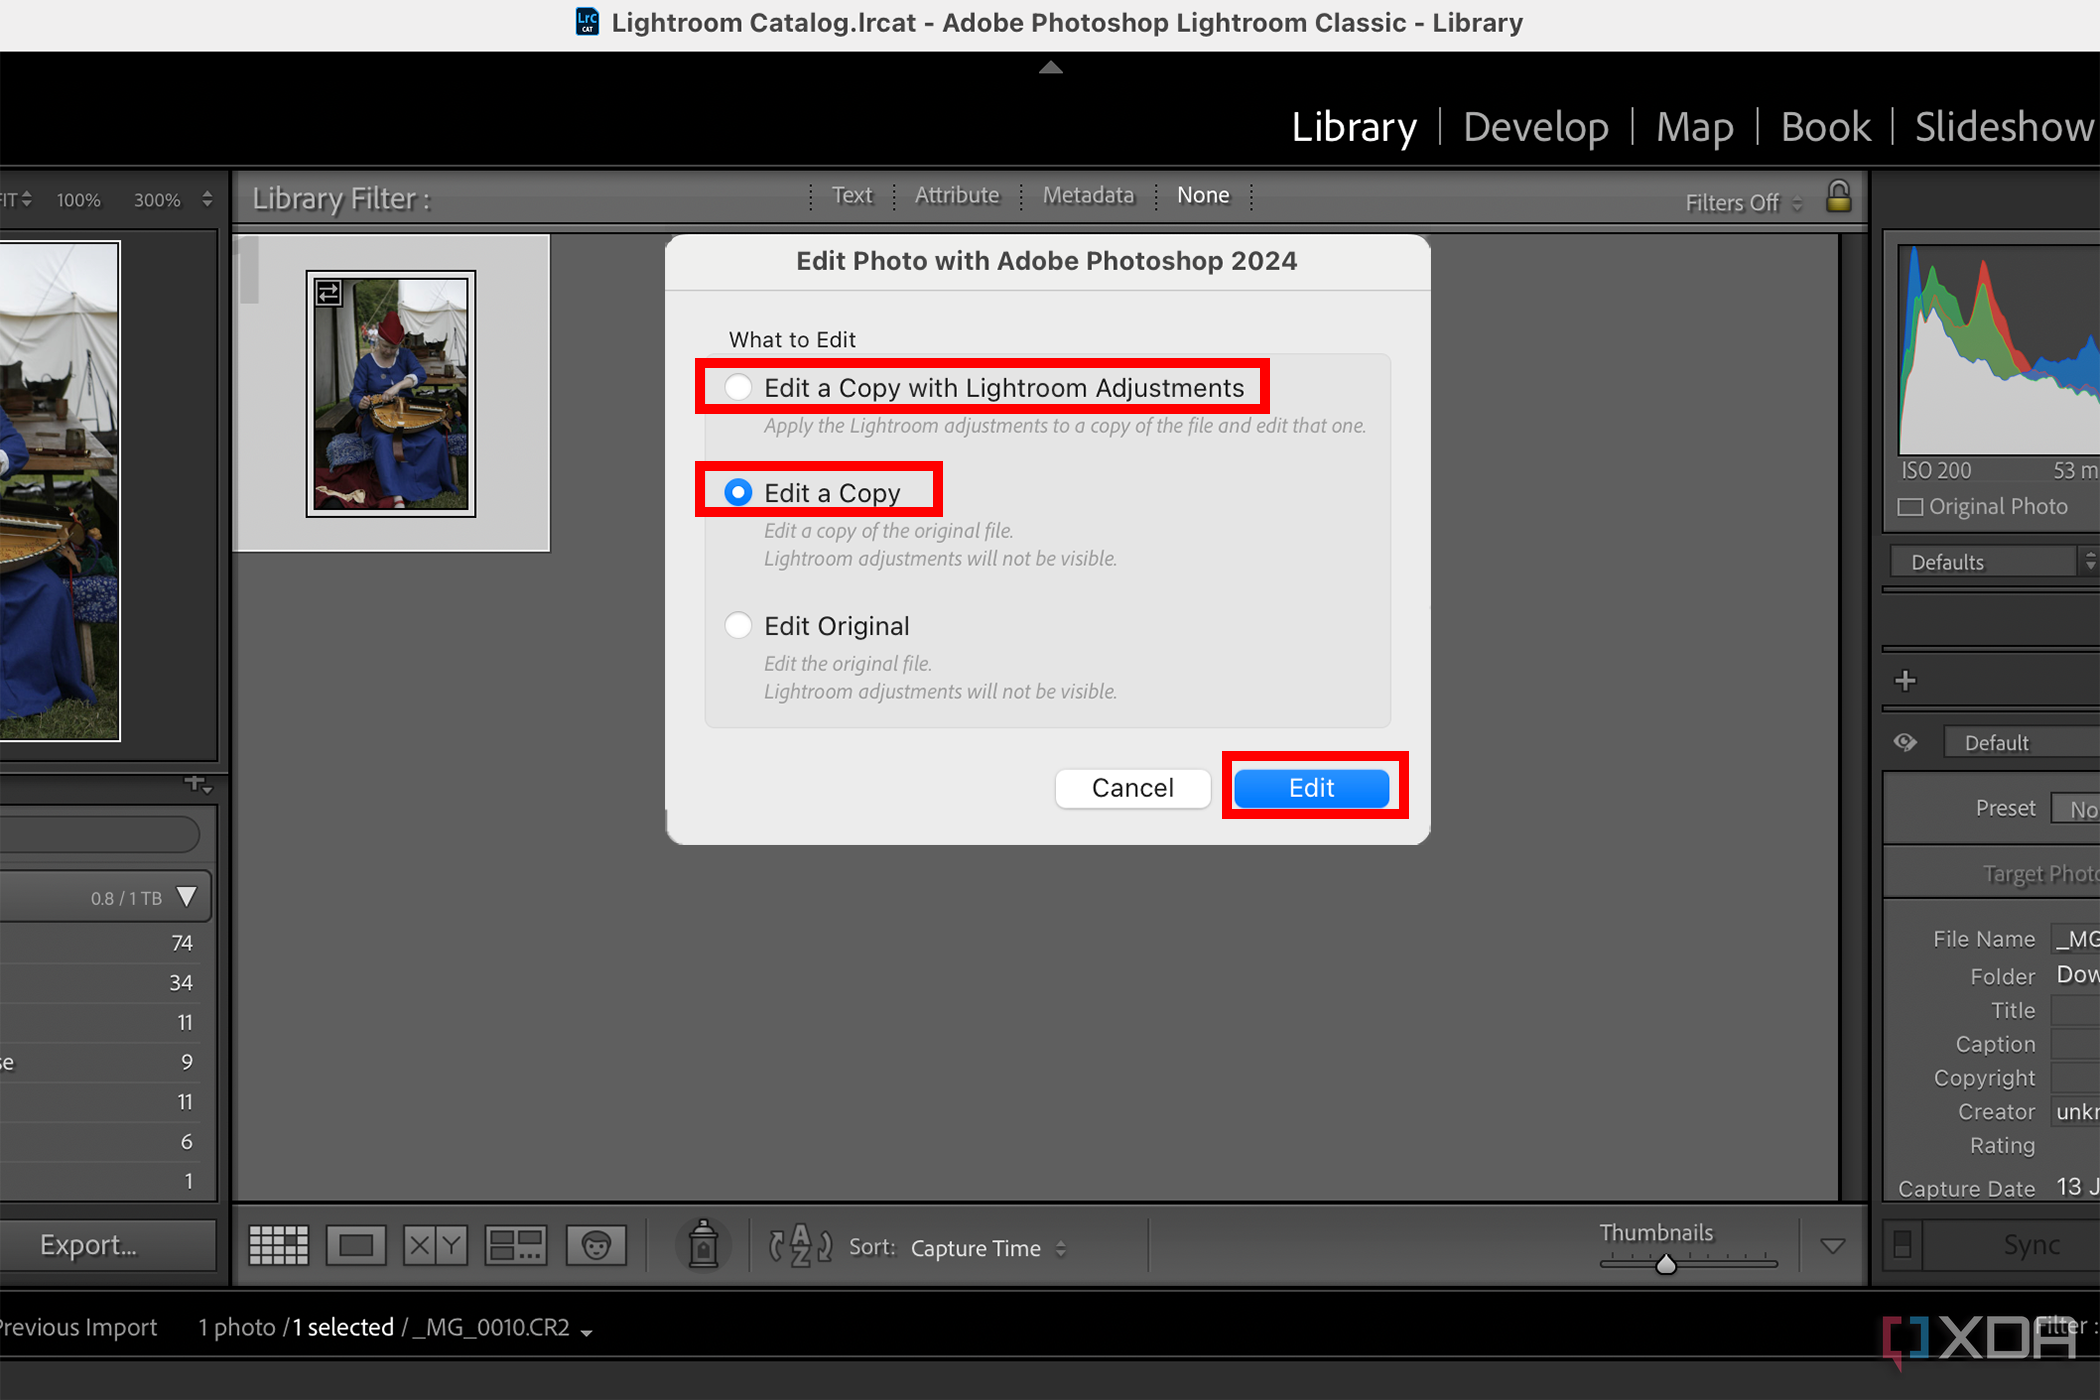
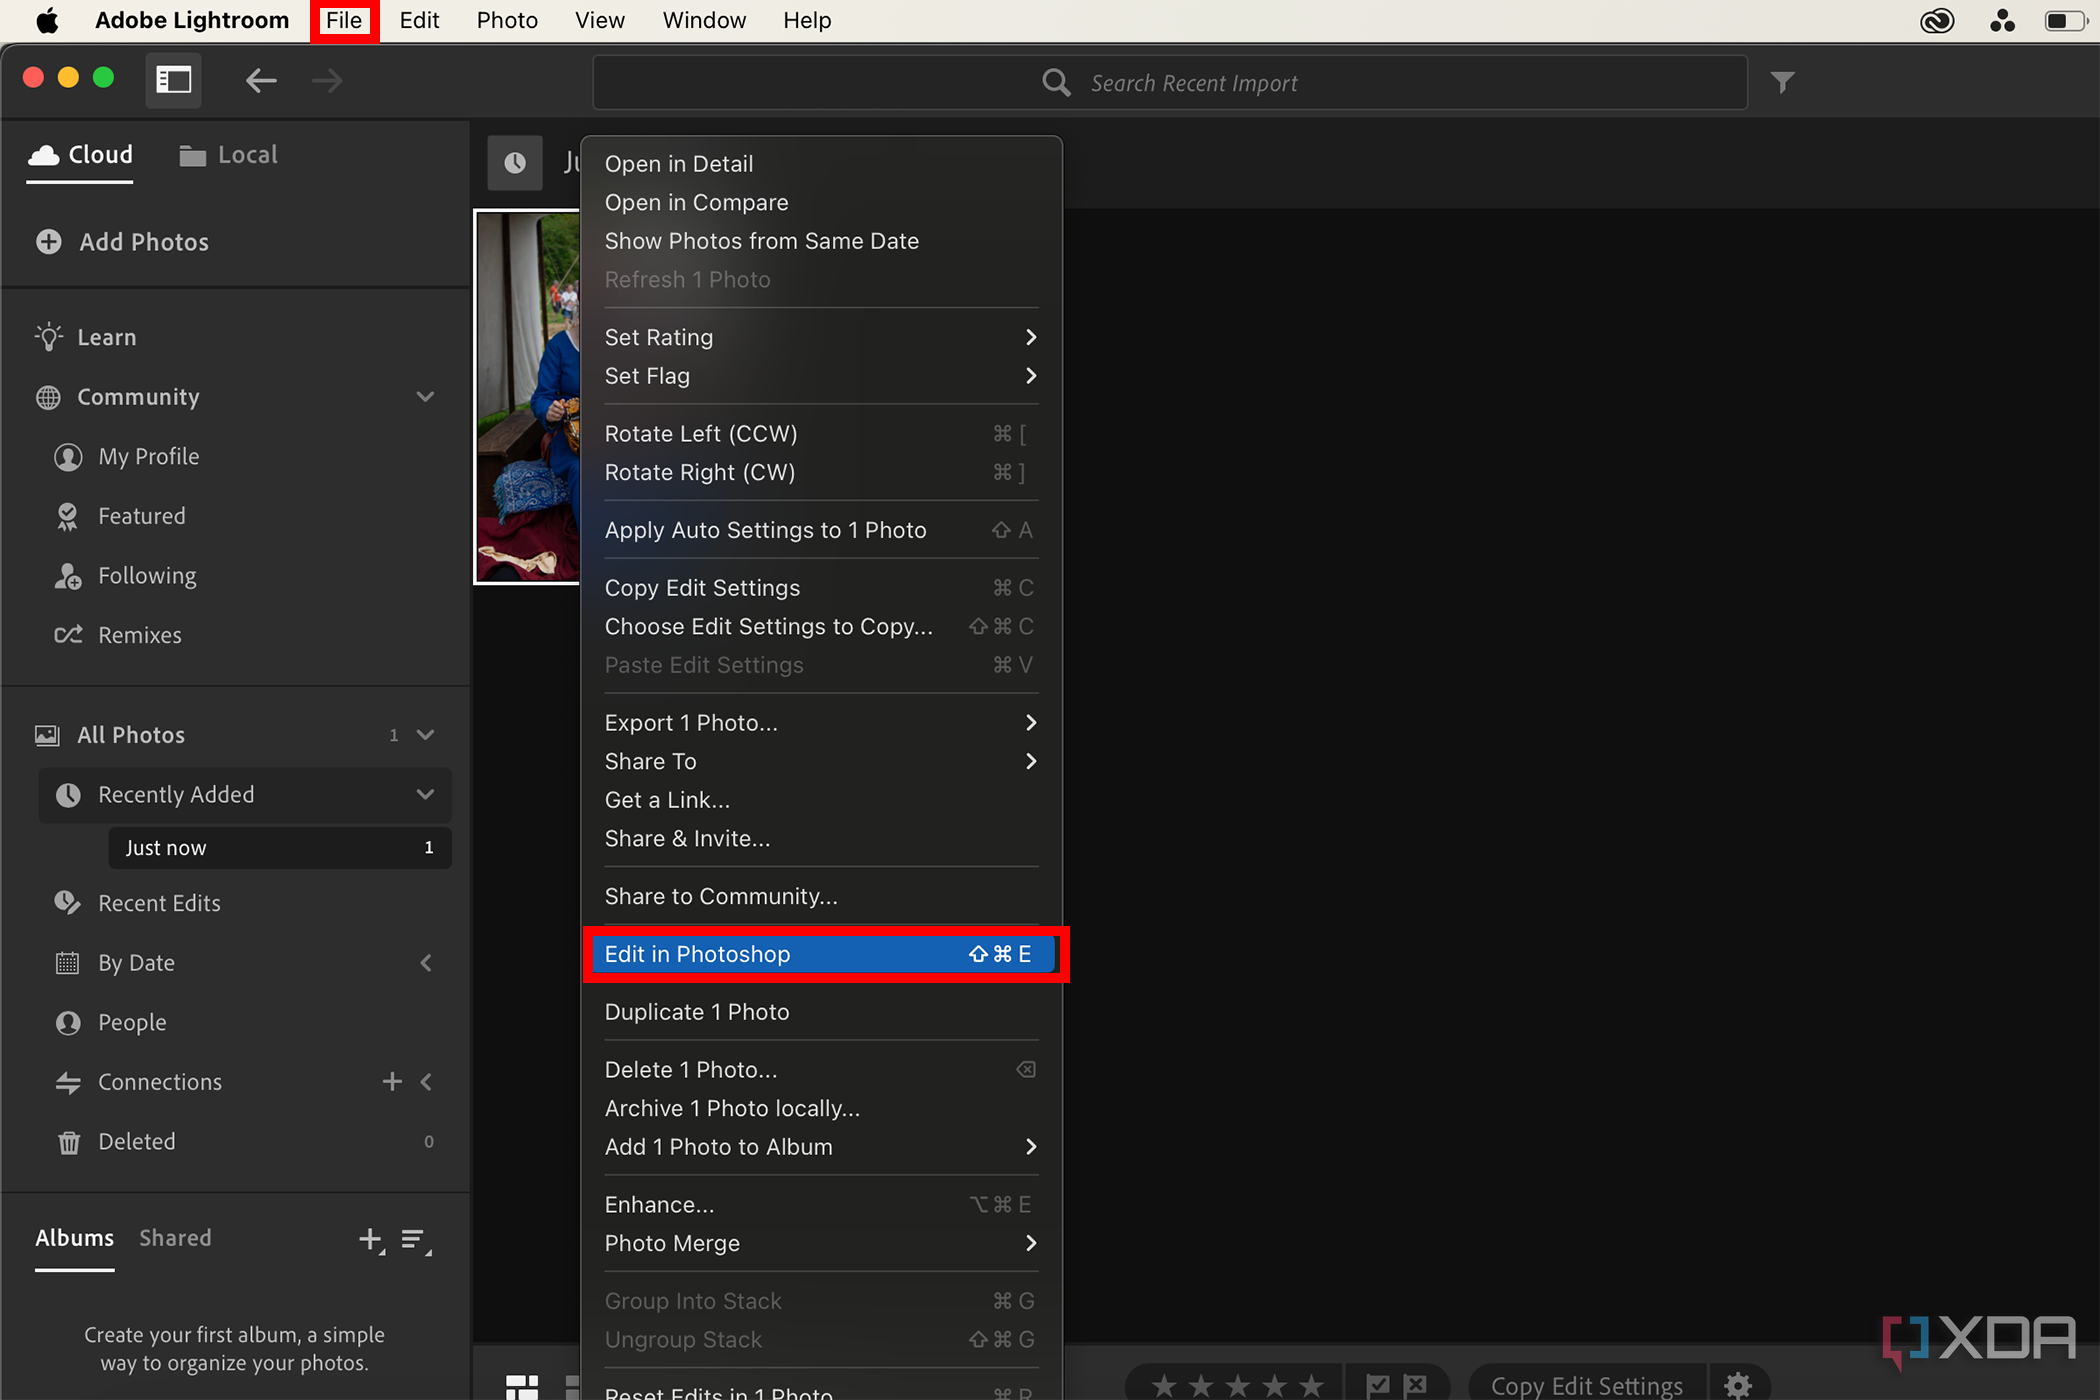
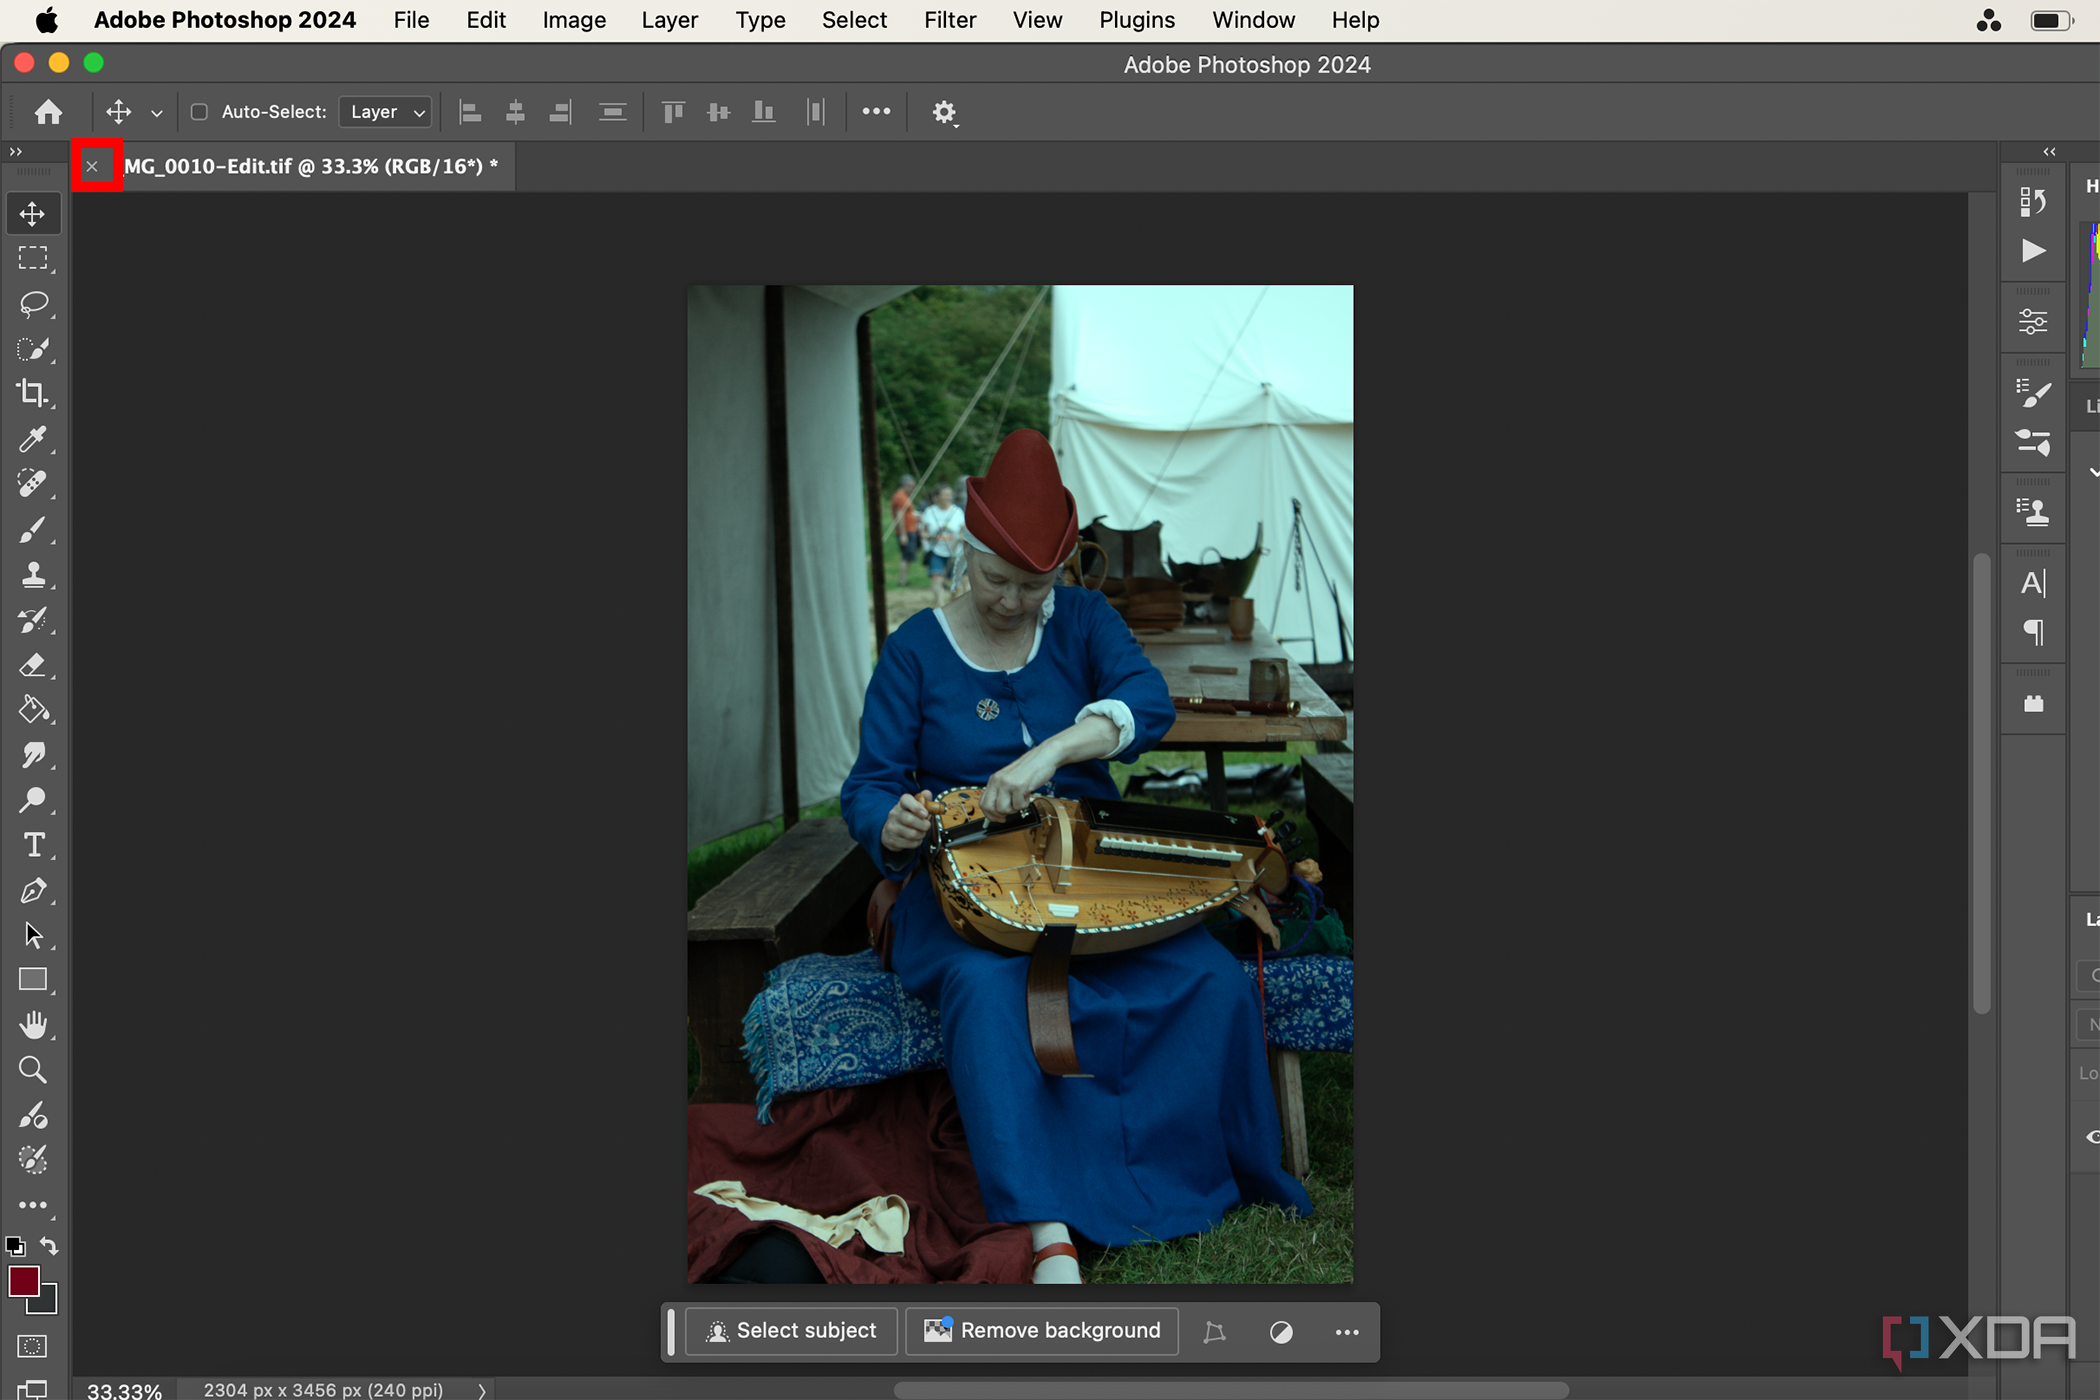
- Select your chosen image (either from the Library or the Develop tabs), then navigate to Photo in the toolbar or right-click your image and choose Edit In > Edit in Adobe Photoshop.
- In the popup, choose to Edit a copy of your image with Lightroom adjustments applied, Edit a copy of the original image, or Edit the original image directly. I’d rarely ever recommend editing an original image, in order to avoid overwriting the original file with edits you make in Photoshop. Select Edit to confirm your choice.
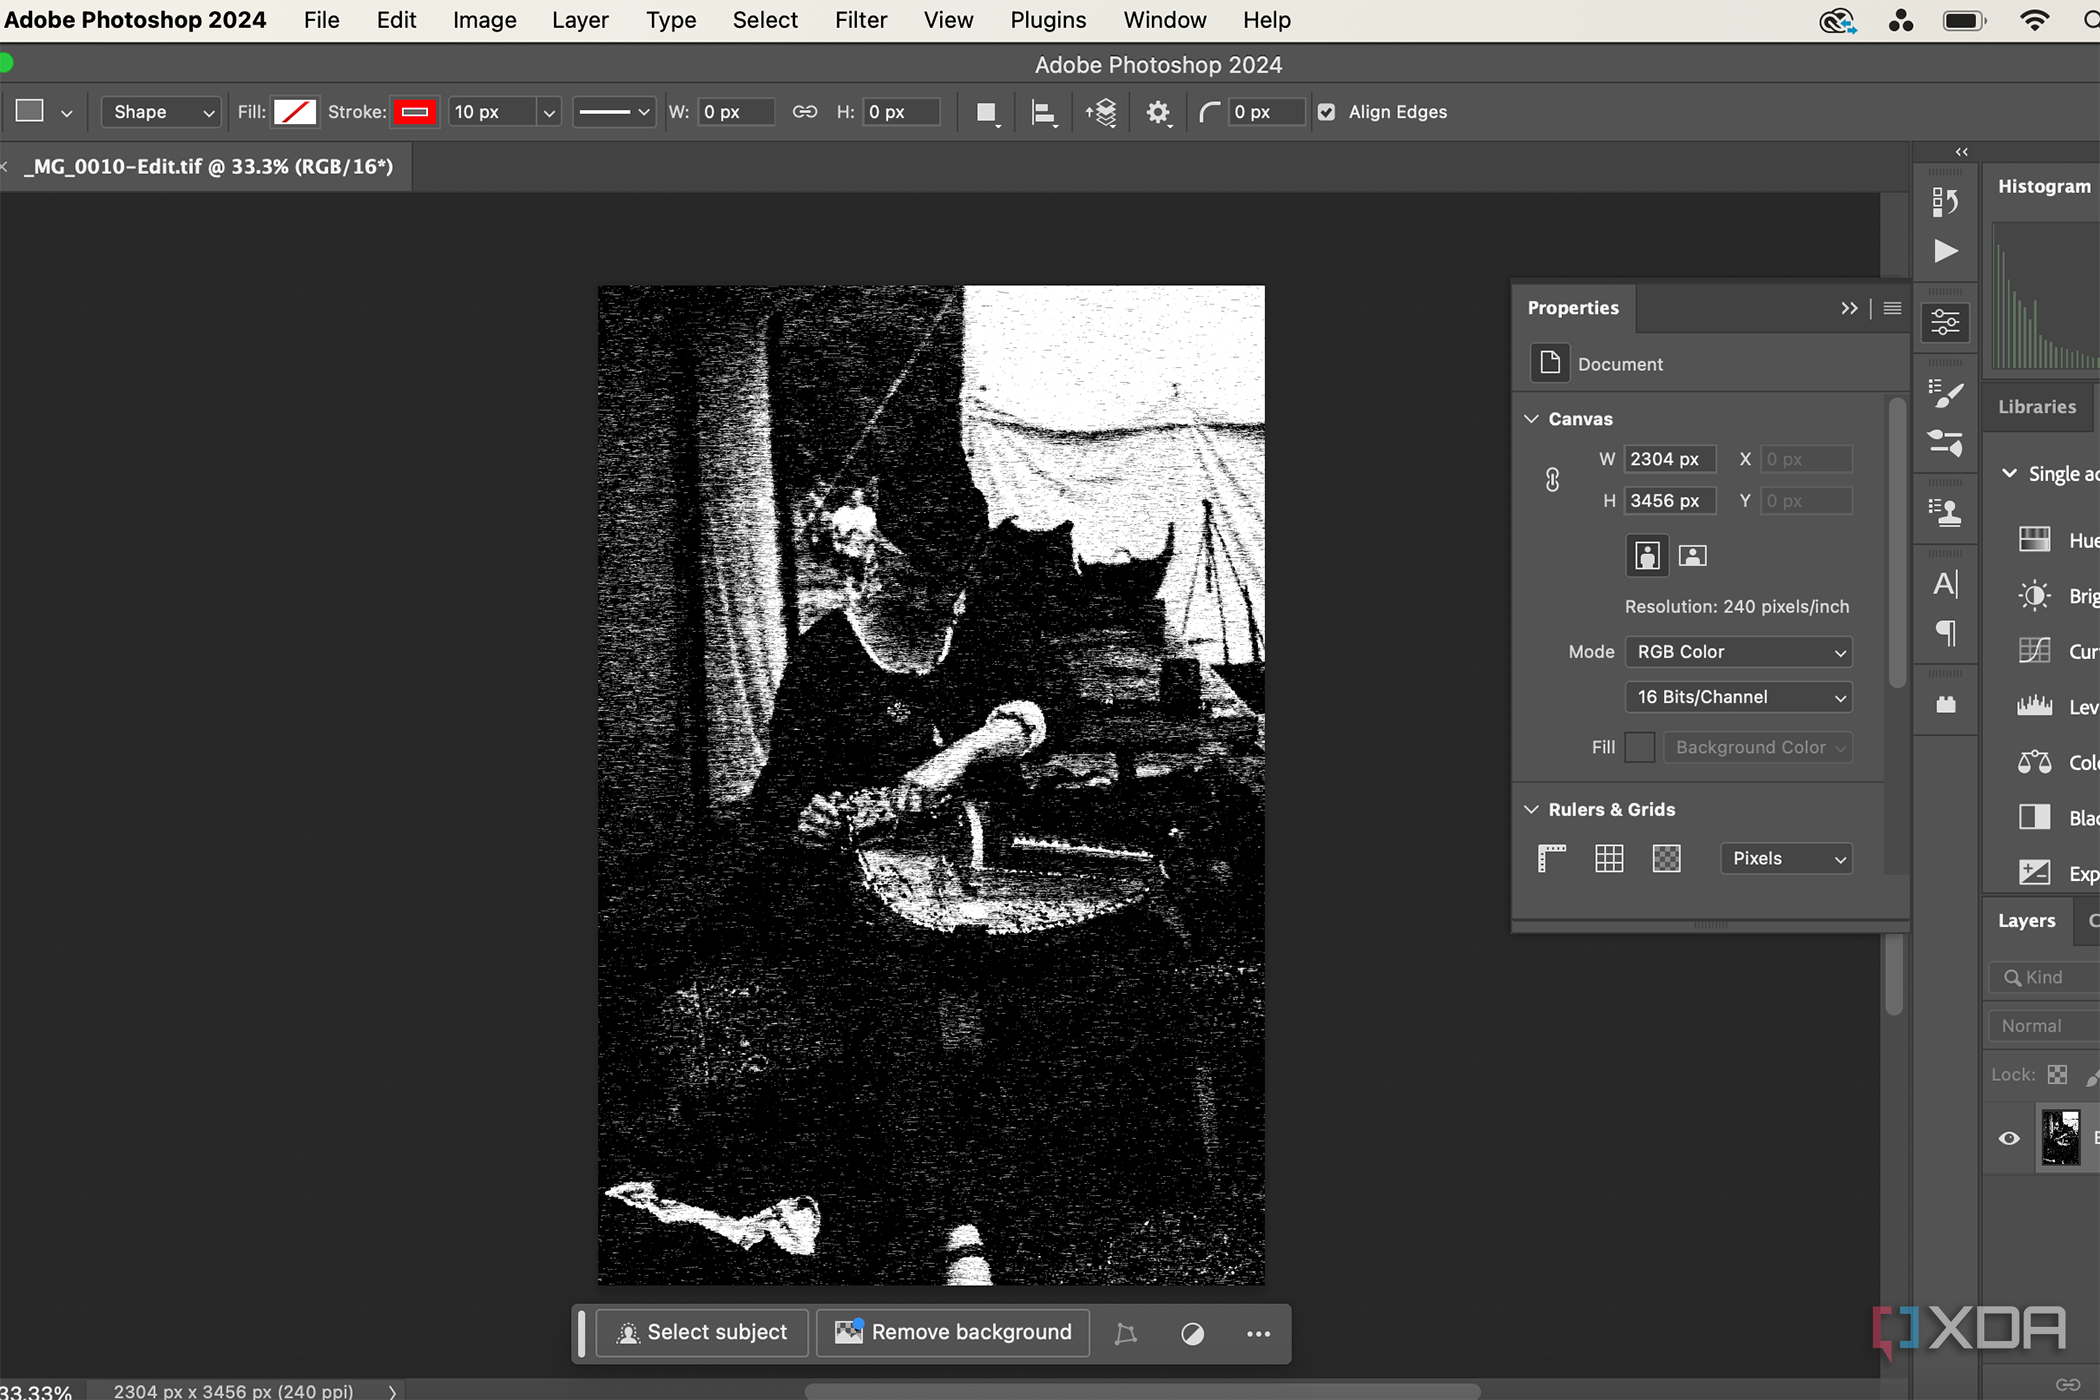
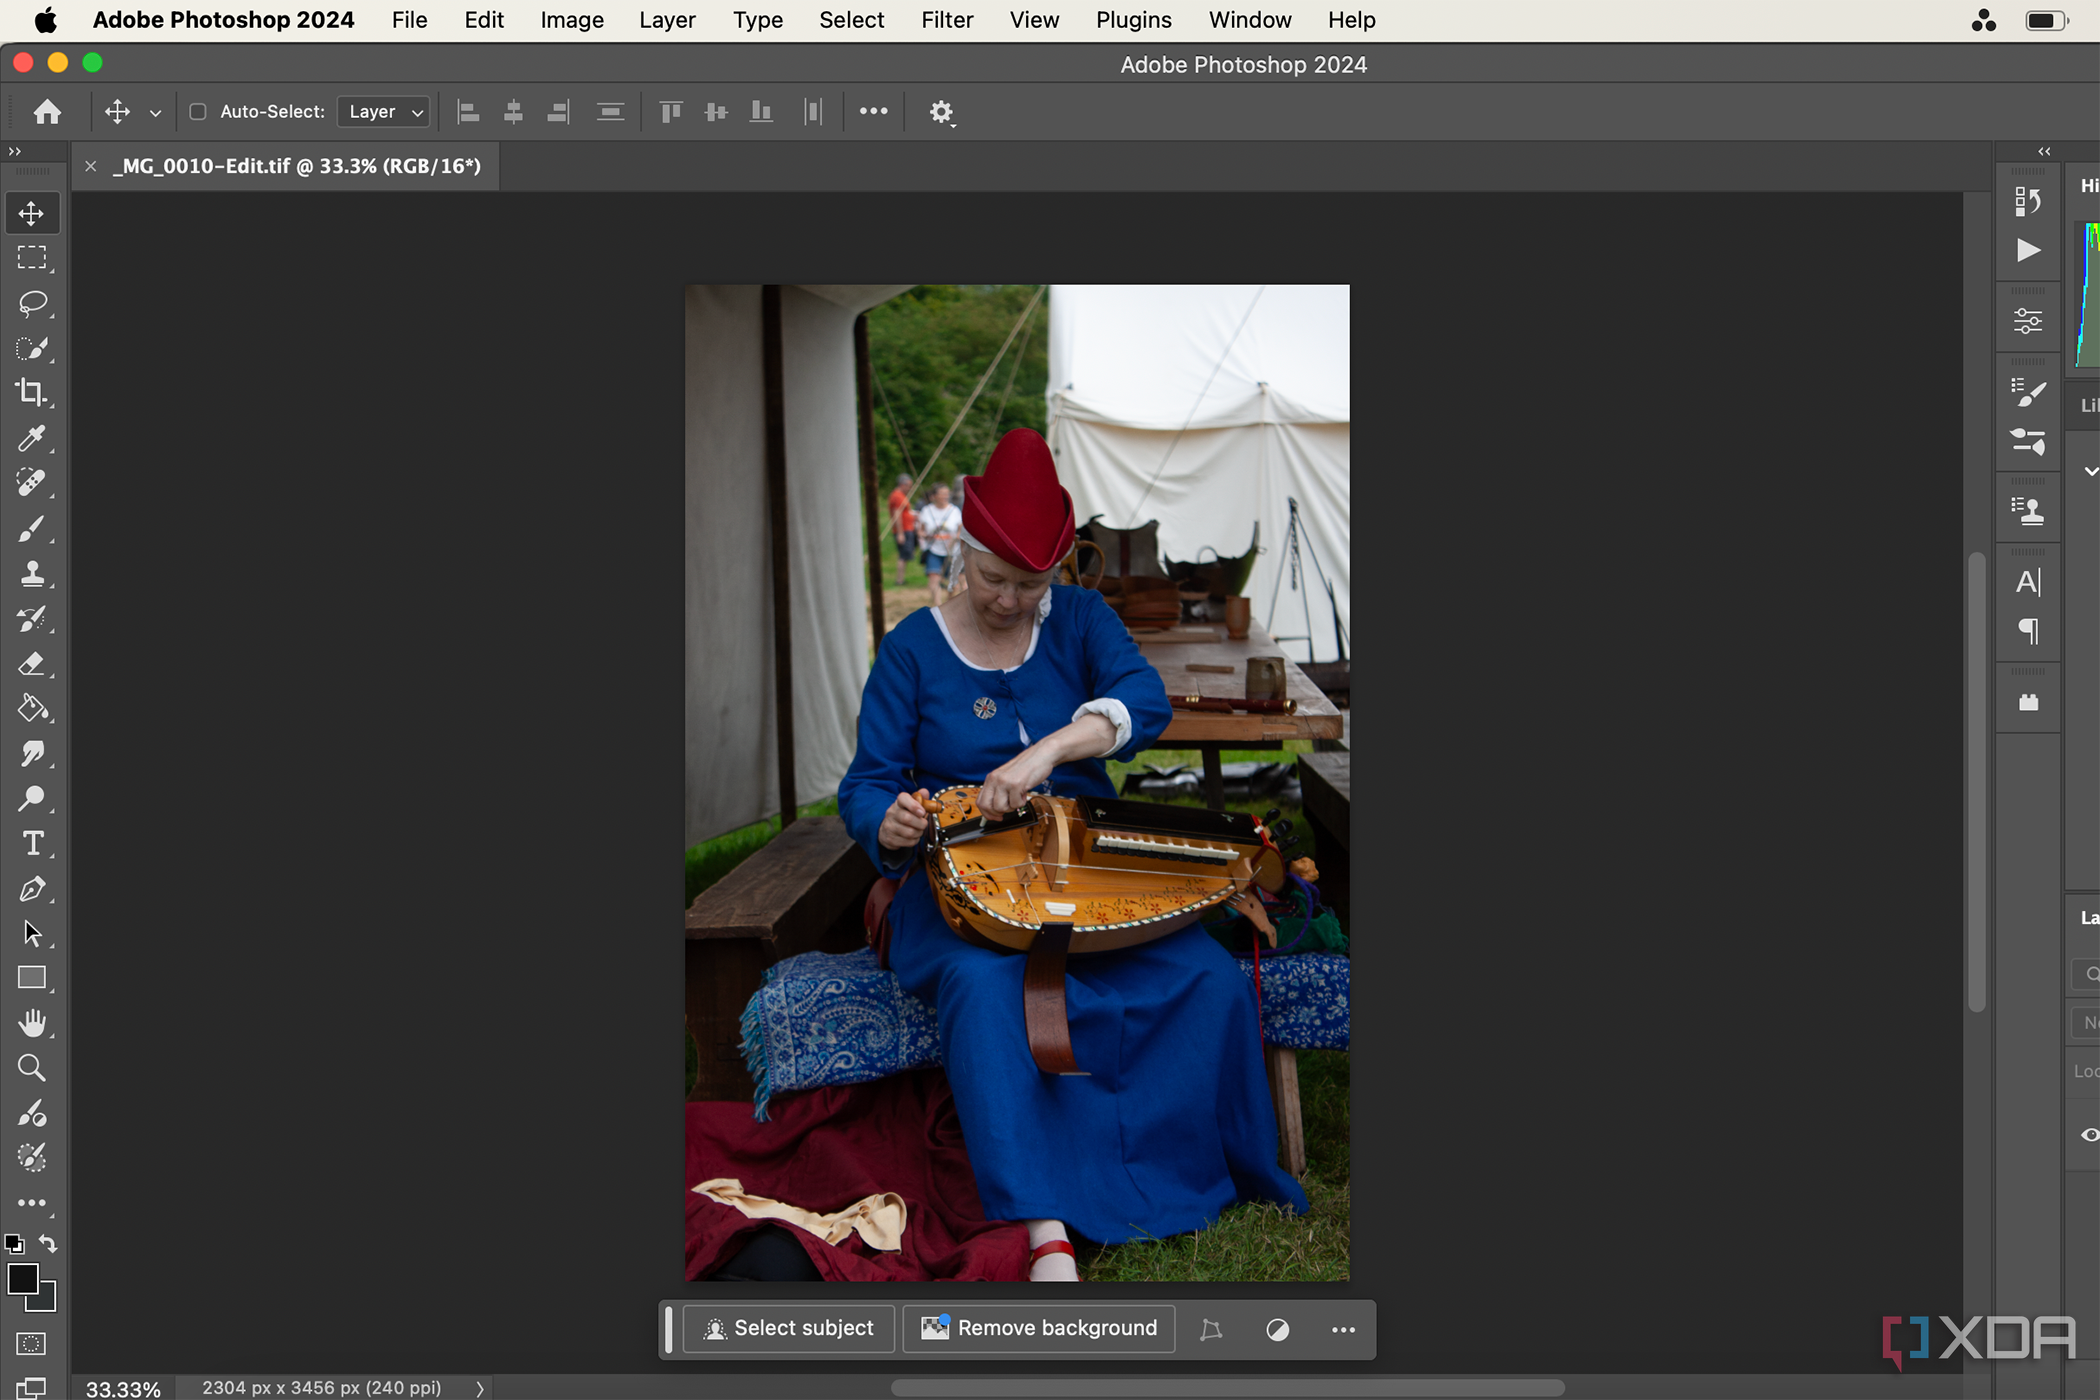
- This will open your photo in Photoshop, where you can apply any Photoshop features to your image. This includes adding text, using filters, or even using Photoshop’s Generative Fill and other AI tools.
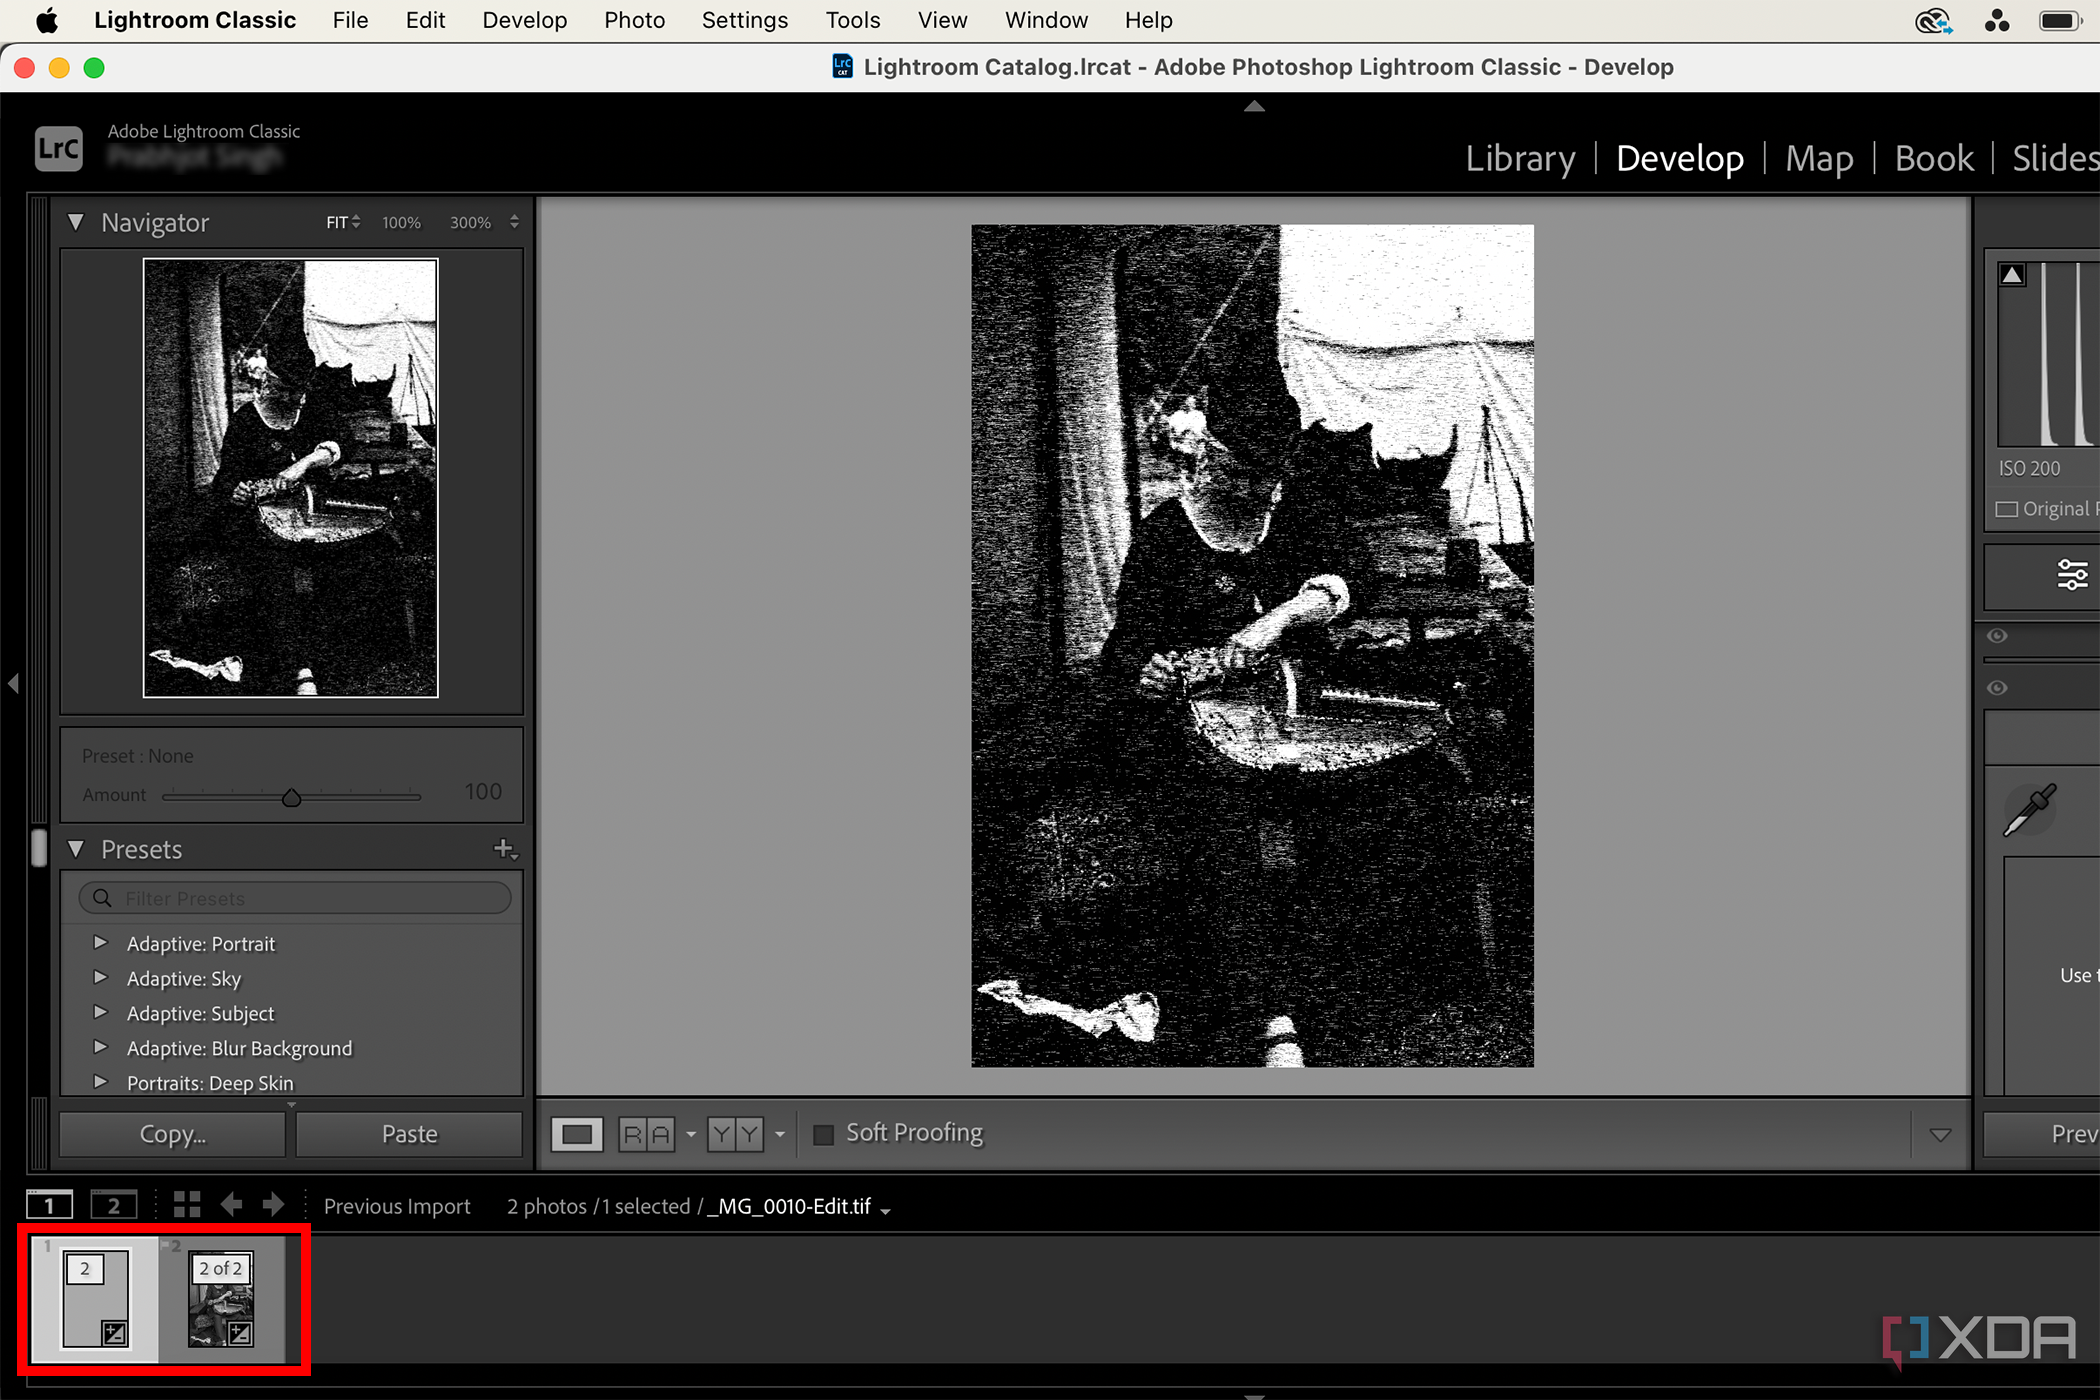
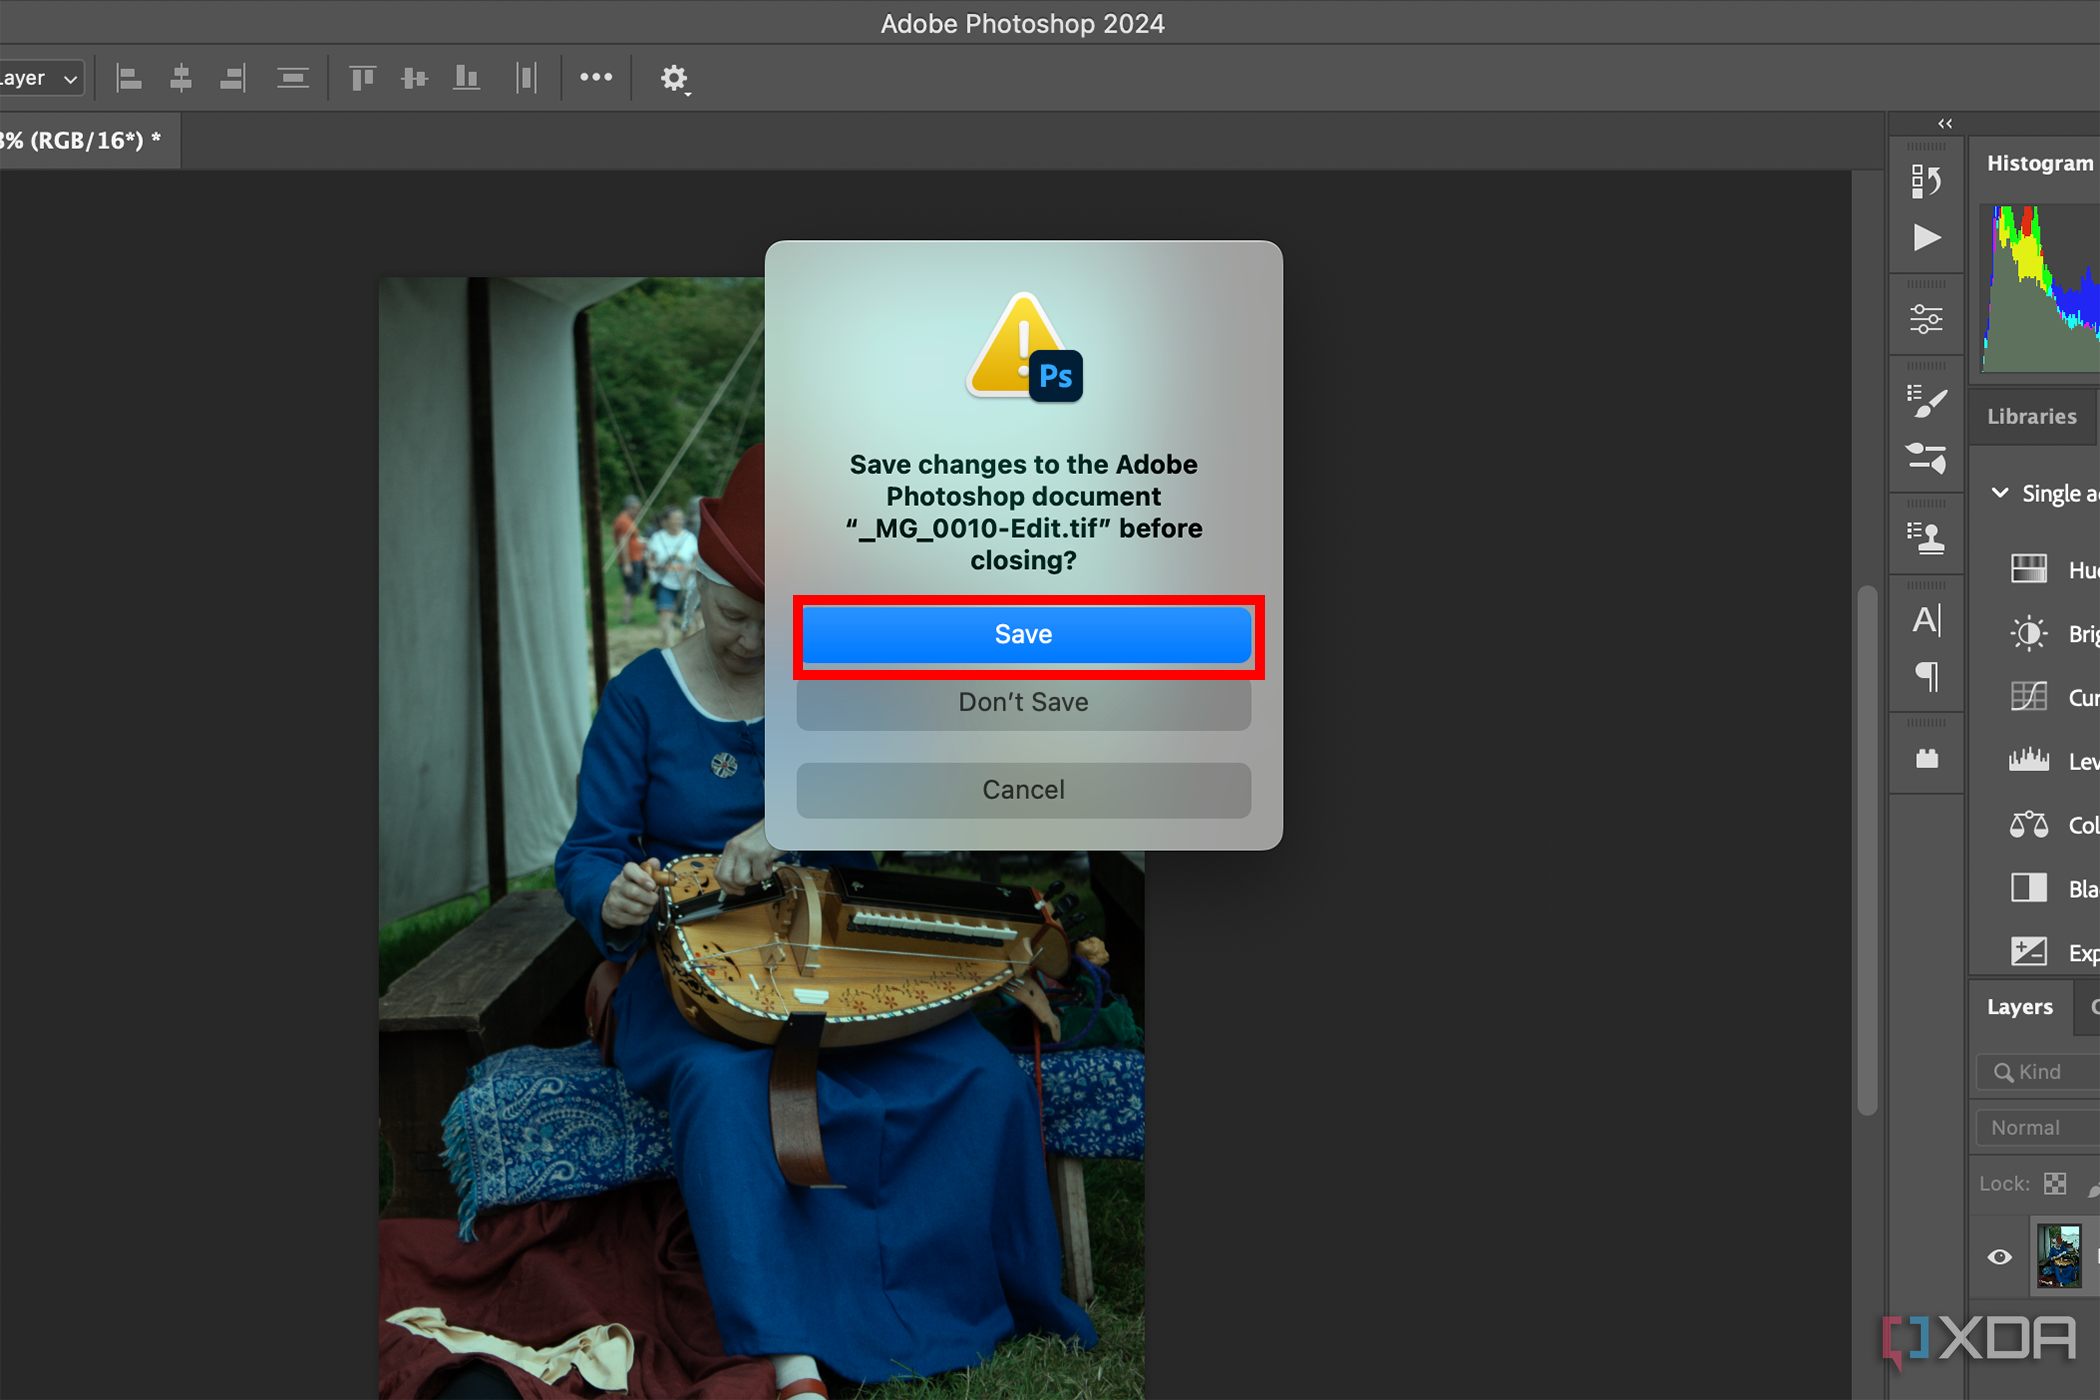
- Once you’re finished editing or manipulating an image in Photoshop, it just needs to be saved. Navigate to File > Save (or hit CMD / CTRL + S). Then, when you return to Lightroom, your Library will be updated with a copy (or overwrite, depending on your selection in step 2) of your image showing your new edits.


Do not use
File
>
Save As
to save your Photoshop image. Doing so will break the path between your Lightroom image and the Photoshop edits. It’s like saving a new file.
How to edit a RAW Lightroom Classic file in Photoshop
Although similar, editing a RAW image file in Photoshop requires slightly different actions from Lightroom Classic. Although Lightroom is great for natively editing RAW images, Photoshop requires a plugin called Camera Raw, which comes with your Photoshop subscription.
- Choose your photo from the Lightroom Classic Library or Develop tabs and right-click or go to Photo in the top toolbar. Then, choose Edit In > Open as Smart Object in Photoshop.
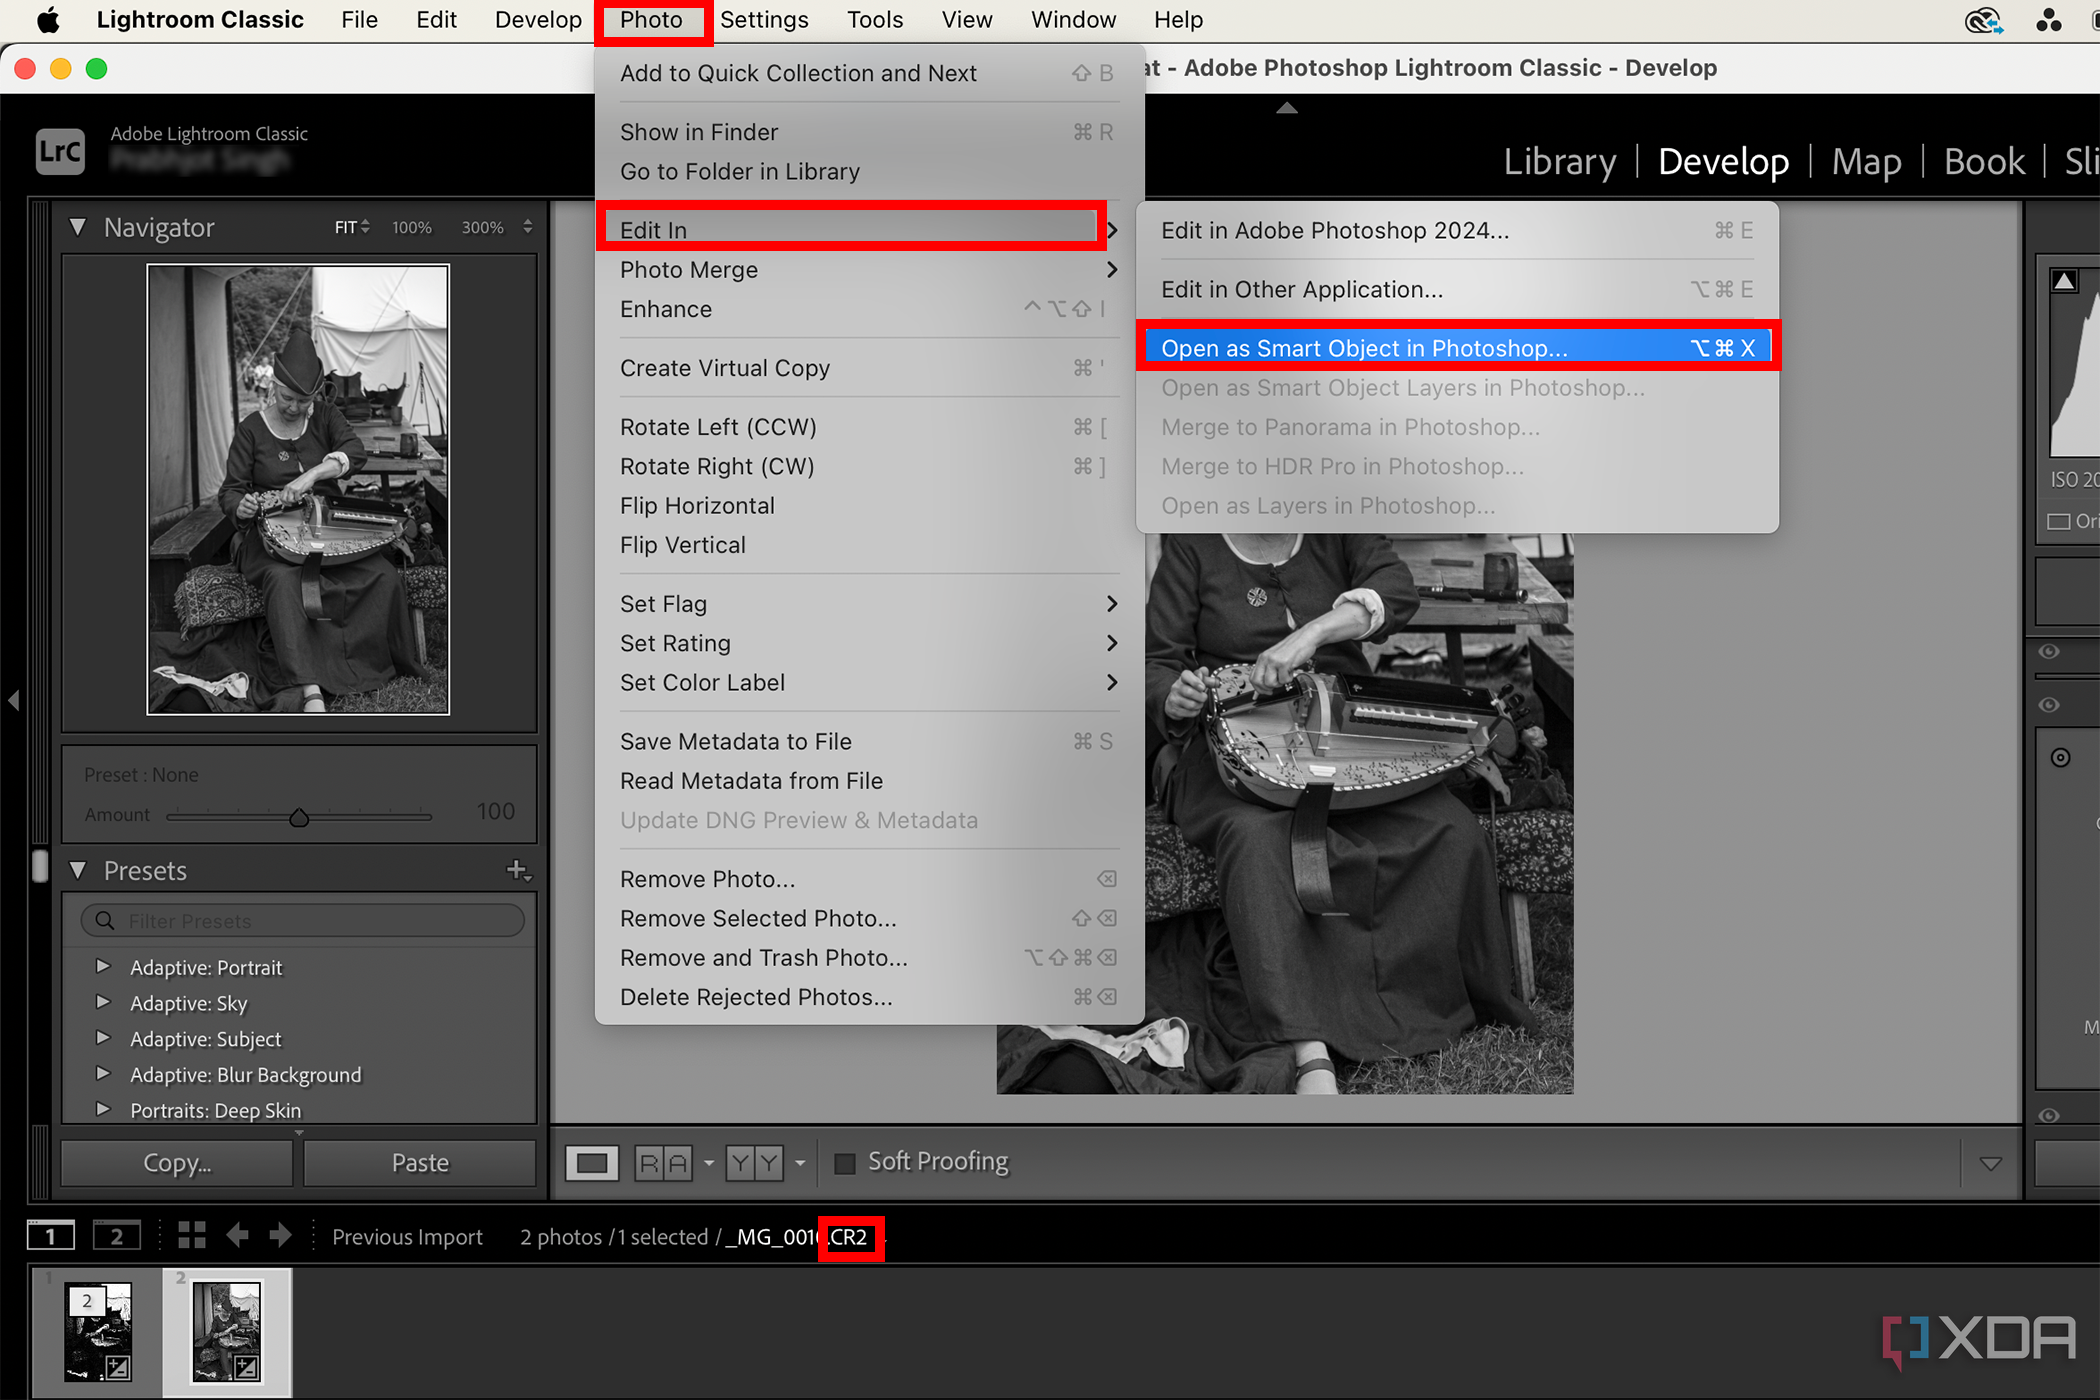
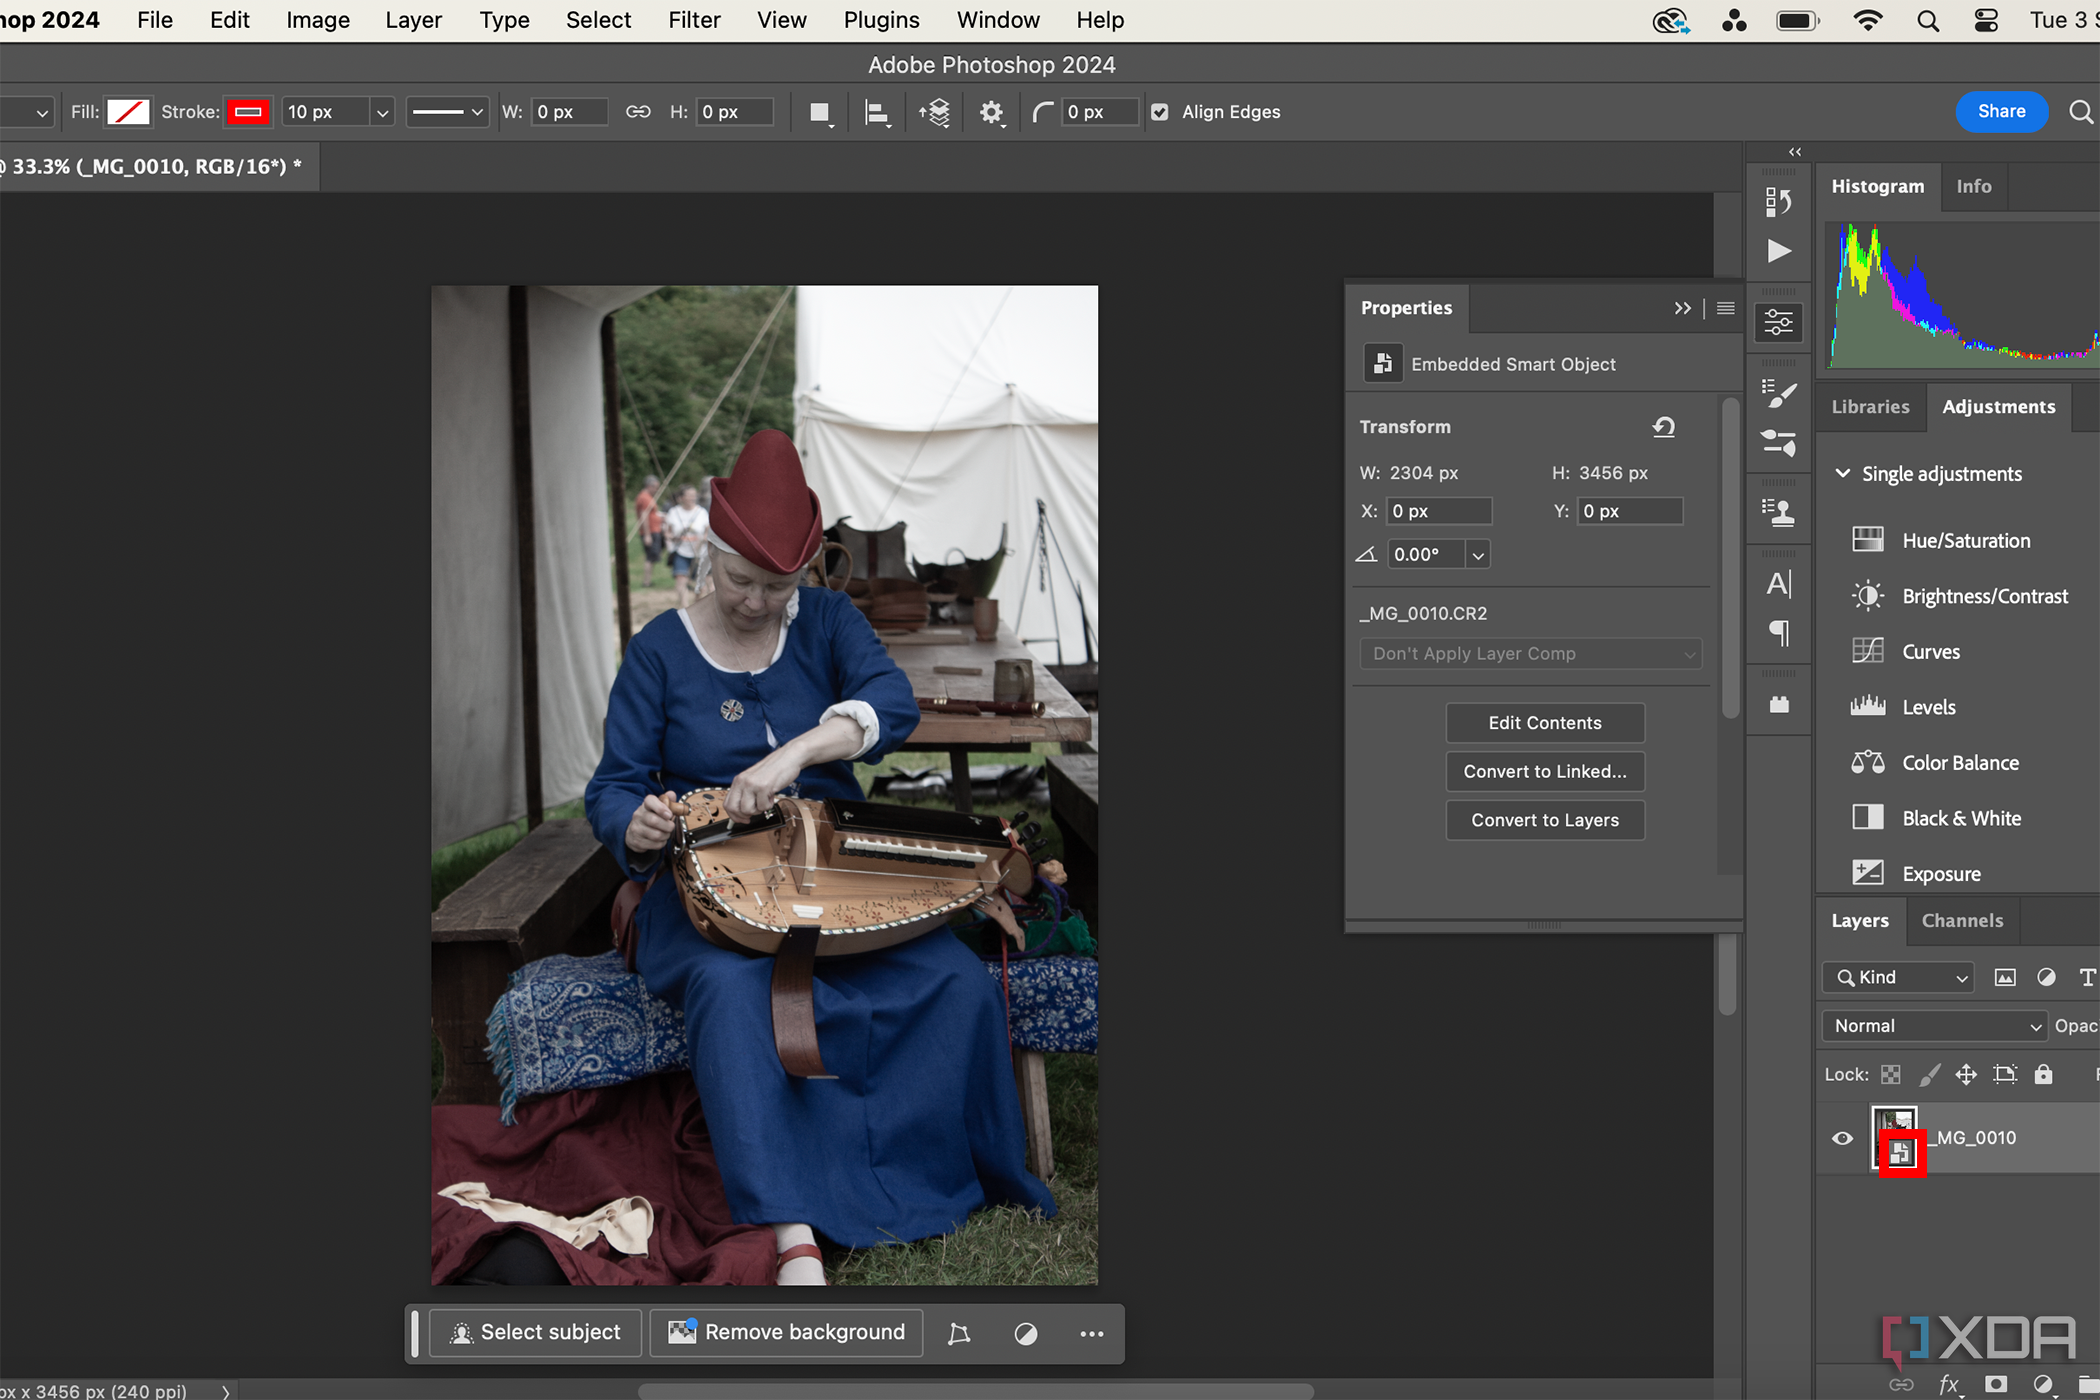
- This will open the image in Photoshop. It will initially look like a regular file with a normal Photoshop artboard. On the Photoshop Layers palette, double-click the thumbnail with the smart object icon to open your smart object photo.
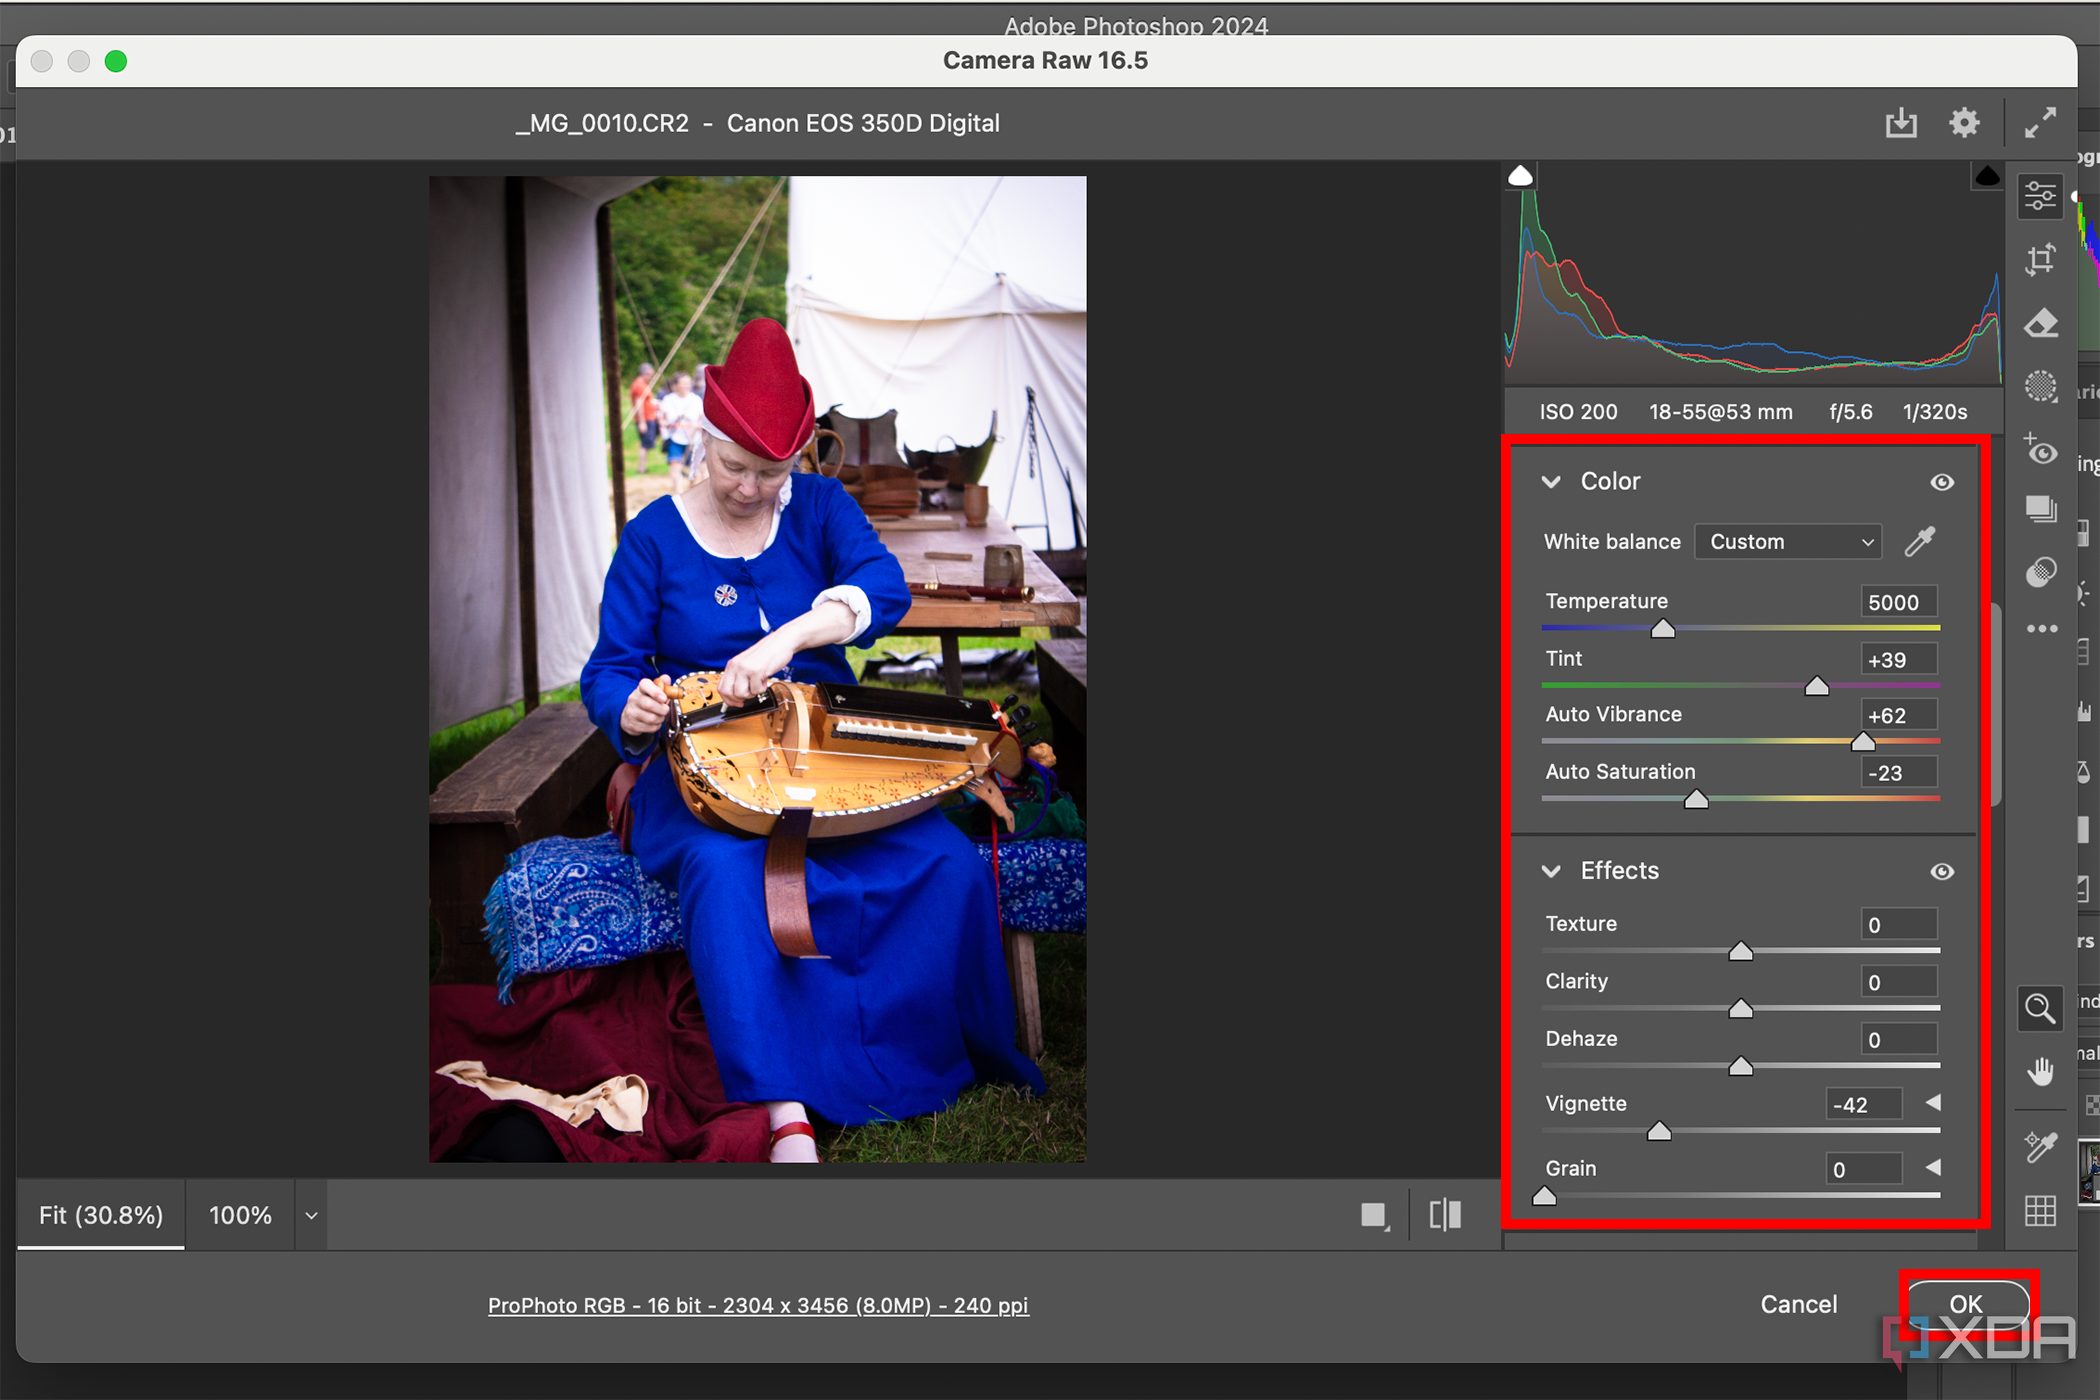
- Camera Raw opens as a separate window within Photoshop, showing your RAW image in full glory. Here, you’ll see similar editing tools to what Lightroom offers, so if you didn’t pre-edit your image in Lightroom, it can be done in Camera Raw. Camera Raw itself has no AI tools, whereas Lightroom does have AI tools for more specialized editing. Once you’ve completed any edits in Camera Raw, select OK to return to the Photoshop interface.
- Make further edits and apply any Photoshop tools to your image. Then navigate to File > Save (or use CMD / CTRL + S) to save your photo and send it back to your Lightroom Classic Library. Your RAW-format image will be converted to a TIF file and saved as such upon its return to Lightroom. However, that is just a copy, the original RAW image remains as it was in Lightroom.


How to open and edit a Lightroom CC photo in Photoshop
Lightroom CC is more entwined in the Adobe Creative Cloud. Although you can save your photos locally, it’s encouraged and more common to save them in the cloud — Adobe plans usually provide 20GB or 1TB of cloud storage. Other than that, the major differences between Lightroom CC and Lightroom Classic are the interface and a few tools. They’re similar, so it’s not a drastic difference. We’ll begin with getting images into Lightroom CC, then on to Photoshop.
- Import your photos into your Lightroom CC Library by selecting Add Photos. Choose your images, then select Review for Import > Add Photos to add them to Lightroom.
- Then select the image to be edited in Photoshop. Similar to Lightroom Classic, you can edit in Photoshop before or after you make edits in Lightroom. To open your Lightroom CC image in Photoshop, right-click the photo and choose Edit in Photoshop or navigate to File > Edit in Photoshop.
- Your photo will open as a TIF file in Photoshop; you cannot open your image as a smart object or use Camera Raw to edit like with Lightroom Classic.
- After making any image edits using Photoshop’s tools and features, save the image by navigating to File > Save or simply by selecting the X on the image’s tab and selecting Save in the popup.
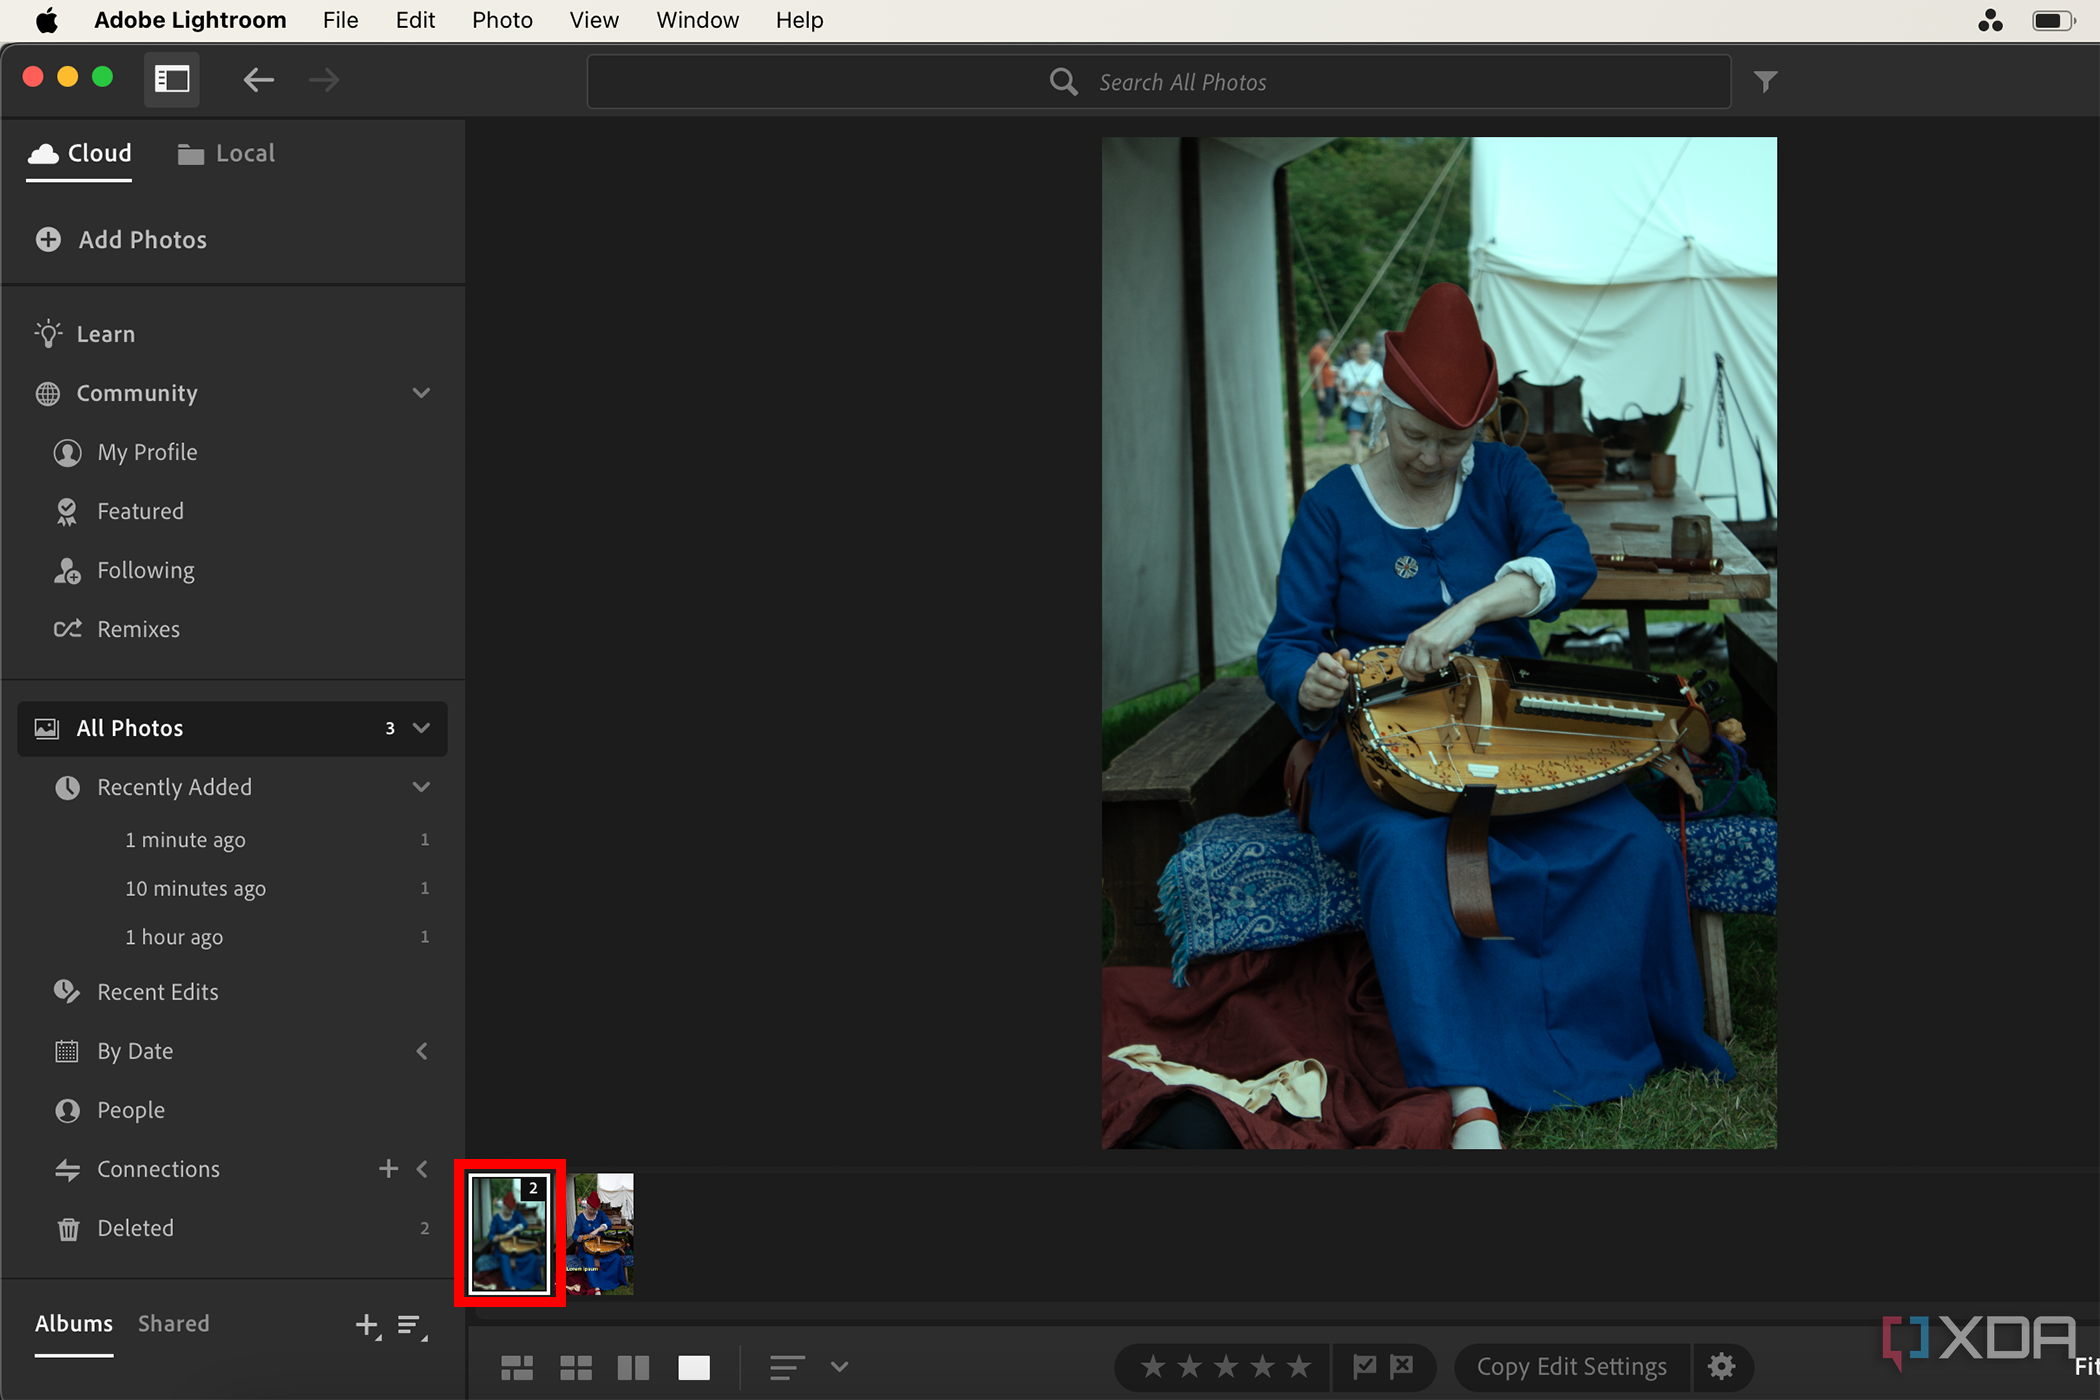
- Saving it returns your edited image to Lightroom, where you’ll find it nested with the original in your filmstrip. A number on the thumbnail’s corner denotes how many image versions are nested within that image file. Double-clicking the thumbnail opens them up so that you can choose to work on the original or the newly edited version(s) back in Lightroom.


Why you should edit Lightroom photos in Photoshop
Photoshop and Lightroom offer different techniques
Although Adobe Lightroom is a powerful photo editing tool, it doesn’t offer all the same features as Photoshop, for good reason. Lightroom uses code to edit images, with a non-destructive editing workflow, so that you can always access your unharmed, original photos. Photoshop edits the photo itself, although there are some non-destructive tools too.
Alongside different ways of caching your photo’s editing data, Photoshop also offers useful editing tools when photographic integrity isn’t your only desire. In Photoshop, you can add text, filters, textures, and much more that isn’t available in Lightroom.
Lightroom is often a photographer’s go-to software. It features many tools found in a traditional photography darkroom, such as filters, dodge and burn, and cropping tools. In the modern age, Lightroom’s offerings surpass those available in a darkroom setting. But if you want to further enhance a great photo, Lightroom can’t offer everything.
Photoshop is heralded as a great image manipulation software, allowing you to blend multiple images together, add various interesting textures, and make a good photo spectacular. Despite Photoshop not being a go-to app for layout designs, you can also utilize its tools to create content layouts like social media posts, posters, or otherwise while you’re at it.
Adobe Creative Cloud
Adobe Creative Cloud offers dozens of professional creative design, photography, and videography software. Its cohesive system allows for editing across multiple platforms with ease.
#edit #Lightroom #photos #Photoshop #Heres
source: https://www.xda-developers.com/edit-lightroom-photos-photoshop/

