

Gaming doesn’t need to be an adrenaline-fueled affair all the time. After a long, tough day, retro games can provide just the right blend of nostalgia and relaxation to help you unwind. While emulators are easily accessible at home, installing RetroPie on a Raspberry Pi transforms it into a personal arcade that you can take anywhere. Even if you’re not a traveler, it’s a fun little side project to do with your family in about an hour, or you can lend it to friends to share the joy. However you choose to use it, this guide will make setting it up easy and effortless.
Related
4 Raspberry Pi projects and consoles for retro gaming
You can use a Raspberry Pi for a ton of different projects, and retro gaming is one of its best uses.
What you’ll need
A successful project starts with the right parts
In order to build this retro gaming console, you’ll need the following components:
- A Raspberry Pi – RetroPie officially supports the Raspberry Pi 1, 2, 3, 4, or Zero, but users have gotten it to work on the Raspberry Pi 5 as well; for this guide, we’ll be using a Raspberry Pi 4 with 4GB of memory
- A Micro HDMI cable or a Micro HDMI adapter
- A gamepad of your choice
- A monitor
- A 15W USB-C power supply (3A, 5W)
- A MicroSD card with at least 8GB of storage, and a computer to program it
- A USB drive, and a computer to load it up
- A Raspberry Pi case (optional, but highly recommended – the one featured in this guide only costs around $7)
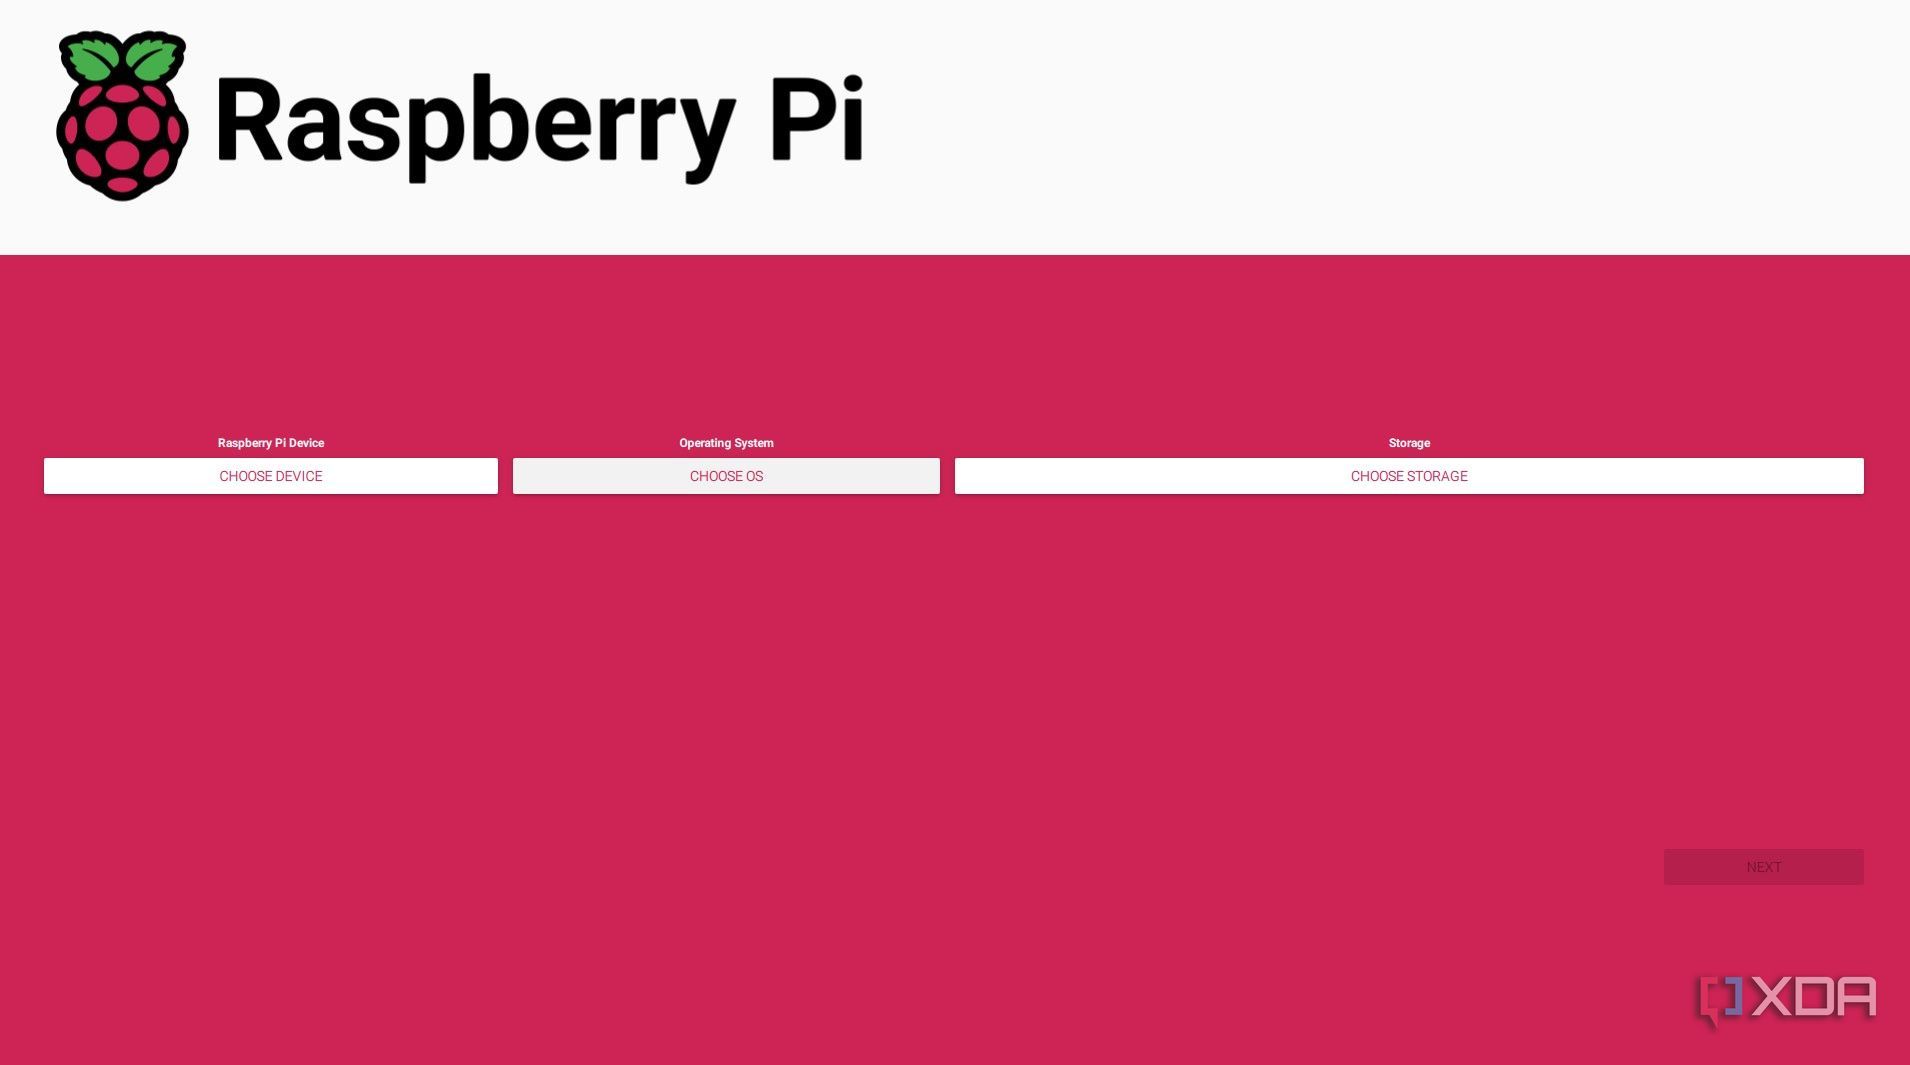
Installing RetroPie on the MicroSD Card
The Raspberry Pi Imager tool makes it easy
In order to be able to emulate games, you’ll need to prep the RPi with the necessary software by following the steps below.
- On your computer, download and install the Raspberry Pi Imager.
- Insert the MicroSD card into your PC.
-
Launch the Raspberry Pi Imager.
-
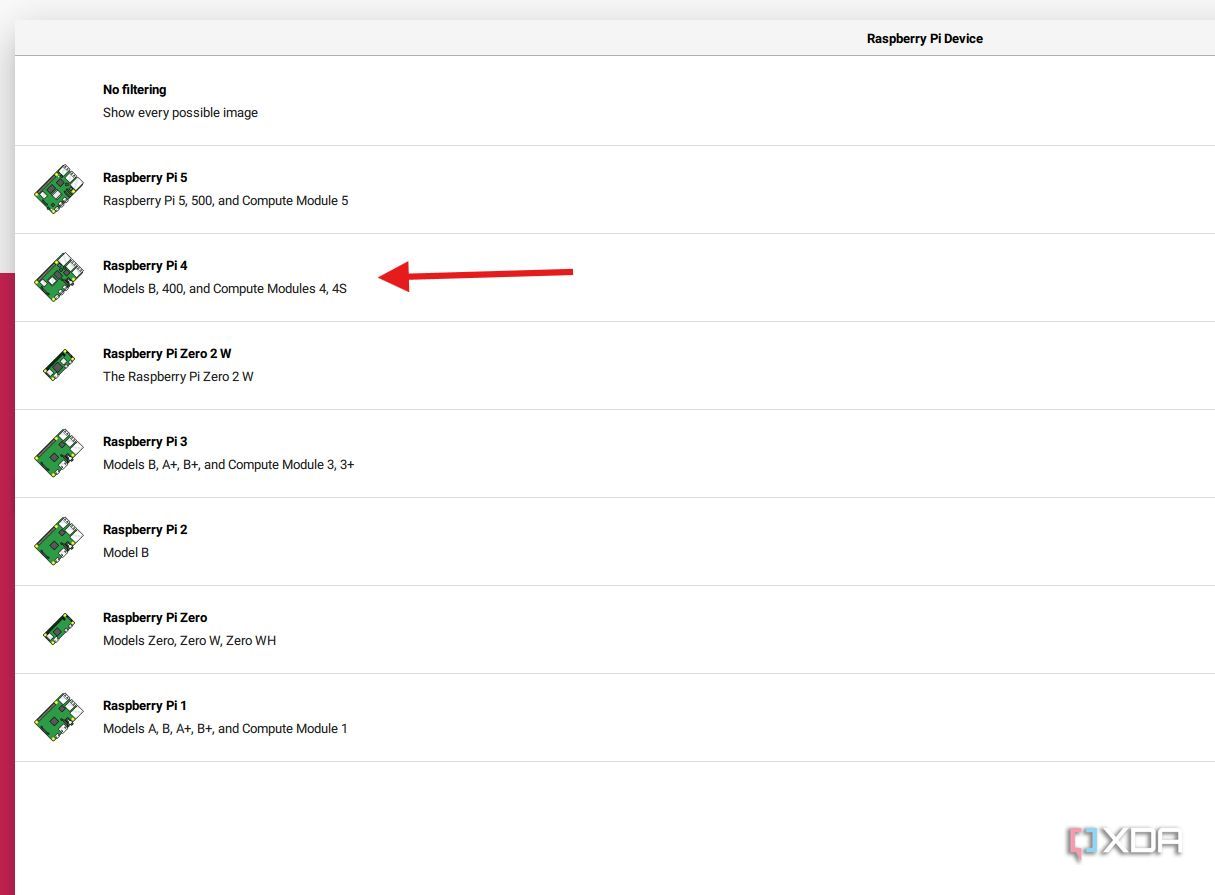
From the main page, click on the Devices dropdown menu.

-
Select the device you have. This guide uses a Raspberry Pi 4, but select the version you are using.
-
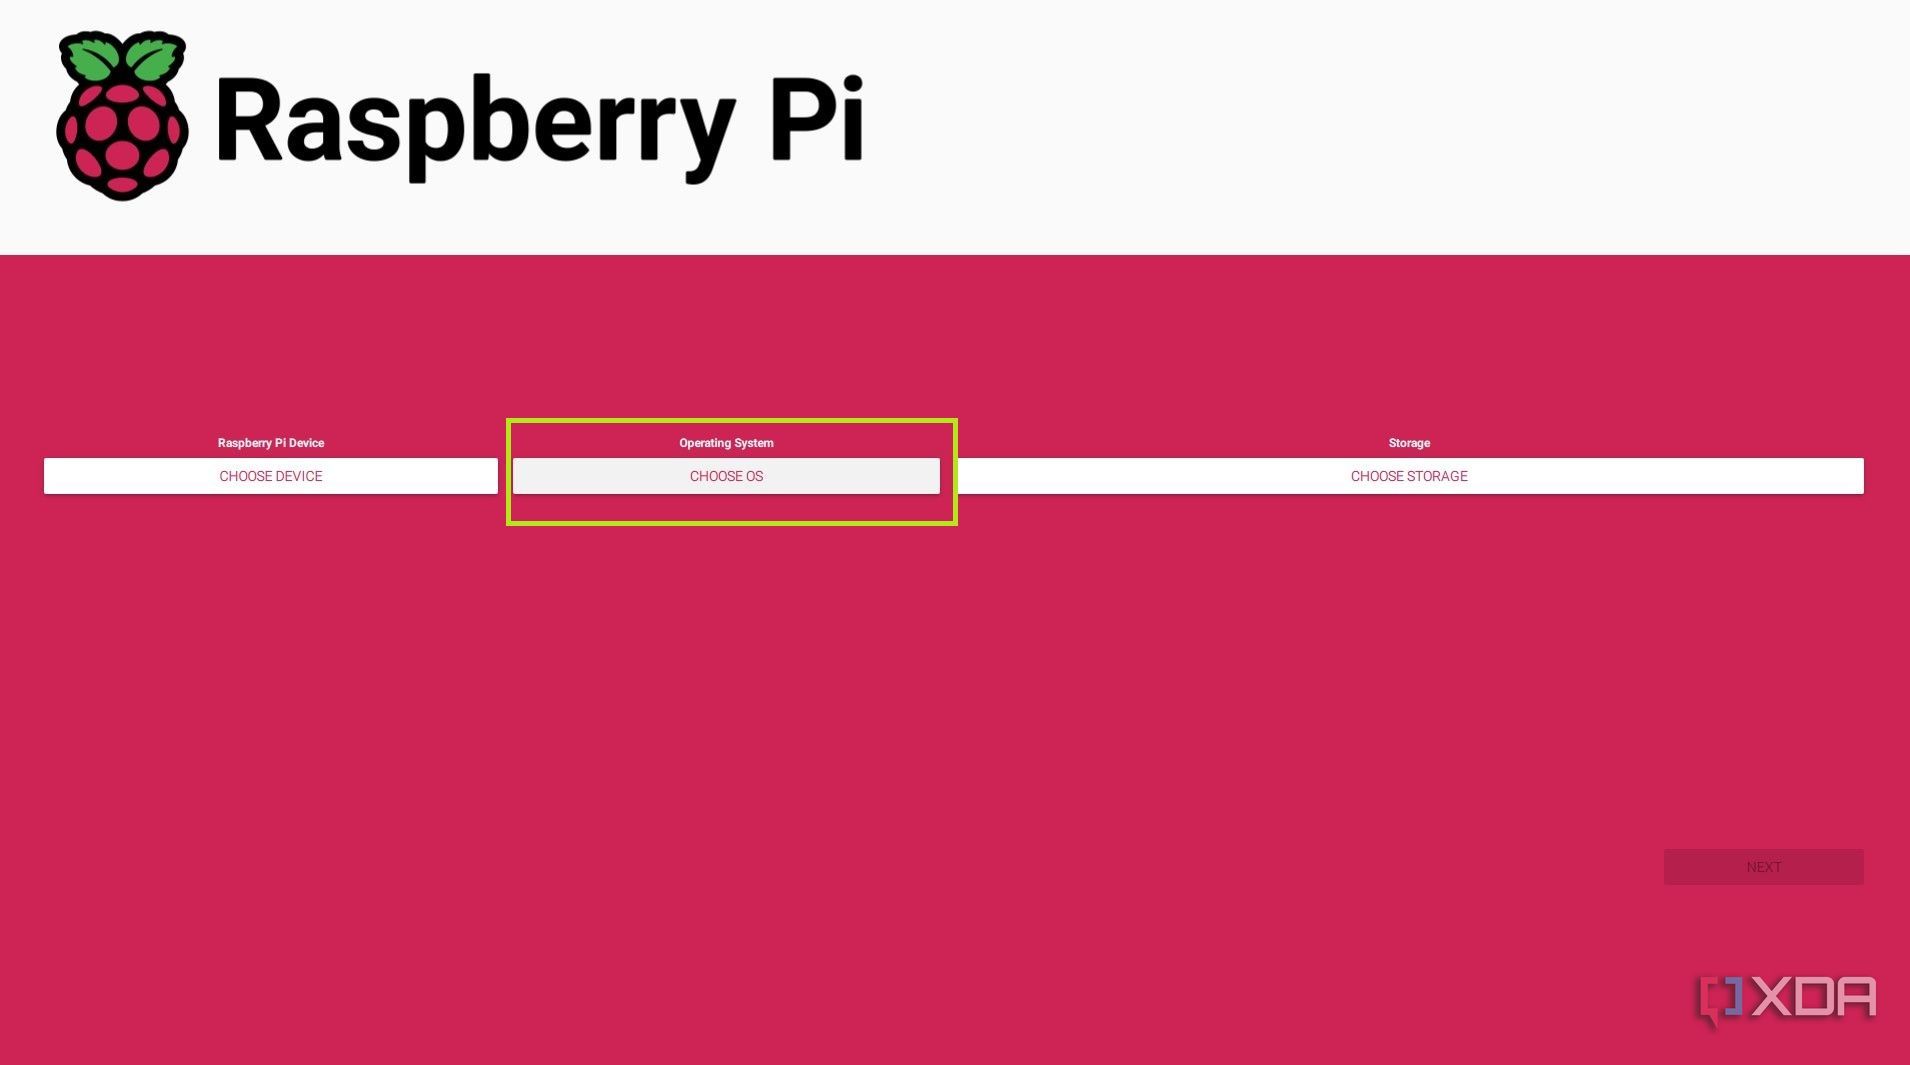
Next, click on the Operating Systems tab, which will open a selection window.
-
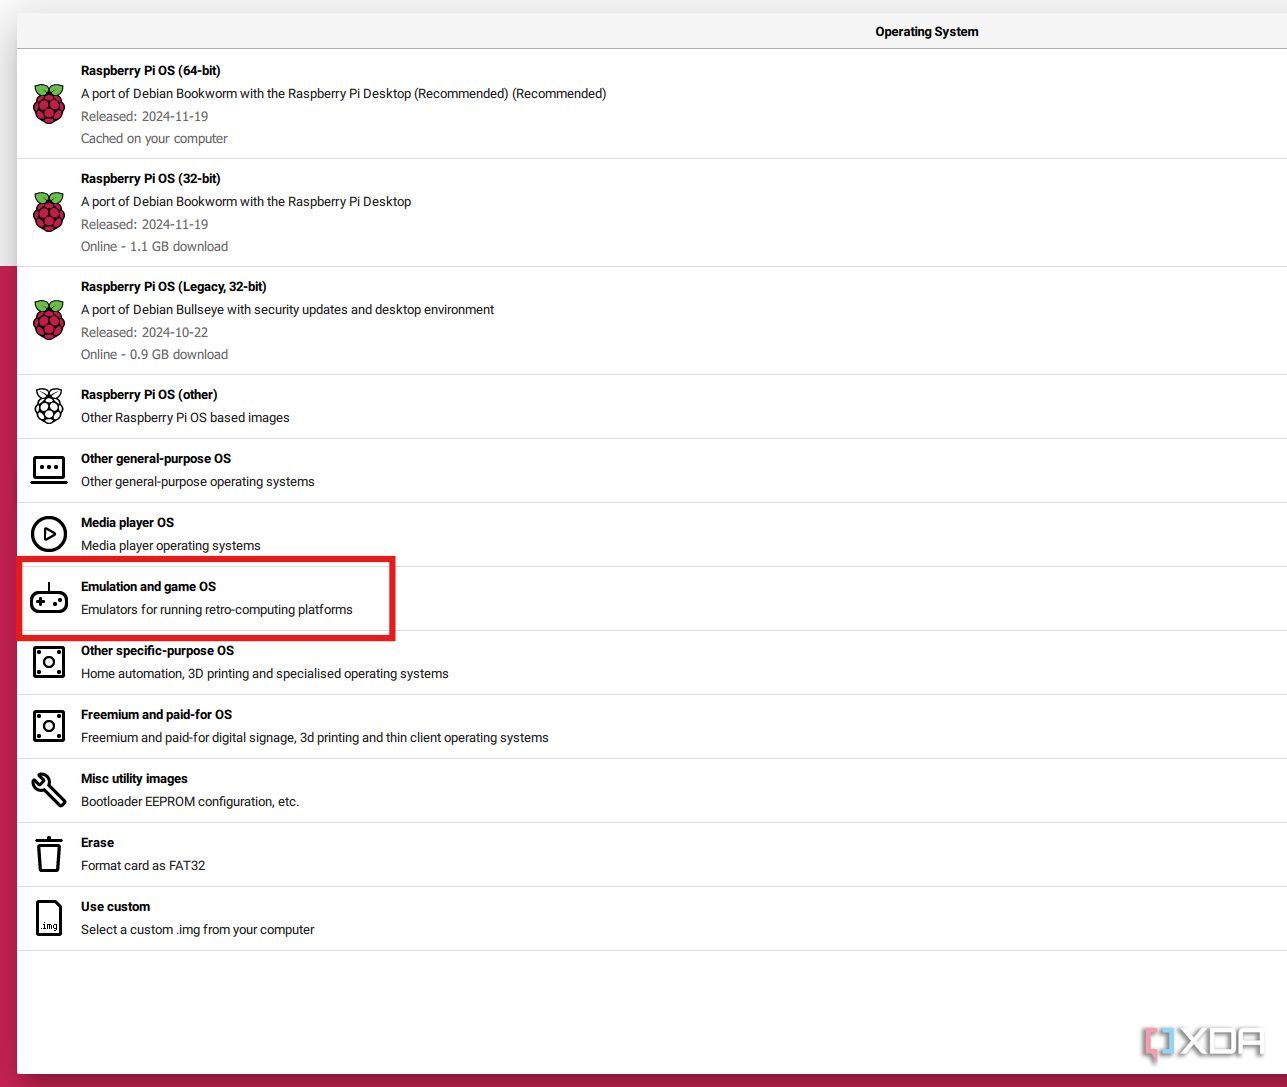
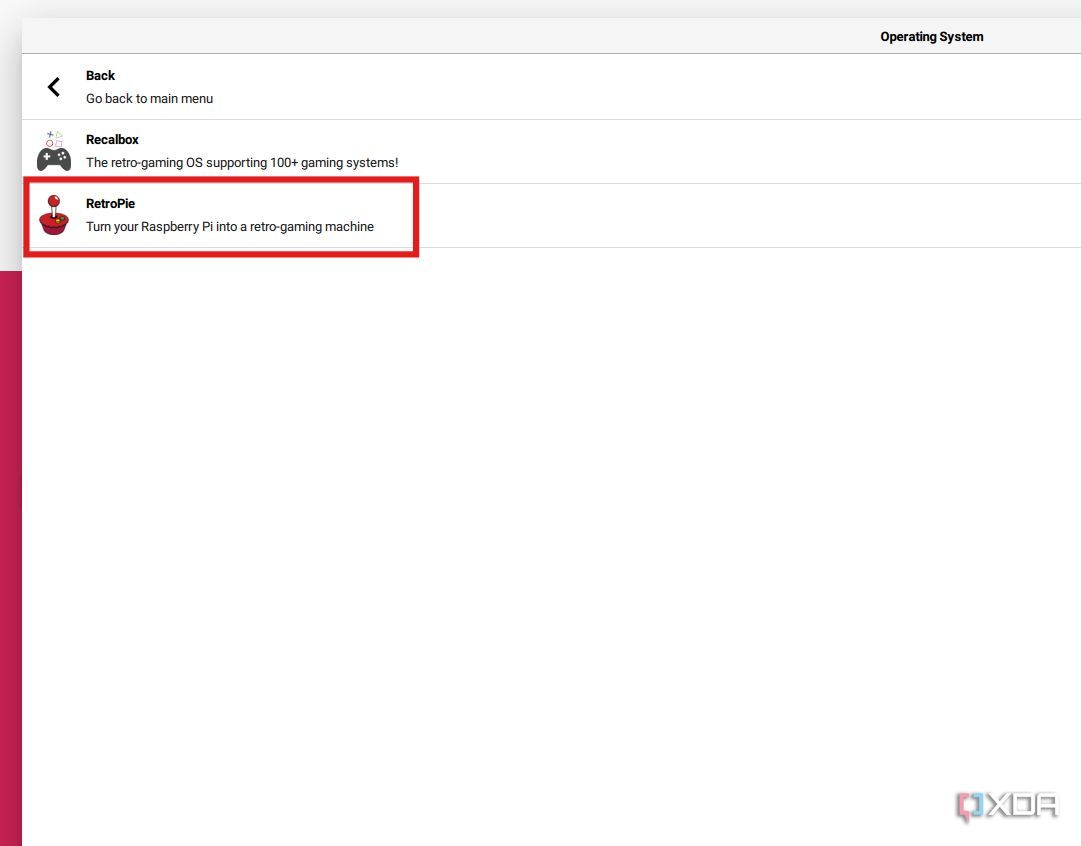
Click on Emulation and game OS, which will open another window.
-
Click on RetroPie.
-
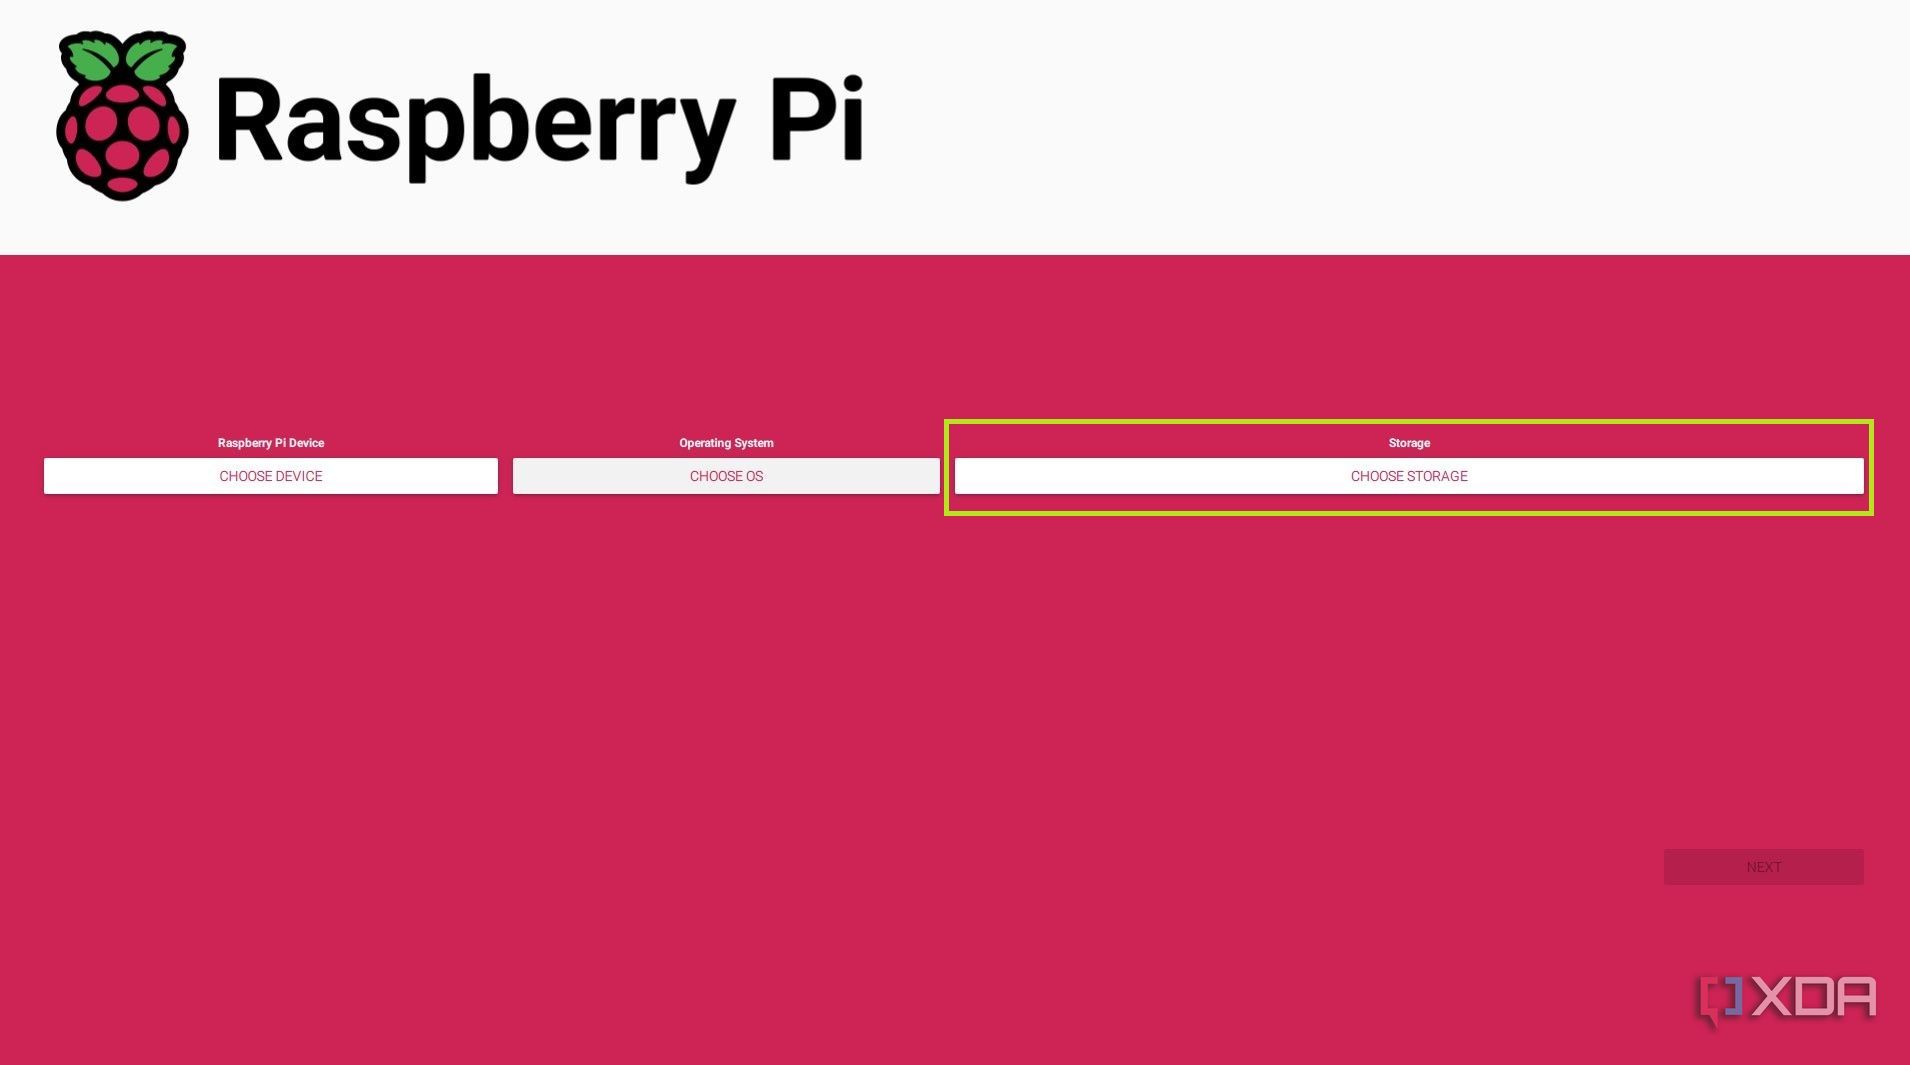
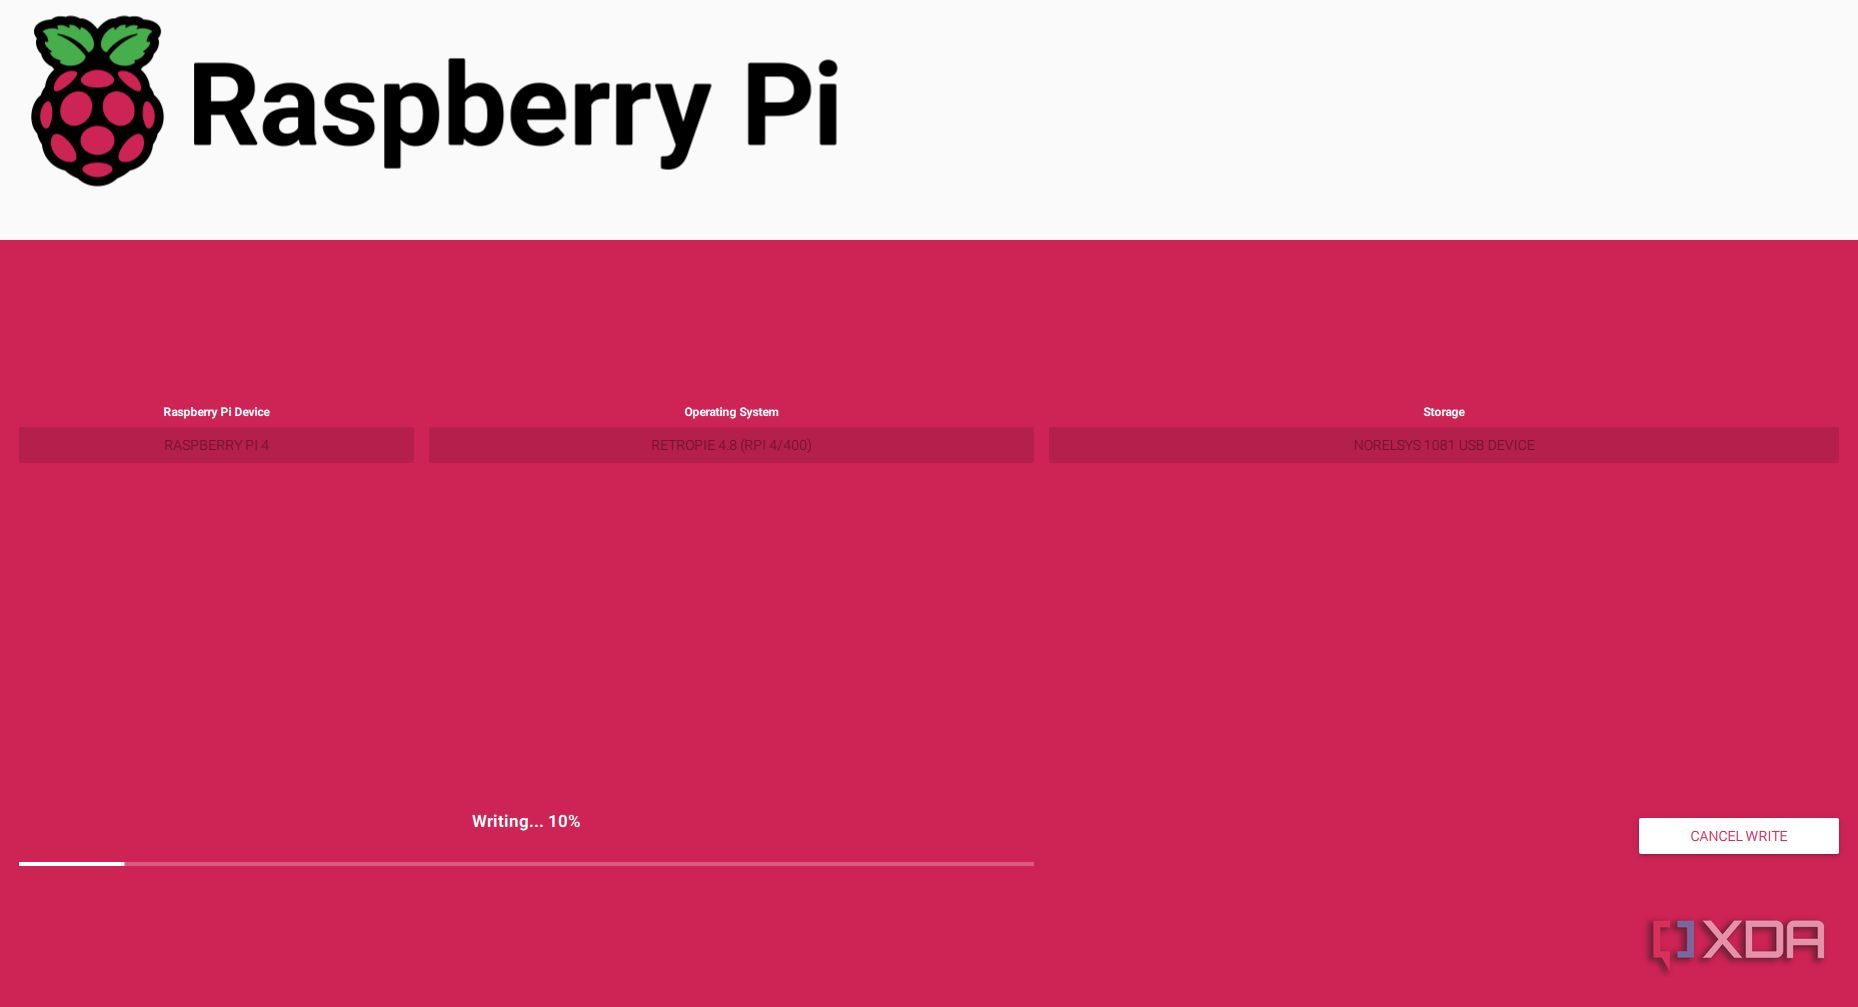
Finally, in the main menu, click on the Choose Storage tab.
-
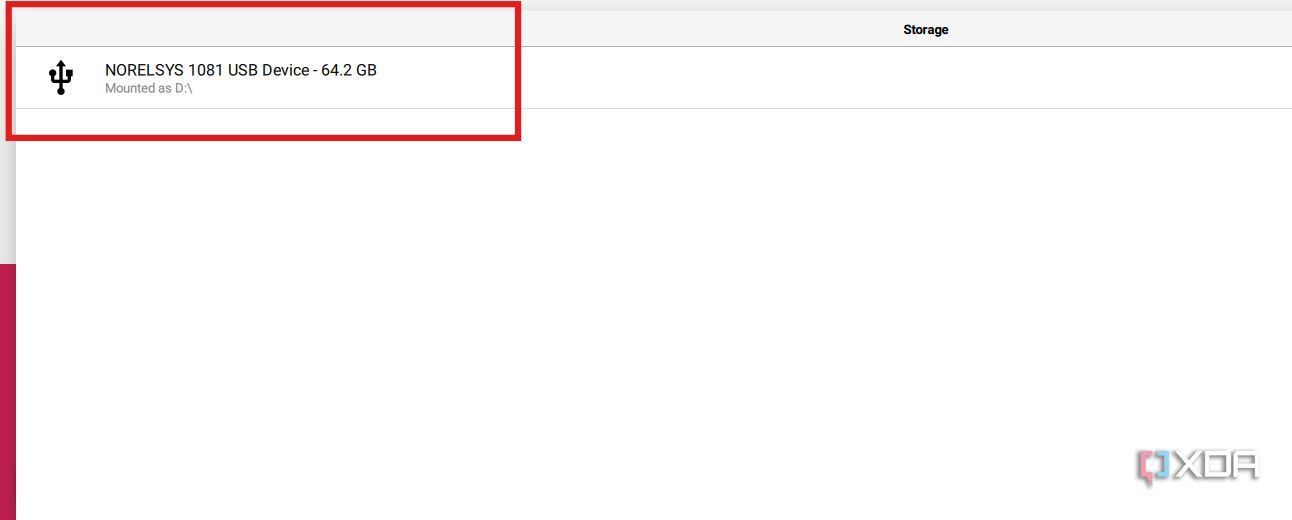
In the window that appears, select the MicroSD card.
-
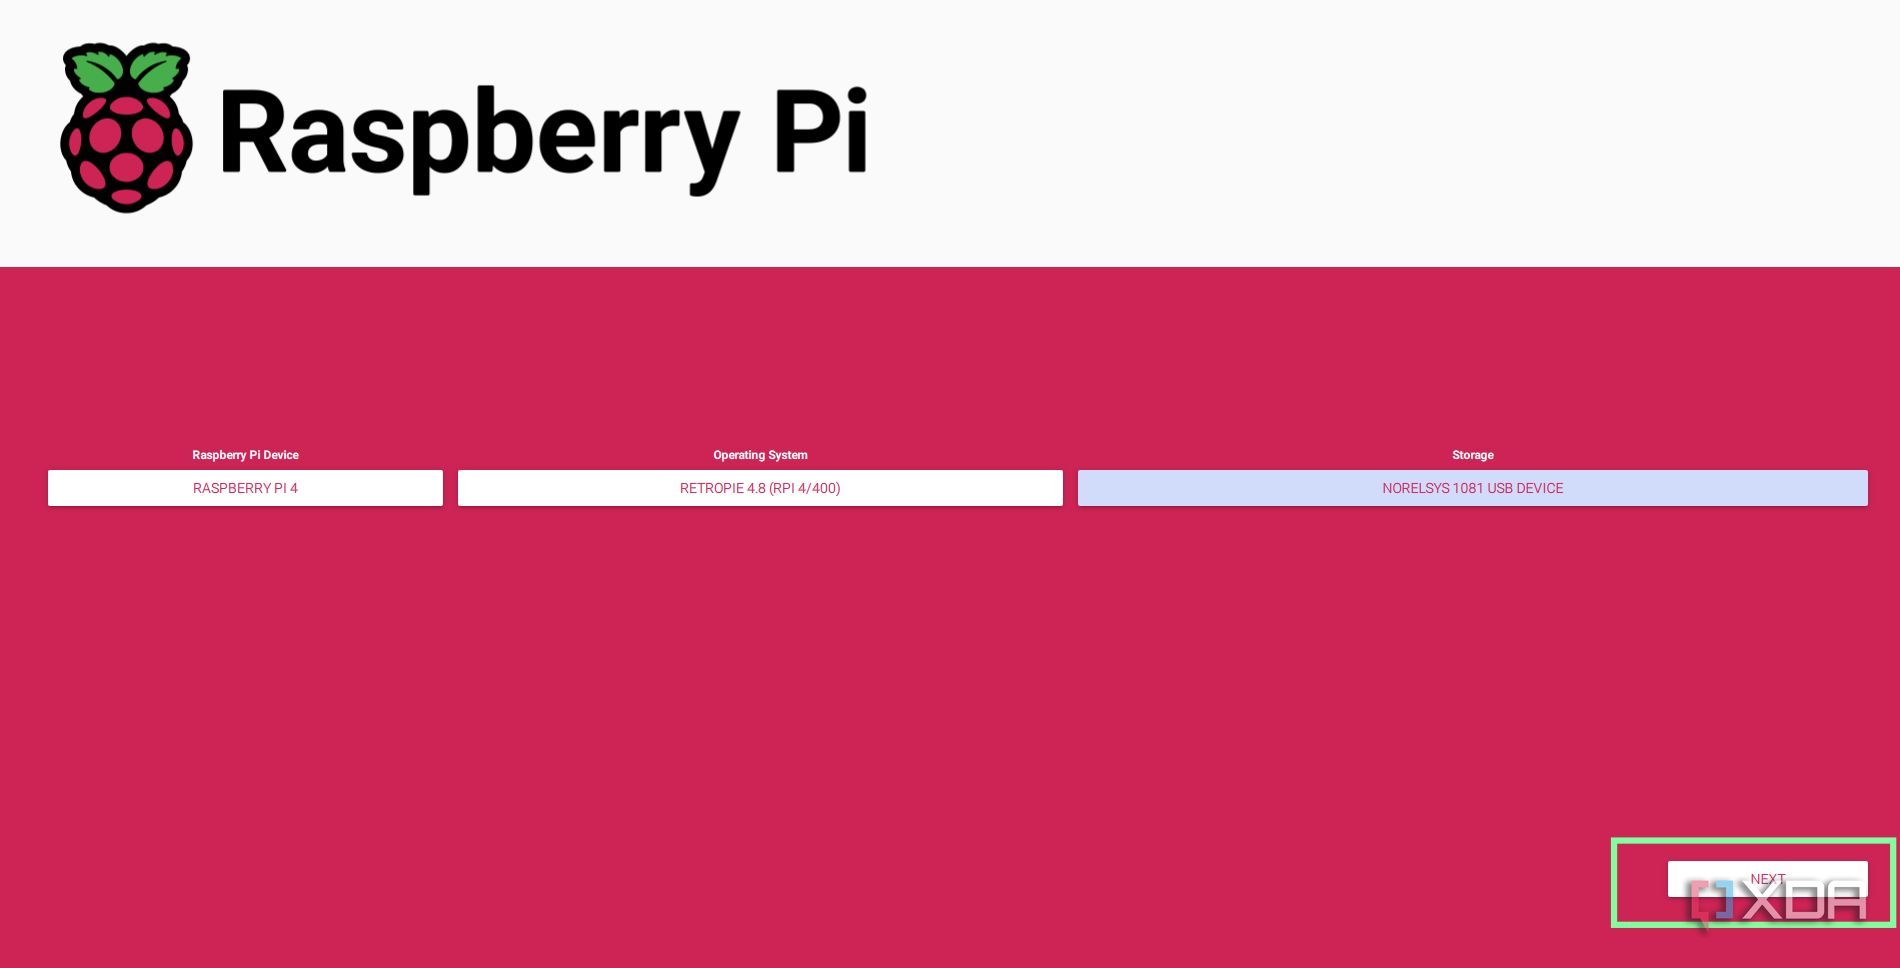
The final selection screen should look similar to this. Once everything looks good, click on Next to start writing the OS onto the MicroSD card.
-
Wait until the writing process is fully complete, then remove the MicroSD card from your PC and insert it into the Raspberry Pi.


Initial Boot and Setting Up the Controller
Simpler than you may think
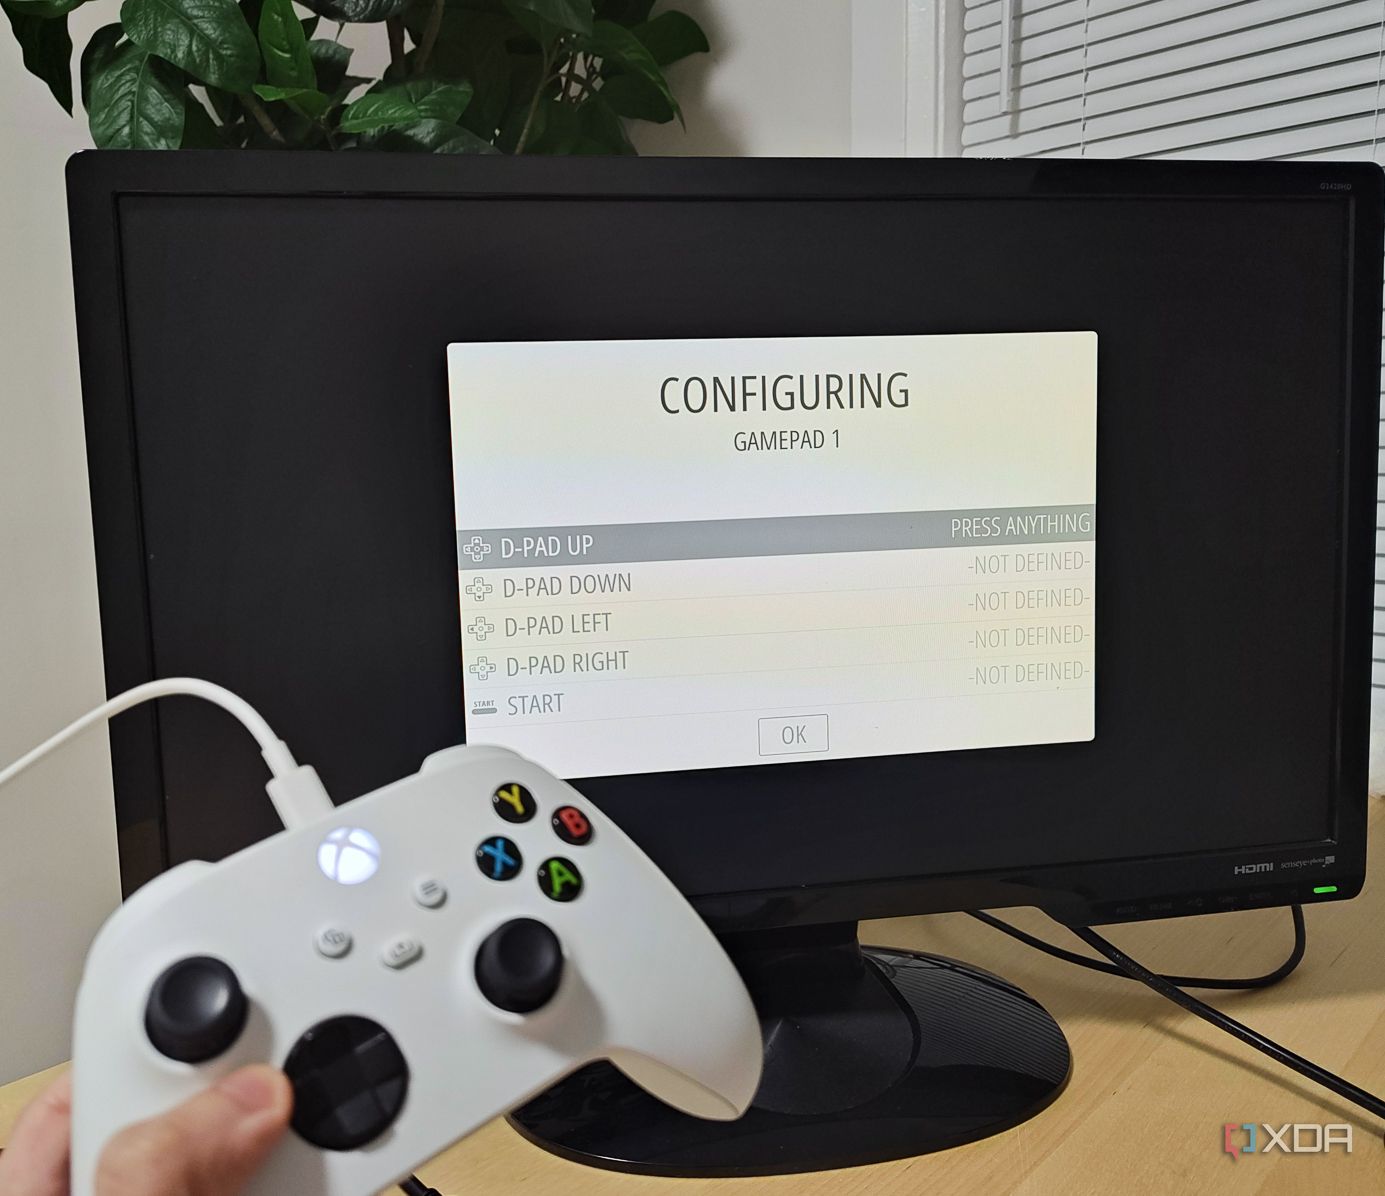
Setting up RetroPie doesn’t require a mouse or keyboard, just the gamepad.
-
Connect the controller to the Raspberry Pi, along with the monitor.
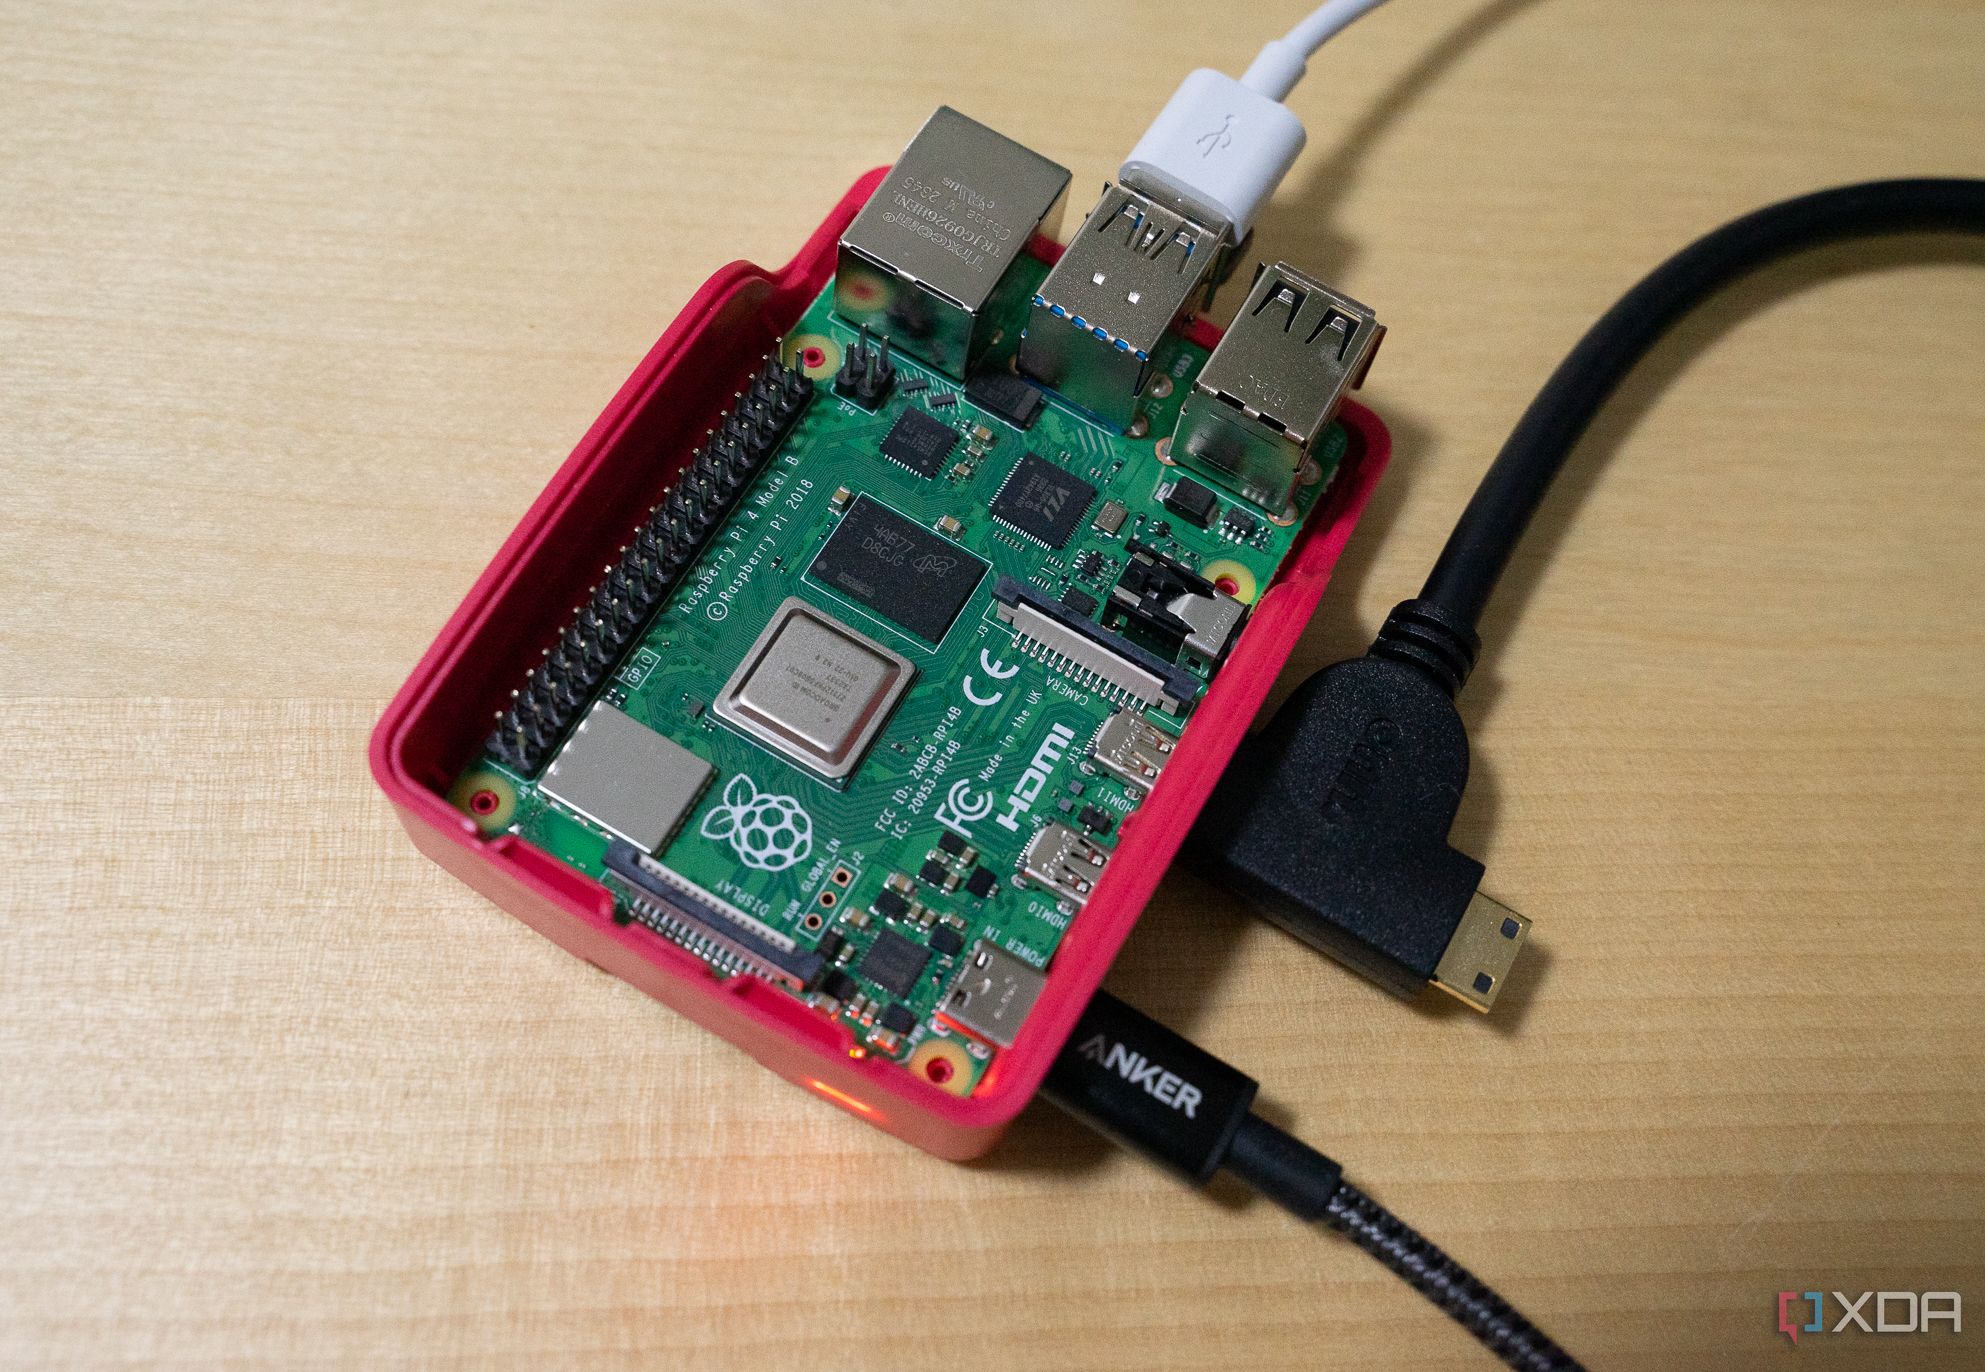
- Connect the power supply to the Raspberry Pi. This will power on the Raspberry Pi automatically. Wait for the system to finish loading. The initial startup can take several minutes. At times, it may appear stuck, but just be patient and let it run.
-
Once it finishes loading, you should see the gamepad configuration screen. Follow the on-screen prompts to map your controller buttons.
-
With the controller set up, you can now navigate RetroPie’s menus.

- Leave the tinkering for later. To actually play games, we’ll need to install ROMs.


Getting ROMs
Respect copyrights

ROMs (Read-Only Memory) are game files. Most games are protected under copyright, but some are free for personal use. To test our system, we’ll download free ROMs from the MAME project, made available by the games’ original creators.
Moving ROMs onto the Raspberry Pi
Some patience required
In order to get your games where they need to be, you’ll need to follow these steps to migrate them.
- Insert a USB drive into your PC (not the Raspberry Pi).
- Open Windows File Explorer (shortcut is Windows Key + E).
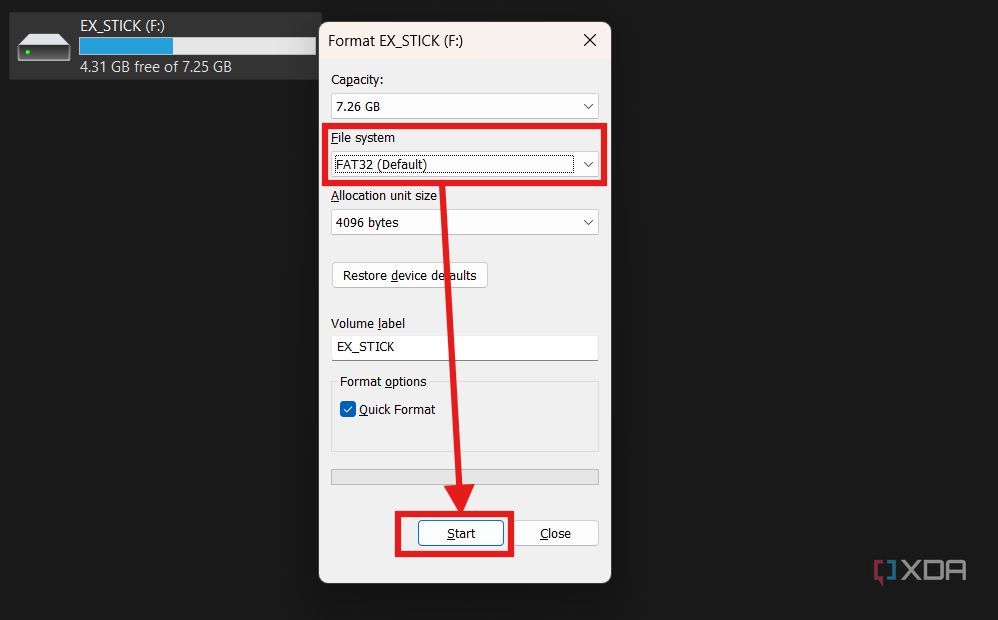
- Right-click on the USB drive’s icon and select Format from the drop-down menu.
-
In the File System dropdown menu, choose either FAT or exFAT, enter a name in the Volume Label text box, and click Start.
- Once formatting is complete, open the USB drive in File Explorer.
-
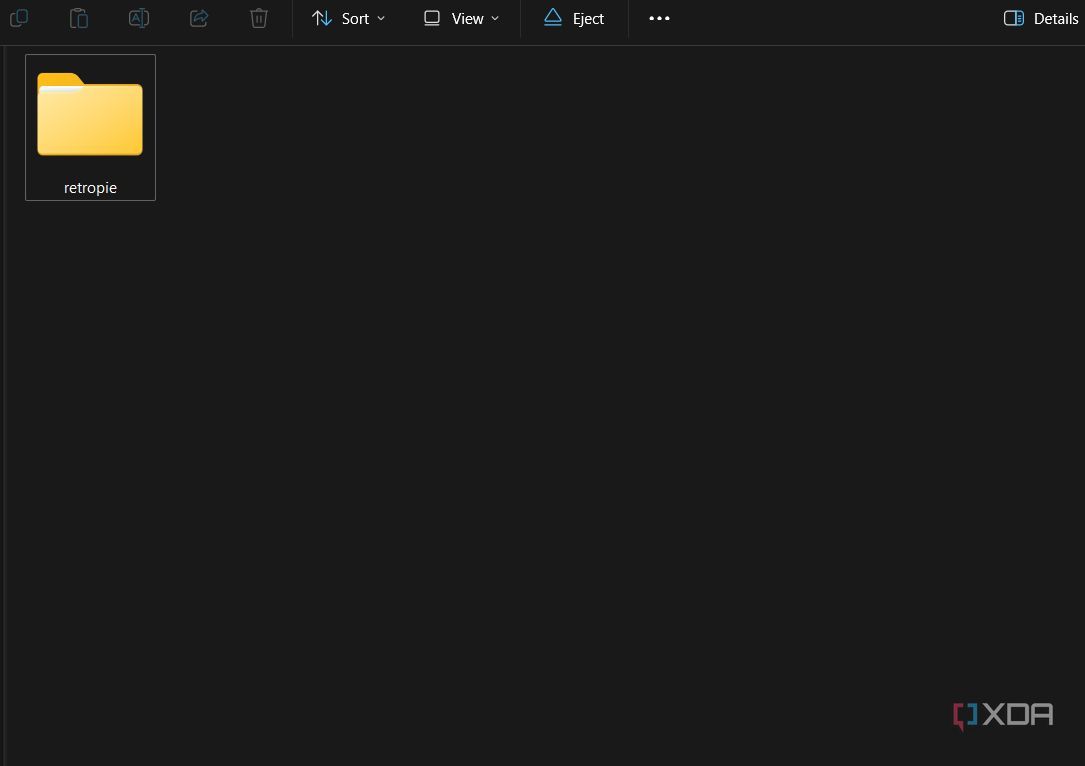
Create an empty folder, name it retropie.
- Eject and remove the USB drive from your PC, then plug it into the powered-on Raspberry Pi.
- Wait a few minutes as RetroPie creates a file tree within the folder we just created.
- Remove the USB drive from the Raspberry Pi and insert it back into your PC.
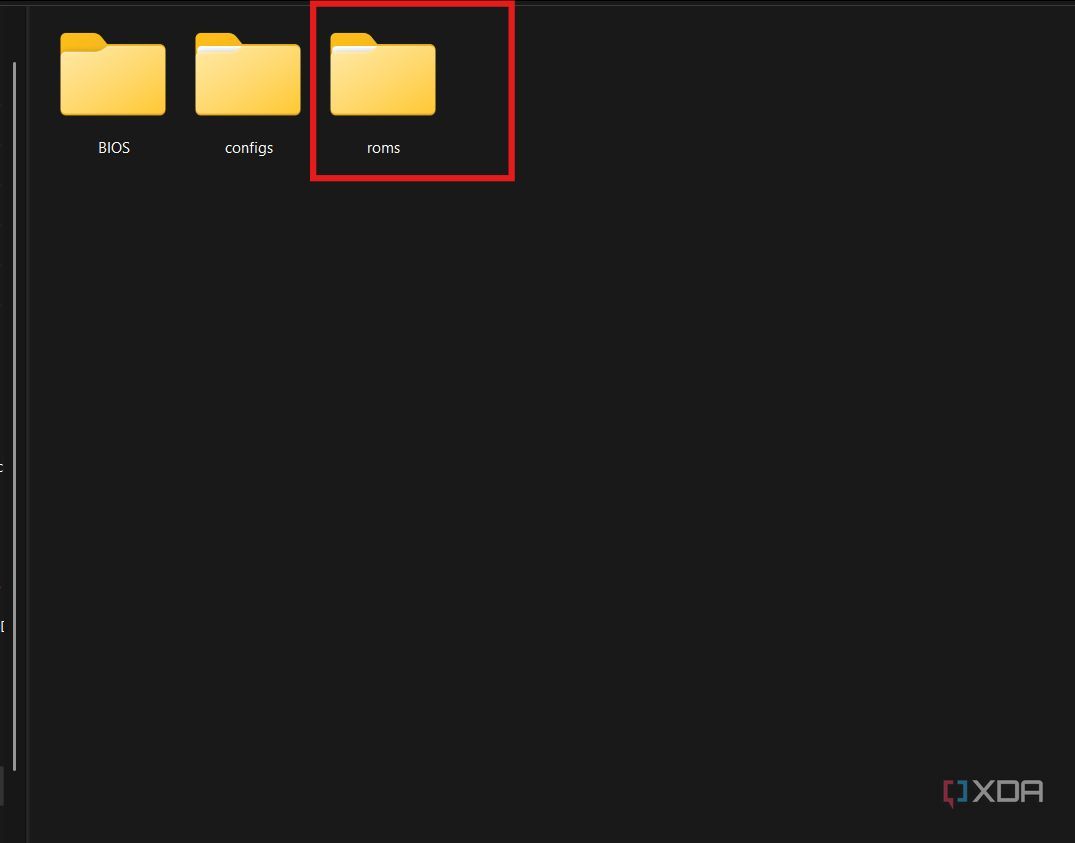
- Open the drive and navigate to the retropie folder. It should now contain three subfolders.
-
Open the roms folder.
-
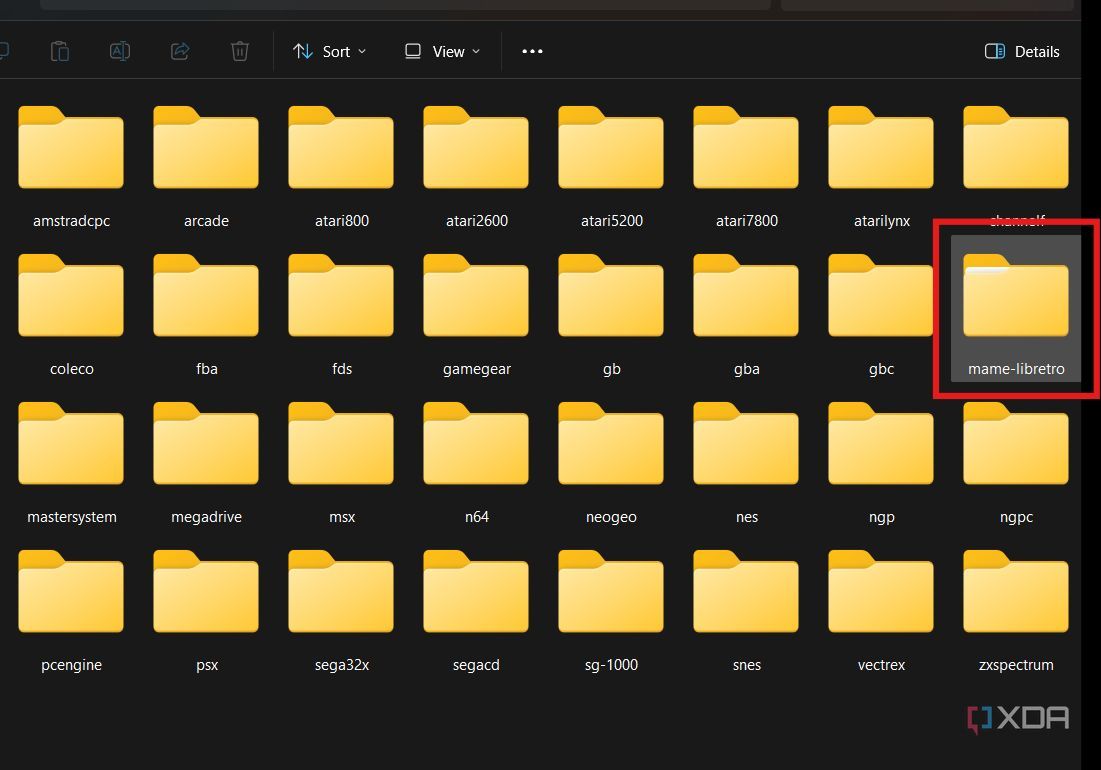
Since our ROMs are for the MAME system, open the mame-libretro folder and move your ROMs into it. When installing ROMs for other systems, ensure they are placed in the correct system folder.
- Eject and remove the USB drive from your PC, then insert it back into the Raspberry Pi.
- The games will automatically begin transferring. Wait at least 10 minutes until the drive’s access LED stops blinking completely. If you have gigabytes of games, RetroPie recommends waiting at least a few hours.


Start the game
Getting to the fun part
Once you are confident the games have been transferred to your RPi, it should be easy to start gaming. Follow these steps to begin emulation.
-
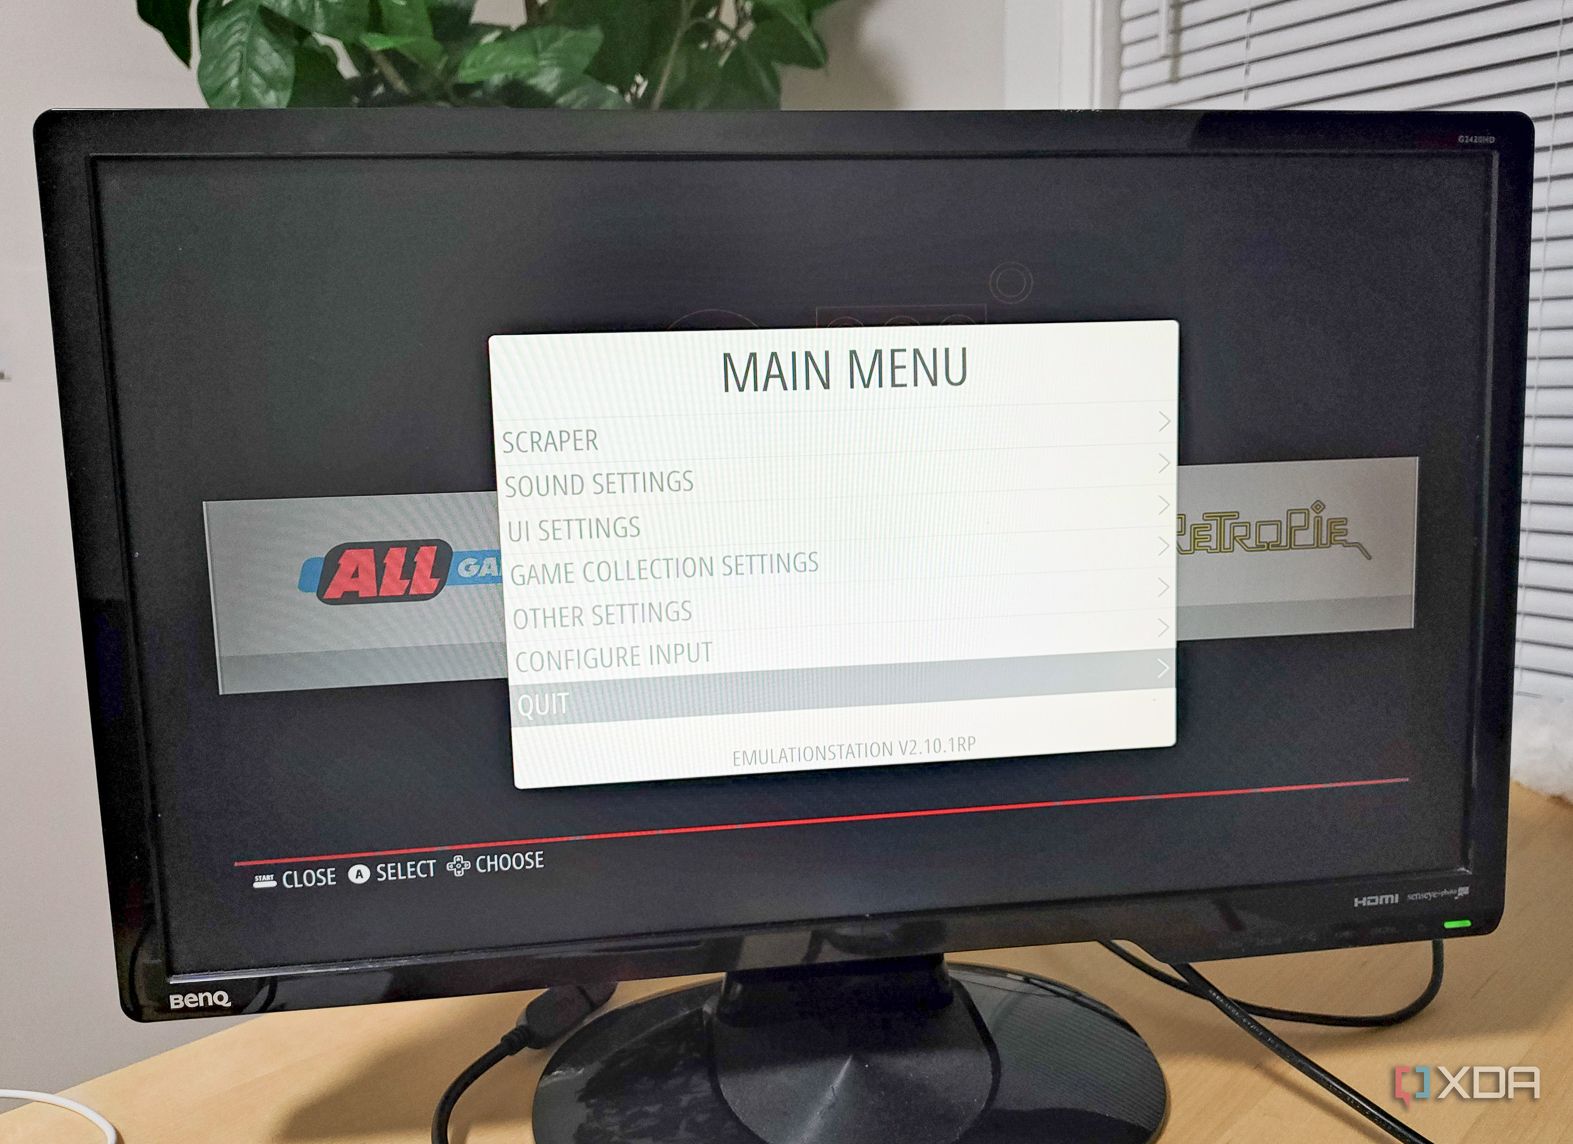
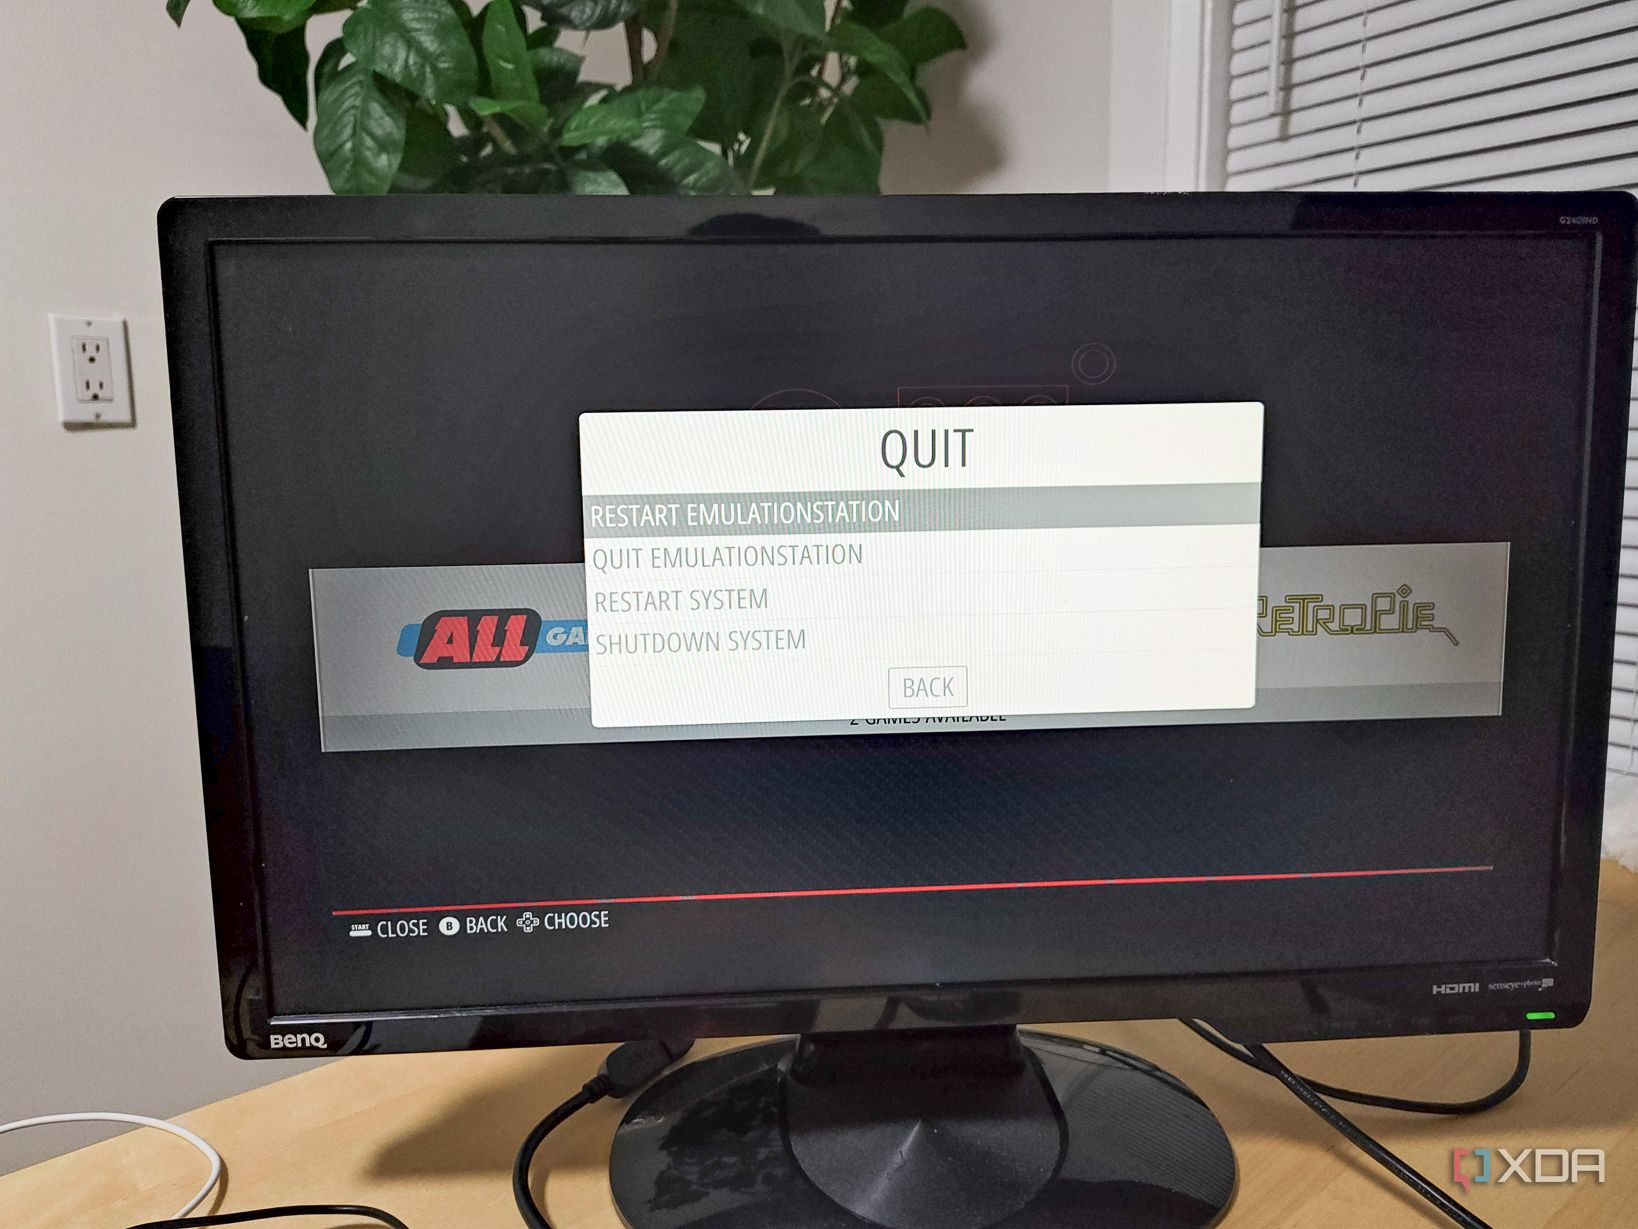
To check if the transfer is complete, press the Menu button on your controller and select Quit.
-
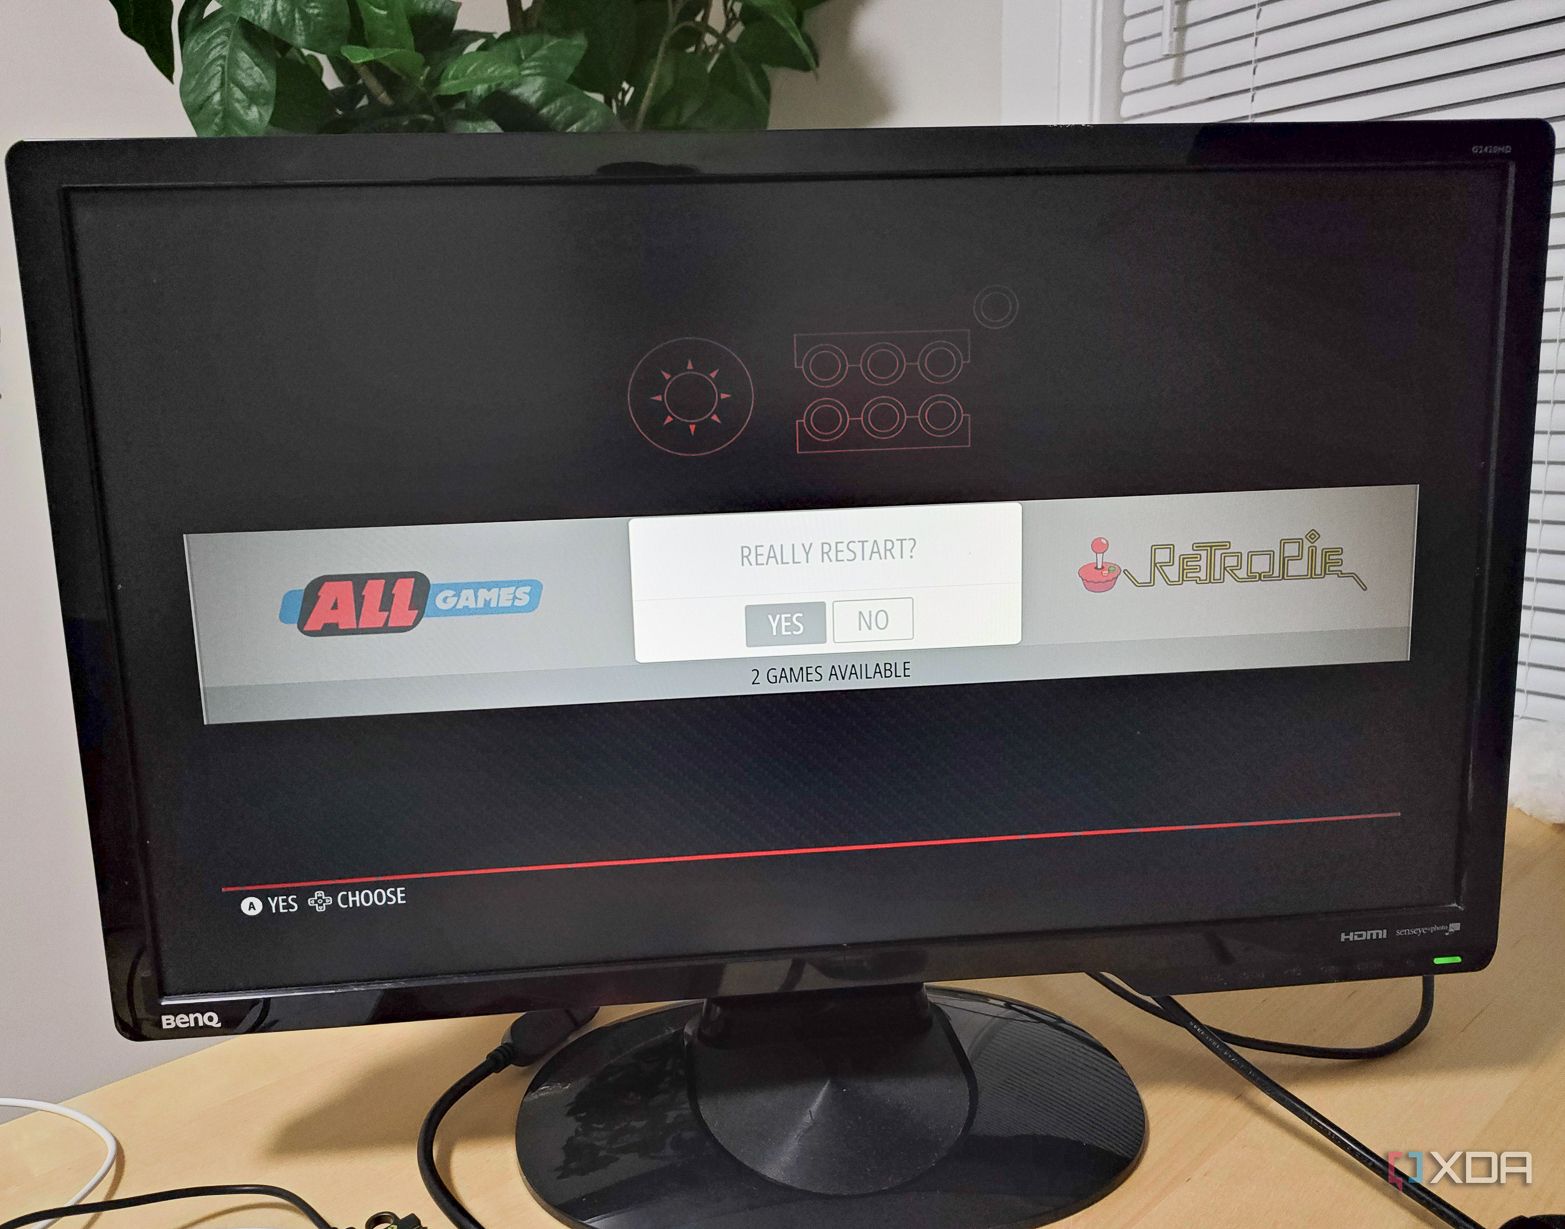
Select Restart EmulationStation.
-
Select Yes when prompted.
-
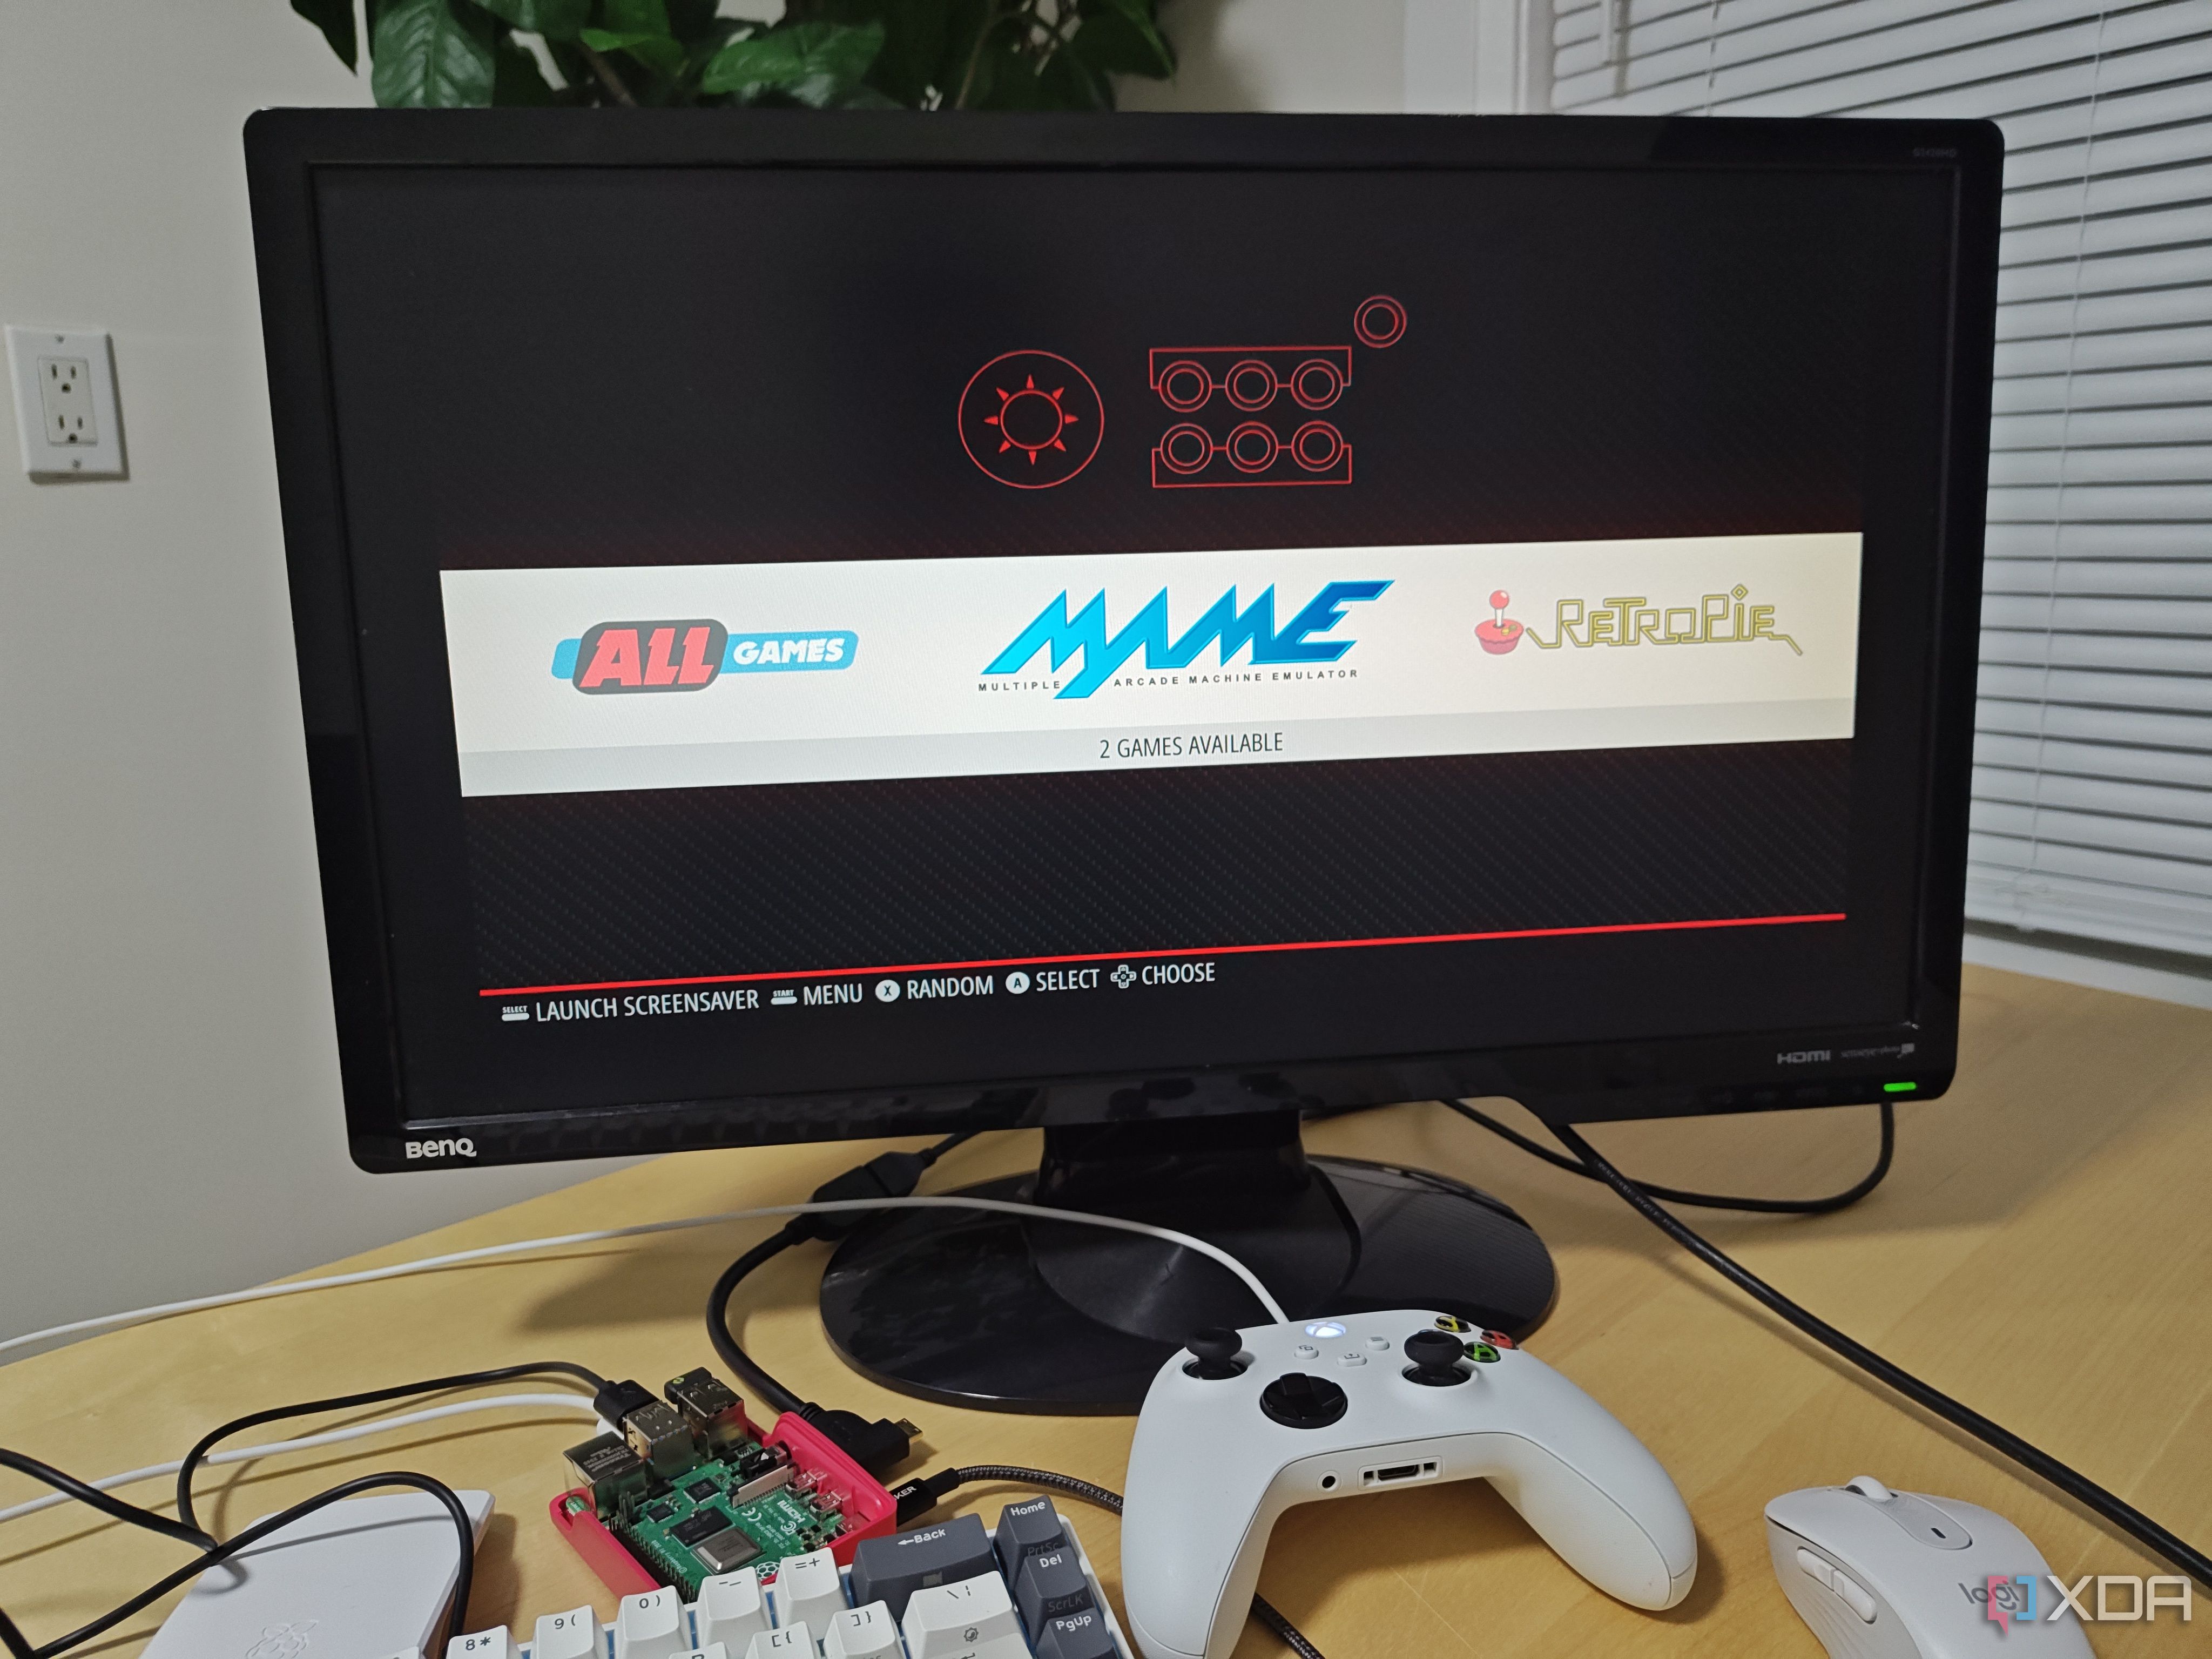
Once it restarts, you should see the option to select the system with the newly loaded games.
-
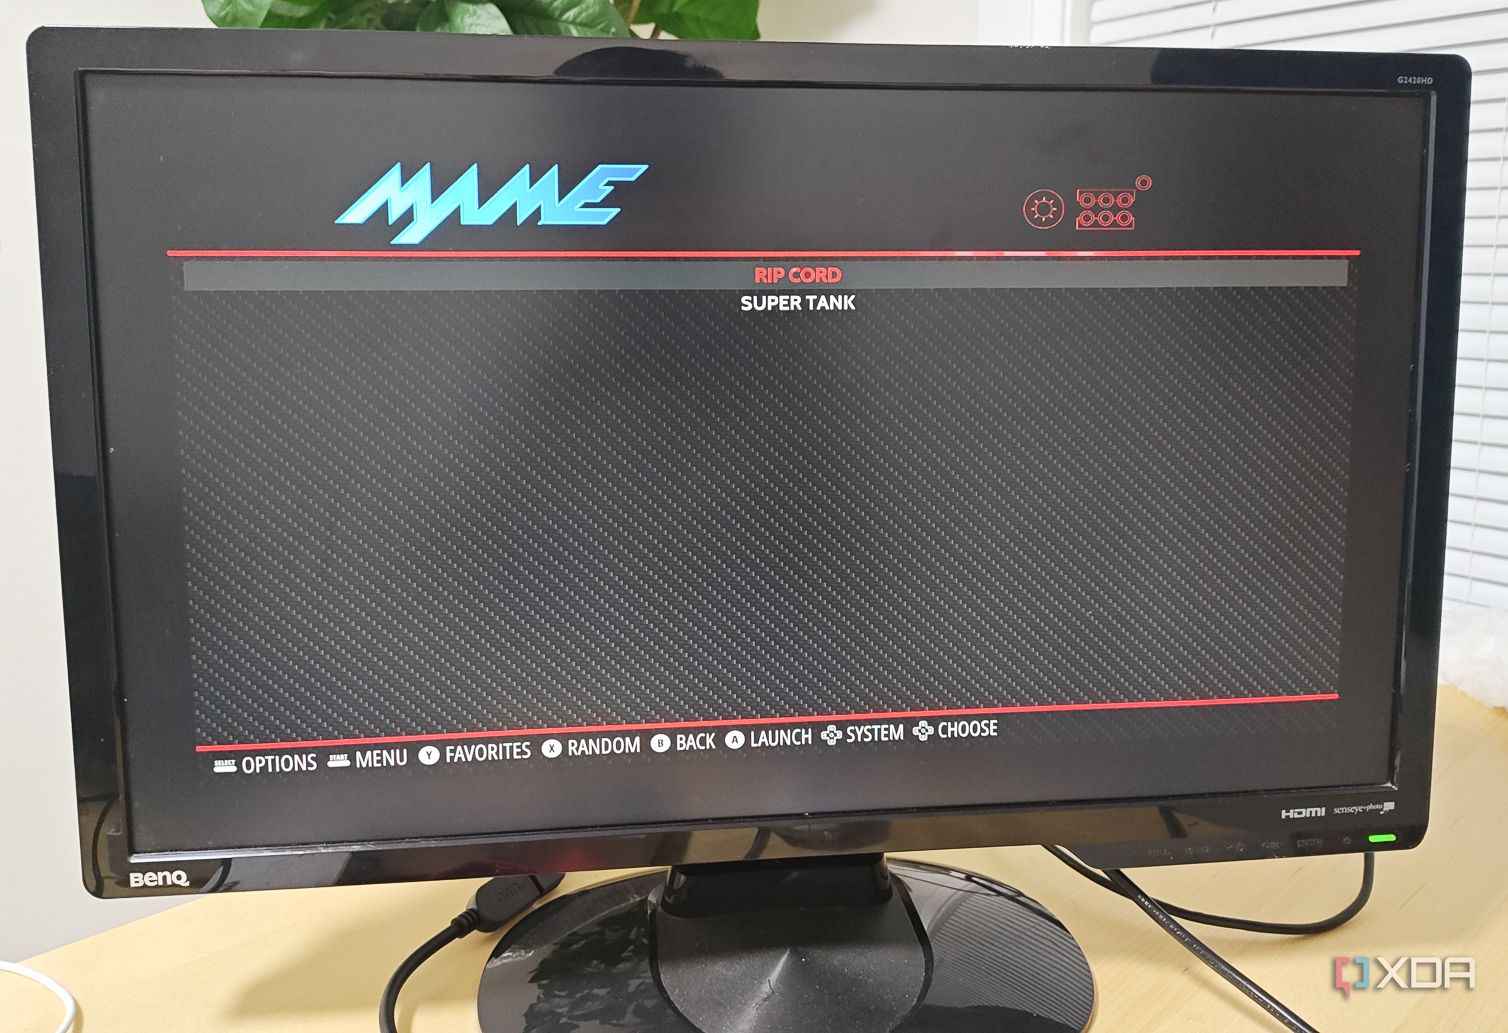
Select the system of your choice, then select a game.
-
Happy gaming!


Portability with a caveat
There are many other ways to turn the Raspberry Pi into a gaming machine (using Batocera, for example). Since it practically fits in your pocket, you’ll never have to leave the house without a gaming system. That said, it does have limitations, mainly that it requires a monitor and a controller, which aren’t always available. If you pack a laptop or have a retired computer lying around, you could try upgrading it to a retro gaming device instead.

Related
4 ways to use your old PC as a retro gaming console
Creating a retro gaming box is a great way to repurpose your old hardware.
#turn #Raspberry #retro #gaming #machine
source: https://www.xda-developers.com/raspberry-pi-retro-gaming-machine-retropie/

