

Git is a fantastic version control system that every hobbyist and IT professional should be familiar with. While you could use a proprietary implementation like GitHub for your personal projects, you’re a bit limited in what functionality is available to you. In this guide, we’ll be covering how to set up Gitea, an open-source platform for self-hosting a Git repository. The reason why Gitea was chosen was simple: it’s lightweight, works in many environments, and is very simple to get up and running with.
Related
4 reasons you should use Git for productivity, even if you aren’t a developer
Git isn’t just for developers, there’s a reason you might want to use it for your local projects.
When should you set up your own Git server?
A Git server is not only critical for version control for projects with multiple people, but is also great for simply keeping track of your own personal projects. If you already work on code in your free time, you’re definitely familiar with working within a repo. For those who aren’t, Git is an open-source technology used to track changes to all kinds of data during development, and can be implemented in a variety of ways.
Setting up your personal Git server
-
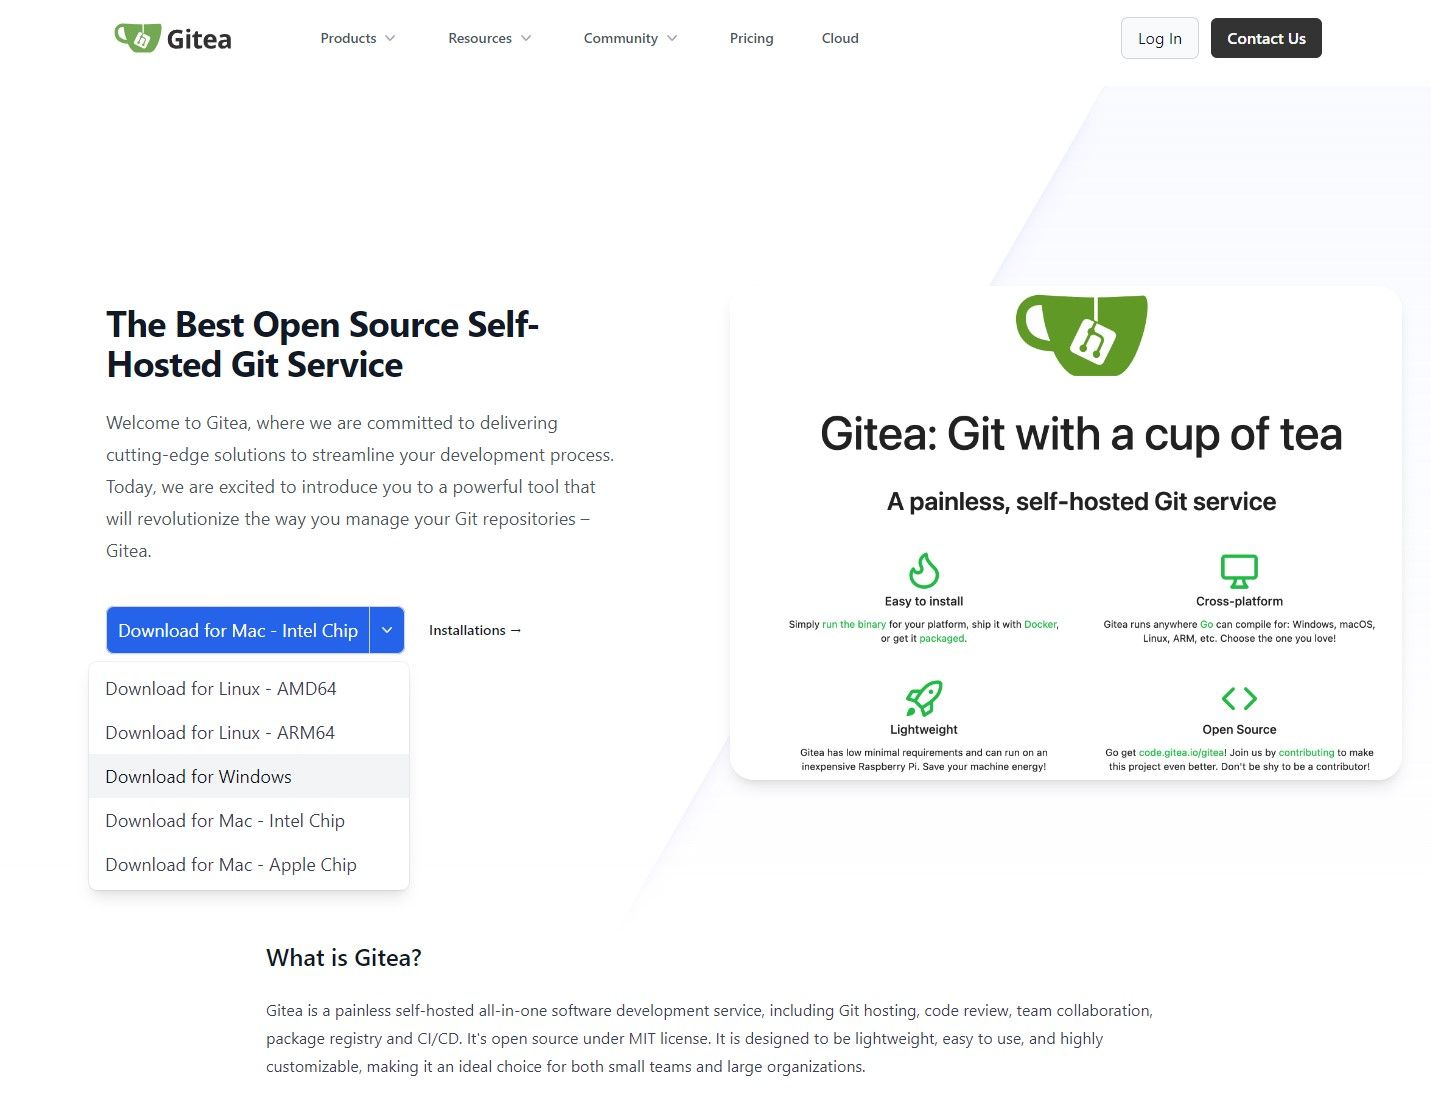
Go to the Gitea Official Website and download the package that corresponds to your OS. Do not run the executable yet.
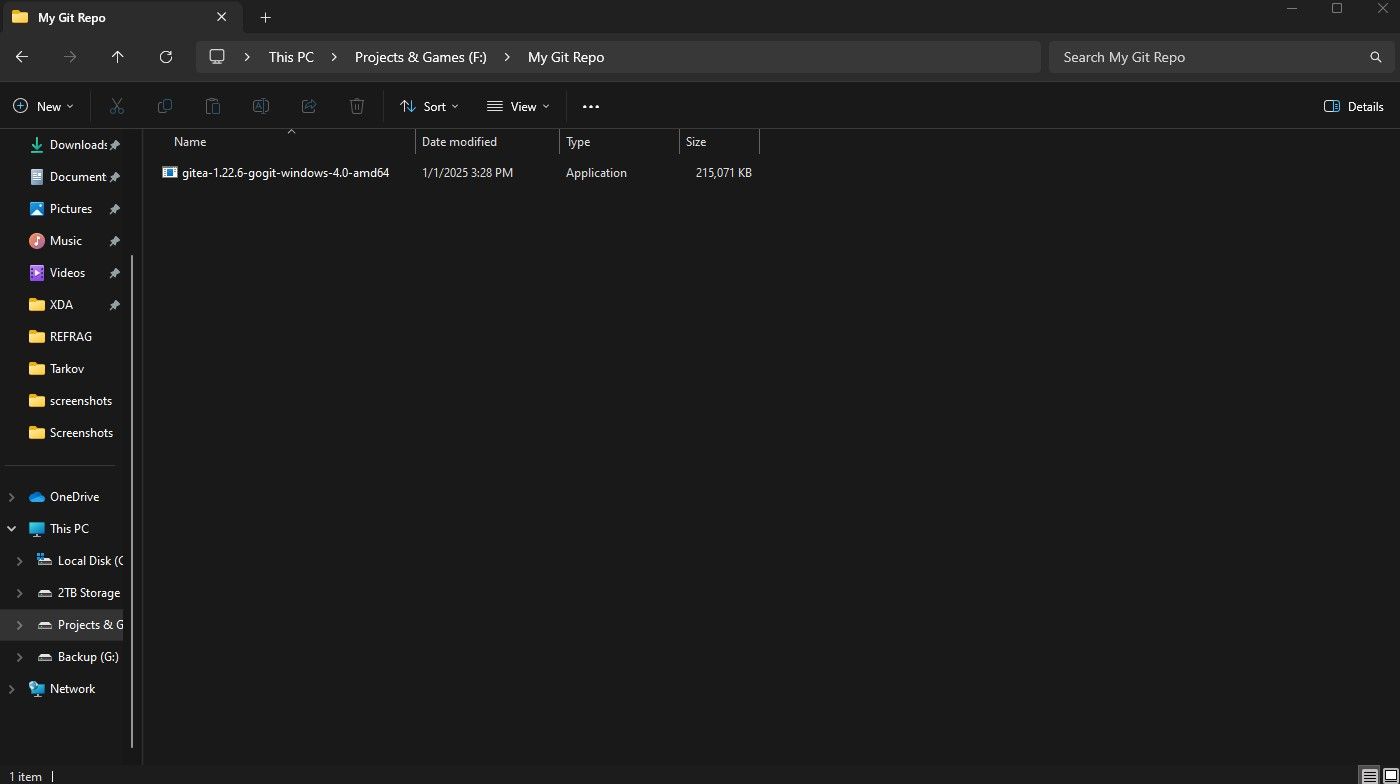
- Create a folder where you wish to store your repository data. This can be anywhere you wish, but it’s highly recommended that you start with an empty folder.
-
Move the downloaded executable into the newly created folder. Run the executable.
-
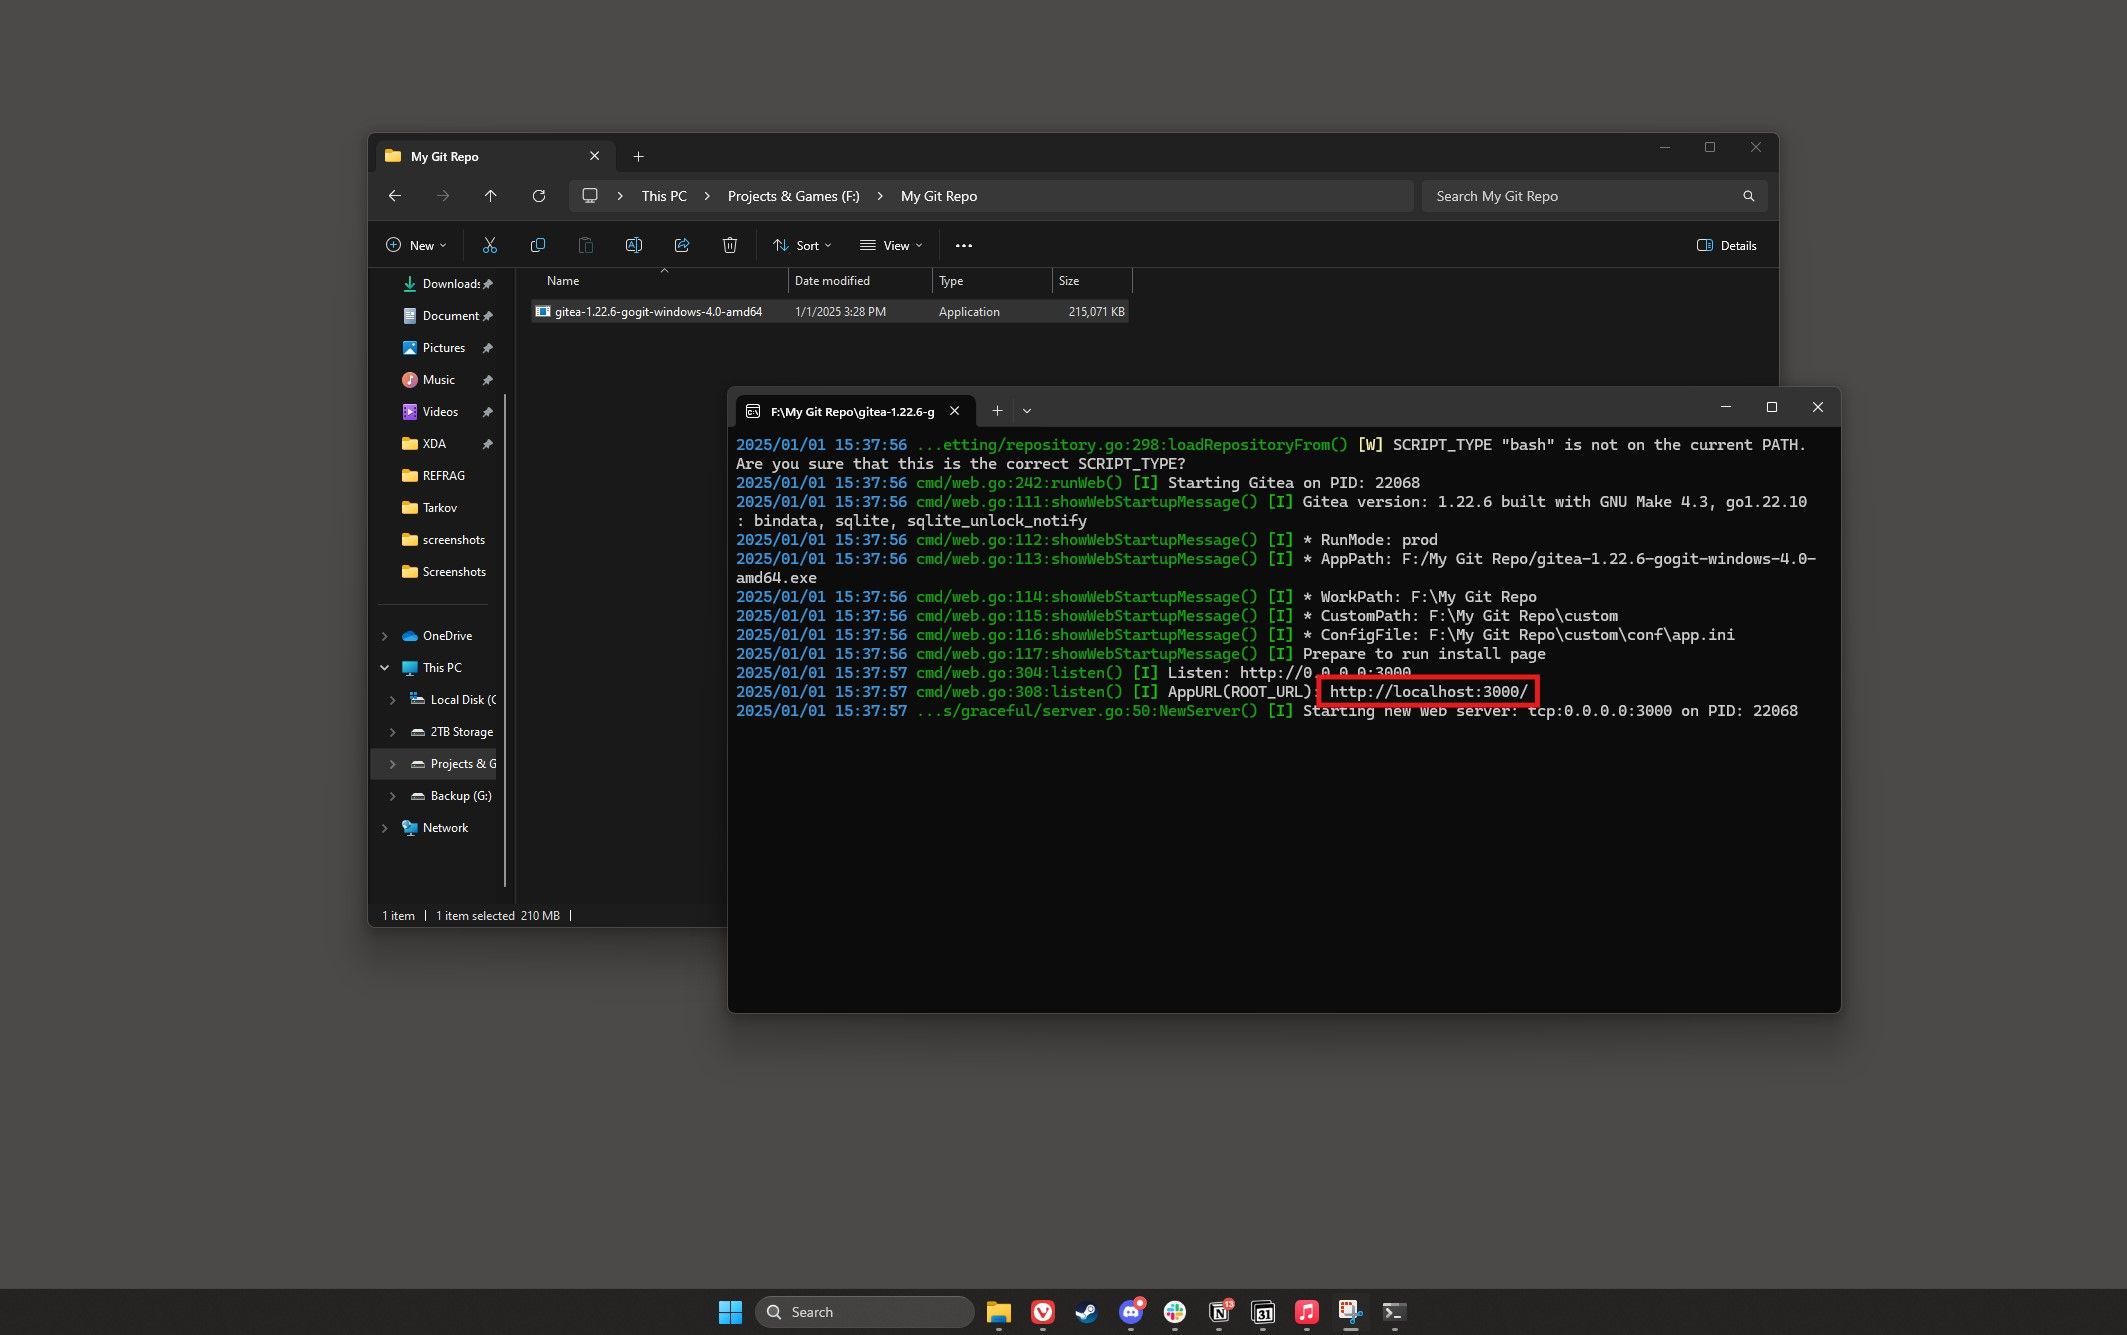
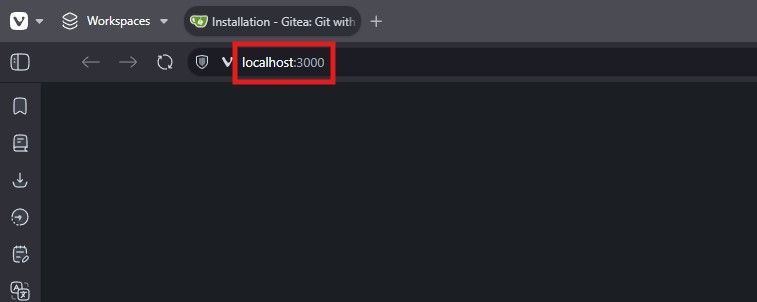
A command prompt window will open. Hold Ctrl and click on localhost:3000, or open a browser of your choice and navigate there manually. This is the configuration page for Gitea.
-
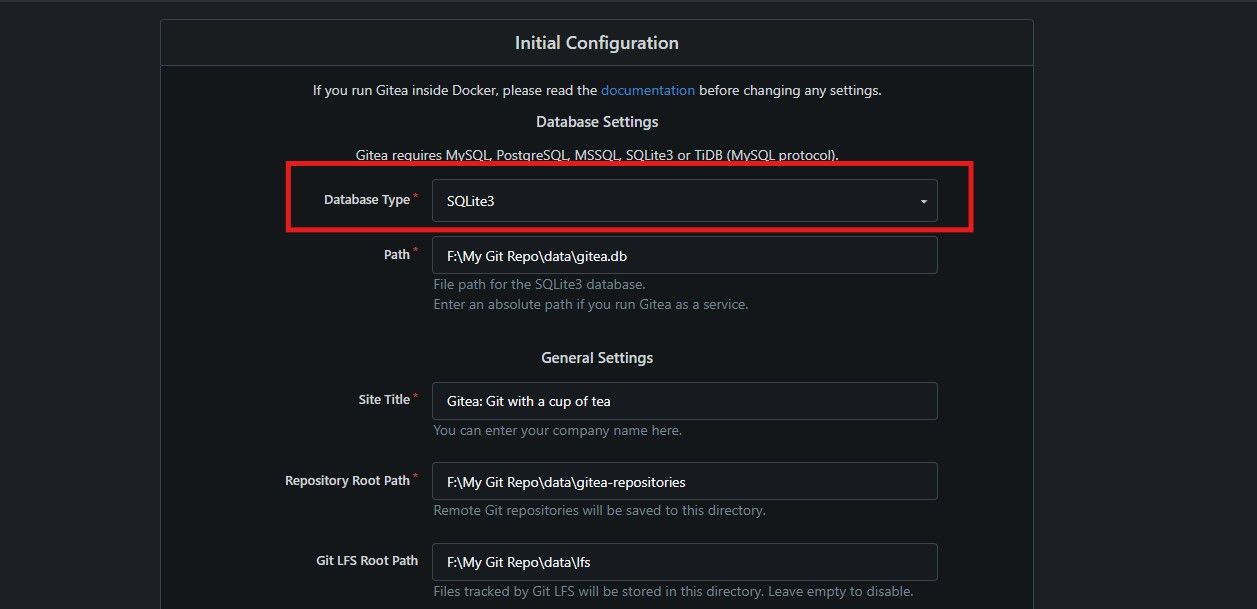
If you don’t have an existing database, select SQLite3 as the database type from the dropdown menu. This ensures Gitea creates a database for you upon initialization.
-
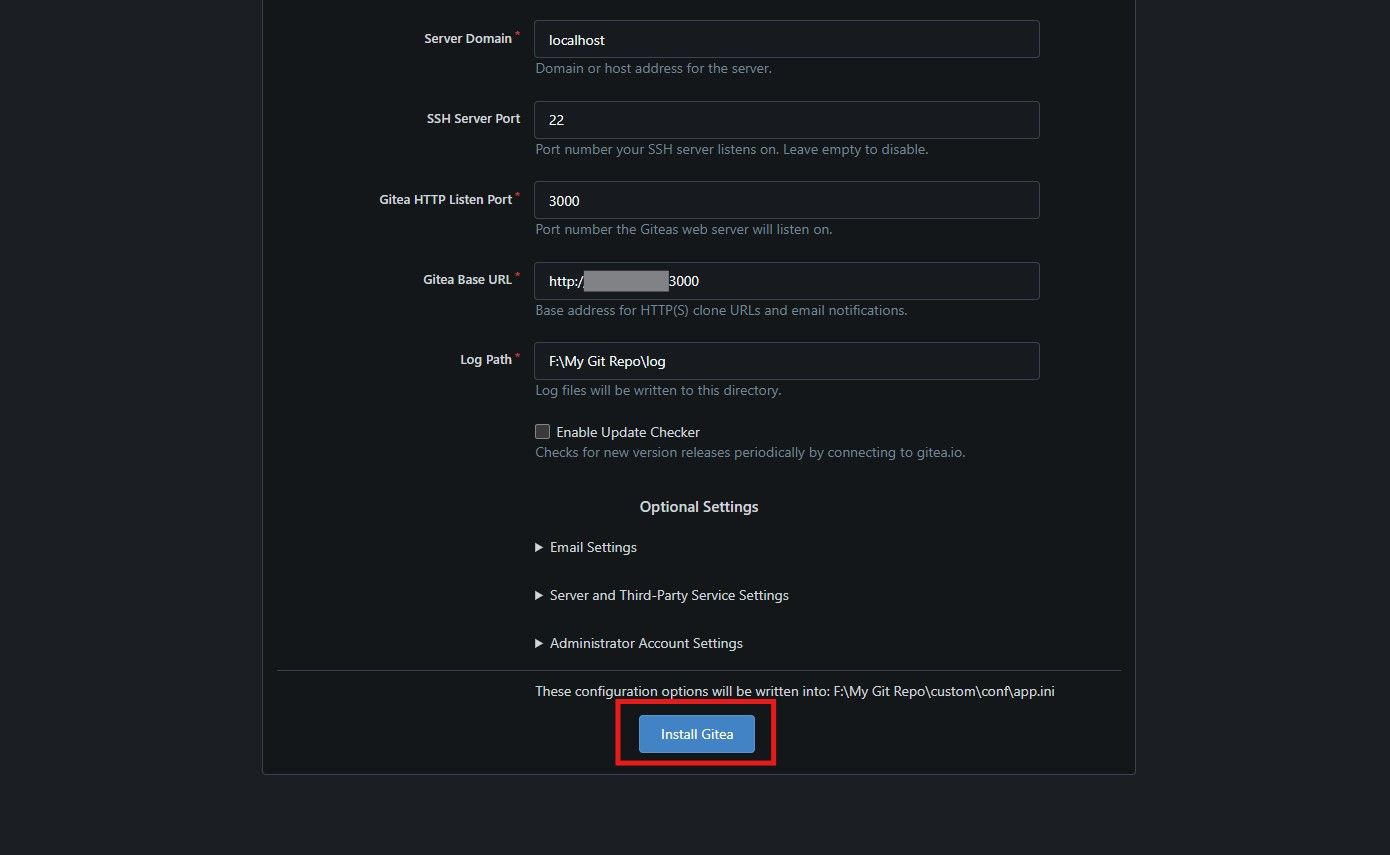
Change the Gitea Base URL to your IPv4 address, preceded by http:// as shown in the screenshot below. If you don’t know your IP address, you can find it by opening a Command Prompt window and typing the ipconfig command. Look for the IPv4 Address line under your primary network interface.

-
Leave all other settings default, and click Install Gitea.
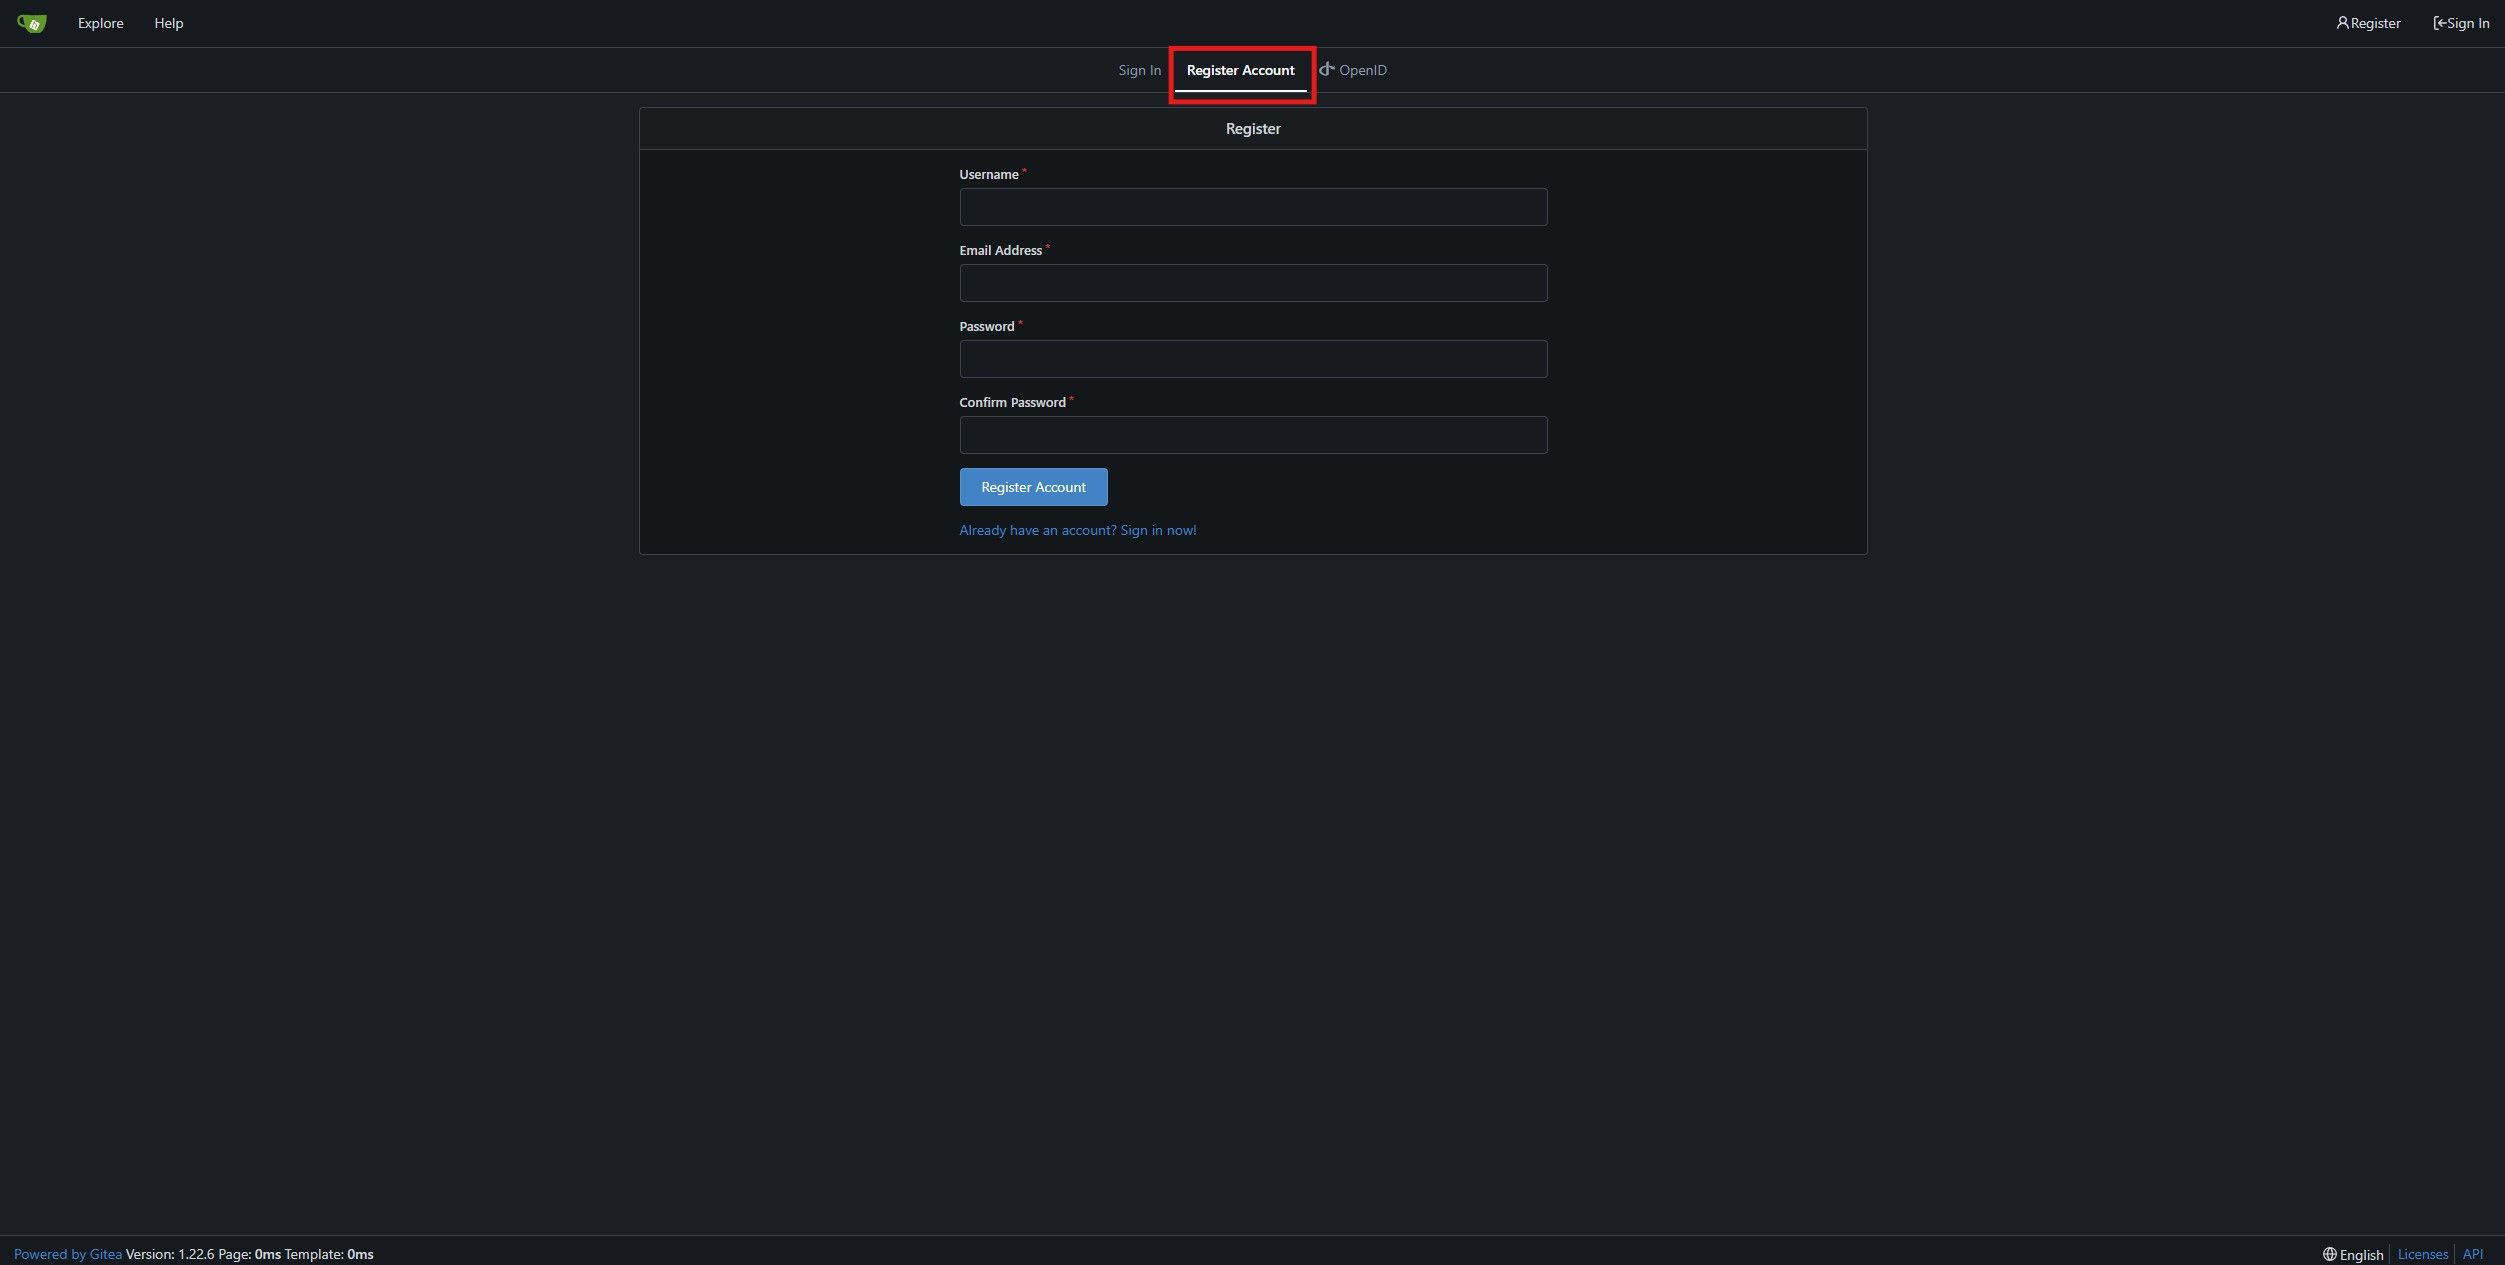
- Once it installs and initializes, you’ll be met with a login screen. Before you continue, be sure to navigate to the new Gitea Base URL that you had set prior instead of the localhost address.
-
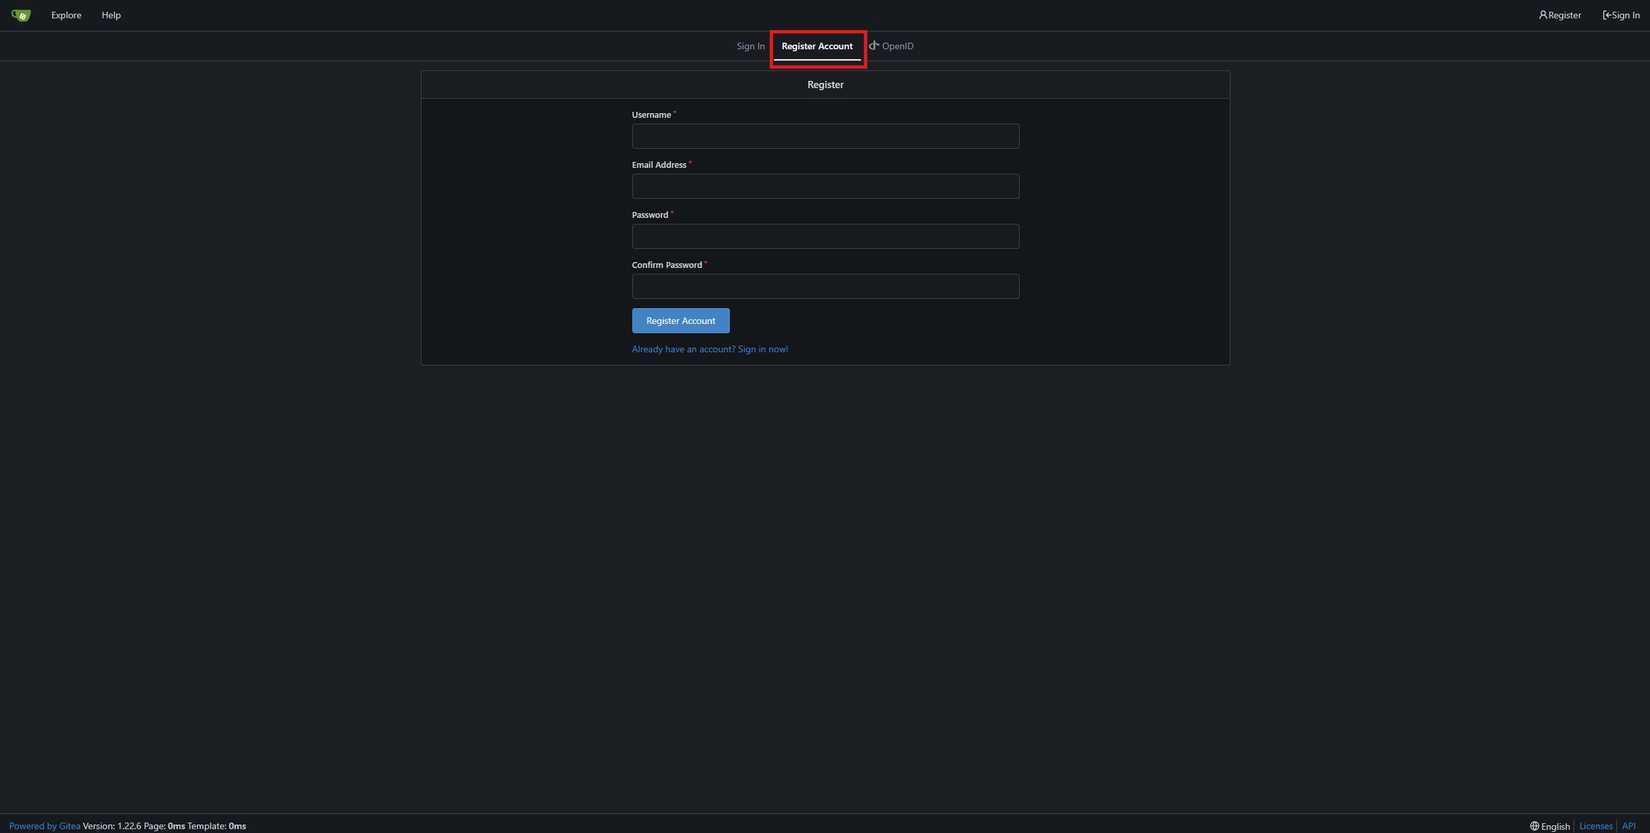
Click on the “Register Account” tab at the top. Enter your desired information, and click the Register Account button.
-
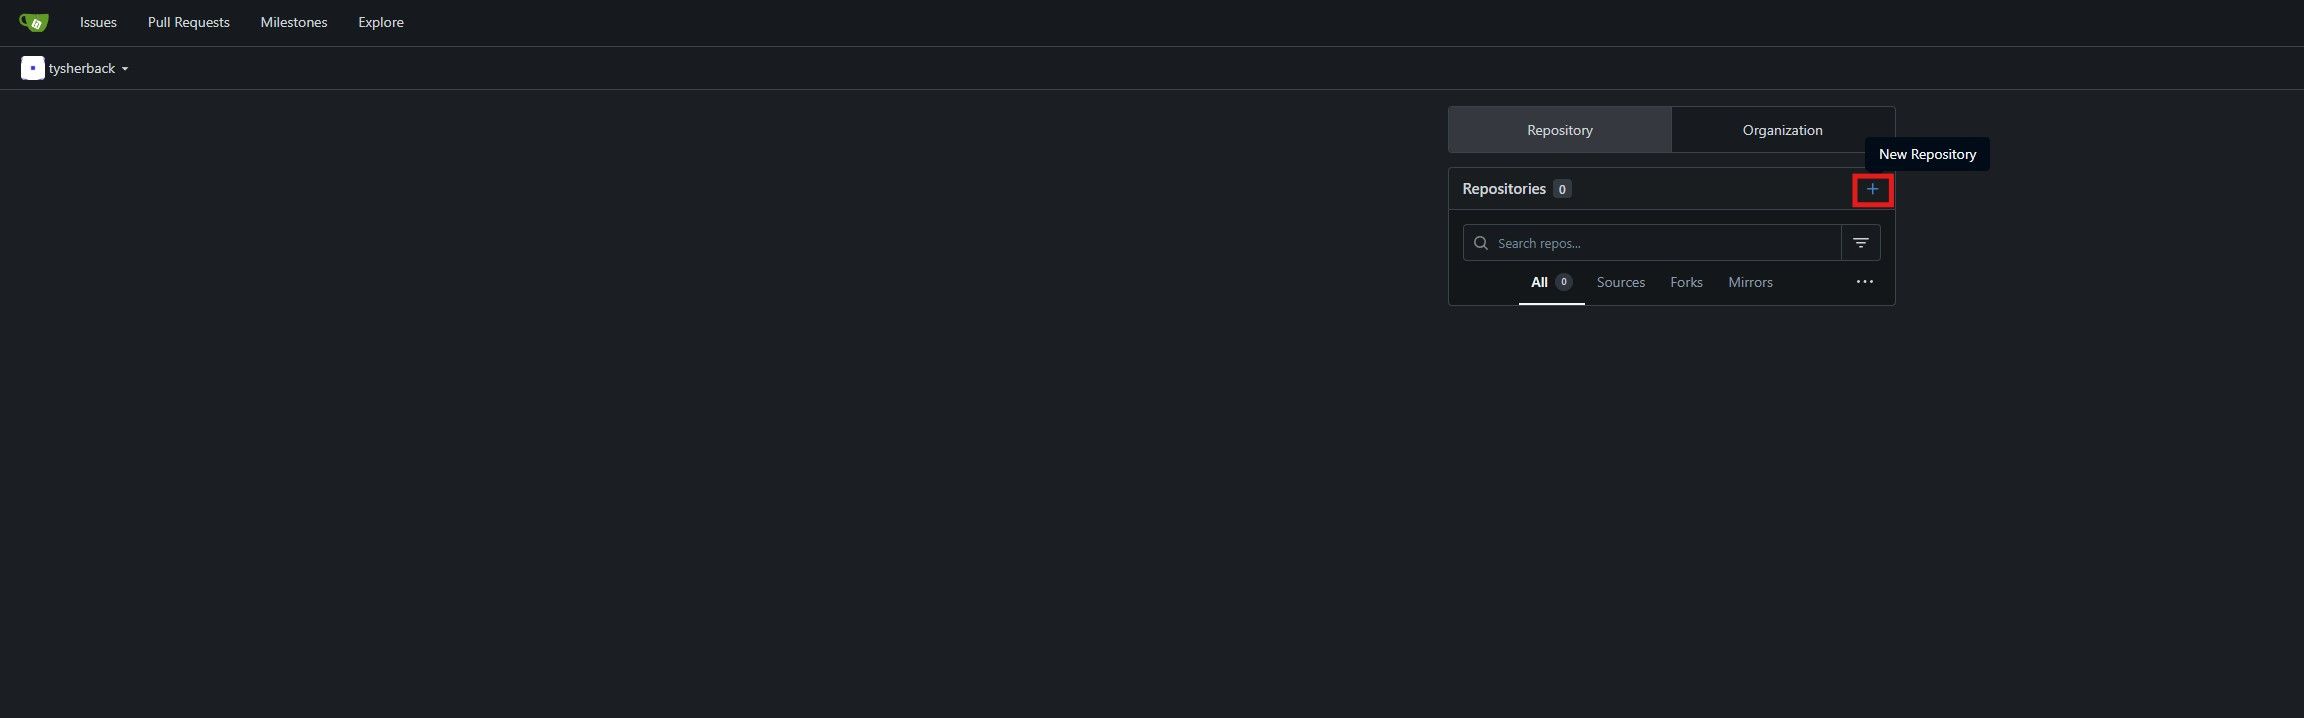
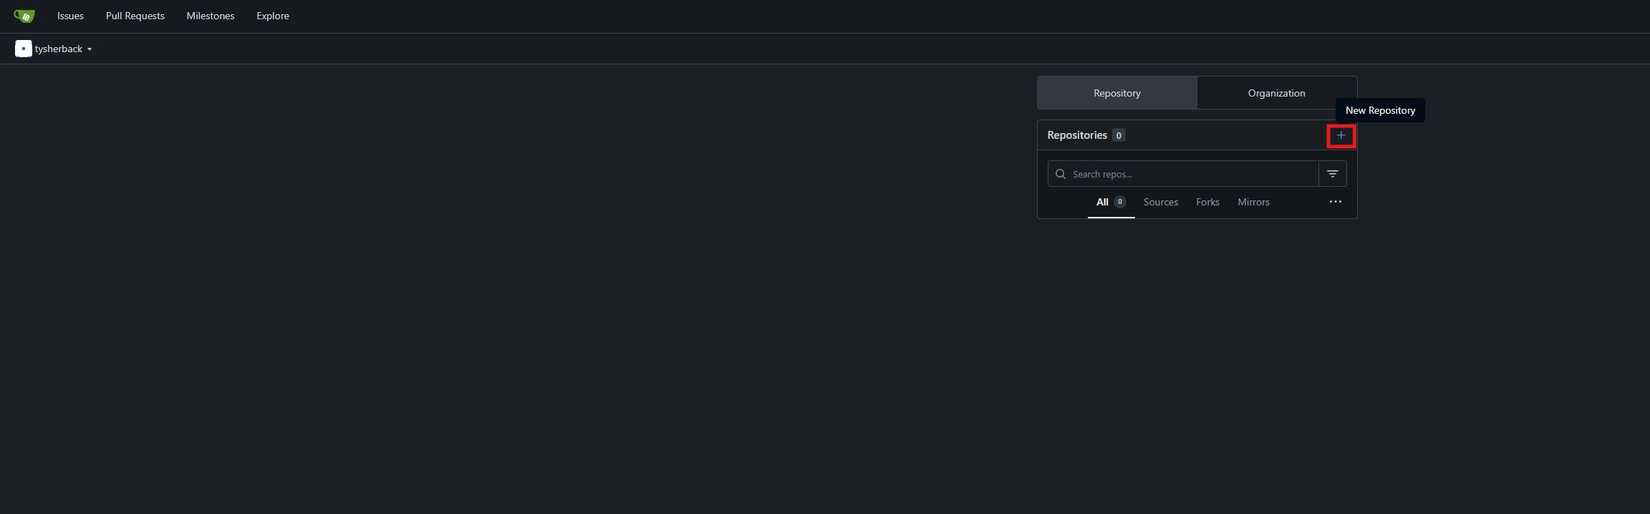
To create a repository, click the + button next to Repositories on your home page. Configure your desired settings.
-
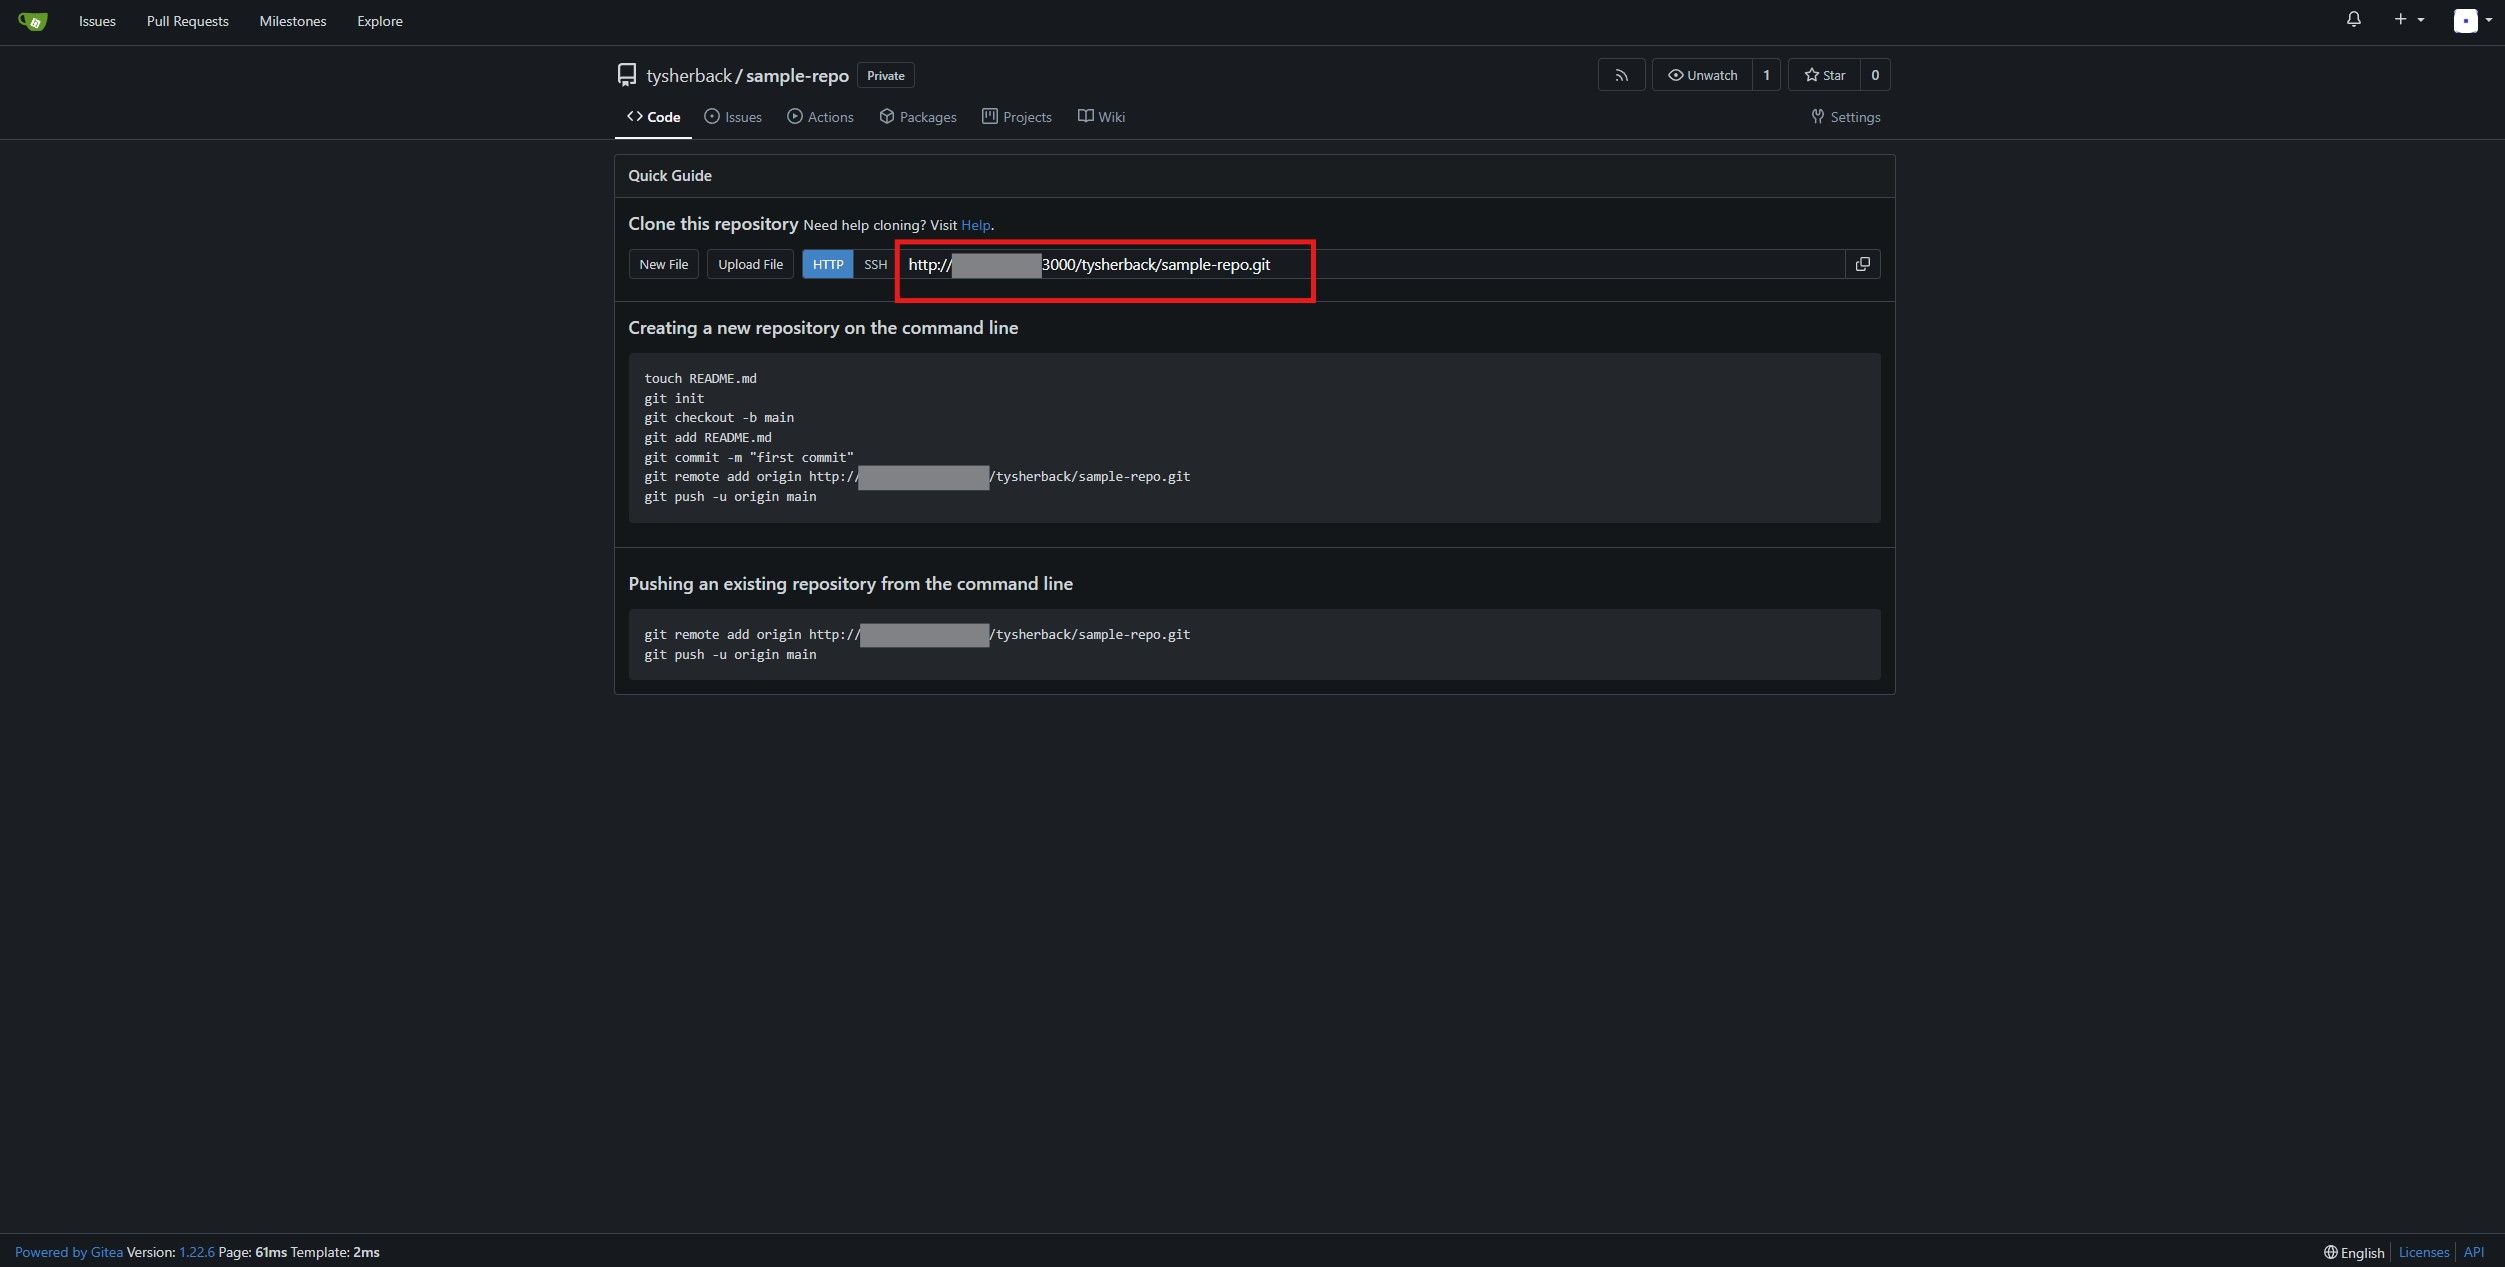
Once created, you’ll be given a URL for your repo. You can paste this into your Git client to interface with the repo. When pushing to the Gitea server, you’ll likely have to authorize any first-time changes, and then thereafter, the process will be seamless.


Gitea is versatile and not just for solo projects
Gitea is very simple to set up a private, isolated Git server for your home projects, but can also easily be configured to support multiple collaborators. You can create user accounts for those individuals and have them log in seamlessly, just as they would with GitHub or GitLab. This is also a great way to ensure the privacy of the data you’ll be working with. The only users able to access the data are those you provide access to. If you like Gitea, consider checking out what other applications are worth self-hosting to further your creative independence.
#set #Git #server #home #personal #projects
source: https://www.xda-developers.com/set-up-your-own-git-server-at-home/

