
")
Network-attached storage (NAS) can be expensive, especially when shopping for a pre-built enclosure. An old PC can be utilized to create a NAS, and you don’t even have to swap out the operating system. If you’re familiar with Windows and prefer to stick with Microsoft’s software, it’s entirely possible to create a NAS using Windows 11.
This guide will show you what you need and how to configure Windows so it’s better suited to storing lots of data, running services, and having multiple clients connect through the local area network (LAN).
What you’ll need to build a Windows NAS
An old PC and some NAS drives will do
Creating a Windows NAS is easy, especially if you have older hardware. This can save you a fair amount of money, as new PC parts or a prebuilt NAS enclosure can cost a small fortune.
A Windows-powered NAS could be the way to go if all you need is somewhere to stash files from multiple machines without resorting to an array of external drives. Any old Windows PC would do (even a laptop) but I’ll recommend some parts in this guide in case you’re considering a fresh build.
Windows has a few requirements to run properly. The first is a dual-core 64-bit processor, which is incredibly easy to match. A recent Intel Core i3 or AMD Ryzen 5 processor will do just fine. 4GB of RAM is required for the OS to function without issue, and I’d even go as far as to recommend at least 8GB of DDR4 or DDR5 to ensure you have ample system memory for running apps and services, and allowing more than a few clients to connect to the NAS and move data.
Old hard drives are tempting to use for a NAS, but I recommend against doing so. Storing data is incredibly important and a NAS should be designed to run continuously, which means standard desktop-class drives are out of the question. They would work, but it’s not a guarantee for how long. Plus, you’ll likely encounter problems long before you would with a drive designed for NAS or server use. A Seagate IronWolf or Western Digital Red drive would be a reliable choice.
64GB of storage is needed for the OS and a small M.2 SSD would work well here for speed. Most motherboards have more than one SATA port with expansion slots for additional SATA PCIe cards. It’s usually the storage case where size limitations may arise. A typical mid-tower PC chassis will have a few 2.5-inch and/or 3.5-inch mounts, but we’ll likely require more, which is where a case such as the Fractal Design Node 804 (for Mini-ITX motherboards) or Cooler Master N400 (larger ATX mid-tower) could come into play.
Setting up a Windows-based NAS
How to enable automatic updates on Windows 11
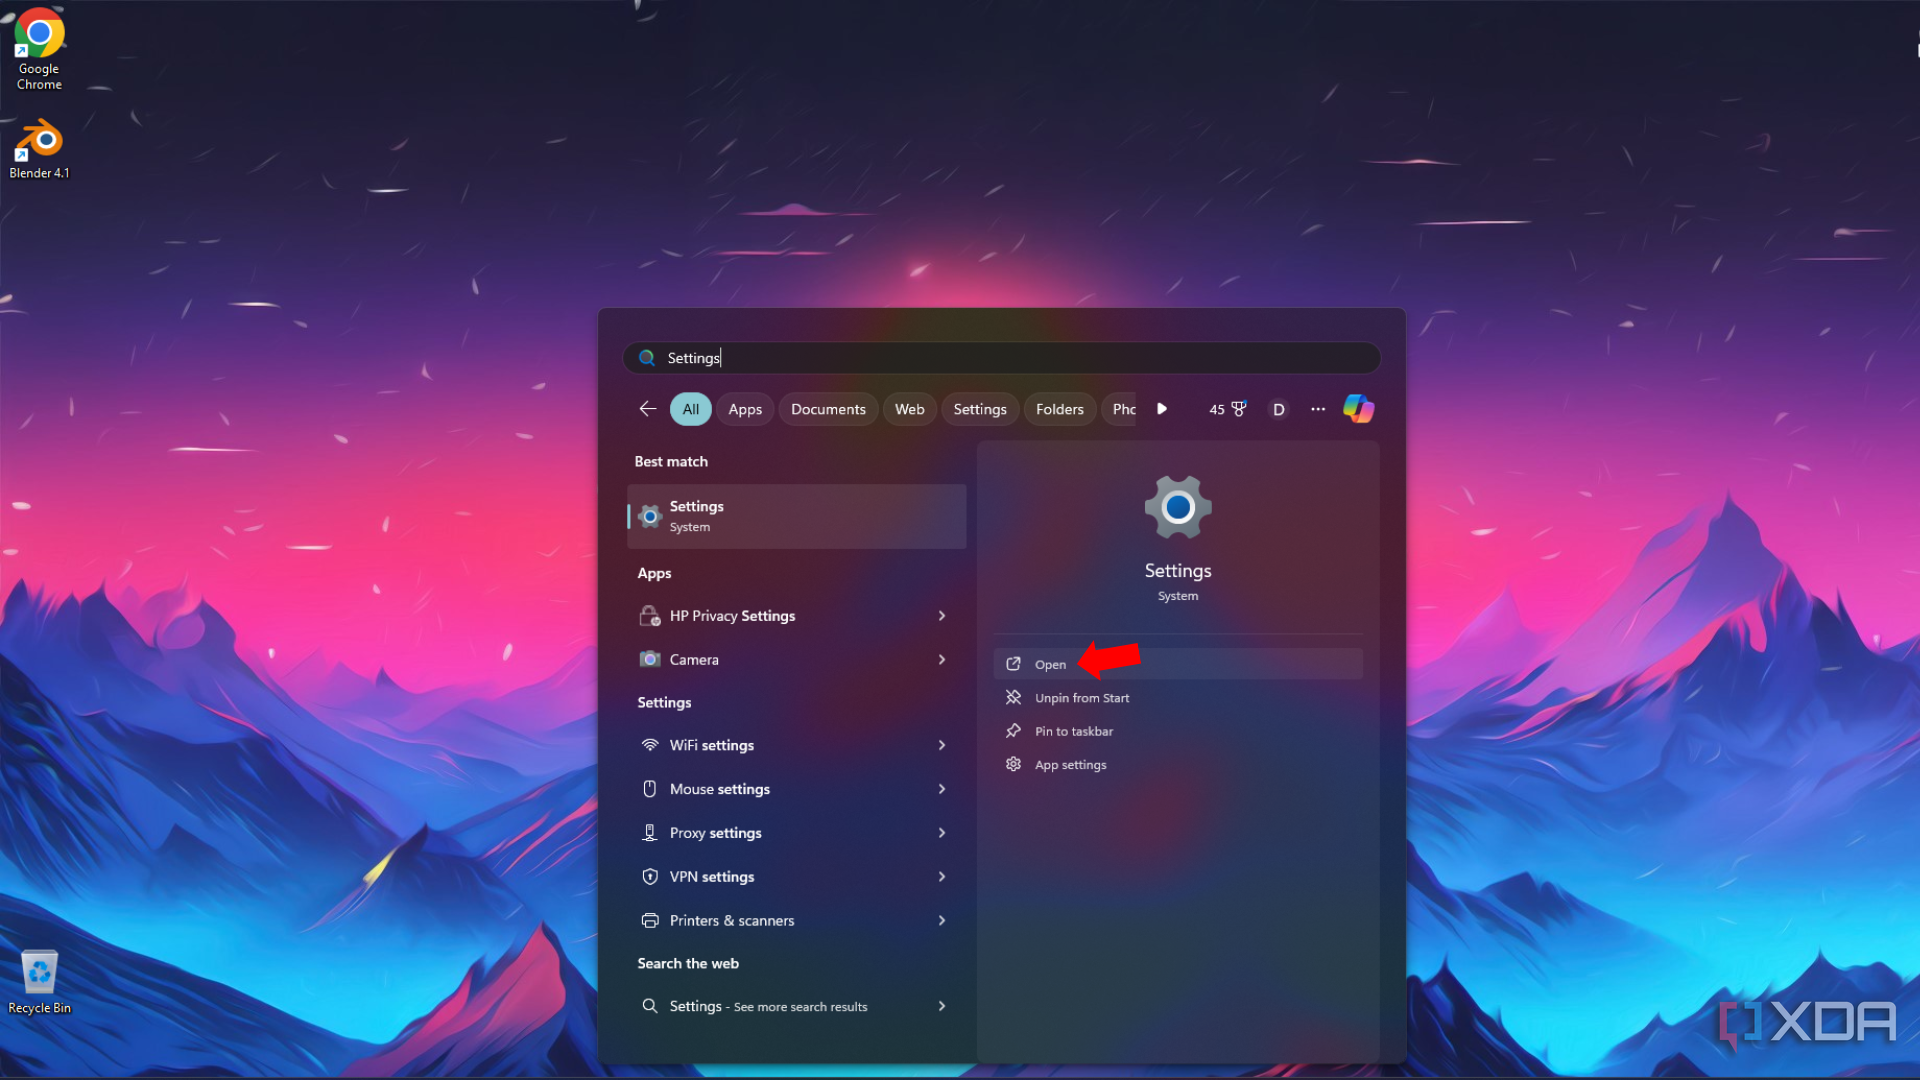
Installing Windows 11 requires a USB drive for the ISO image file. Once you’ve created a bootable drive, you can plug it into a spare port and run through the quick installer. The first thing you’ll need to do when logging into Windows is to configure Windows Update and check for any available patches.
- Open Settings.
- Select Windows Update.
- Check “Get the latest updates as soon as they’re available.”
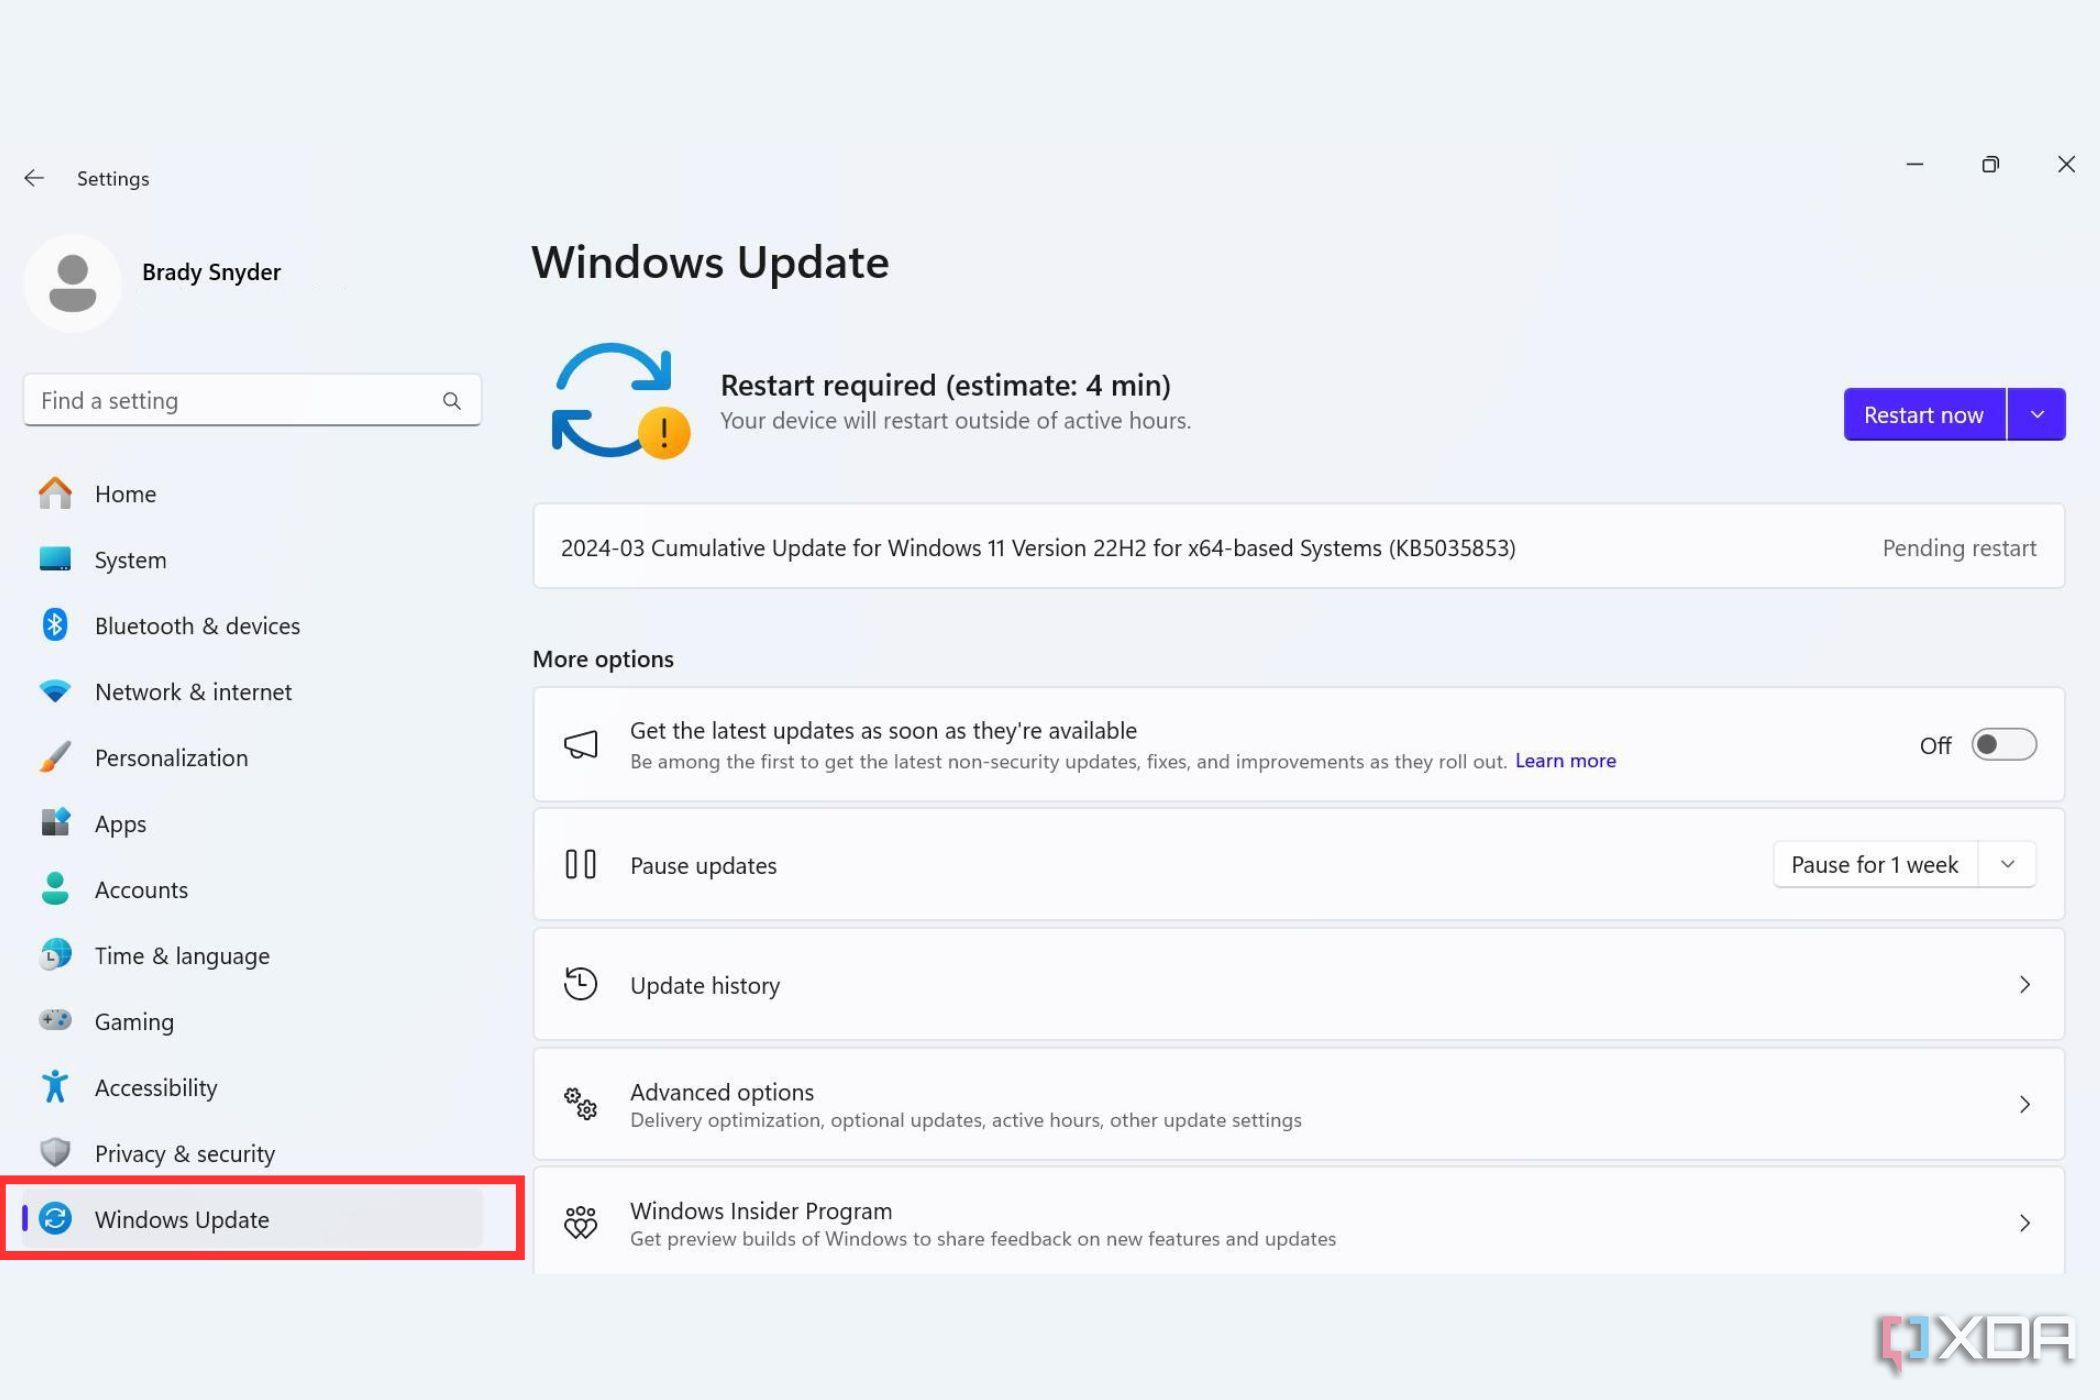


This will ensure your Windows NAS will get all the latest updates. To change when updates are automatically installed and the system rebooted (if required), click on Advanced options and alter the settings as desired.
How to set a static IP address on Windows 11
Most hardware connected to the network will use DHCP and receive an assigned IP address from the router. This is fine for most devices, since you likely won’t want to configure each device with an IP address manually. However, servers such as our Windows NAS can be set to a static IP, so that it’s the same IP address every time the router and NAS are powered off and on.
- Open Settings.
- Select Network & internet.
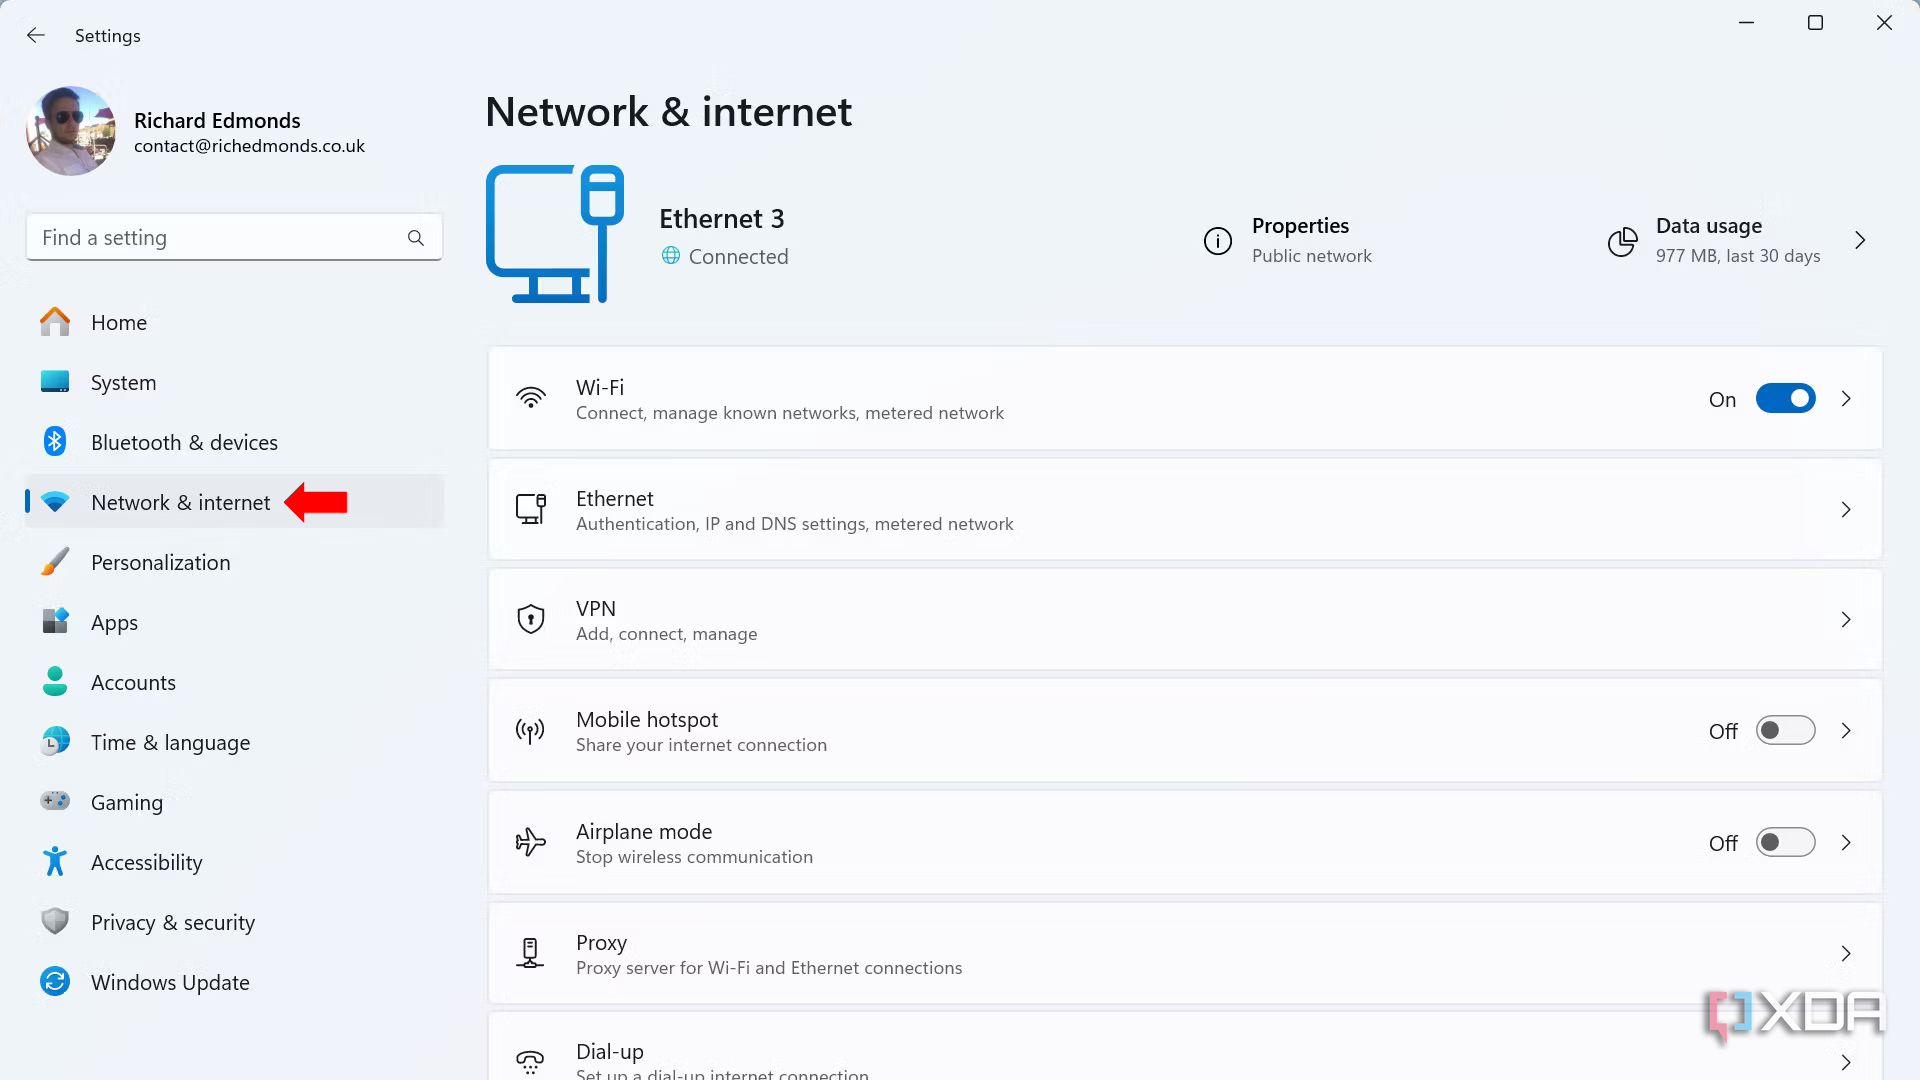
- Select Ethernet or Wi-Fi (either will be displayed, depending on the connection).
- Select Edit under IP assignment.

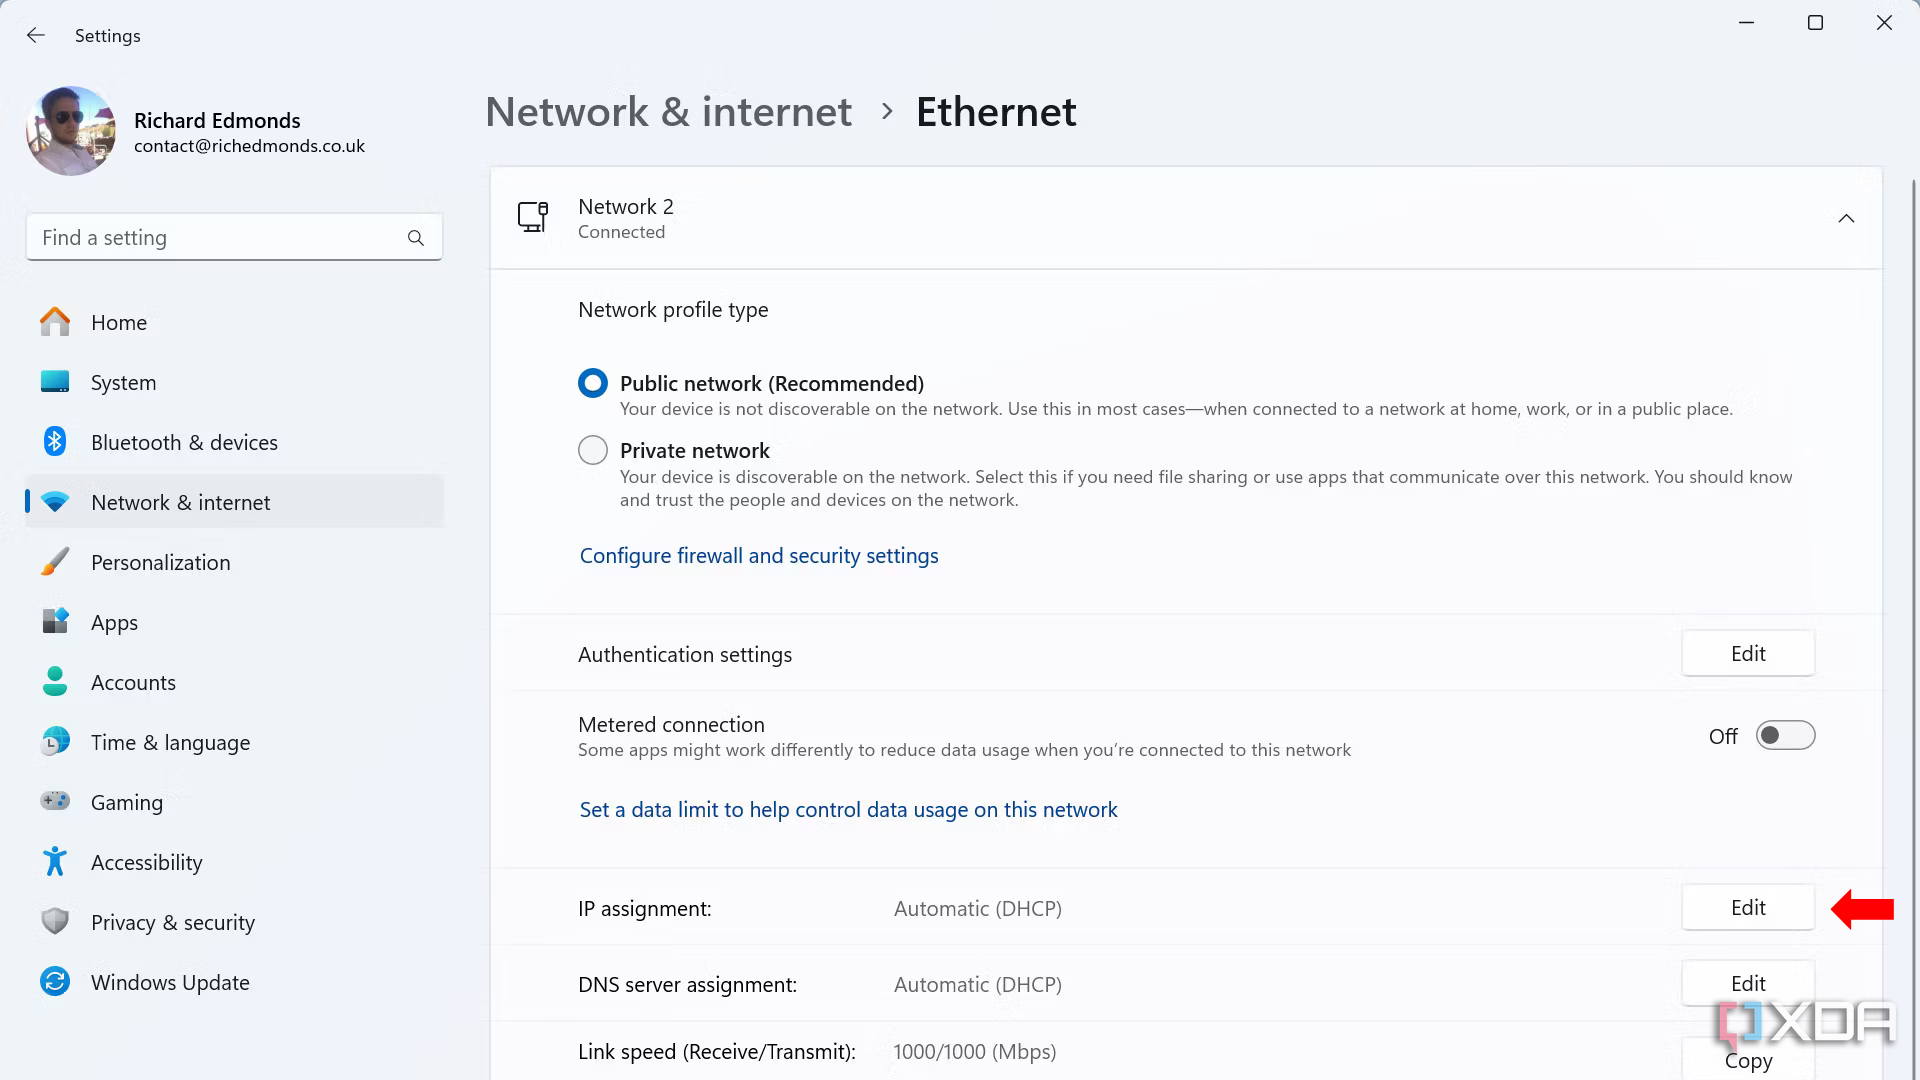


- Select the Manual option from the drop-down menu.
- Enable IPv4.
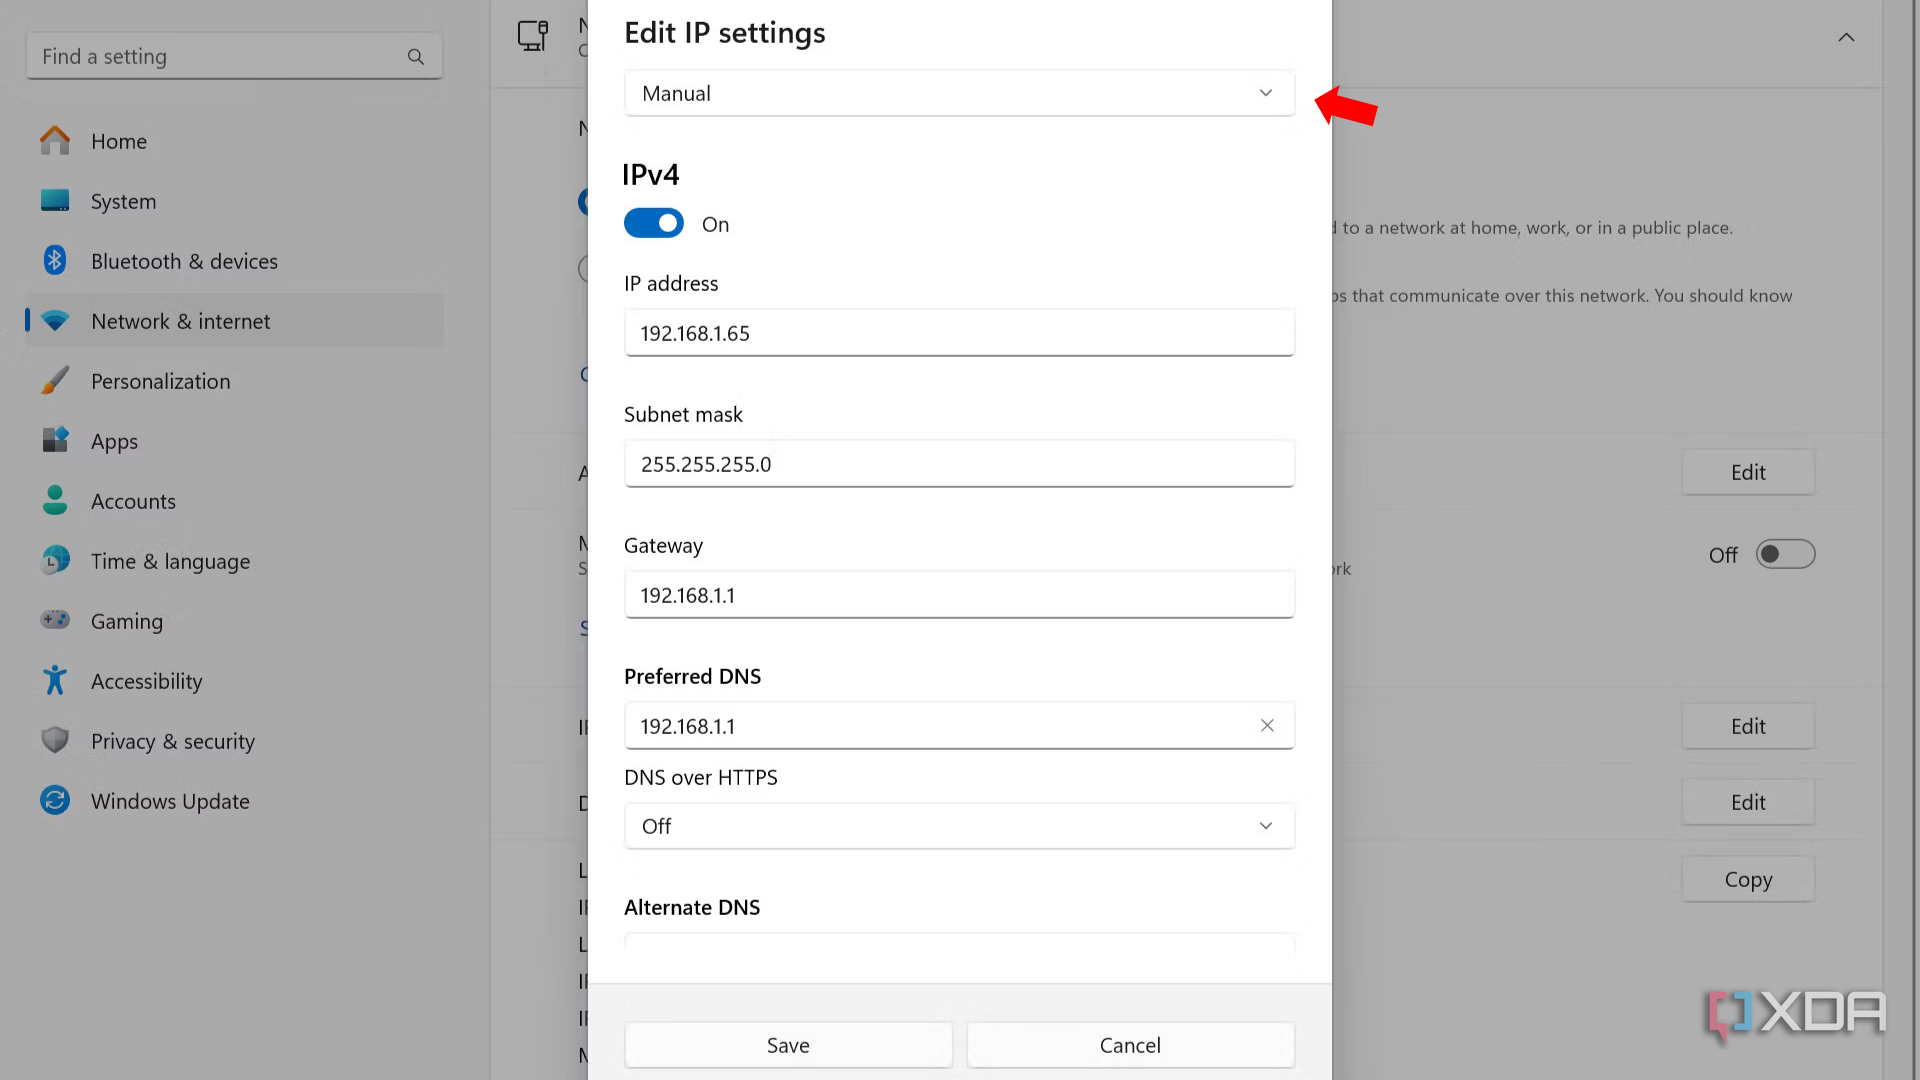
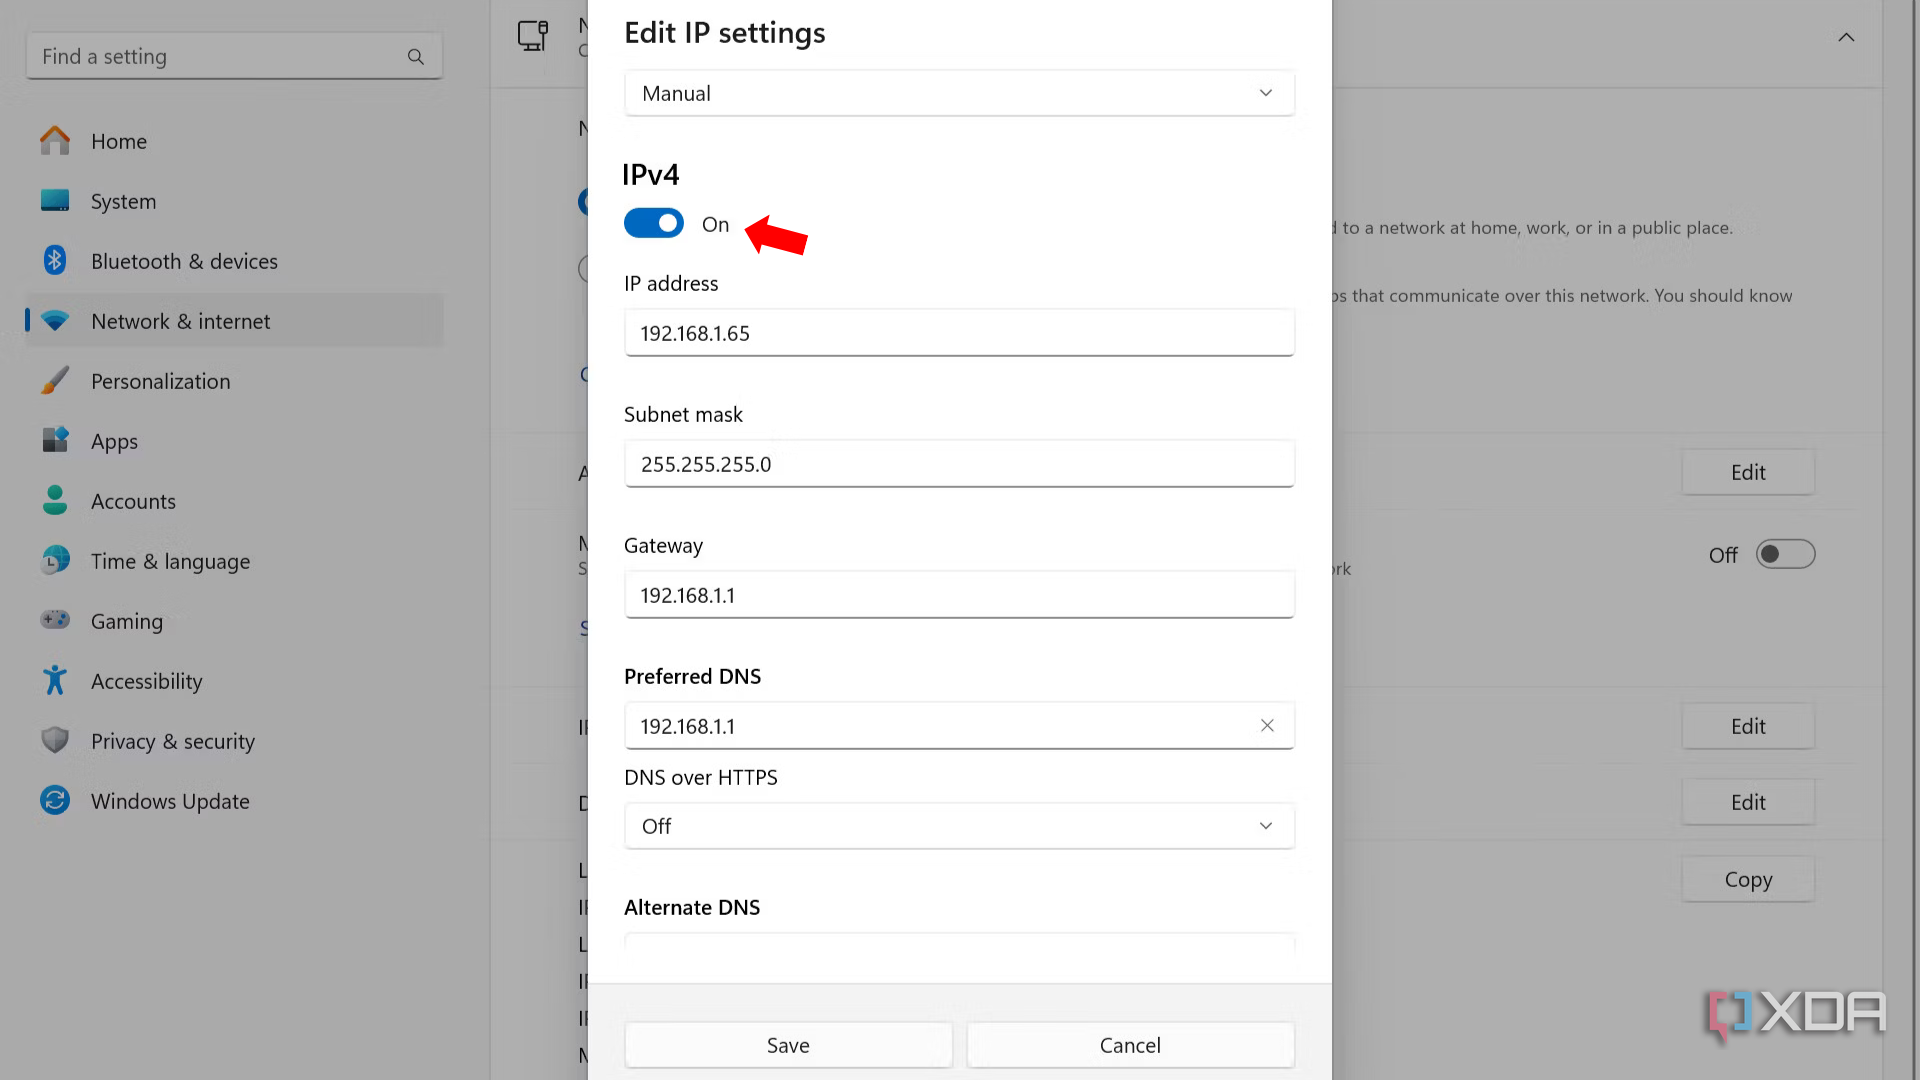
- Enter the desired IP address for the Windows NAS.
- Enter the subnet mask, default gateway, and preferred DNS. These should be the same as used by Windows for DHCP and can be quickly checked before making changes and setting a static IP.
- Click Save.


Your Windows NAS will ask the router for your set IP address every time the system boots. You may wish to configure the router to reserve this IP address or hope another device doesn’t take it while the NAS is powered down.
How to make a network discoverable on Windows 11
By default, Windows is not discoverable to other devices. This makes sense for most desktop and laptop PCs, especially on public networks, but we want our Windows NAS to be found. Thankfully, Microsoft made it easy to change this.
- Open File Explorer.
- Select Network in the sidebar.
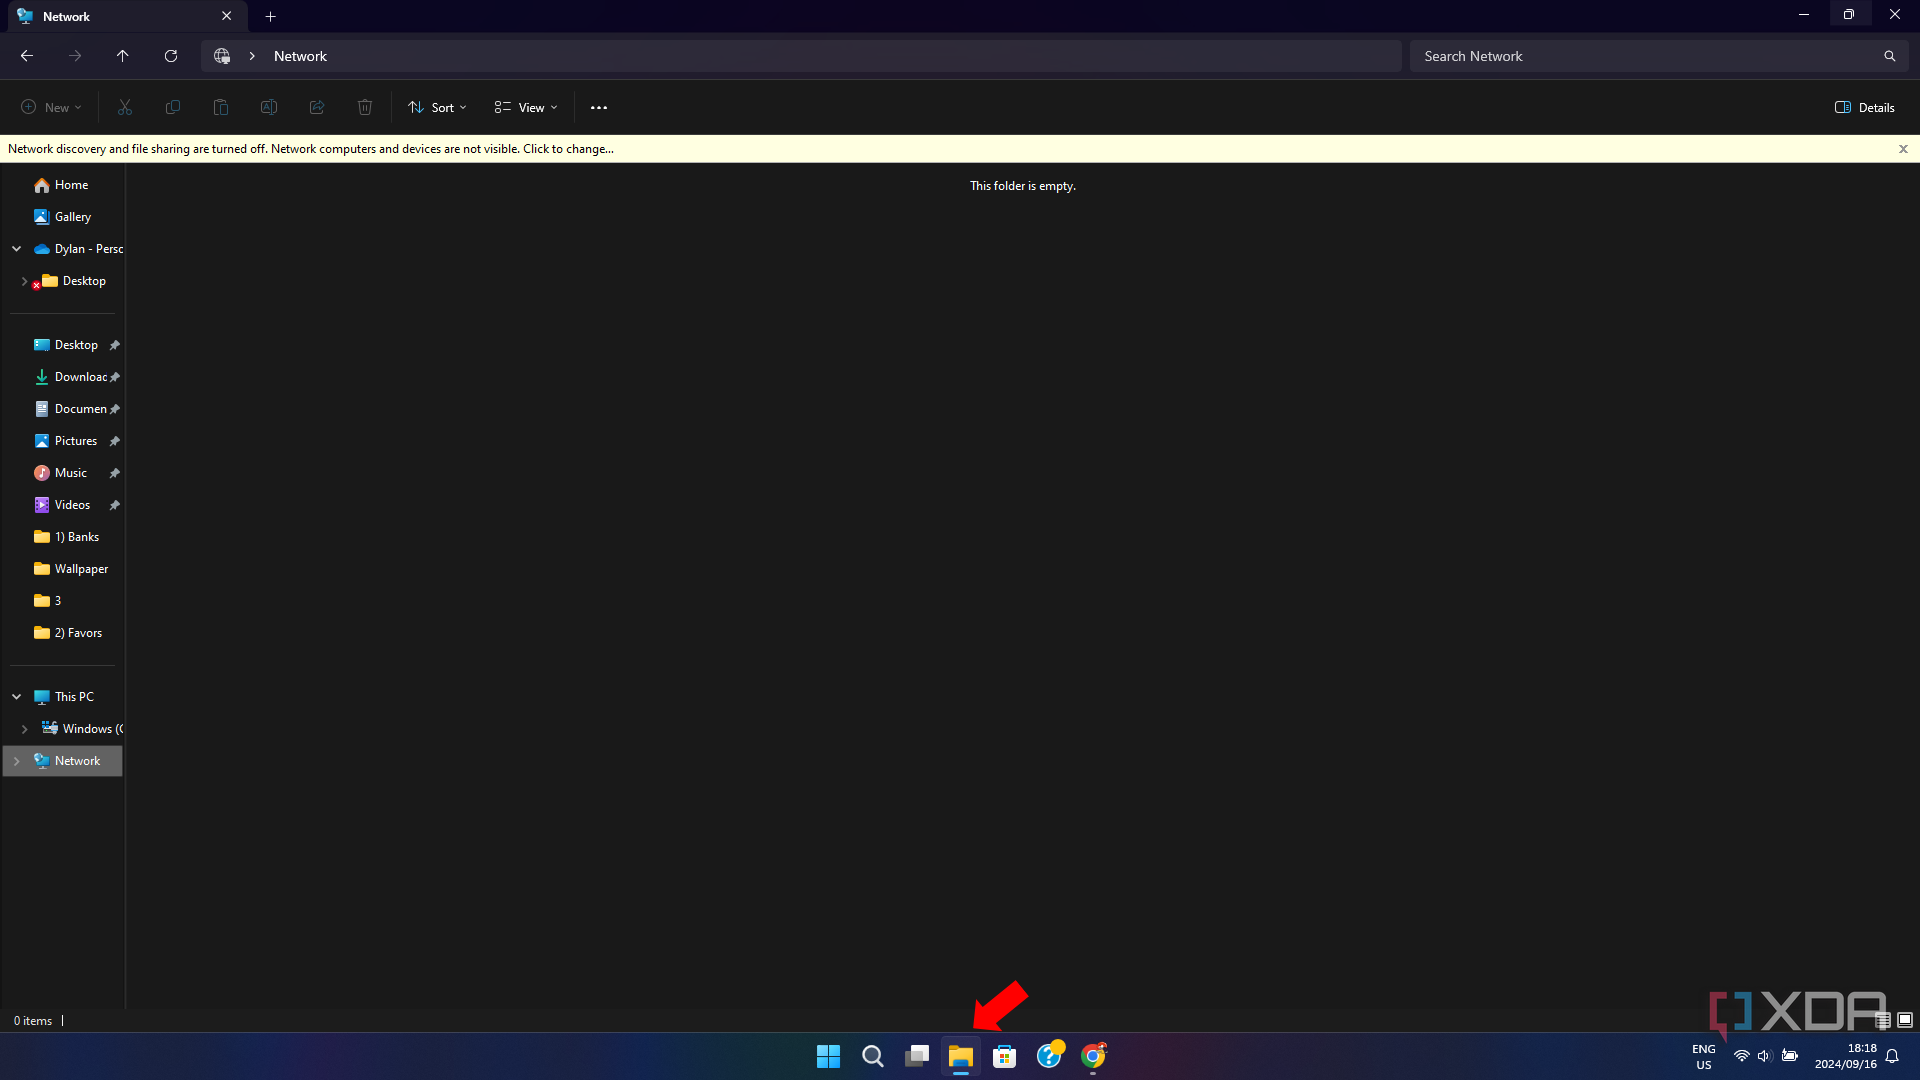
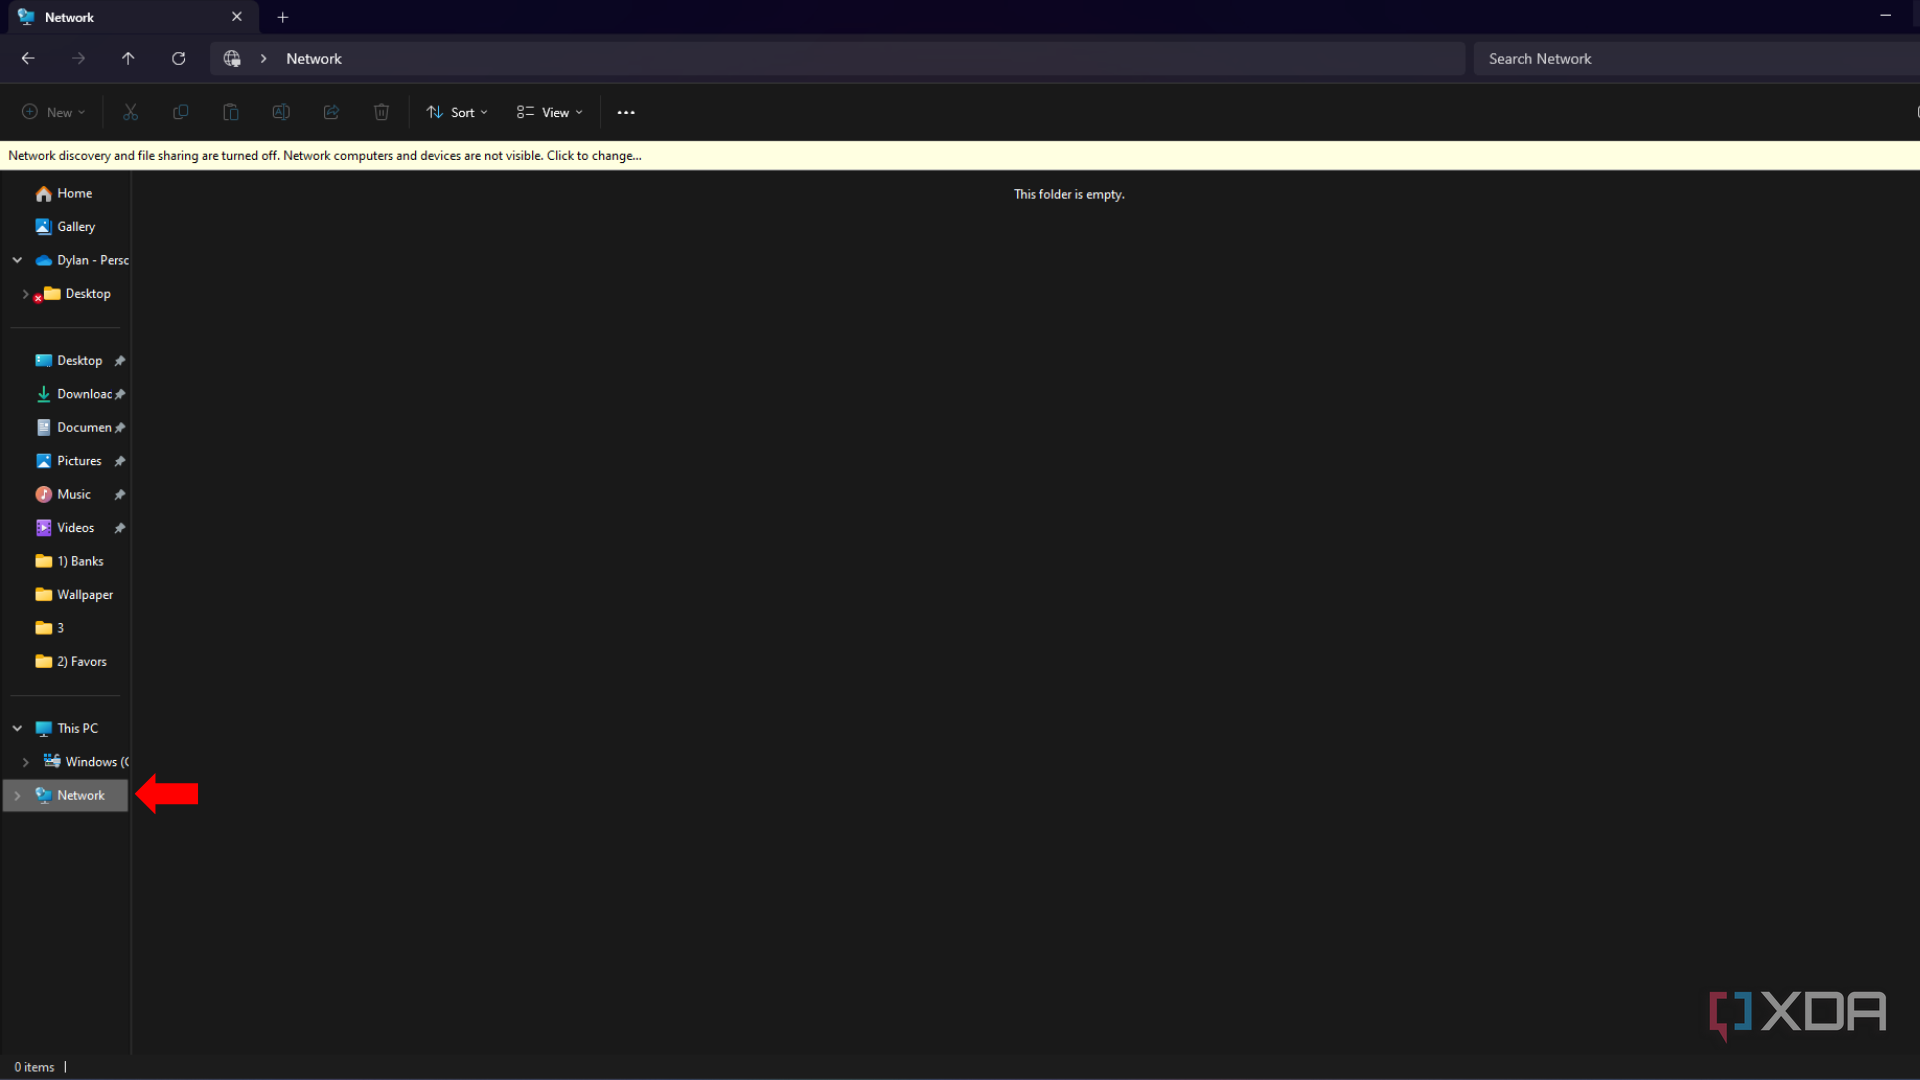
- Click on the “Network discovery and file sharing are turned off. Network computers and devices are not visible. Click to change...” pop-up.
- Select “Turn on network discovery and file sharing.”
- Select “No, make the network that I am connected to a private network.” You can select the other option for public access if you know what you’re doing and wish to provide external access.


Windows is now configured to be discoverable on the local area network (LAN). Any device on the same network (wireless or cable connection) will be able to discover the Windows NAS when searching. You can also use the IP address for direct connections.
How to create a storage pool on Windows 11
Combining more than one hard drive into a storage pool allows a NAS to store lots of data. Windows can create and manage storage pools, which we should set up to share with the network. Here’s how to quickly do it.
- Open Settings.
- Select System.
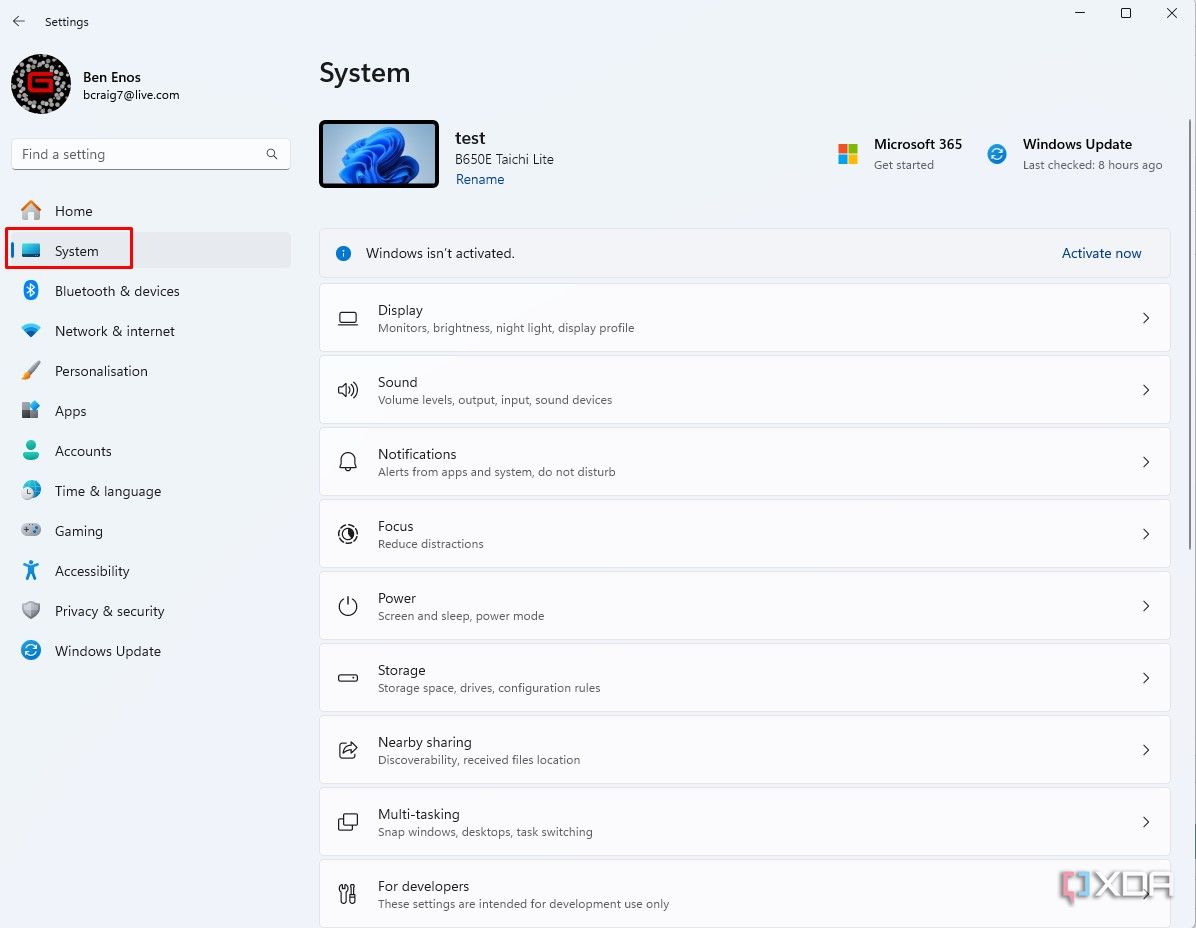
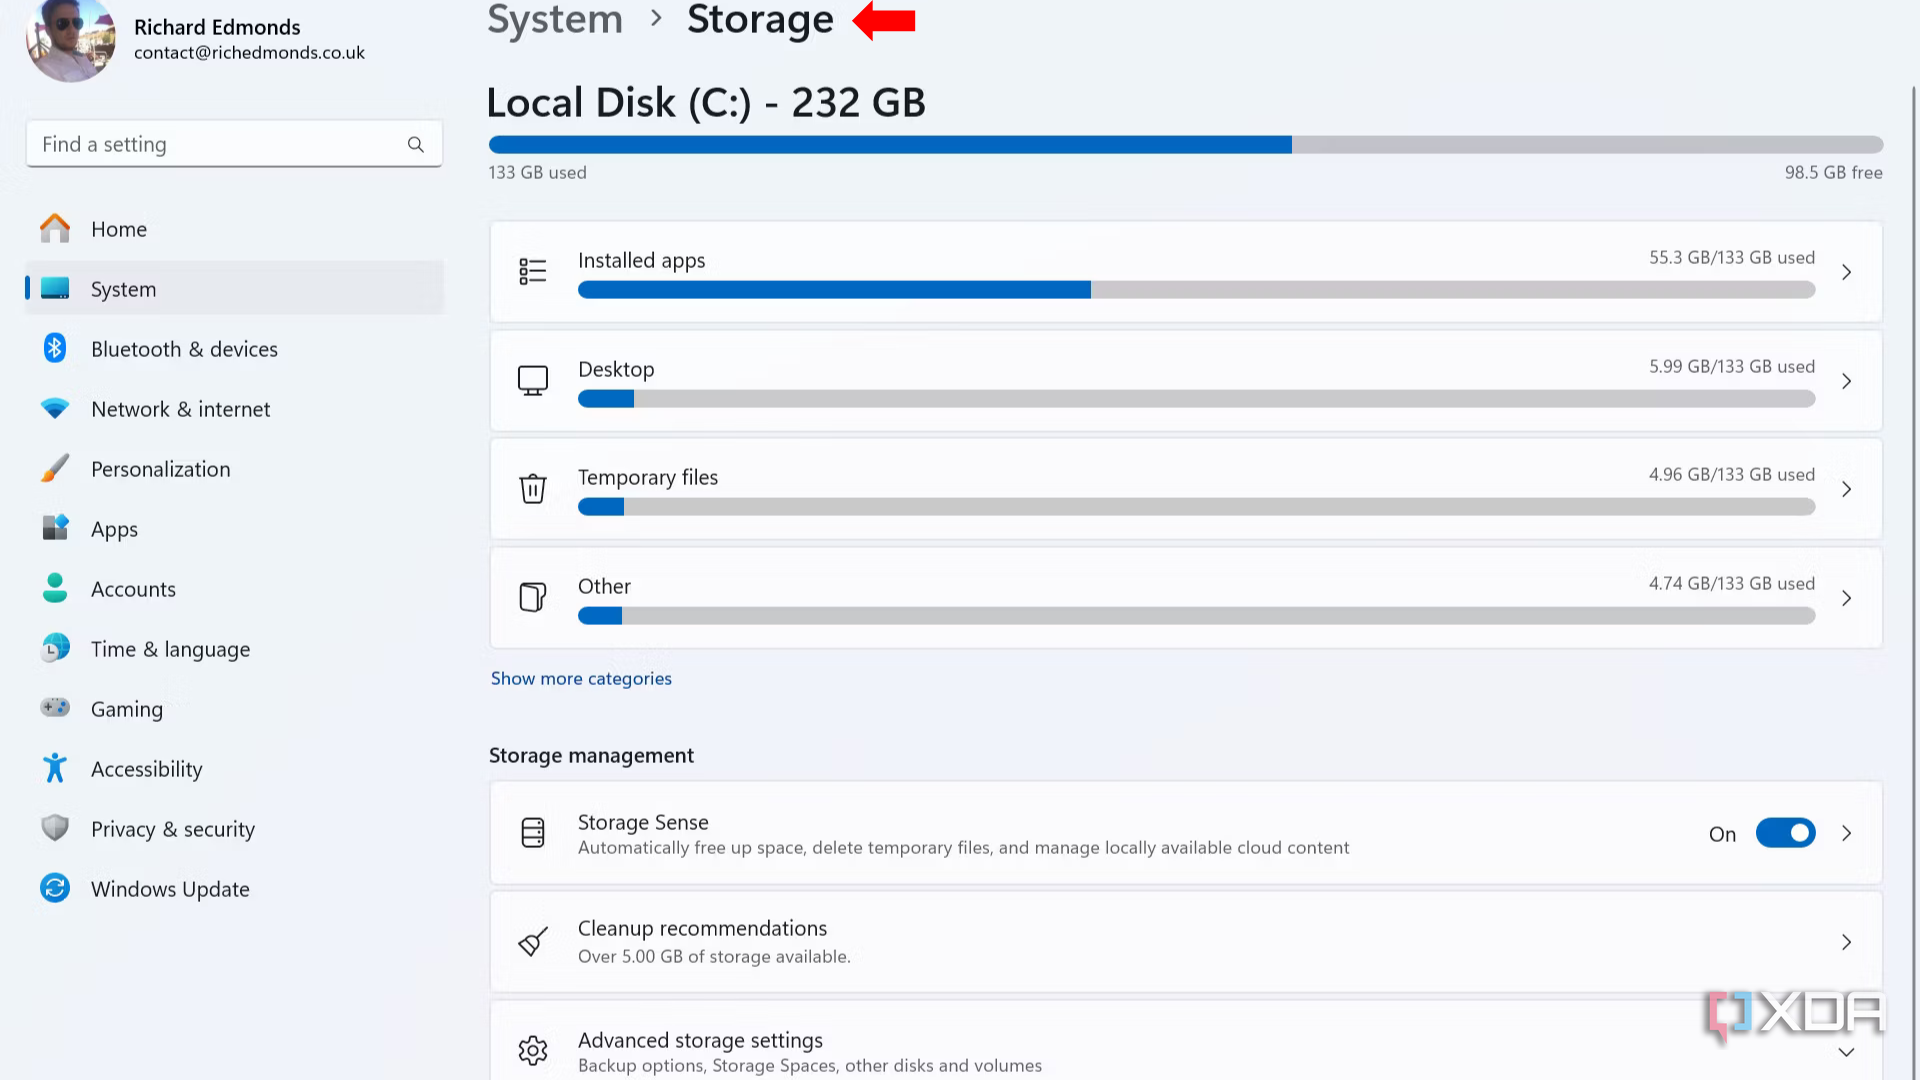
- Select Storage.
- Click Advanced storage settings.
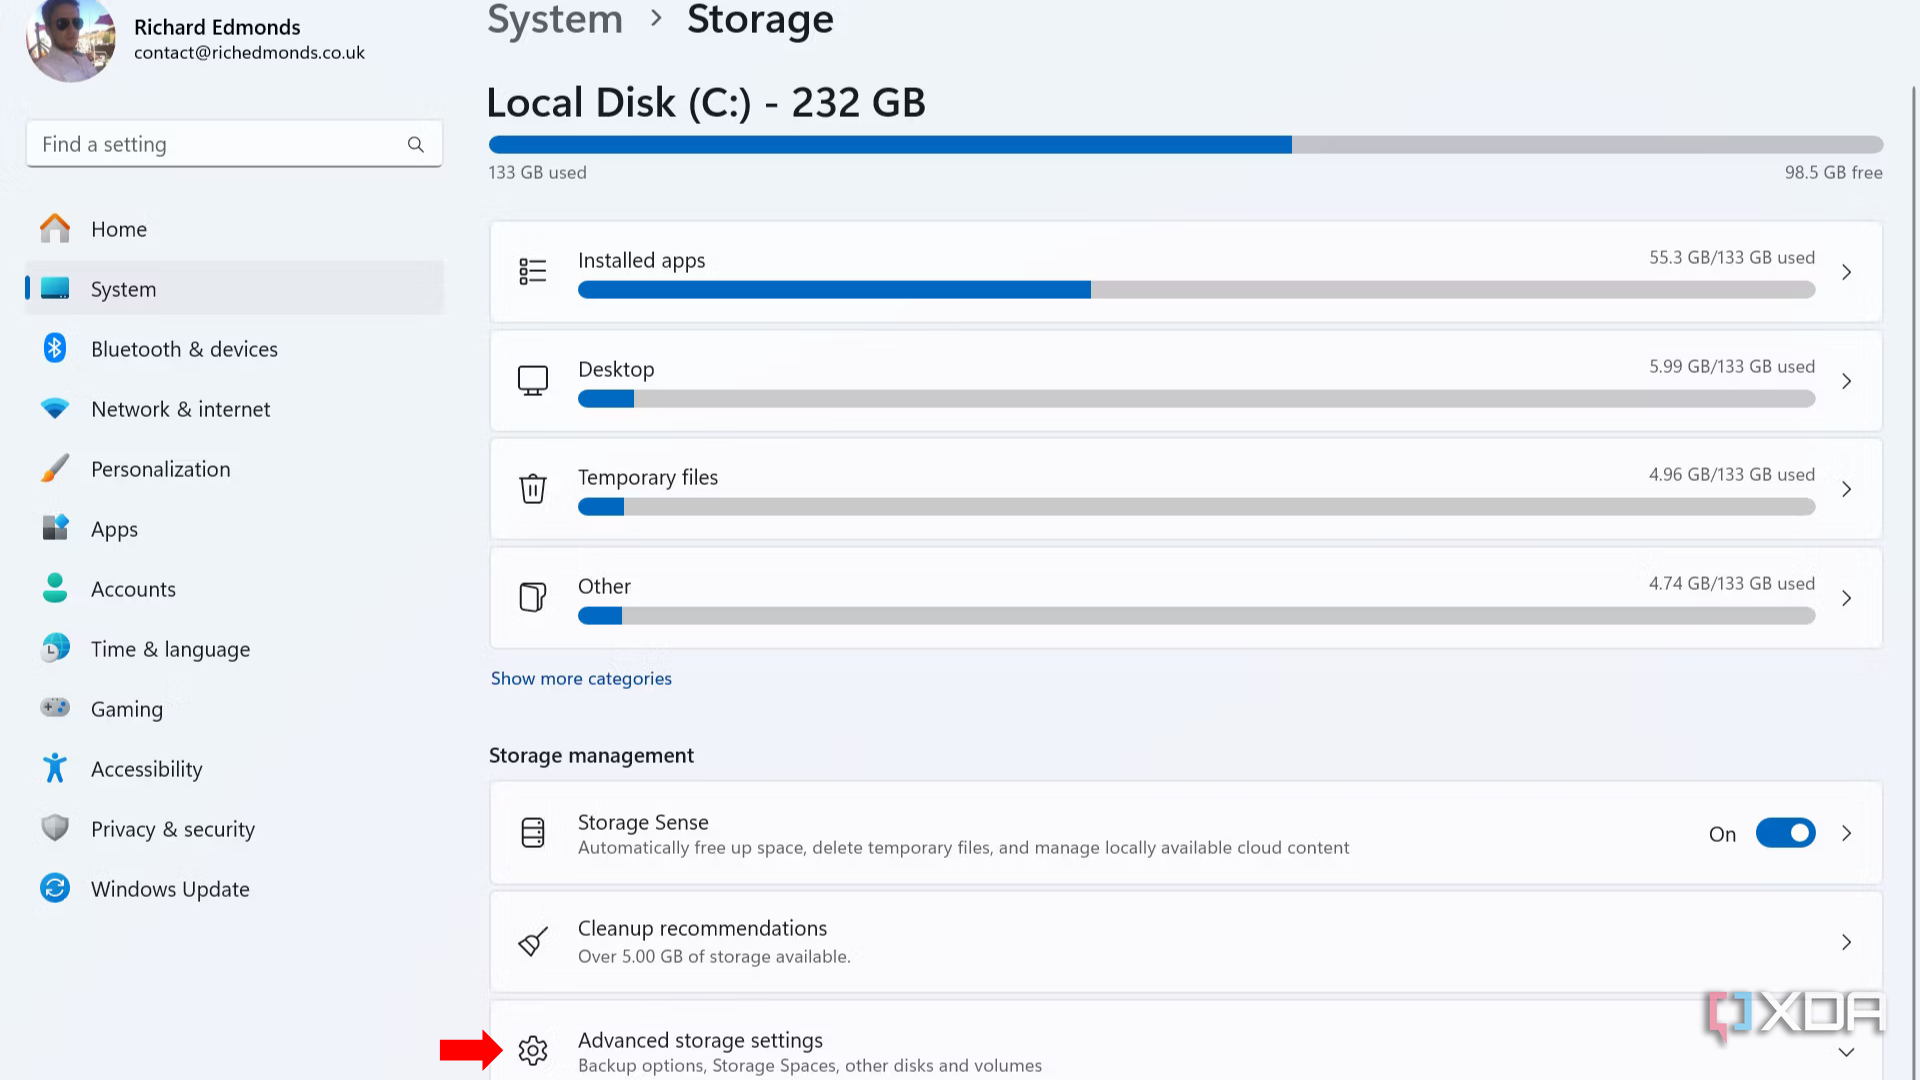


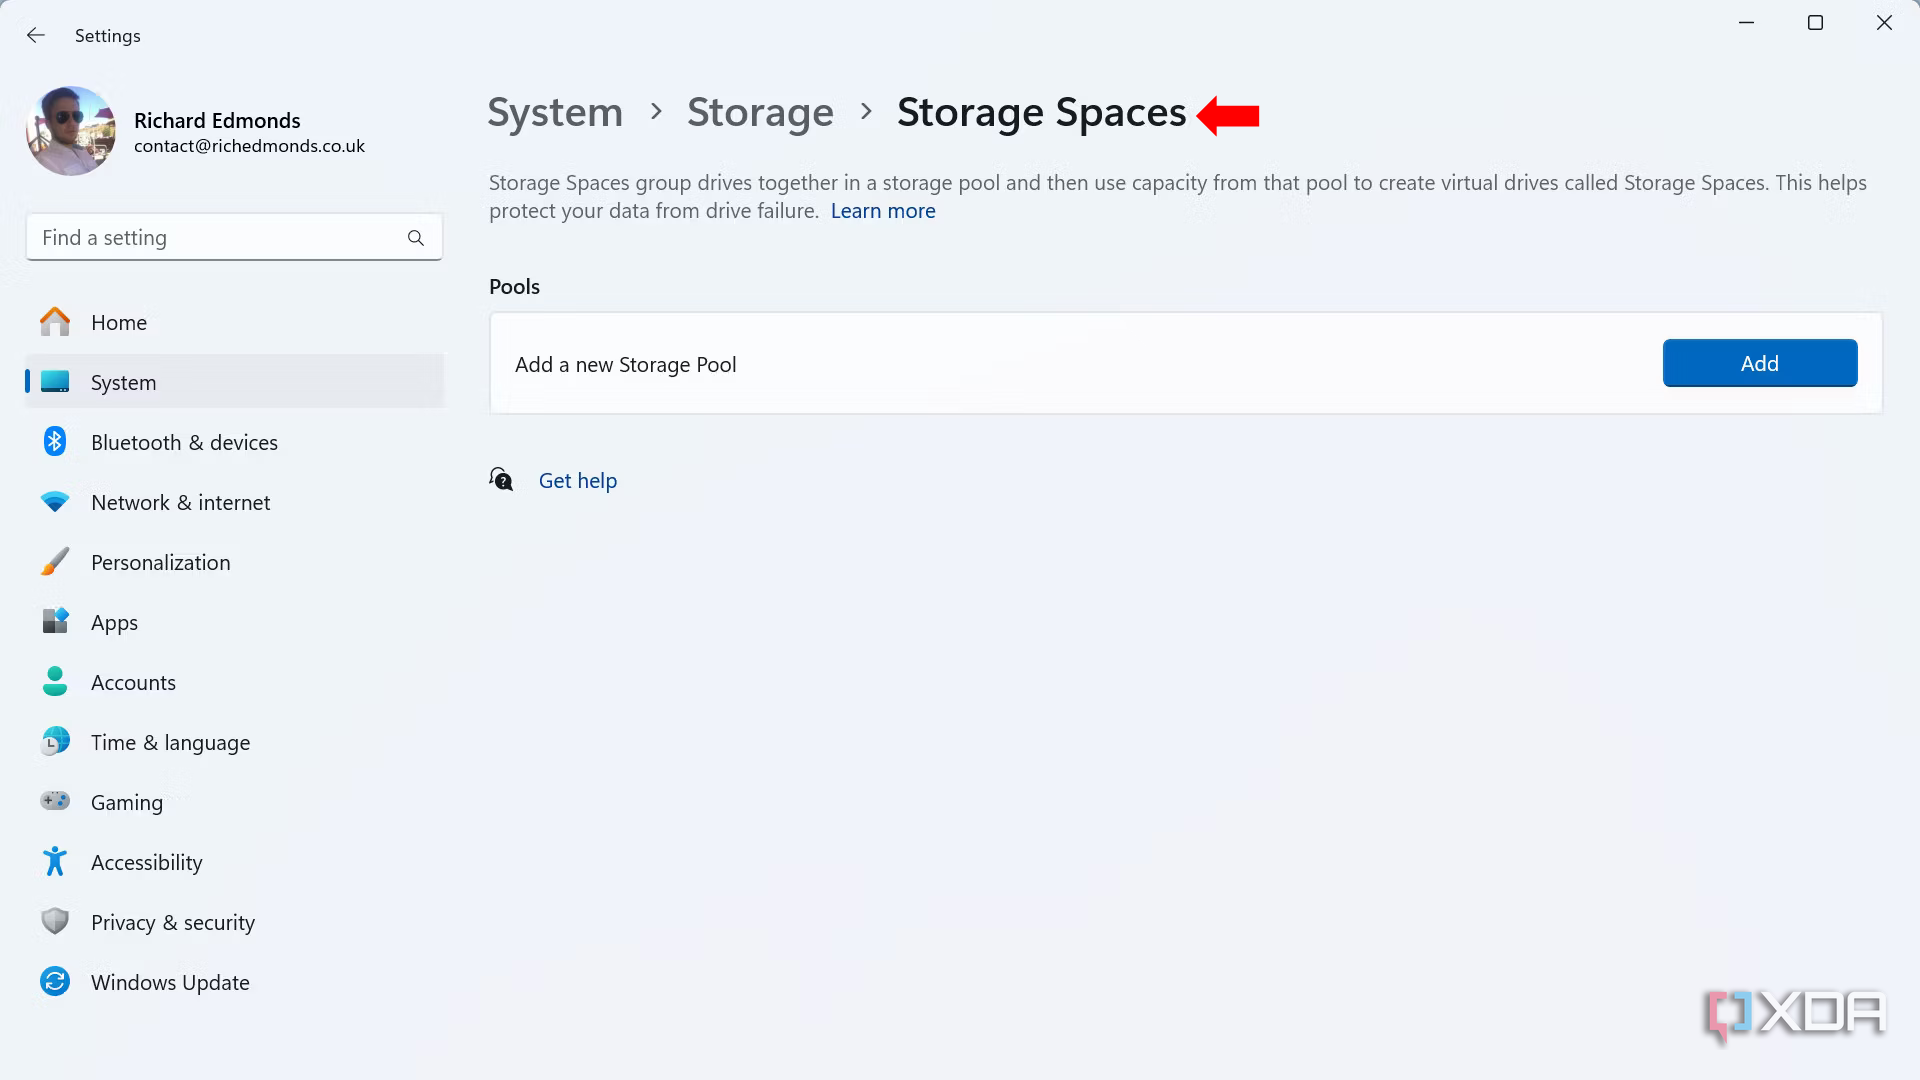
- Click Storage Spaces.
- Select Add.

- Enter a name for the storage pool.
- Choose connected drives for the pool.


- Click Create.
- Set the desired pool size under “Size & resiliency.”
- Select a pool resiliency. Simple: Provides no data redundancy. Two-way mirror: Requires at least 2 drives and can handle a single drive failure. Three-way mirror: Requires at least 5 drives and can handle 2 simultaneous drive failures. Parity: Requires at least 3 drives. Dual parity: Requires at least 7 drives.
- Click Create.
- Set a volume label (name).
- Set a drive letter.
- Choose the file system (I recommend NTFS).
- Click Format.
How to share a storage pool in Windows 11
Opening File Explorer and selecting This PC will show the new storage pool with the entered label and drive letter. It’s ready for storing data and being shared on the network. Follow these steps to get everything up and running for clients on the LAN.
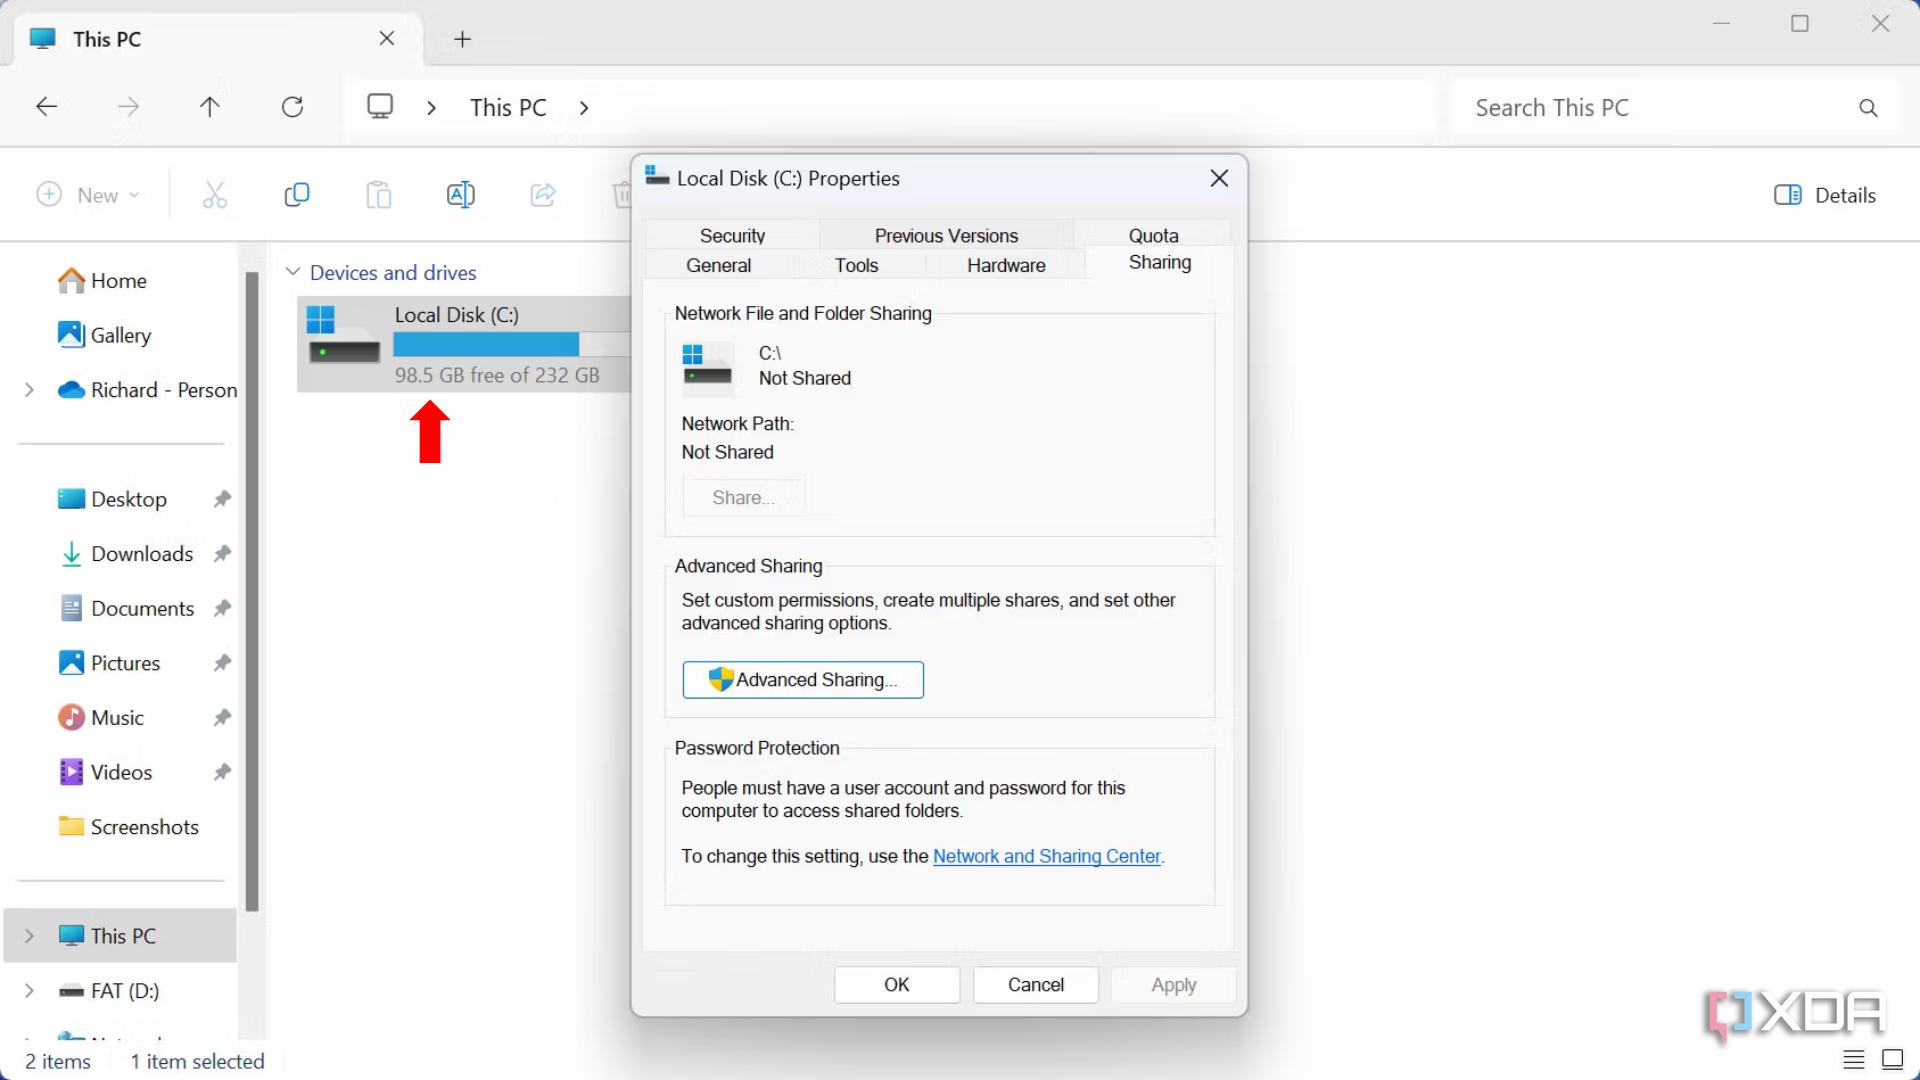
- Right-click the storage pool and choose Properties.
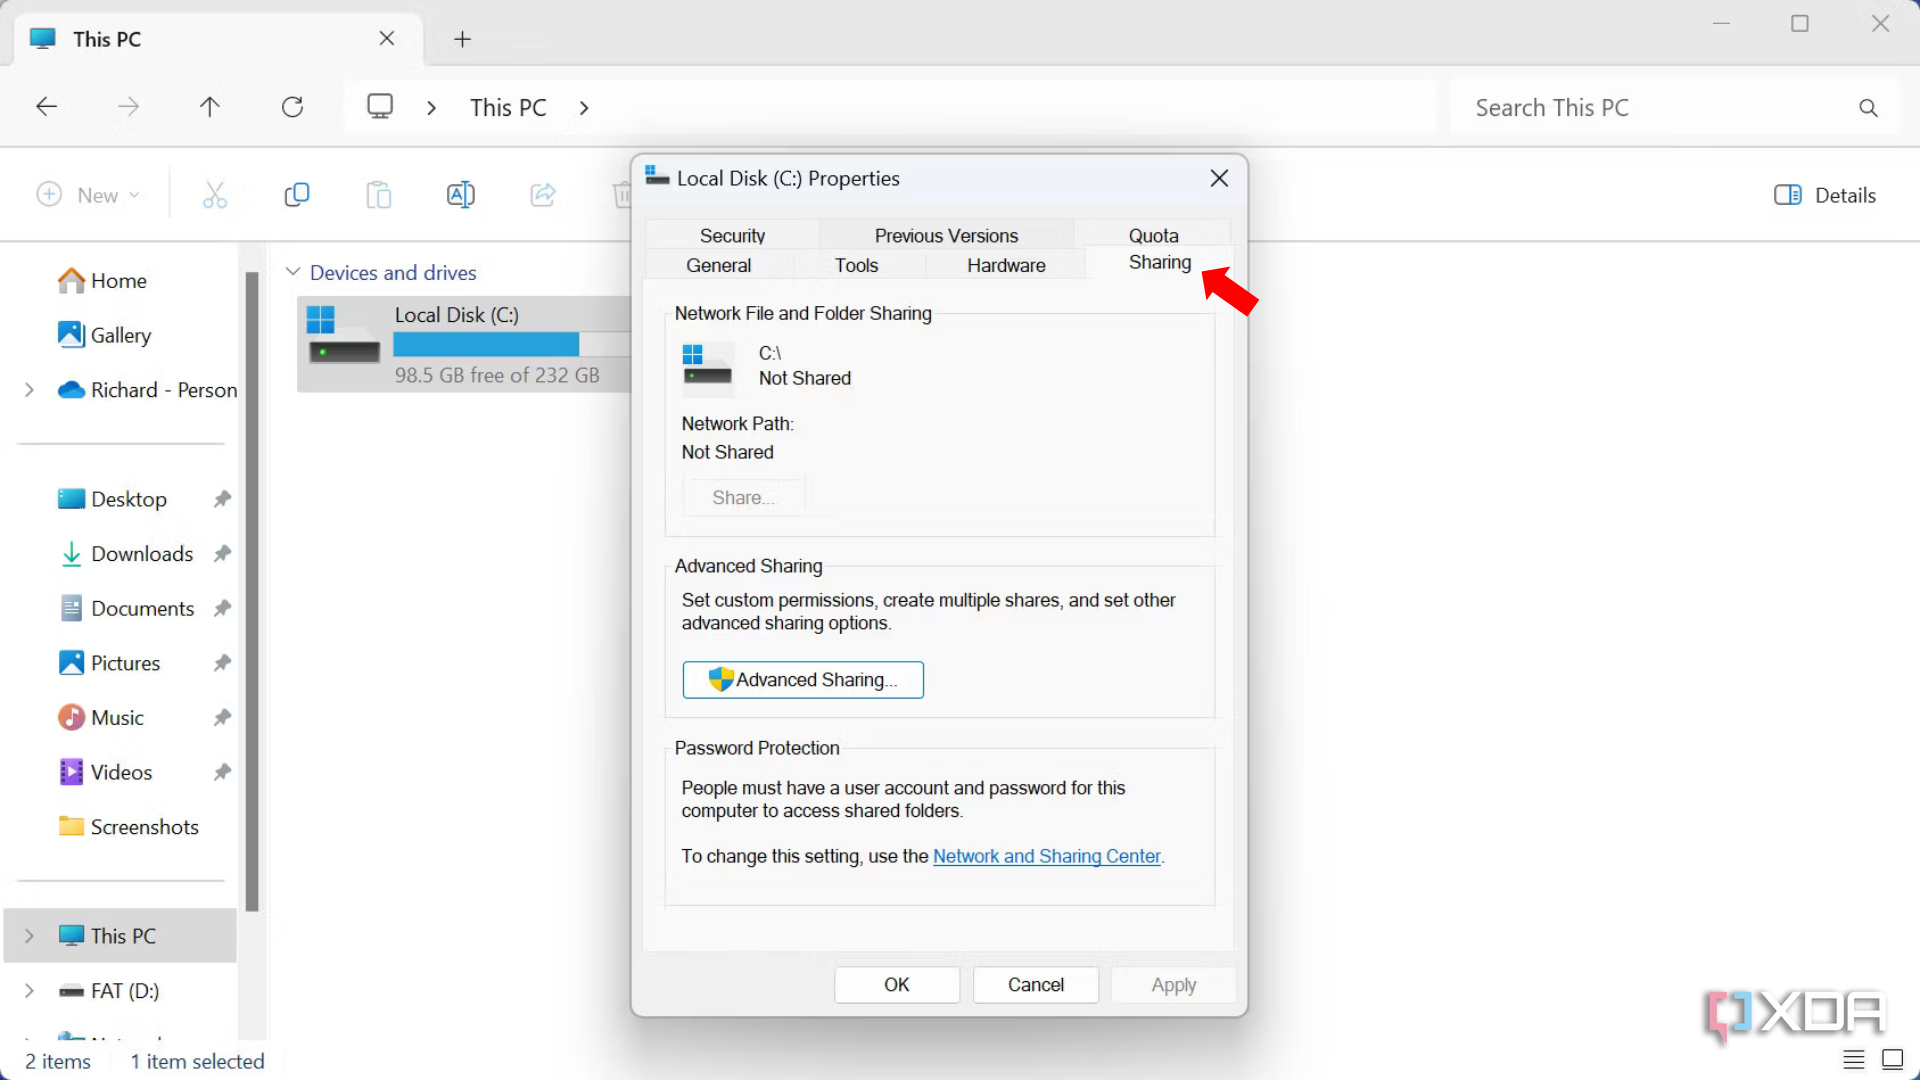
- Choose the Sharing tab.
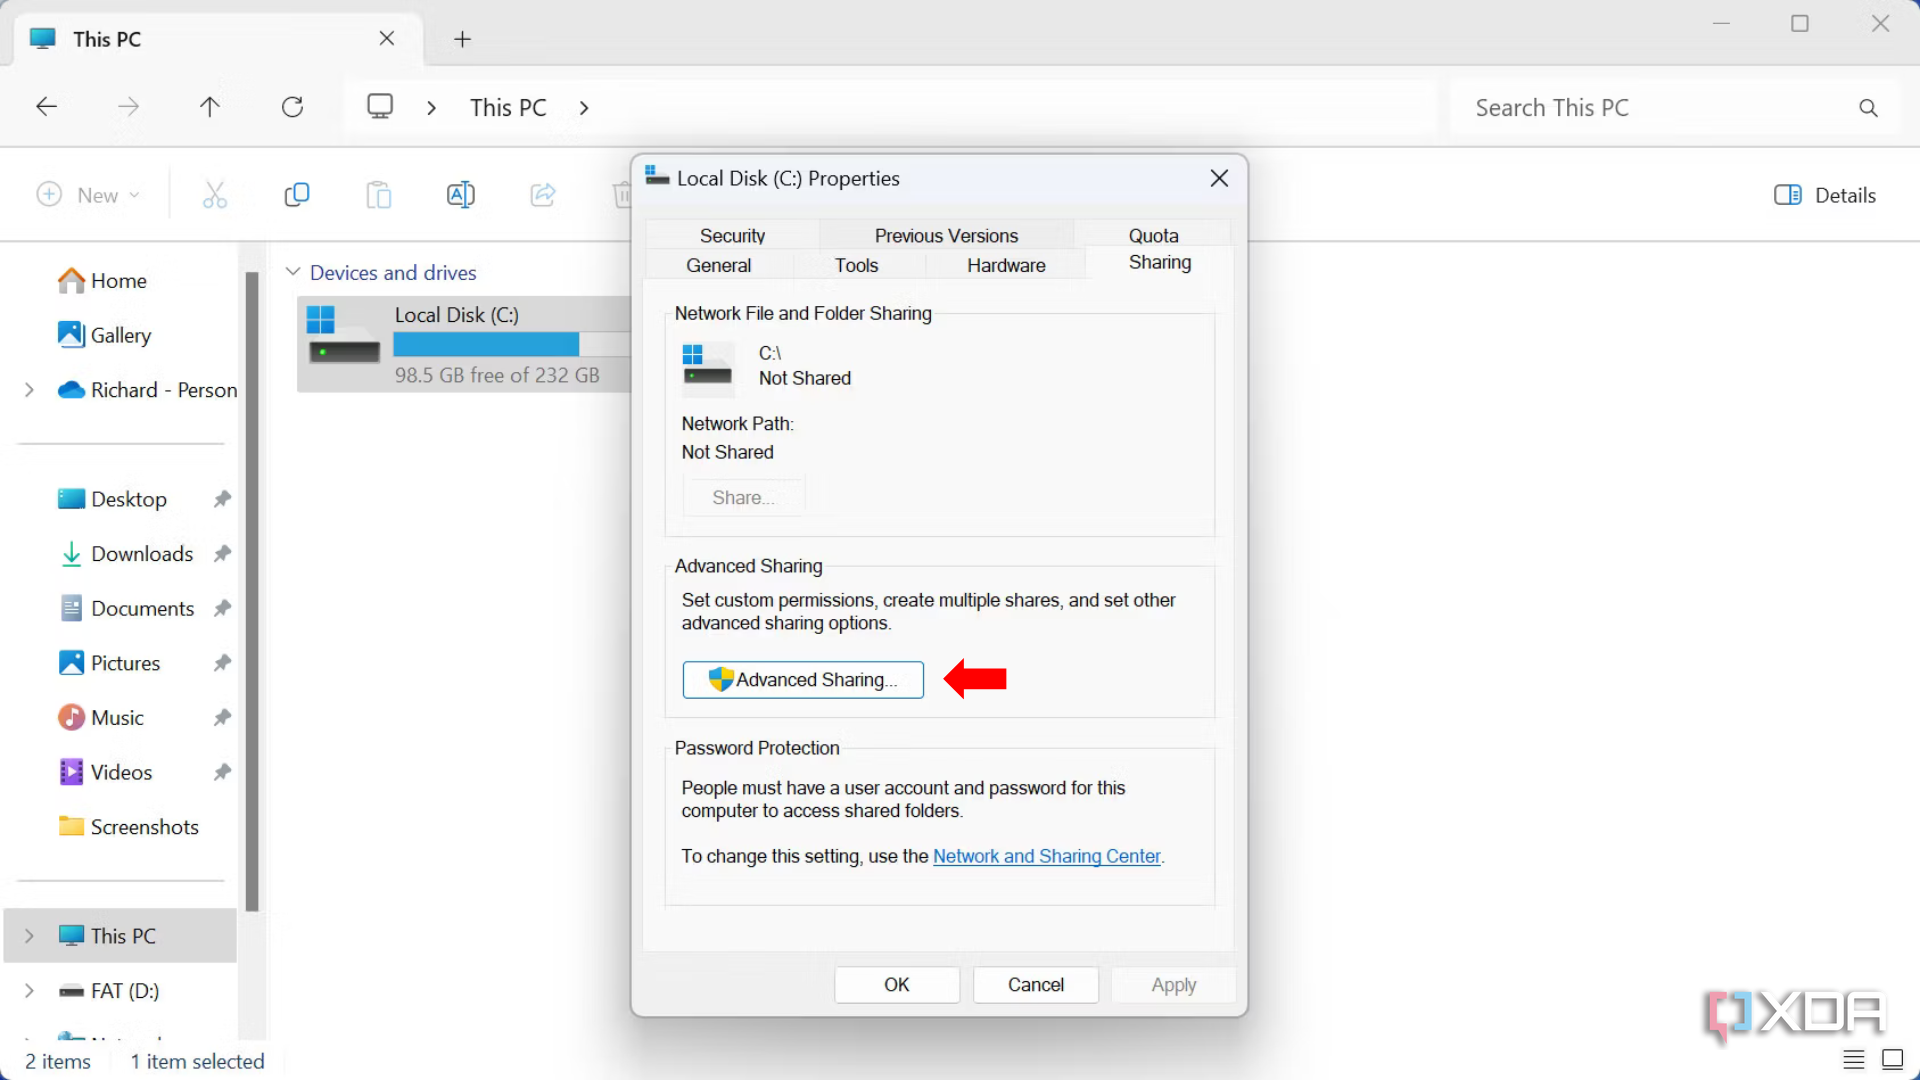
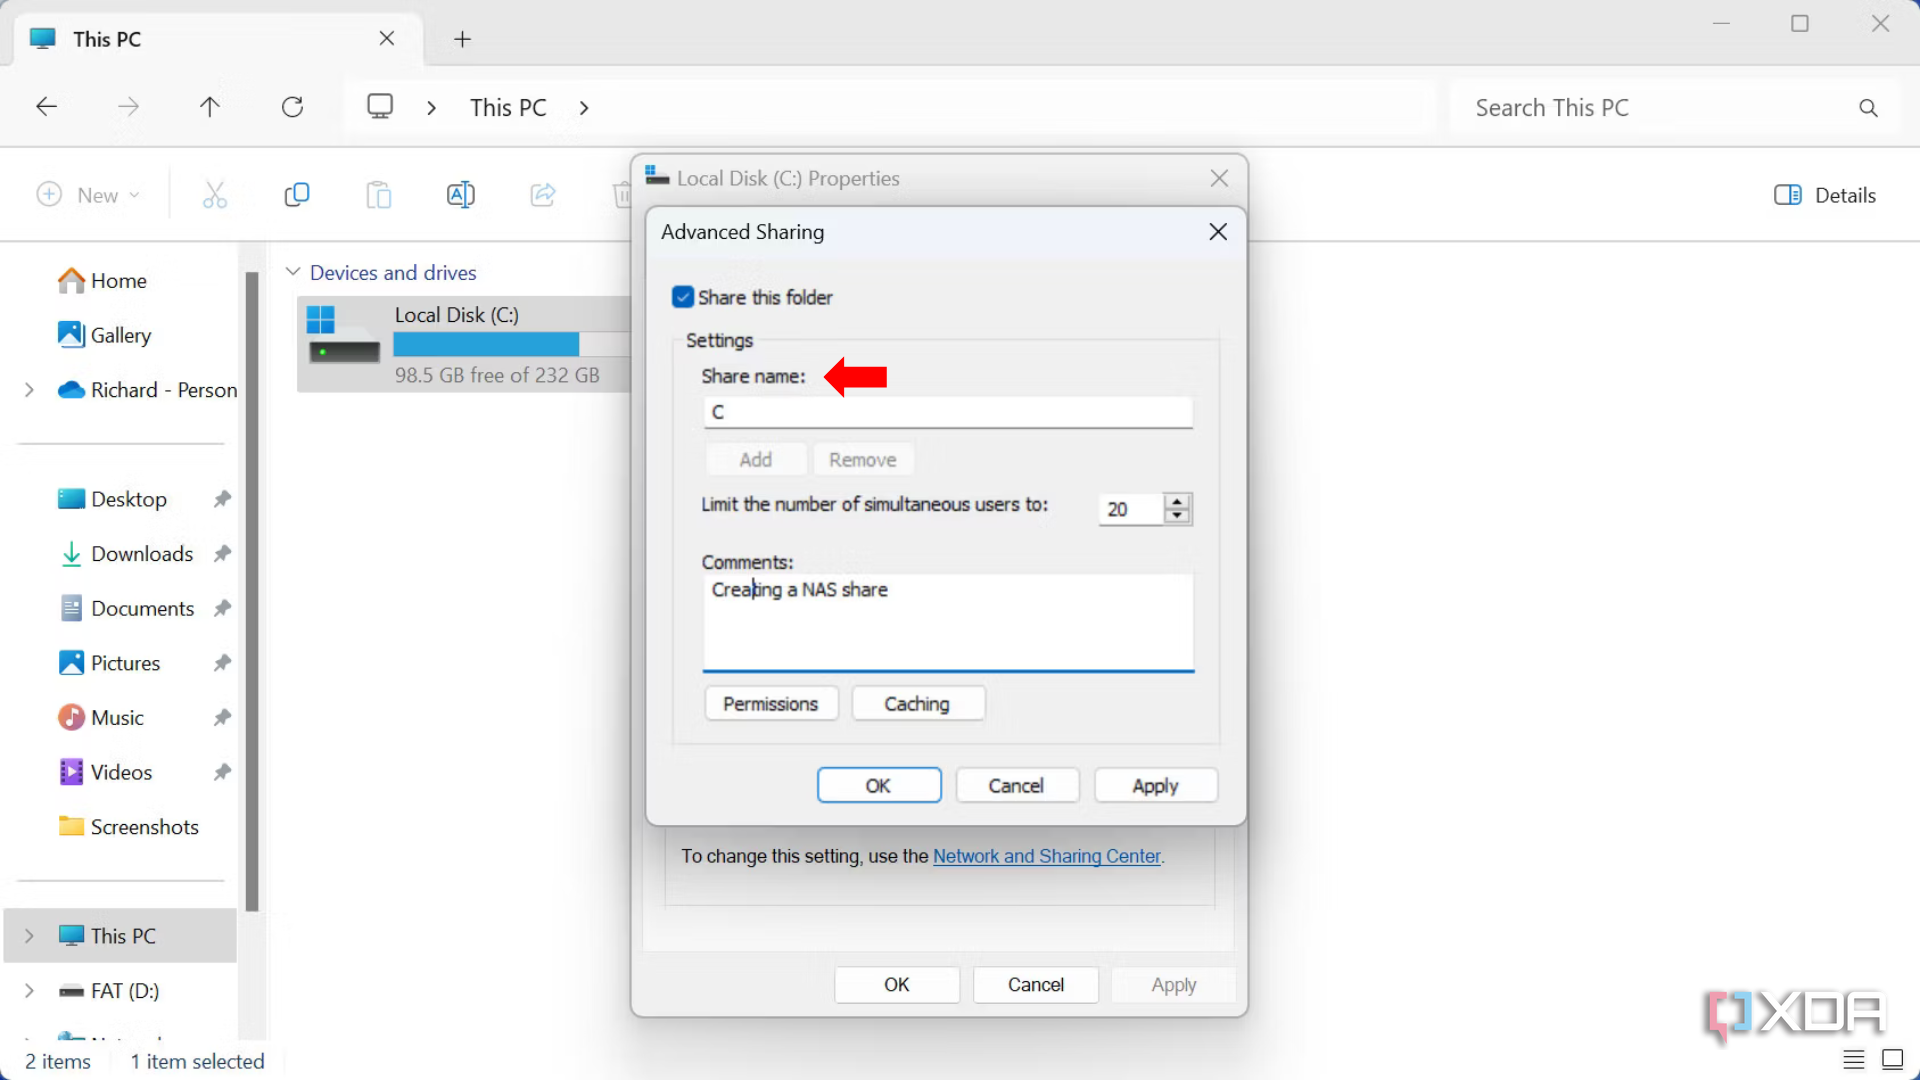
- Click Advanced Sharing.
- Check the “Share this folder” box.
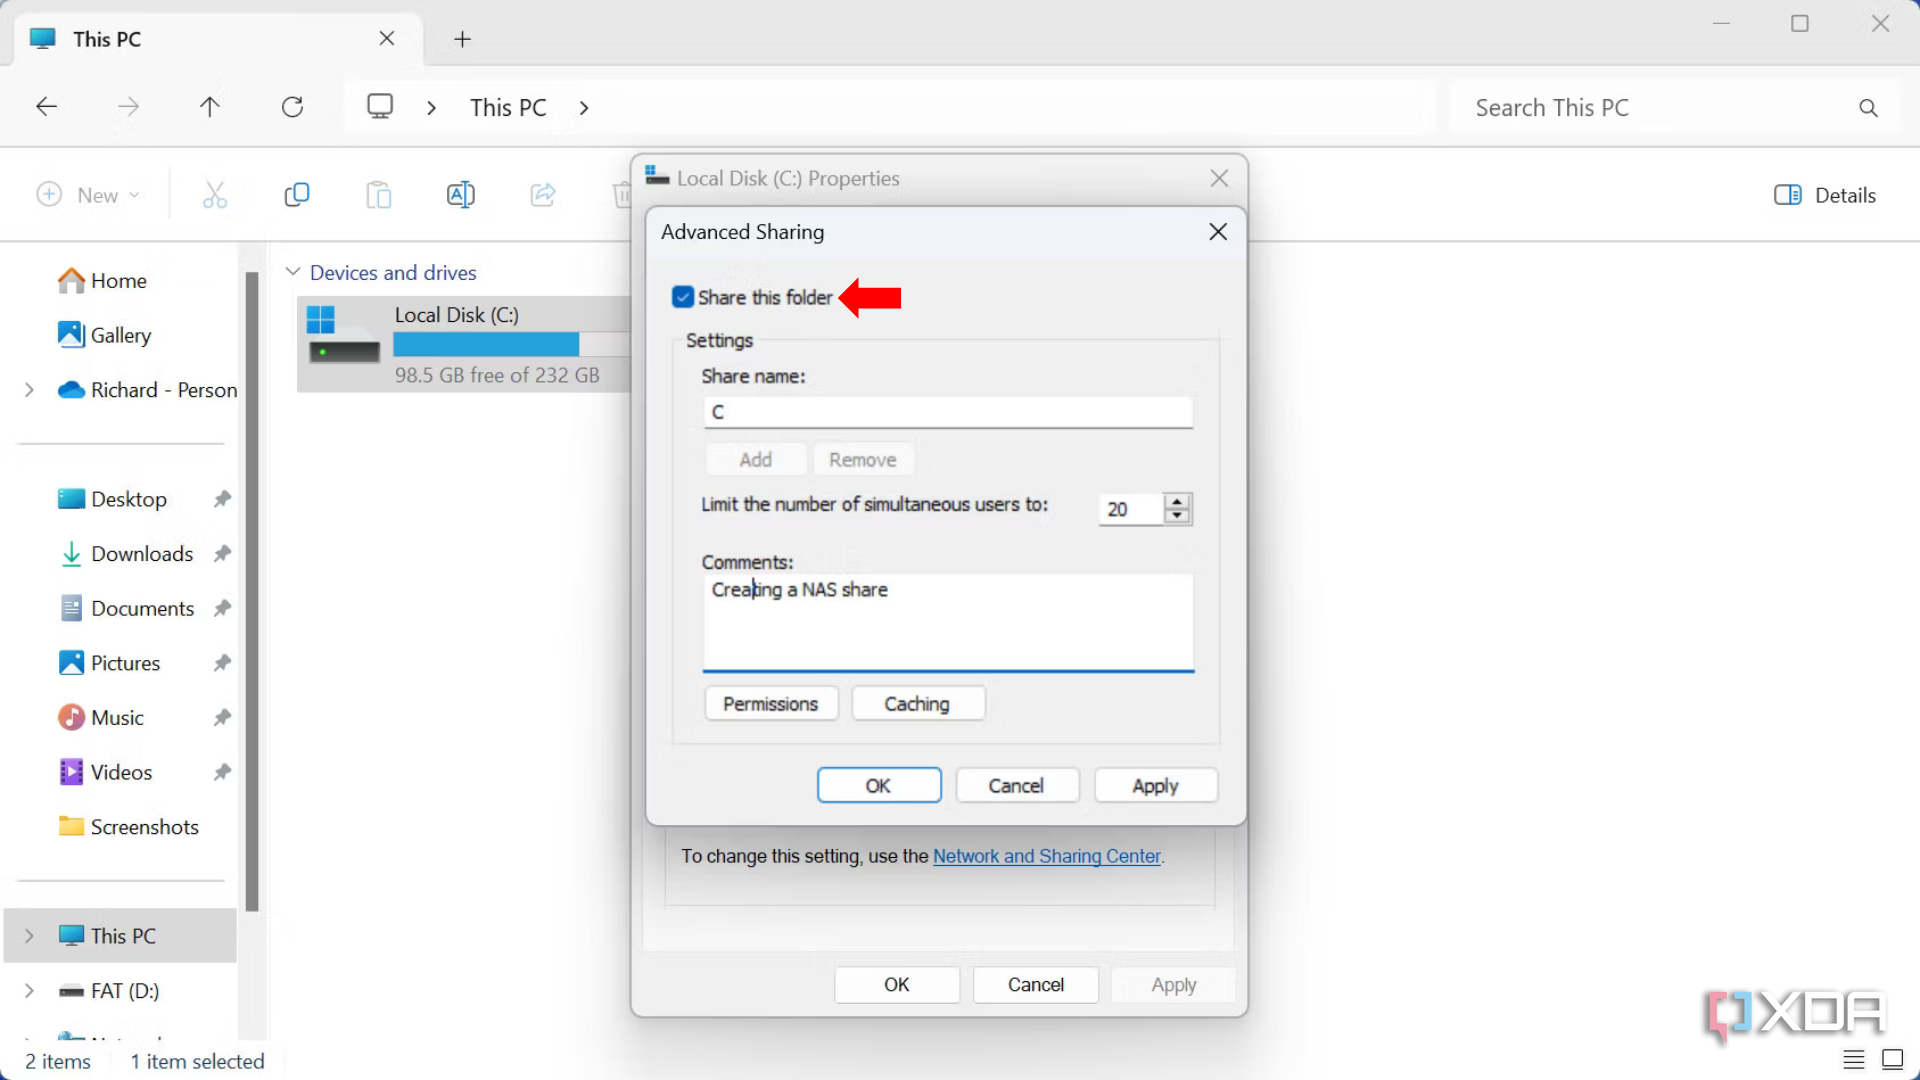


- Enter a Share name to be displayed to others.
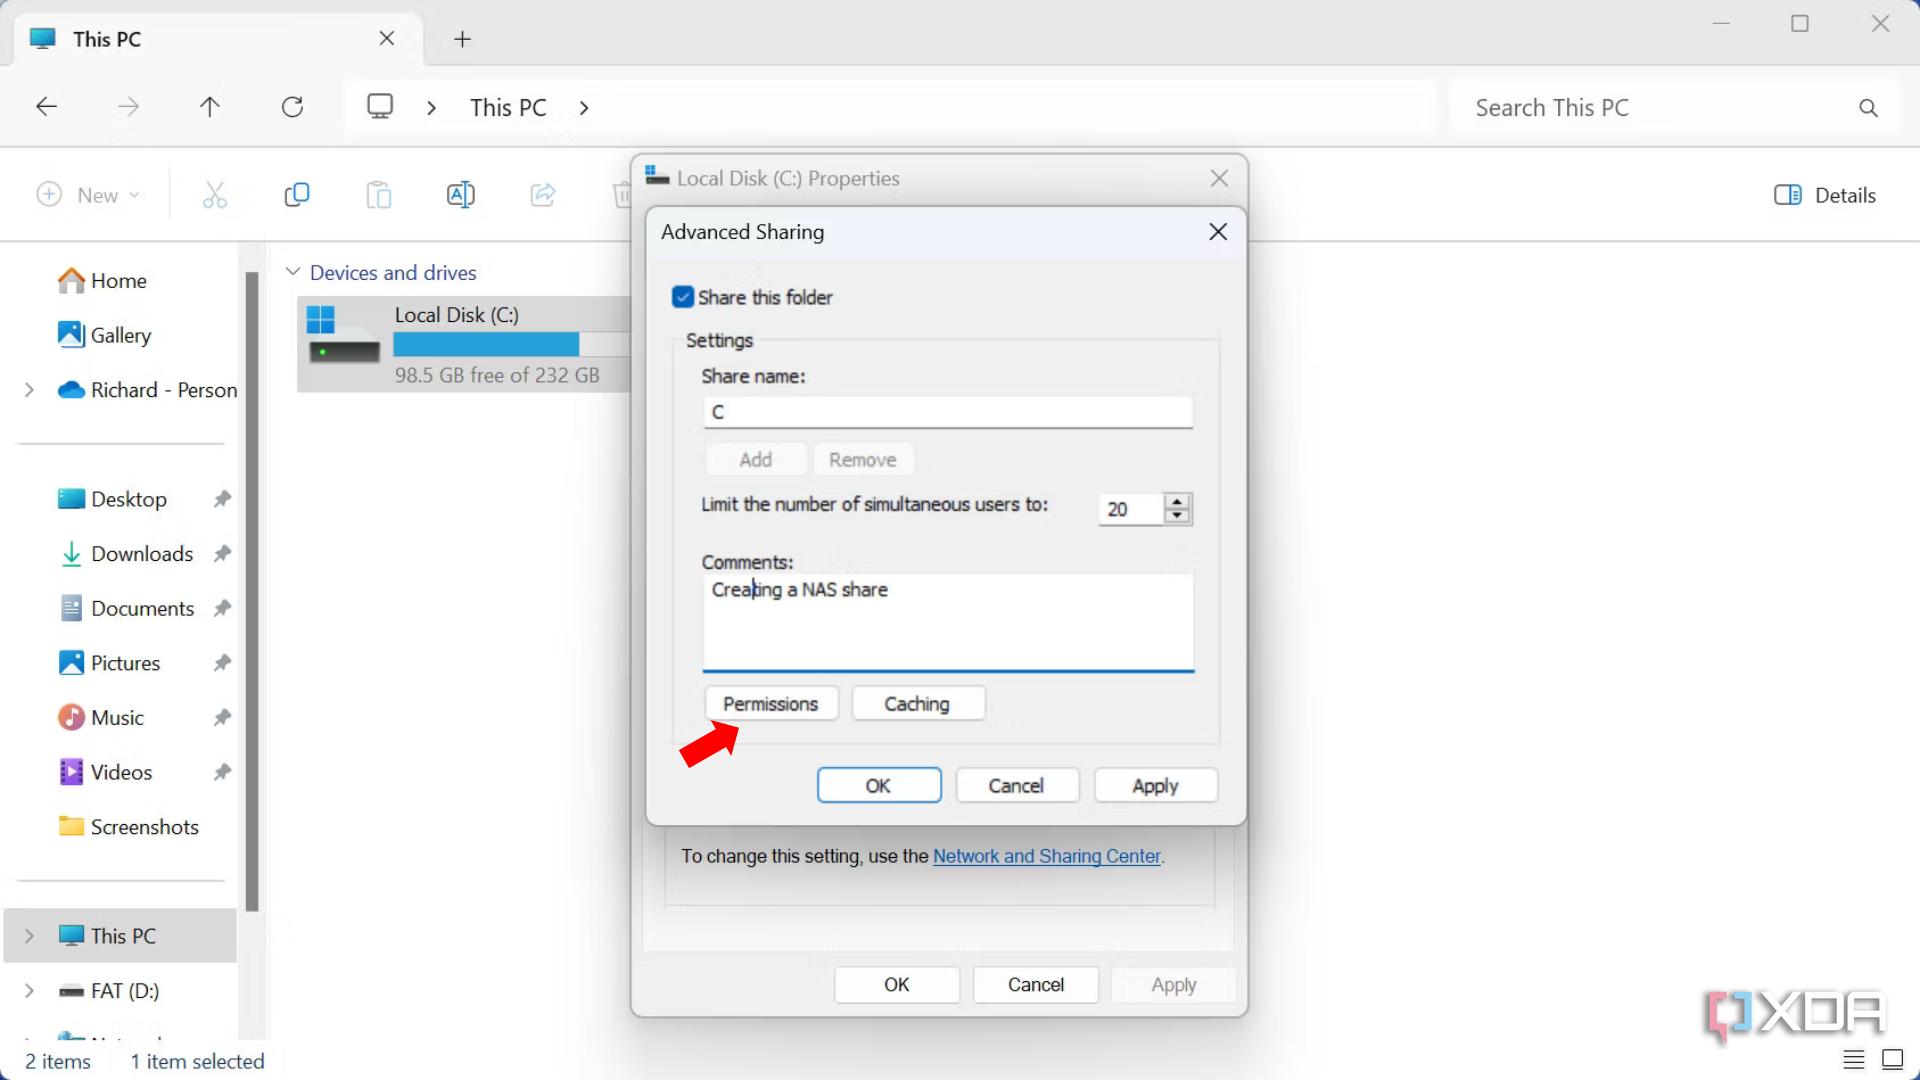
- Click Permissions.
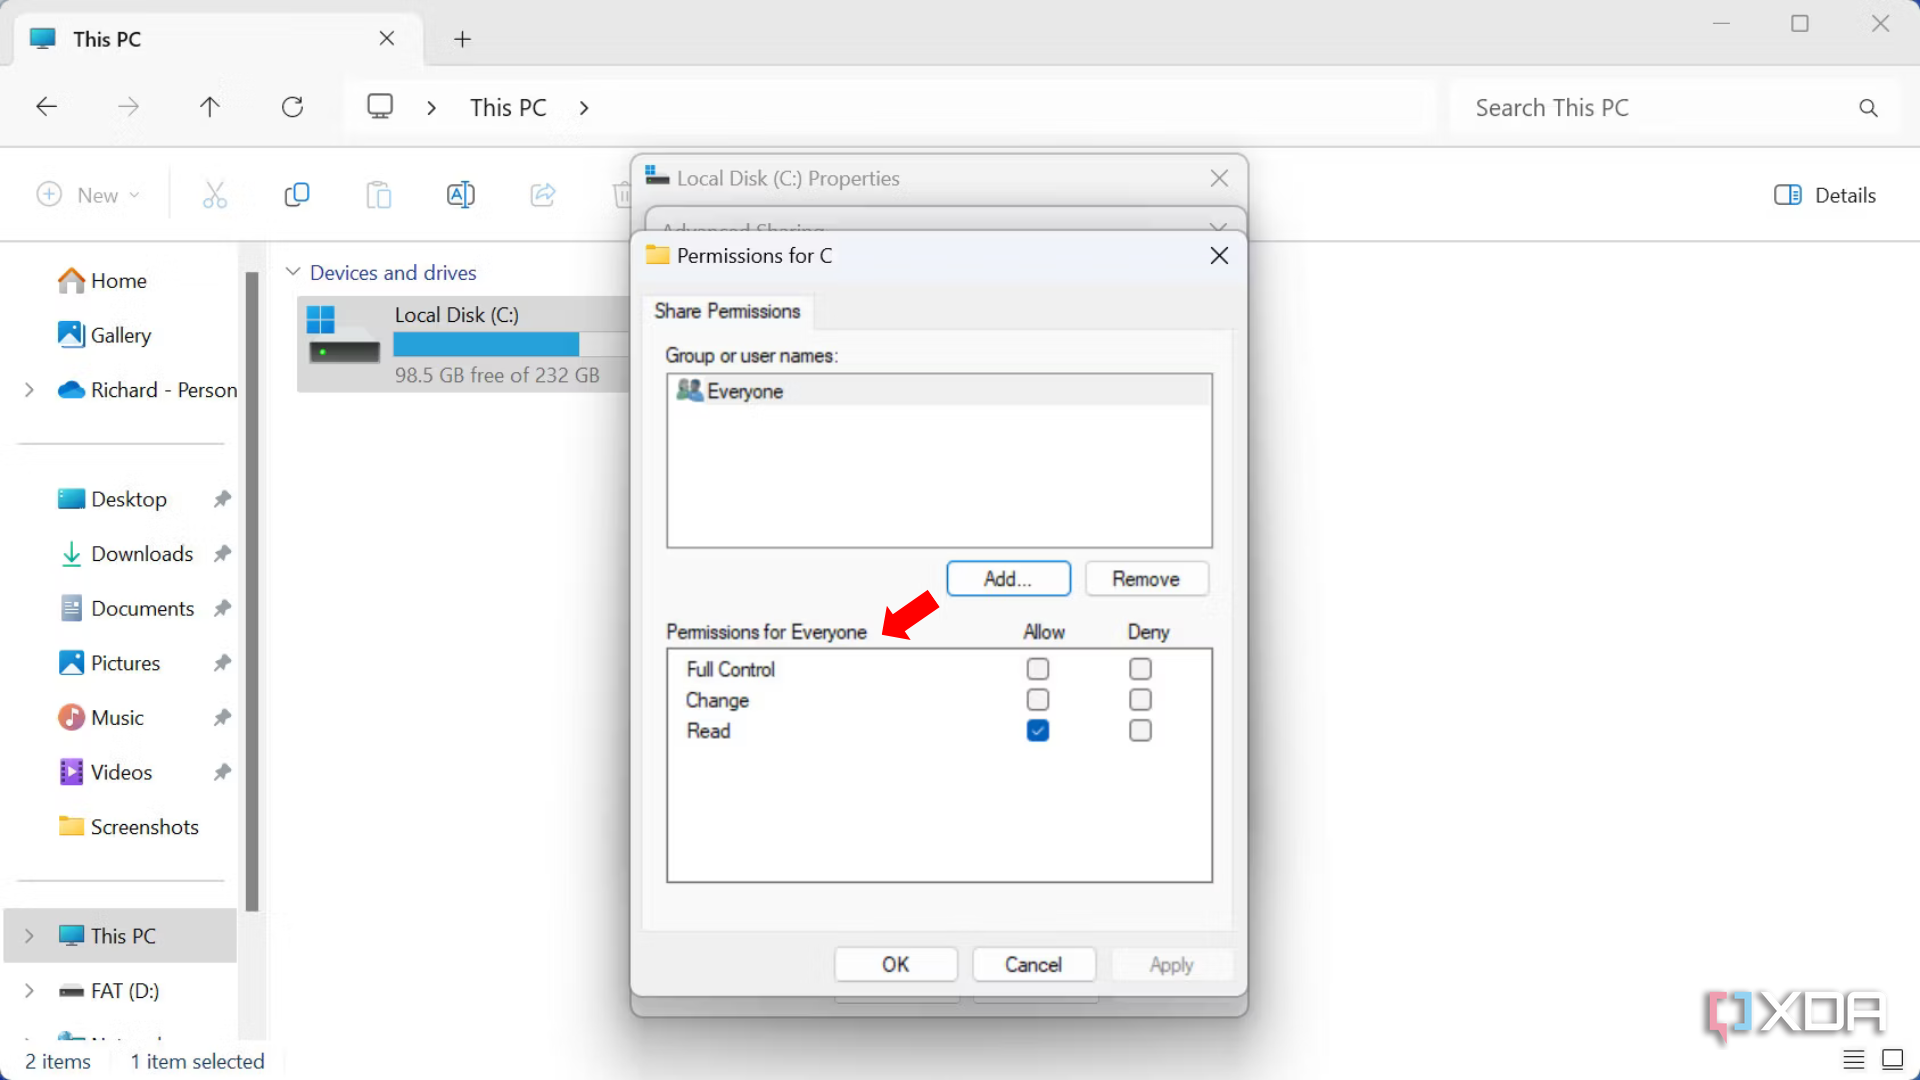
- Configure permissions as desired.
- Click OK.
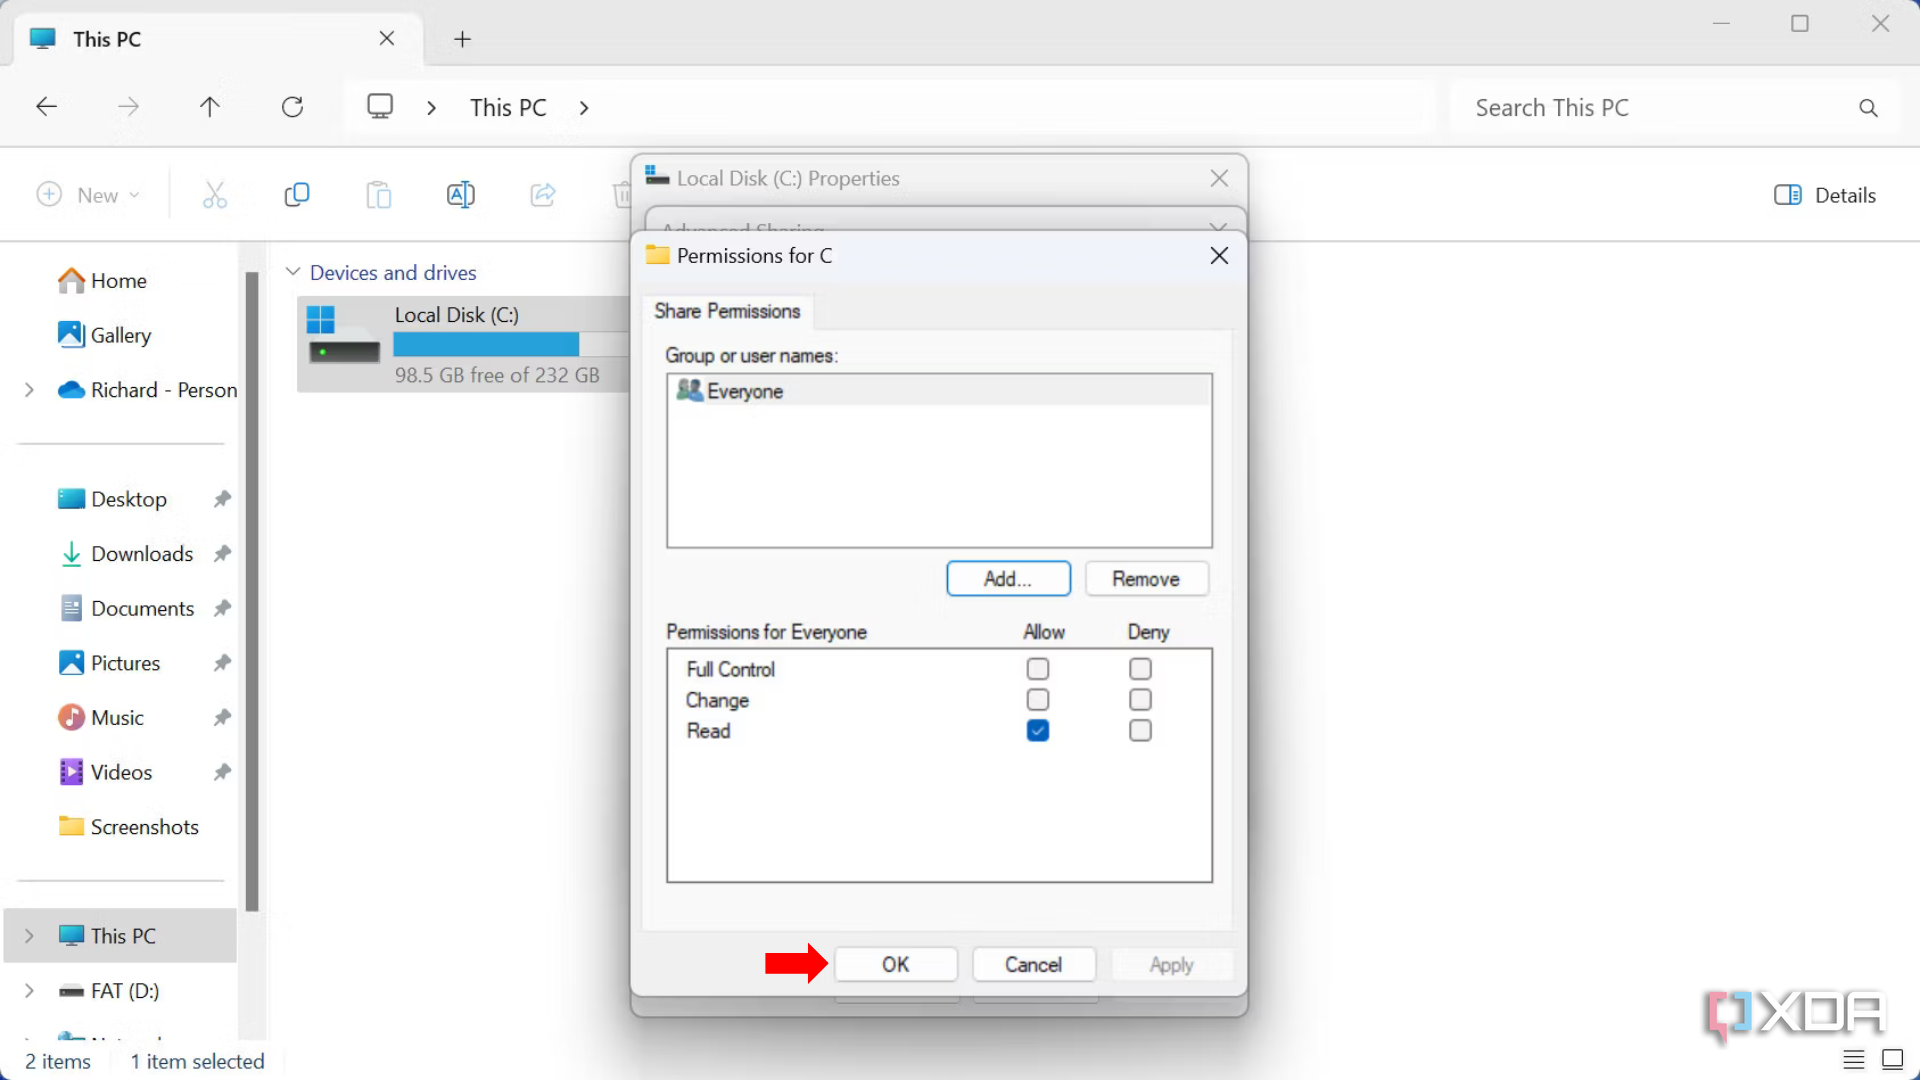


Windows can now be discovered over the network and a drive will be available for everyone to access and create files and folders.
How to get rid of unwanted bloatware on Windows 11
Now it’s time to remove all the unwanted bloat that comes with a fresh installation of Windows 11. We’ll be using a small app called BloatnosyAI, available for free on GitHub. To start BloatnosyAI and download the application, follow the easy steps below.
- Run BloatynosyAI.exe.
- Click Remove crapware in optional database.
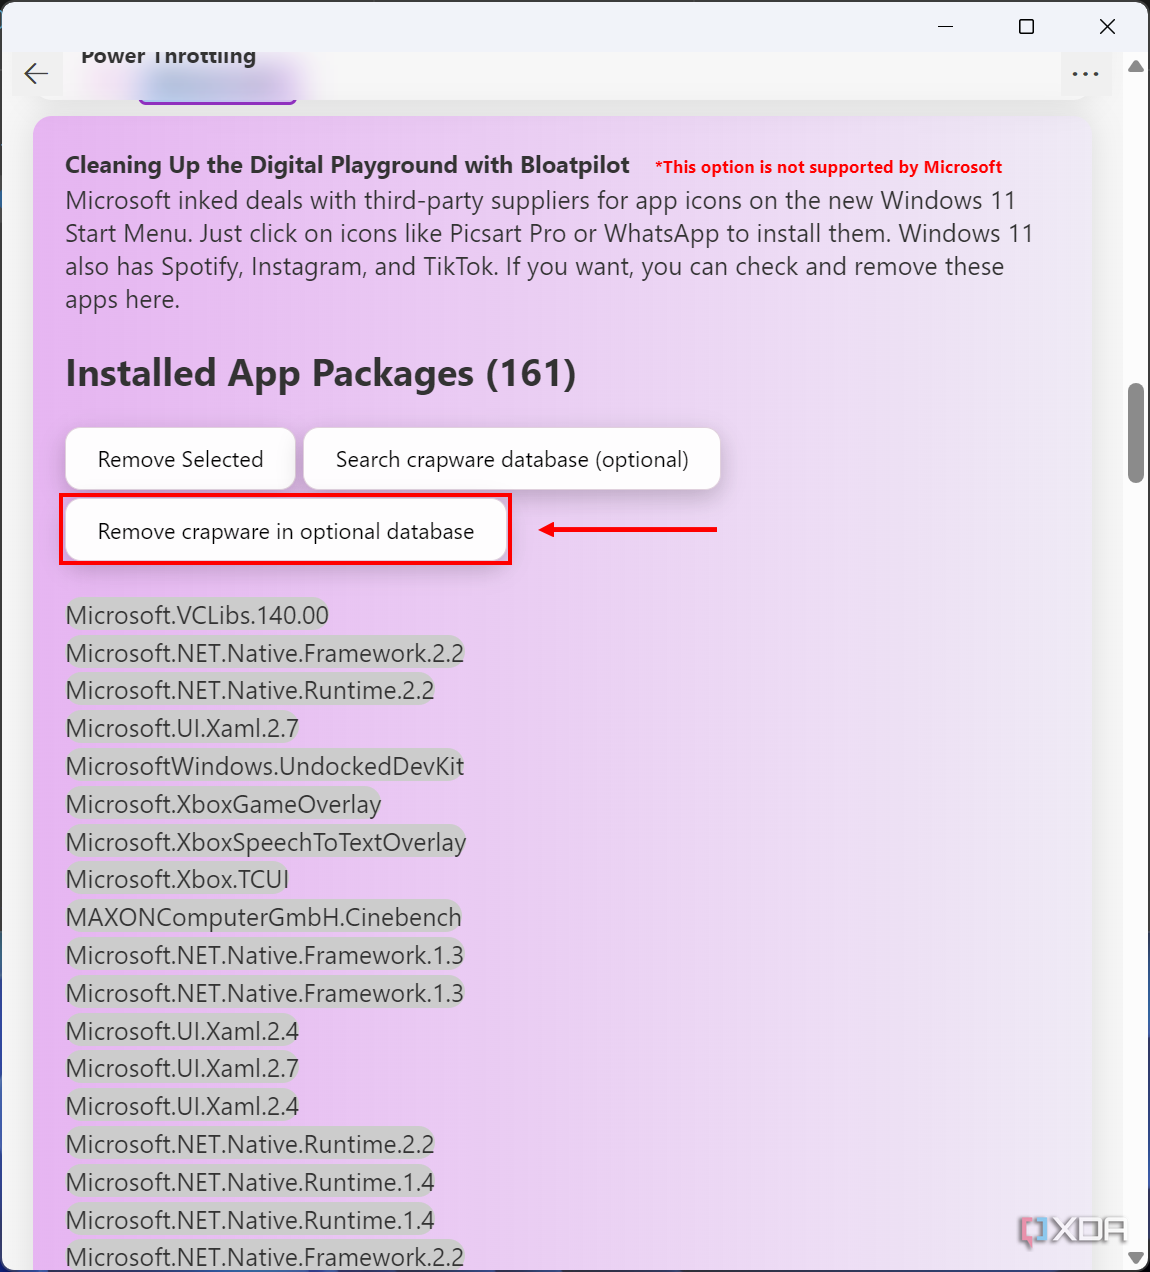
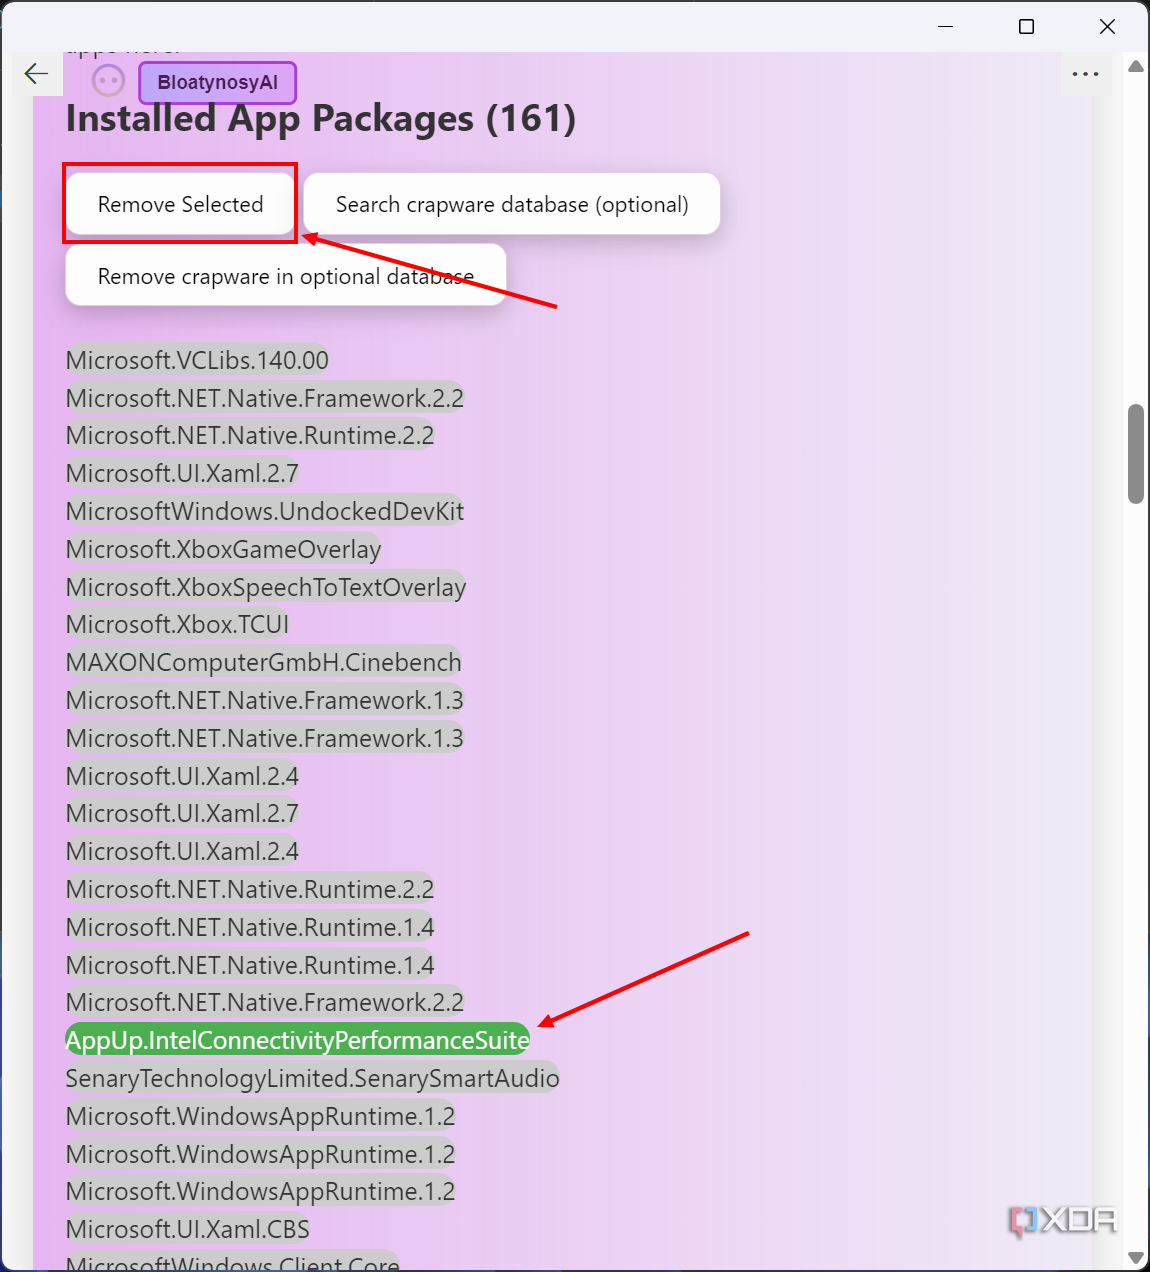


You can also spend some time using BloatnosyAI to run through everything it detects and keep anything you may find useful to save having to reinstall something. Other methods of keeping Windows bloat-free can be found in our comprehensive debloat Windows 11 guide.
Installing apps on the Windows NAS
Docker is your new best friend
Docker containers are powerful app instances that allow the NAS to run various software in a semi-locked-down environment. You don’t need to know any programming and this super-easy app available for Windows will manage everything for you. With Docker containers, you can set up a media server, run game servers, record footage from surveillance IP cameras, create a smarter home, and even become more productive during work hours.
#set #Windows #networkattached #storage #NAS
source: https://www.xda-developers.com/how-to-set-up-and-use-windows-nas/

