

Synology produces some excellent network-attached storage (NAS) solutions and it has always been relatively easy to migrate between models. So long as you weren’t mismatching series, you were able to move everything across to a new NAS. With Migration Assistant, Synology has made it painless to migrate from one branded NAS to another. All you need to do is read through this guide and follow a few steps, and you’ll be up and running in no time.
Migration Assistant handles everything
Synology offers the Migration Assistant app, which can be used to move files, configuration, apps, and other data to another Synology NAS. So long as you have a supported NAS and plan to use new drives, the Migration Assistant makes it easy to successfully make the transfer with minimal downtime. Migration Assistant will work with the following Synology NAS:
- FS series:FS6400, FS3600, FS3410, FS3400, FS3017, FS2500, FS2017, FS1018
- SA series:SA6400, SA3610, SA3600, SA3410, SA3400D, SA3400, SA3200D
- 24 series:DS224+
- 23 series:RS2423RP+, RS2423+, DS1823xs+, DS923+, DS723+, DS423+
- 22 series:RS822RP+, RS822+, RS422+, DS3622xs+, DS2422+, DS1522+
- 21 series:RS4021xs+, RS3621xs+, RS3621RPxs, RS2821RP+, RS2421RP+, RS2421+, RS1221RP+, RS1221+, DS1821+, DS1621xs+, DS1621+
- 20 series:RS820RP+, RS820+, DS1520+, DS920+, DS720+, DS620slim, DS420+, DS220+
- 19 series:RS1619xs+, RS1219+, DS2419+II, DS2419+, DS1819+, DS1019+
- 18 series:RS3618xs, RS2818RP+, RS2418RP+, RS2418+, RS818RP+, RS818+, DS3018xs, DS1618+, DS918+, DS718+, DS418play, DS218+
- 17 series:RS18017xs+, RS4017xs+, RS3617xs+, RS3617RPxs, RS3617xs, DS3617xsII, DS3617xs, DS1817+, DS1817, DS1517+, DS1517
- 16 series:RS18016xs+, RS2416RP+, RS2416+, DS916+, DS716+II, DS716+, DS416play, DS216+II, DS216+
With all that in mind, here’s what you need to do:
- Sign into your new Synology NAS.
- Open Package Manager.
- Install Migration Assistant.
- Open Migration Assistant.
- Click Next.
- Enter your old Synology NAS IP address, admin account, and password.
- Click Next.
- Click Apply.
- Click Continue.
- Enter the admin password for the new Synology NAS.
- Click Submit.
The migration process will now kick into gear, moving across everything from your old NAS to the new one. After the system phase has been completed, the wizard will ask you how to handle services on the old Synology NAS. You can keep all services running for manual transfer later or disable them all for immediate transfer. Once the process has fully completed, you can shut down the old NAS and continue using the new one.
How to manually move to a new Synology NAS

Moving to a new Synology NAS without Migration Assistant is also fairly straightforward. This is the method you’ll need to use when not looking to add more drives to the destination NAS, moving to the same model, or happen to have some other requirements that Migration Assistant isn’t suitable for. I recommend moving to a NAS with equal to or higher specifications and drive bays. I’ll have two methods in this guide, one for migrating data to the same NAS model and a different model.
- You cannot migrate drives between all NAS enclosures.
- The DSM OS running on the destination NAS must be the same version or newer.
- The destination NAS must support the same file system and have enough drive slots for all the source drives.
You can move drives from one Synology NAS series to another, but not all are supported. For instance, you won’t be able to move from a DS218j to a DS923+. See the below table for reference:
|
Source |
J |
Value |
Plus |
XS/XS+ |
SA |
FS |
DVA |
|---|---|---|---|---|---|---|---|
|
J |
✓ |
✓ |
– |
– |
– |
– |
– |
|
Value |
✓ |
✓ |
– |
– |
– |
– |
– |
|
Plus |
– |
– |
✓ |
✓ |
✓ |
– |
✓ |
|
XS/XS+ |
– |
– |
✓ |
✓ |
✓ |
– |
✓ |
|
SA |
– |
– |
– |
✓ |
✓ |
✓ |
– |
|
FS |
– |
– |
– |
– |
– |
✓ |
– |
|
DVA |
– |
– |
✓ |
✓ |
✓ |
– |
✓ |
It’s vital the drives are installed in the same order in the new NAS as they were in the older enclosure. Failing to do so could result in data loss.
Same NAS model
- Sign in to the old Synology NAS.
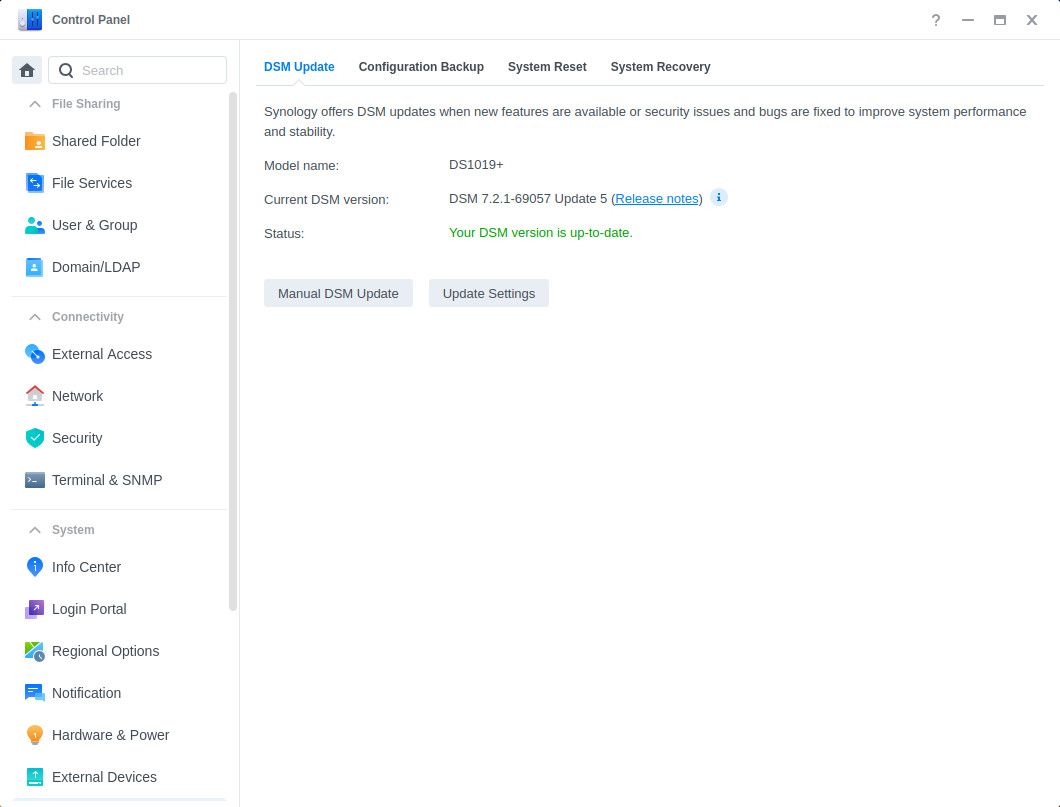
- Go to Control Panel > Update & Restore.
- Check for and install any available updates.
- Install an empty temporary drive in the new Synology NAS.
- Boot up and connect to the new Synology NAS IP in a browser.
- Click Next. (If you see a warning message similar to “Note: All data on the hard drive(s) will be deleted” turn off the NAS and check the drive order.)
- Download the latest DSM OS from Synology.
- Click Install Now.
- Create an admin account.
- Click Next.
- Shut down both Synology NAS units once the installation is complete.
- Remove the temporary SATA drive from the new Synology NAS.
- Remove the hard drives from the source NAS. (Note the order in which they were installed.)
- Install the hard drives into the new NAS in the same order as the previous enclosure.
- Boot up and connect to the new Synology NAS IP in a browser.

Different NAS model
- Sign in to the old Synology NAS.
- Go to Control Panel > Update & Restore.
- Check for and install any available updates.
- Click on the Configuration Backup
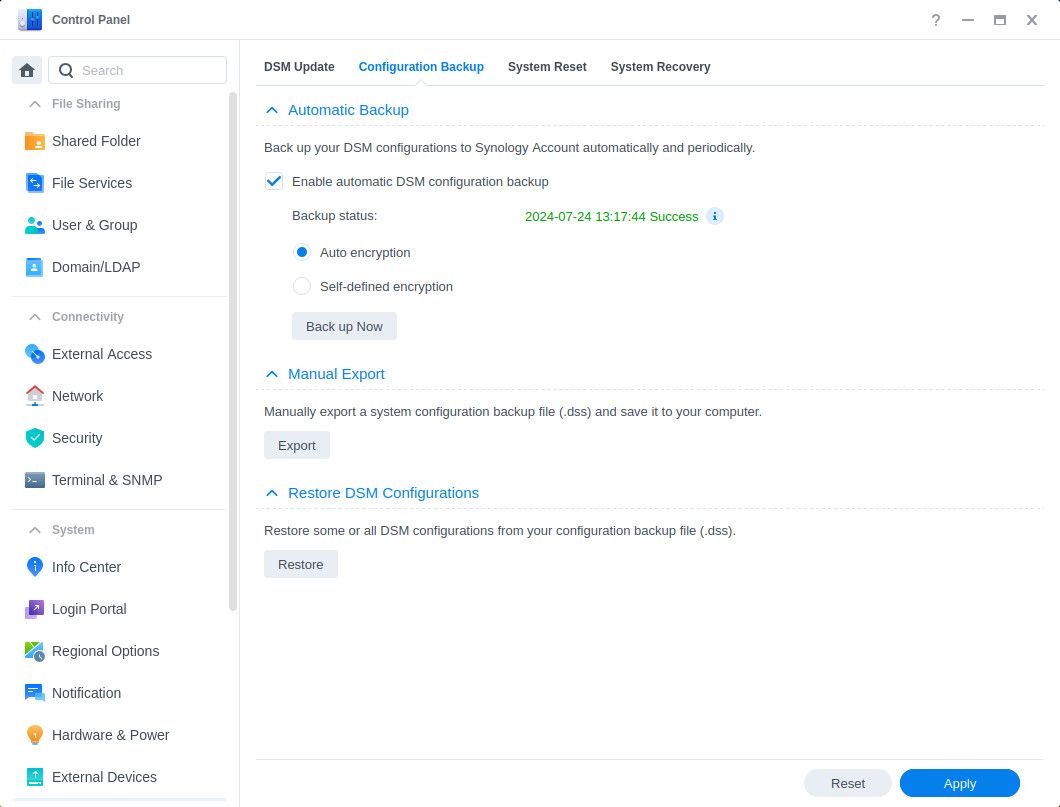
- Select Back up configuration to create a .dss config file.

- Go to Hyper Backup.
- Follow the on-screen wizard and back up your NAS data.
- Shut down the old Synology NAS completely.
- Remove the hard drives from the source NAS. (Note the order in which they were installed.)
- Install the hard drives into the new NAS in the same order as the previous enclosure.
- Boot up and connect to the new Synology NAS IP in a browser.
- Click Install to continue. (If you see a warning message similar to “Note: All data on the hard drive(s) will be deleted” turn off the NAS and check the drive order.)
- Choose Migration.
- Choose Download and install the newest version of DSM.
- Enter a new password for the admin account.
- Click Install Now.
- Once the NAS is ready, go to Control Panel > Update & Restore.
- Select Configuration Backup tab.
- Select Restore configuration.
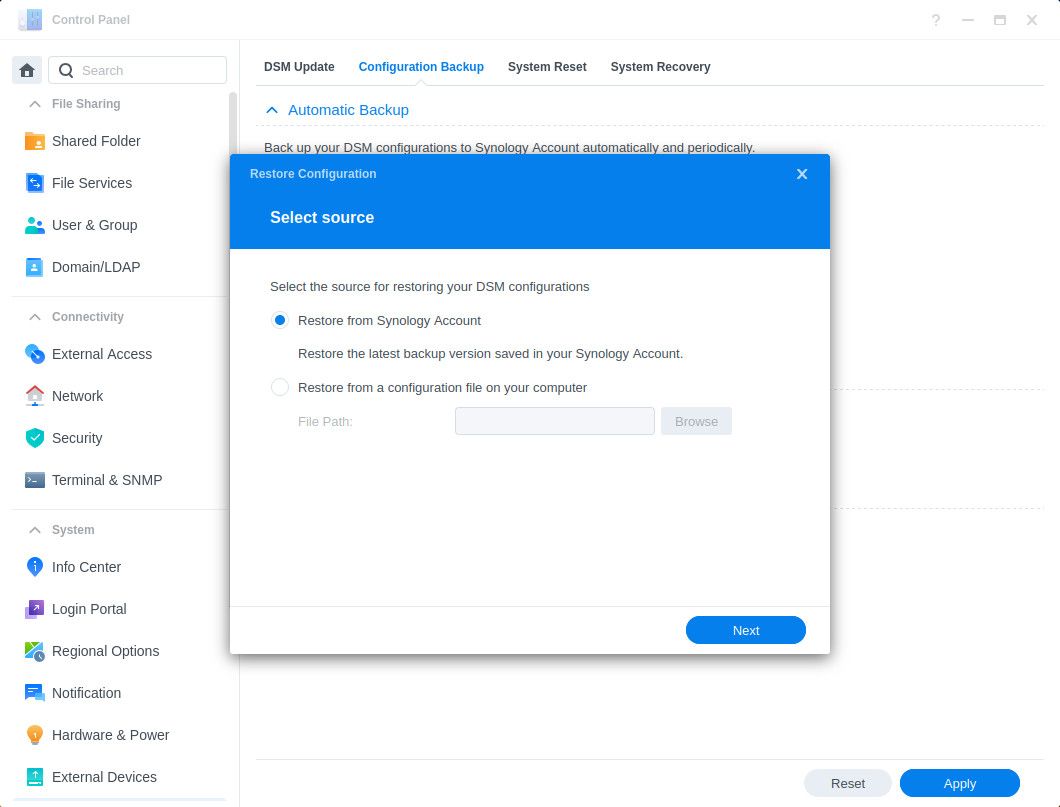
- Upload the .dss config file.
- Choose All System Configurations
- Click OK.
- Click Yes.

Should you need some assistance in choosing new NAS drives to use with your Synology NAS enclosure, we’ve got a collection of only the best storage drives for NAS usage.

Related
Best hard drives for NAS
If you’re looking for new hard drives to increase the storage capacity of your NAS, you’ve come to the right place
#migrate #Synology #NAS
source: https://www.xda-developers.com/how-to-migrate-from-one-synology-nas-to-another/

