

There’s no better feeling than having built or bought a brand-new PC. But before you jump into that game you’ve been waiting to play, there’s something you need to do first. The first thing that every new computer owner should do is run a benchmark test. Benchmarking your GPU is a great way to measure how much performance you can get from your graphics card, how hot it gets under load, and what frames per second (FPS) it will run certain games at.
Benchmarking is also very important if you are planning to build or upgrade your PC. Running a benchmark before and after swapping out a major component, like the GPU, is always a good idea. By doing so, you can pinpoint any improvement (or decline) in performance. Many computer owners incorrectly assume that the specs listed on the packaging are always accurate. However, the exact performance can vary even between identical components. By taking a benchmark, you can also verify that the component has no major problems.
How to make your GPU perform better
Discover key strategies to enhance your GPU’s efficiency. Learn about overclocking, cooling solutions, and settings optimization.
What is a GPU benchmark?
As the name implies, a benchmark is a measure of performance that you can use as a starting point for baseline and future testing. When discussing PC components, such as the GPU, a benchmark serves as a reference for further settings and component changes. In short, a benchmark lets you verify that you have the best GPU. Benchmarks are like a stress test for a computer. A special benchmark program pushes the GPU to its limit. Once complete, users can view charts and graphs with their GPU specs.
One of the primary metrics that gamers should consider is the baseline FPS and the FPS drops as the GPU goes through its tests. Several websites post GPU benchmarks, and while they do provide some insight into how each card stacks up, it is not representative of your real-world results. Many places also try to create estimated benchmarks based on the computer components. But you really can’t compare estimated performance to an actual GPU benchmark.
How to benchmark a GPU
How to benchmark a GPU using Superposition
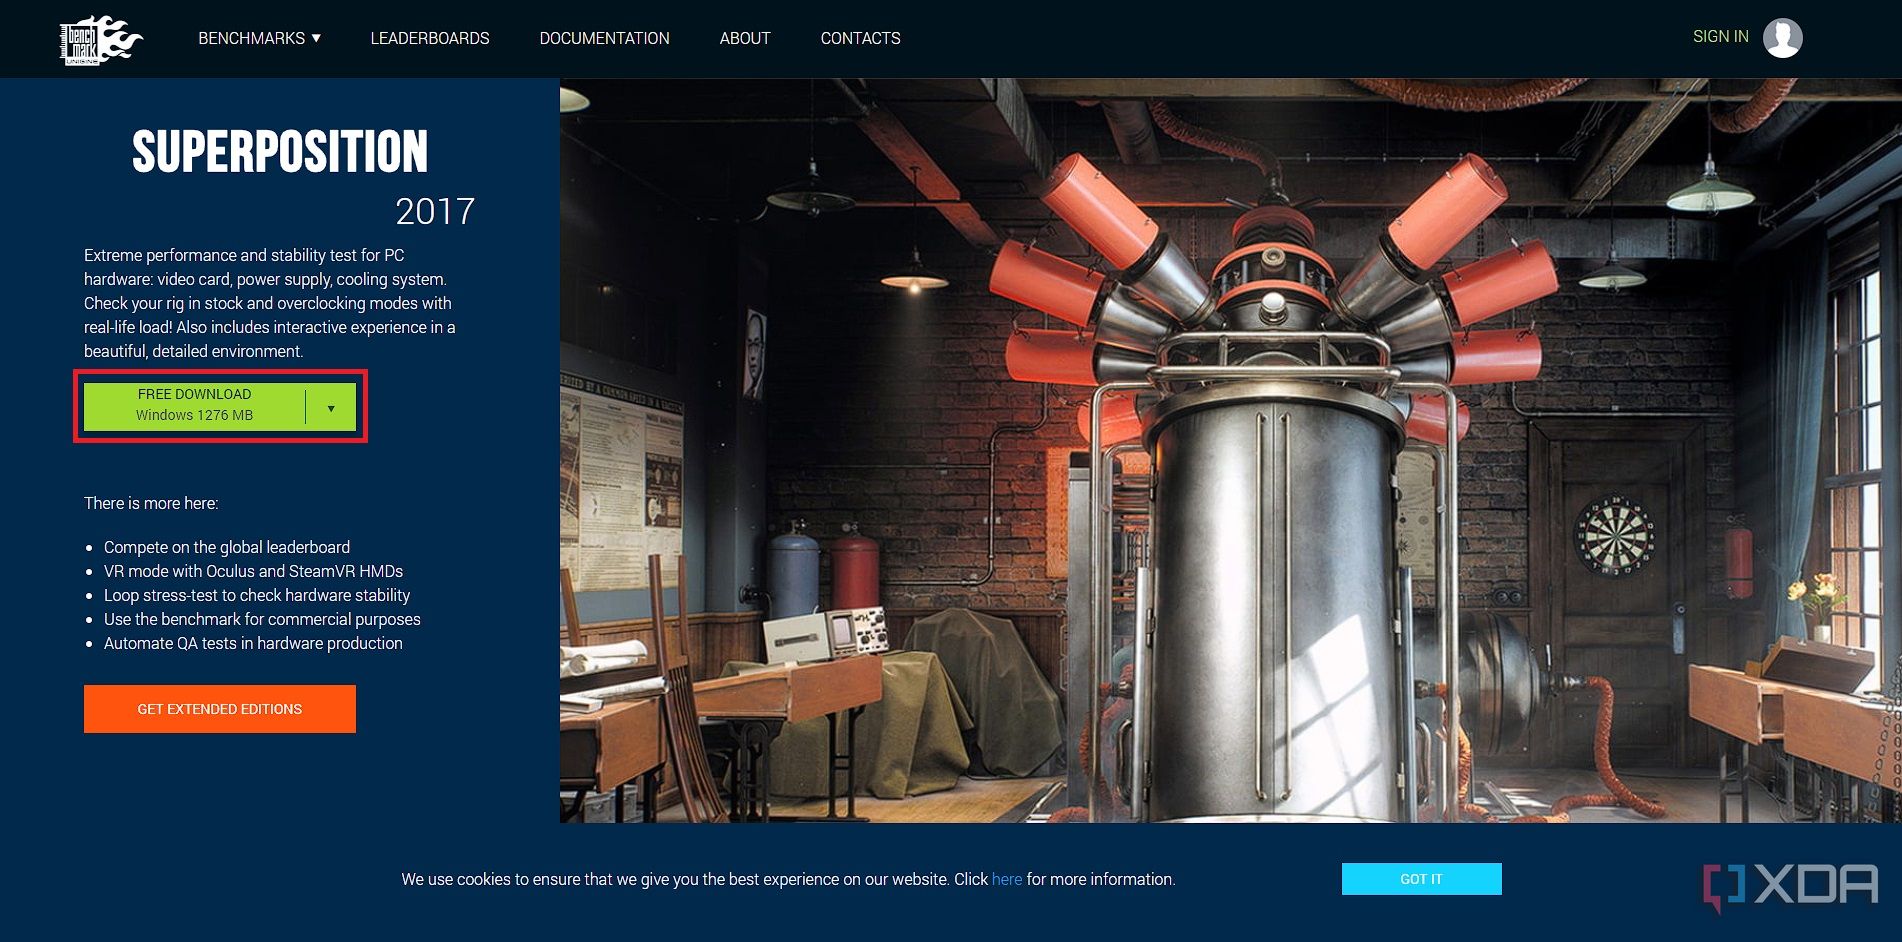
Now that you have a better understanding of GPU benchmarks, it is time to take some readings. For this benchmark, we are using Superposition 2017. There are several other programs, including one from the modeling software Blender. However, this free software easily lets users test GPU benchmarks and even supports VR testing.
- Download and install Superposition 2017.
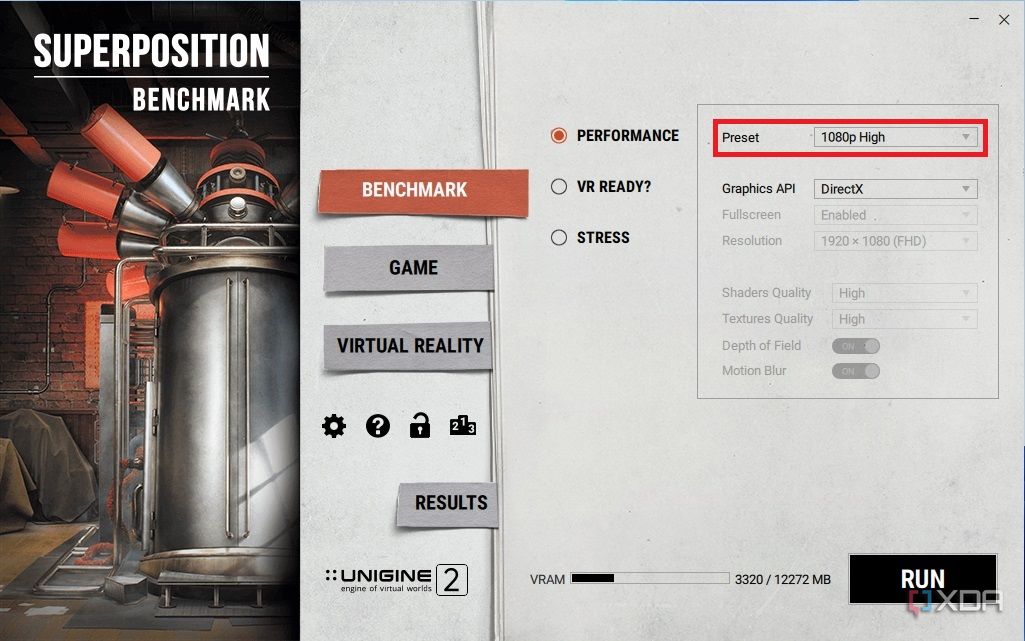
- Launch the GPU benchmark program.
- Choose a Preset to run the test. It is best to use 1080p as a basis and then run further tests with higher resolutions.
- Click the Run button.
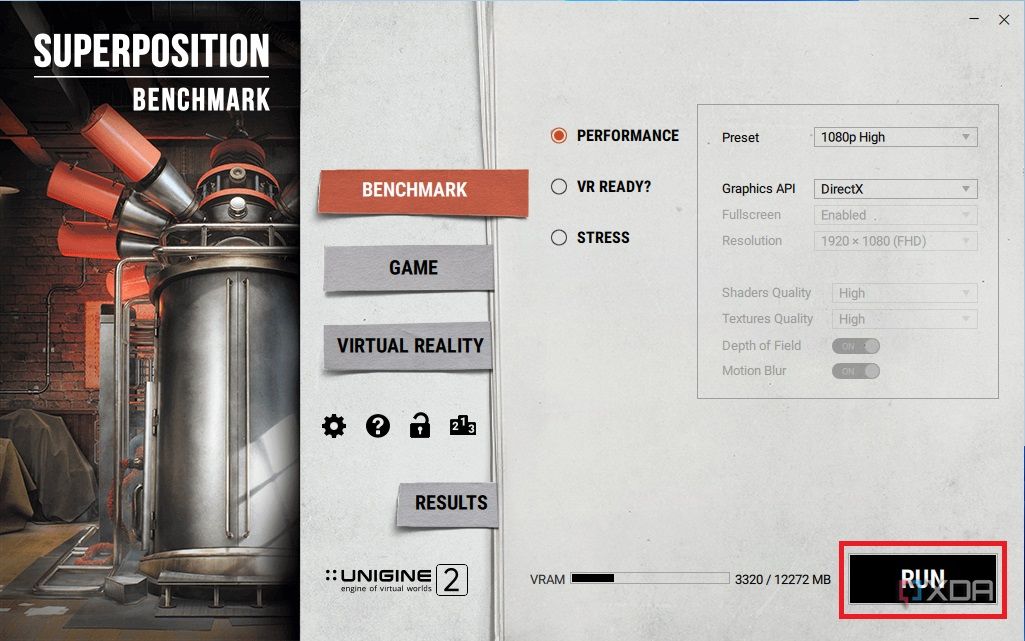
- Wait for the program as it tests the GPU. Do not have any other programs running in the background, as they can skew the results or cause the benchmark program to crash.
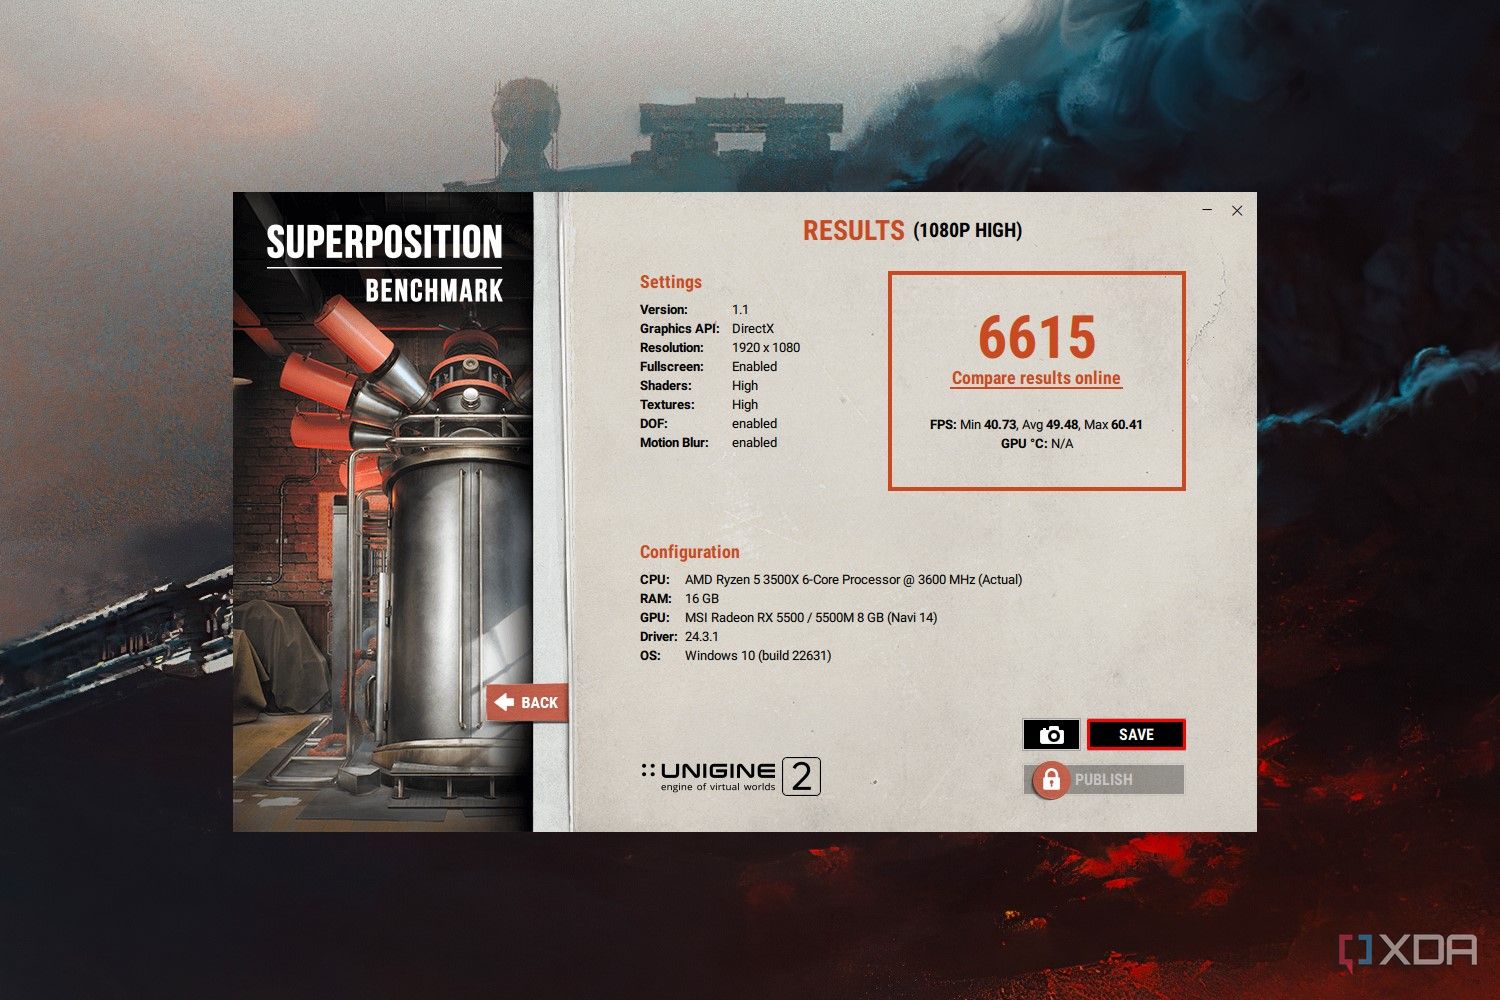
- Once complete, view the data. It is also a good idea to save the results for comparison with subsequent tests. The easiest way to do this is by pressing the Save button to store them on the computer.


How to benchmark a GPU using Cinebench
Another free software you can use to benchmark your GPU is Cinebench. Cinebench is an industry-standard benchmarking tool for CPUs and has been used for years by IT enthusiasts and professionals. Luckily, the company behind Cinebench has finally added GPU benchmarking capabilities, so now you can benchmark your CPU and GPU all in one place.
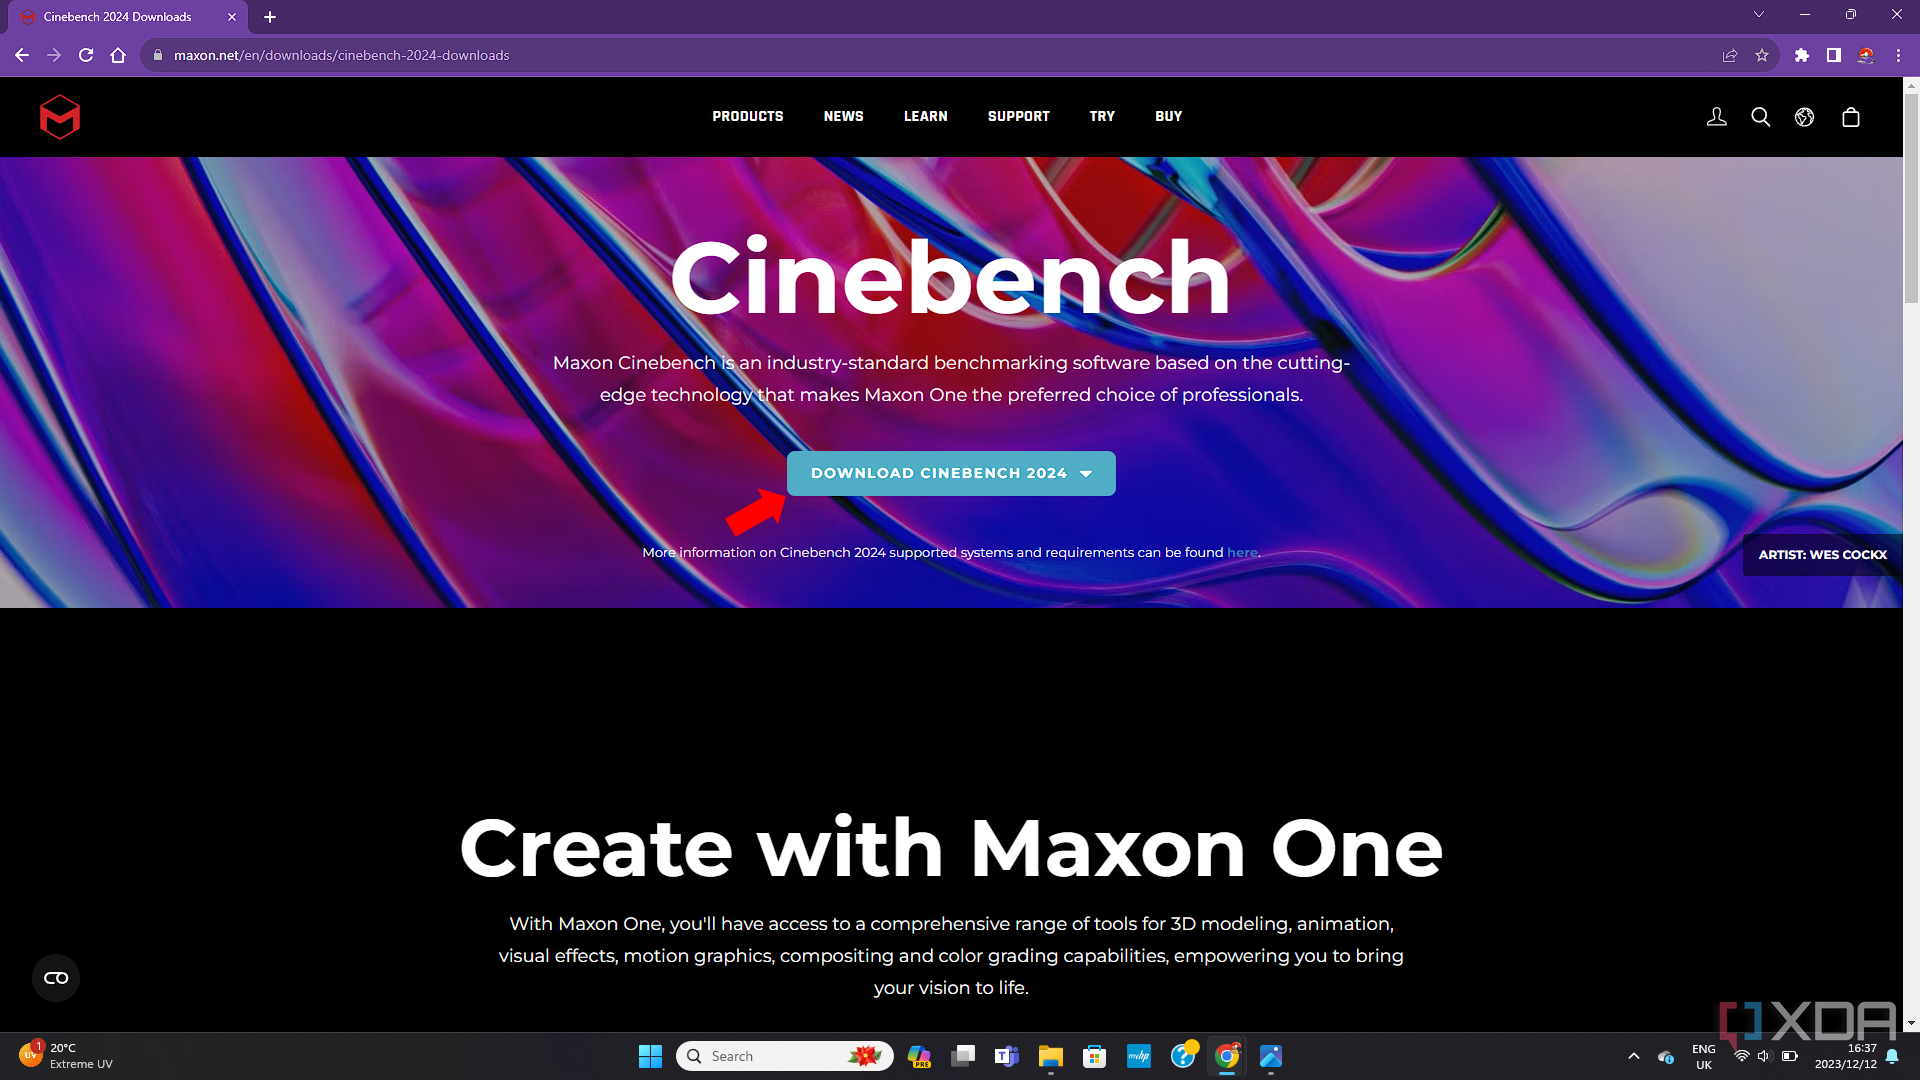
- Download and install Cinebench 2024.
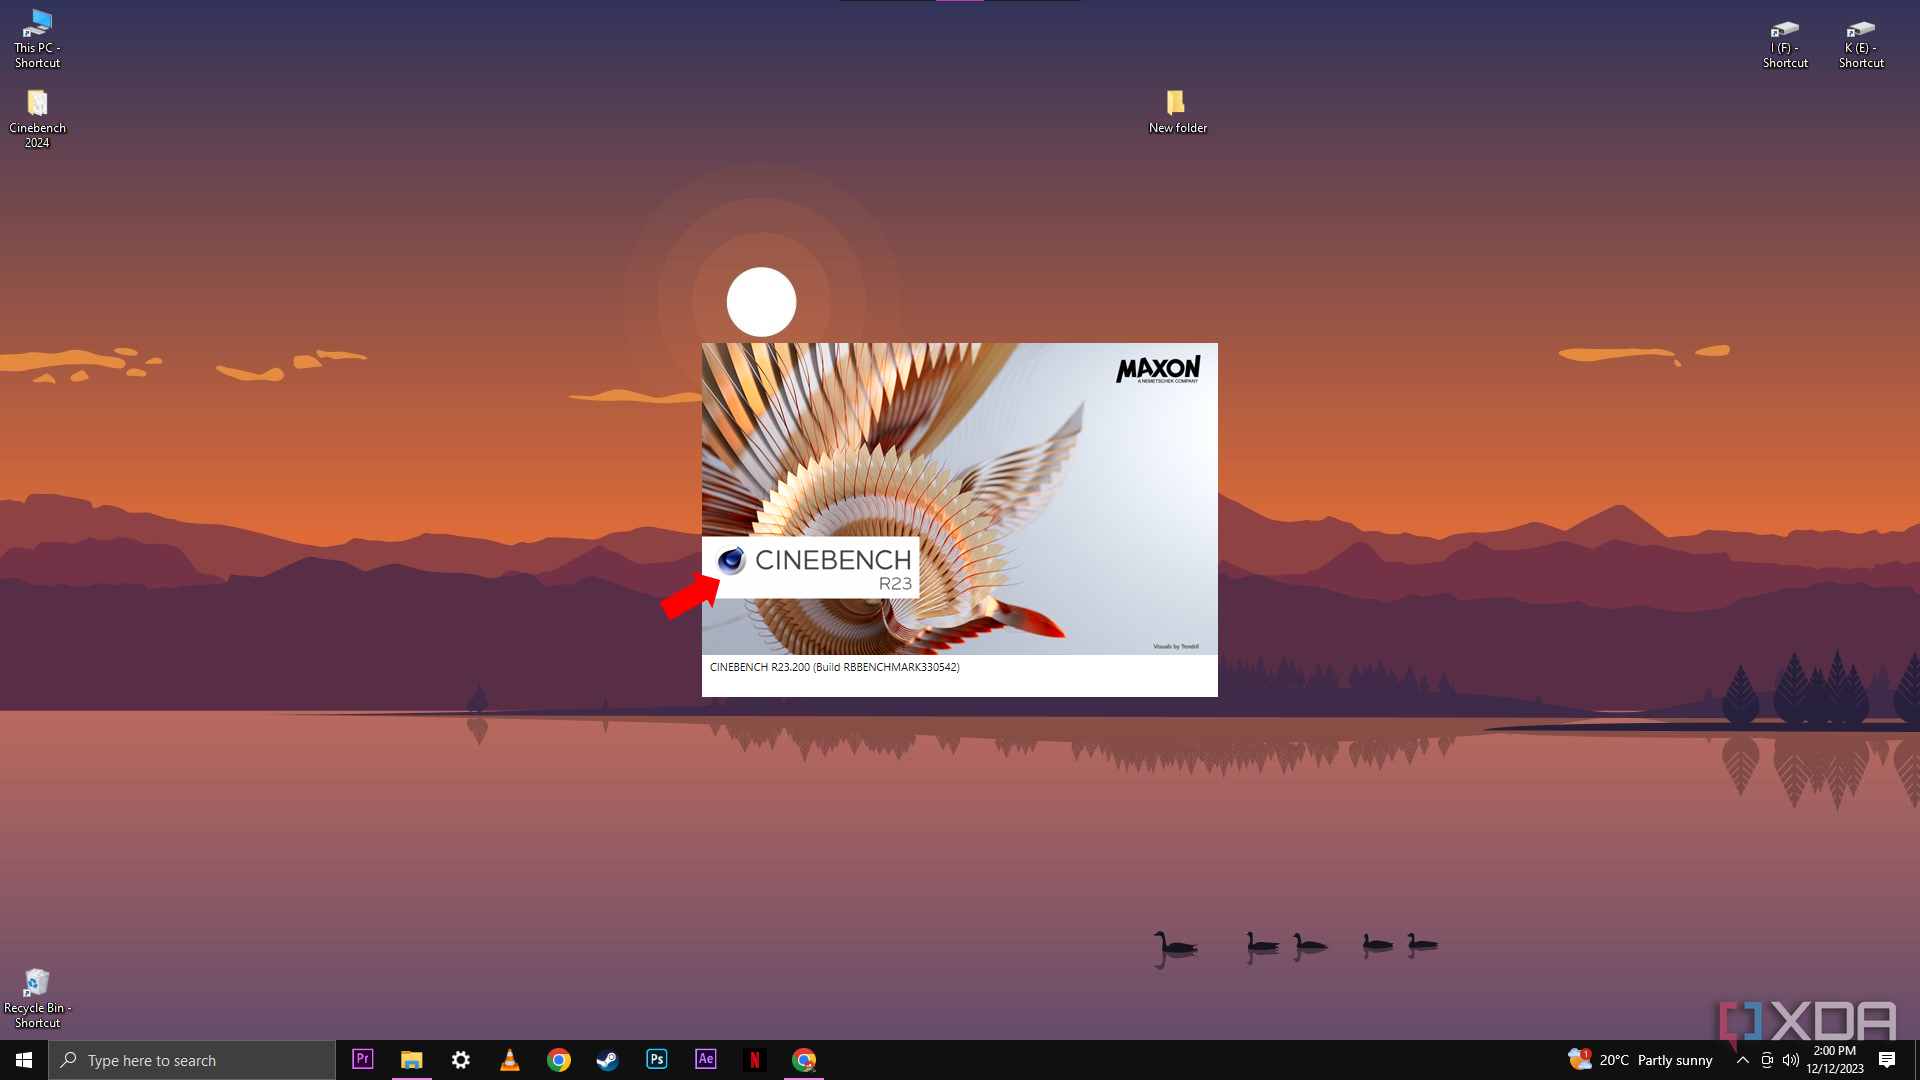
- Launch Cinebench 2024 and wait for the interface to load.
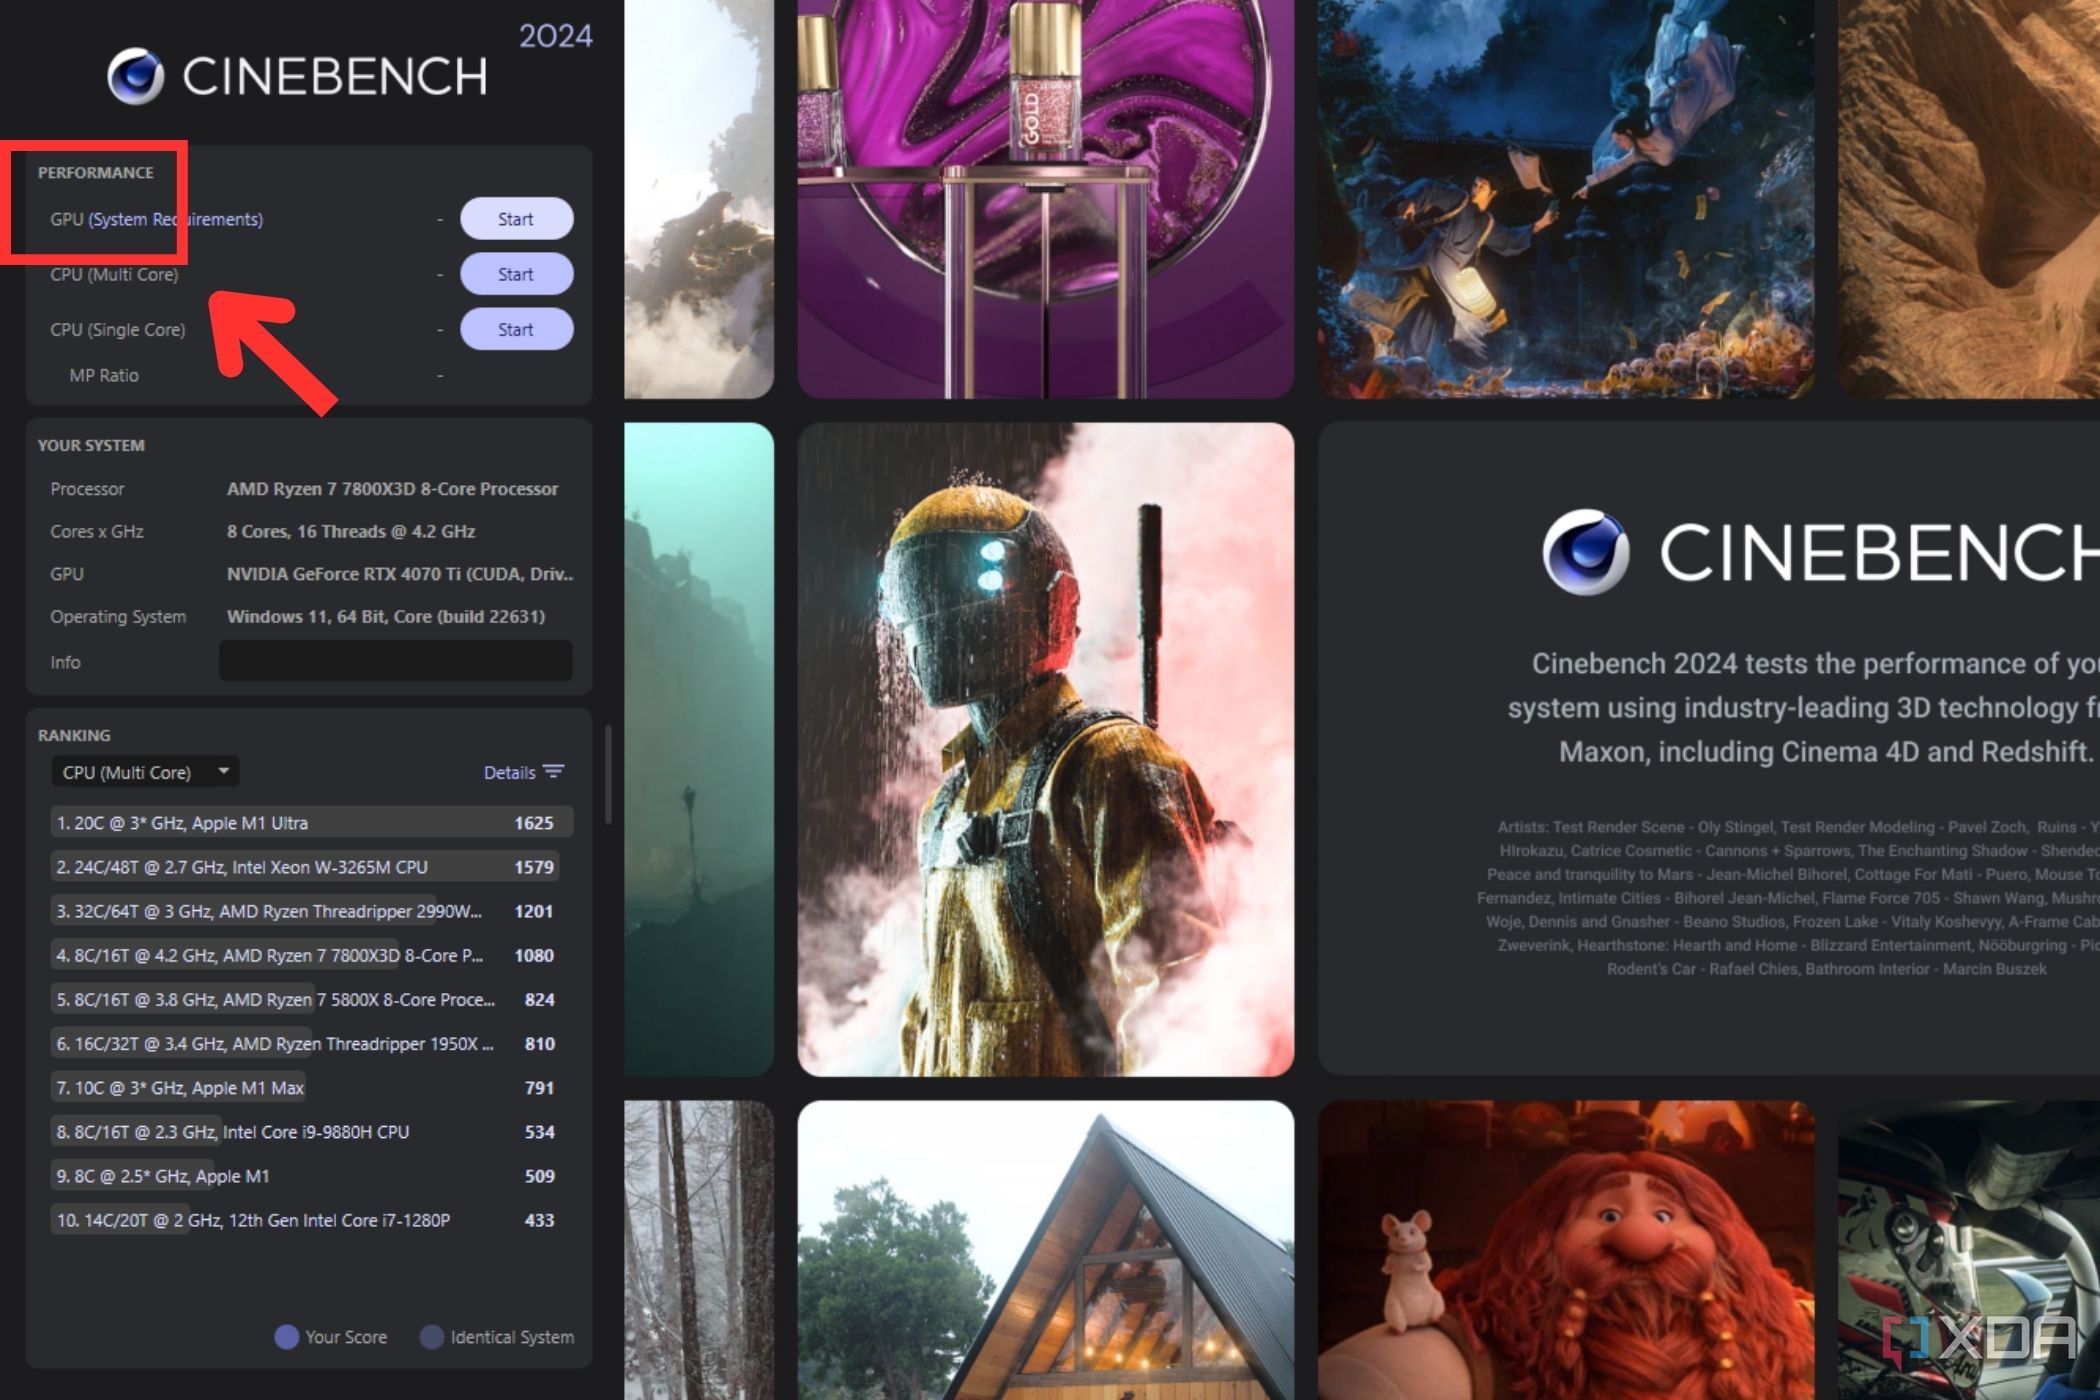
- On the main menu, look for the Performance tab. Underneath the performance tab you will see options to benchmark your GPU and CPU.
- Click Start on the GPU benchmark.
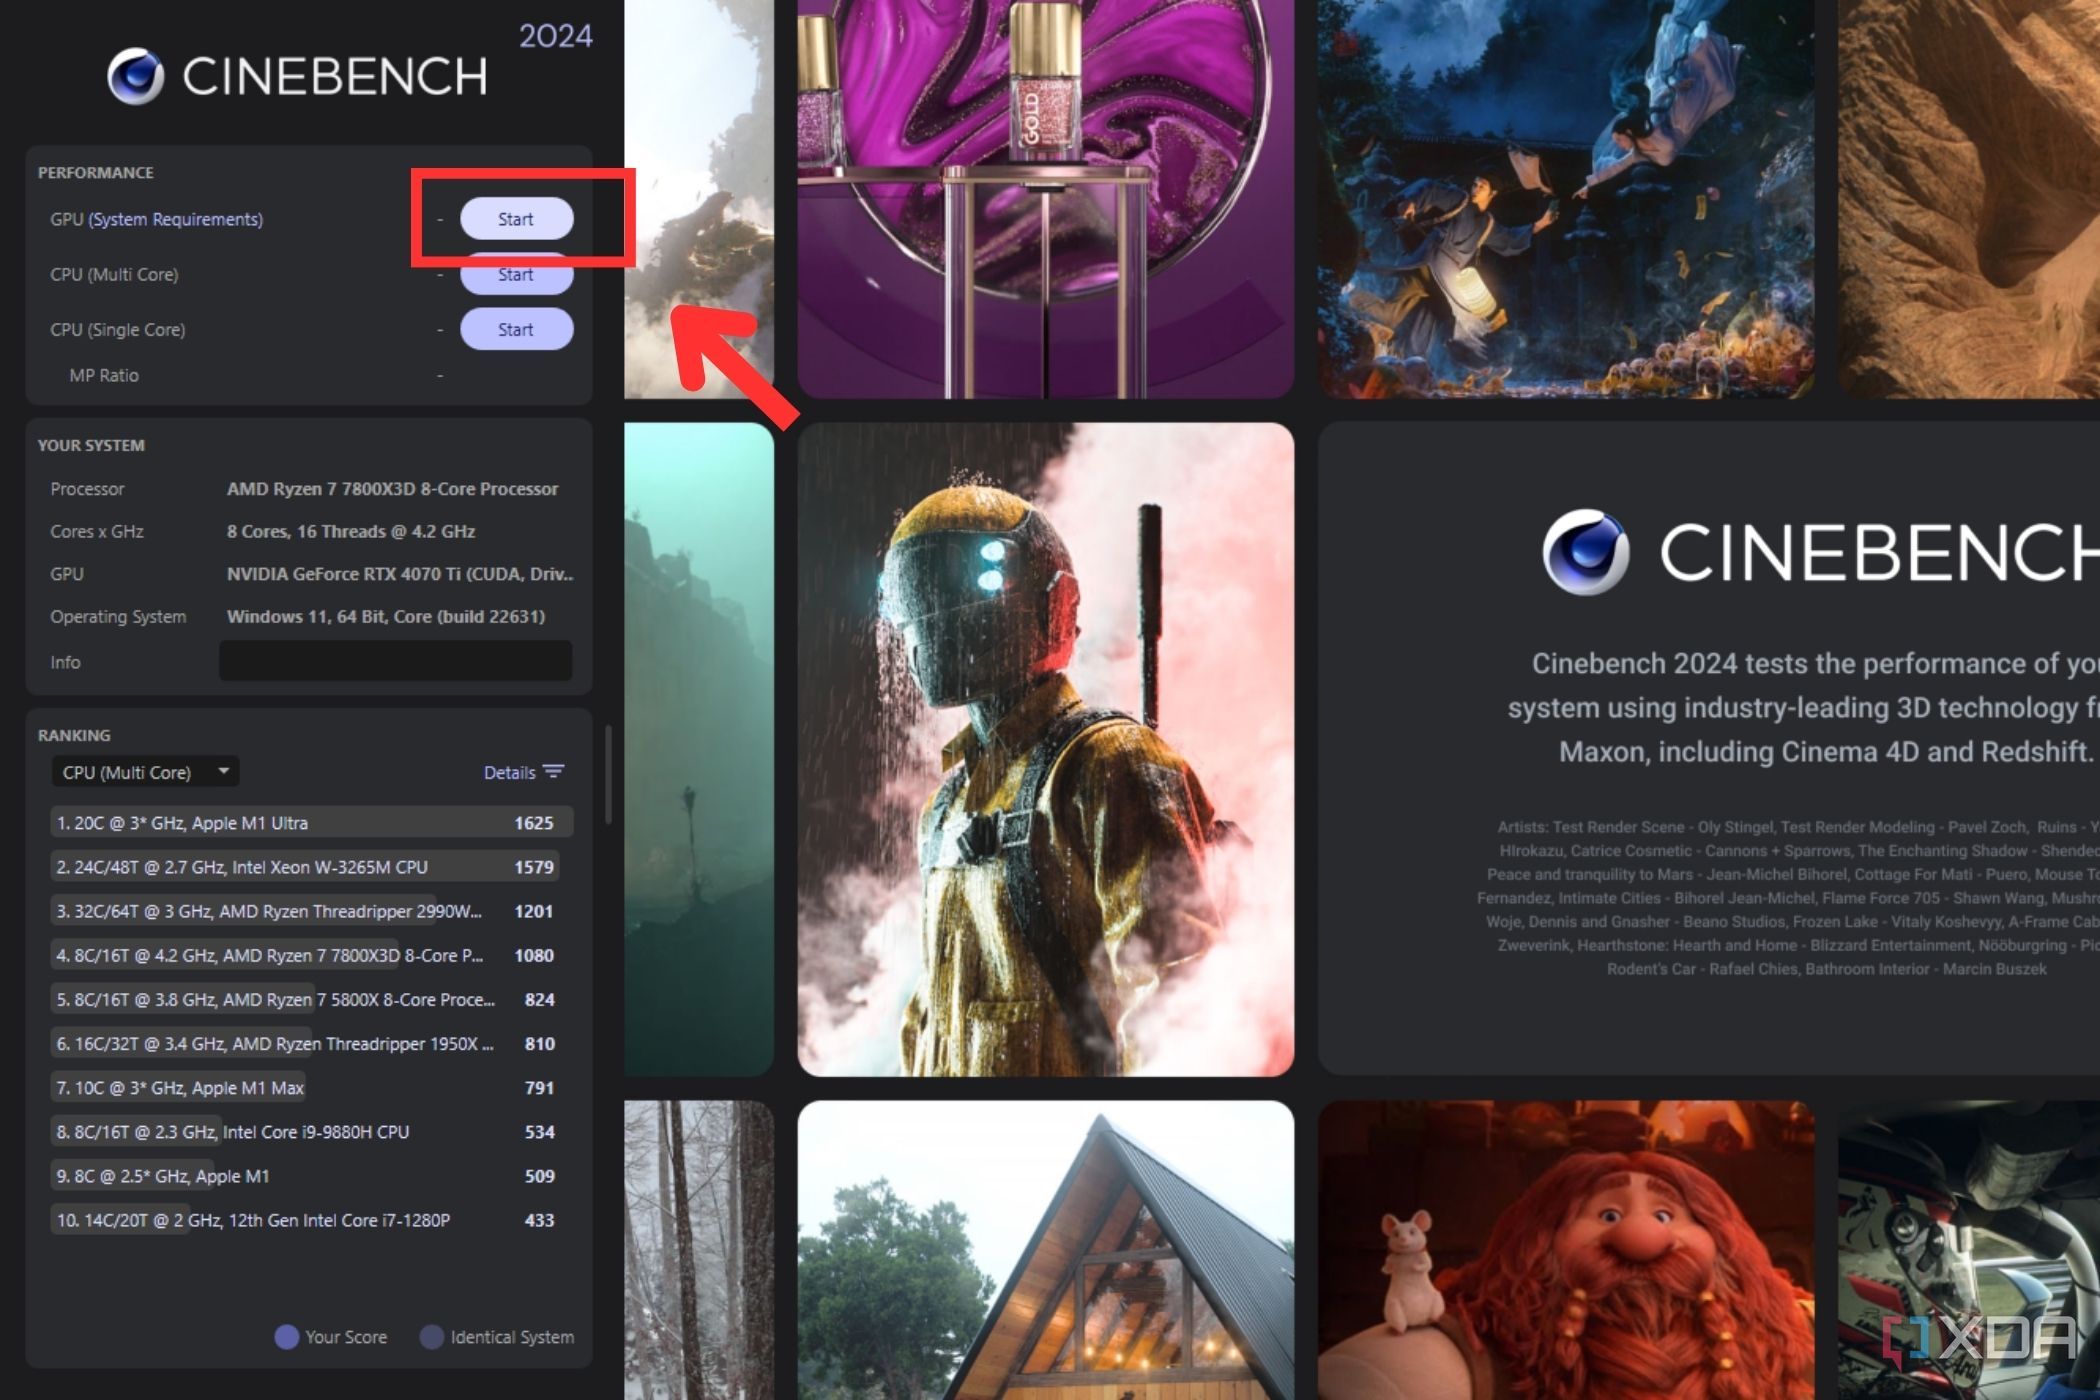


After the benchmark is done, it will display your GPU’s score in the lower left corner of the window. You can use this score to compare it against other GPUs and see what kind of games it will be able to play.
Deciphering benchmark data

Depending on the benchmark tool used, it may be overwhelming to interpret the data. Fortunately, tools like Superposition are very easy to break down. It only provides the average FPS alongside high and low readings. That provides pretty good insight, and it is easy to compare results in future tests. Changing the preset also increases or decreases the demand on the GPU.
However, some programs provide additional data, such as CPU usage, temperatures, stutter count, latency, and logic time. This is all great information, but it is a little more than the average person needs when creating a simple GPU benchmark. Finally, you may want to consider running a benchmark of your other PC components, including the CPU and RAM.
When should you run a benchmark on your GPU?
Running a benchmark test is not a one-time thing. While it is good to run a benchmark test after changing a major component, like the GPU, you should also run them regularly to ensure the computer is running at peak performance. Many users run a benchmark at least once a year to monitor their gaming capabilities, while others choose to monitor benchmarks more frequently, especially when changing settings like clock speed, which you need to do if you plan on overclocking your GPU any time soon.
No matter how often you choose to run a benchmark, it is vital to run one before and after changing the GPU. Doing so helps quantify the improvement that the new graphics card offers. Some video games, like Forza Horizon 5 and Red Dead Redemption 2, have a GPU benchmark tool built-in that lets users test GPU performance against a game they actually play. In general, you should aim to benchmark all your hardware once or twice a year so that you can see if there are any problems with your PC components and fix them as they appear.
#benchmark #GPU
source: https://www.xda-developers.com/how-to-gpu-benchmark/

