

RAID or Redundant Array of Independent Disks combines multiple disks into a single storage pool that the operating system views as a single drive. While enterprise systems use hardware RAID with a dedicated RAID controller for better performance and more reliability, the average consumer can make use of software RAID on Windows to boost performance and introduce some data redundancy. This is what I did when I found out about Storage Spaces on Windows.
By using two or more of your hard drives or SSDs (or a mix of them), you can double your read/write speeds on your NAS or your regular PC with the right RAID configuration. And although RAID shouldn’t be relied on for data backup, per se, it does inject data redundancy into your home setup. Let’s look at how you can use Storage Spaces to set up software RAID on Windows.
Related
What is a redundant array of inexpensive disks? Everything you need to know about RAID
Keeping all your data safe on larger storage volumes since the 1970s
Why use software RAID instead of hardware RAID?
Simpler, cheaper, more flexible
Hardware-level RAID requires a dedicated RAID controller card to offload all the heavy lifting from the CPU, enabling faster performance. It also generally has a lot more features to enable redundancy and reliability, such as built-in cache and battery-backed write caches (BBWC). So, why use software RAID then?
The thing is, the average PC or DIY NAS user doesn’t require enterprise-level fault tolerance, performance, and uptime. Modern software RAID solutions enabled by operating systems like TrueNAS Scale and Unraid are advanced enough for home use, saving money while offering more simplicity and flexibility. You can easily migrate your software RAID setup to another system, and data recovery is relatively simpler too.
While Storage Spaces isn’t exactly the same as a dedicated NAS setup, it provides similar benefits by allowing you to create mirror and parity pools using multiple drives. You can combine the capabilities of multiple drives to boost read/write speeds (depending on the RAID configuration you choose) while also allowing you to recover data in case one of your drives encounters a failure.

Related
Why you should always back up your NAS, even if you use RAID
Using RAID alone isn’t enough to protect against data loss.
Setting up software RAID on Windows
Get ready to RAID
Using Windows’ built-in Storage Spaces (available on both Windows 11 and Windows 10), you can simplify the process of creating a storage pool on your PC. It’s not the same as a full-fledged RAID setup (software or hardware), but it’s a good starting point if you’re new to shared storage. It’s also less technical and much simpler to set up than a traditional software RAID setup. You can create an SSD-only or mixed storage pool, but you will get the maximum mileage by using multiple hard drives, since SSDs are already fast enough for most use cases.
Storage spaces will erase your drives, so back up any data that you aren’t comfortable losing. You can later copy it back to your newly created storage pool.
-
Open Settings > System.
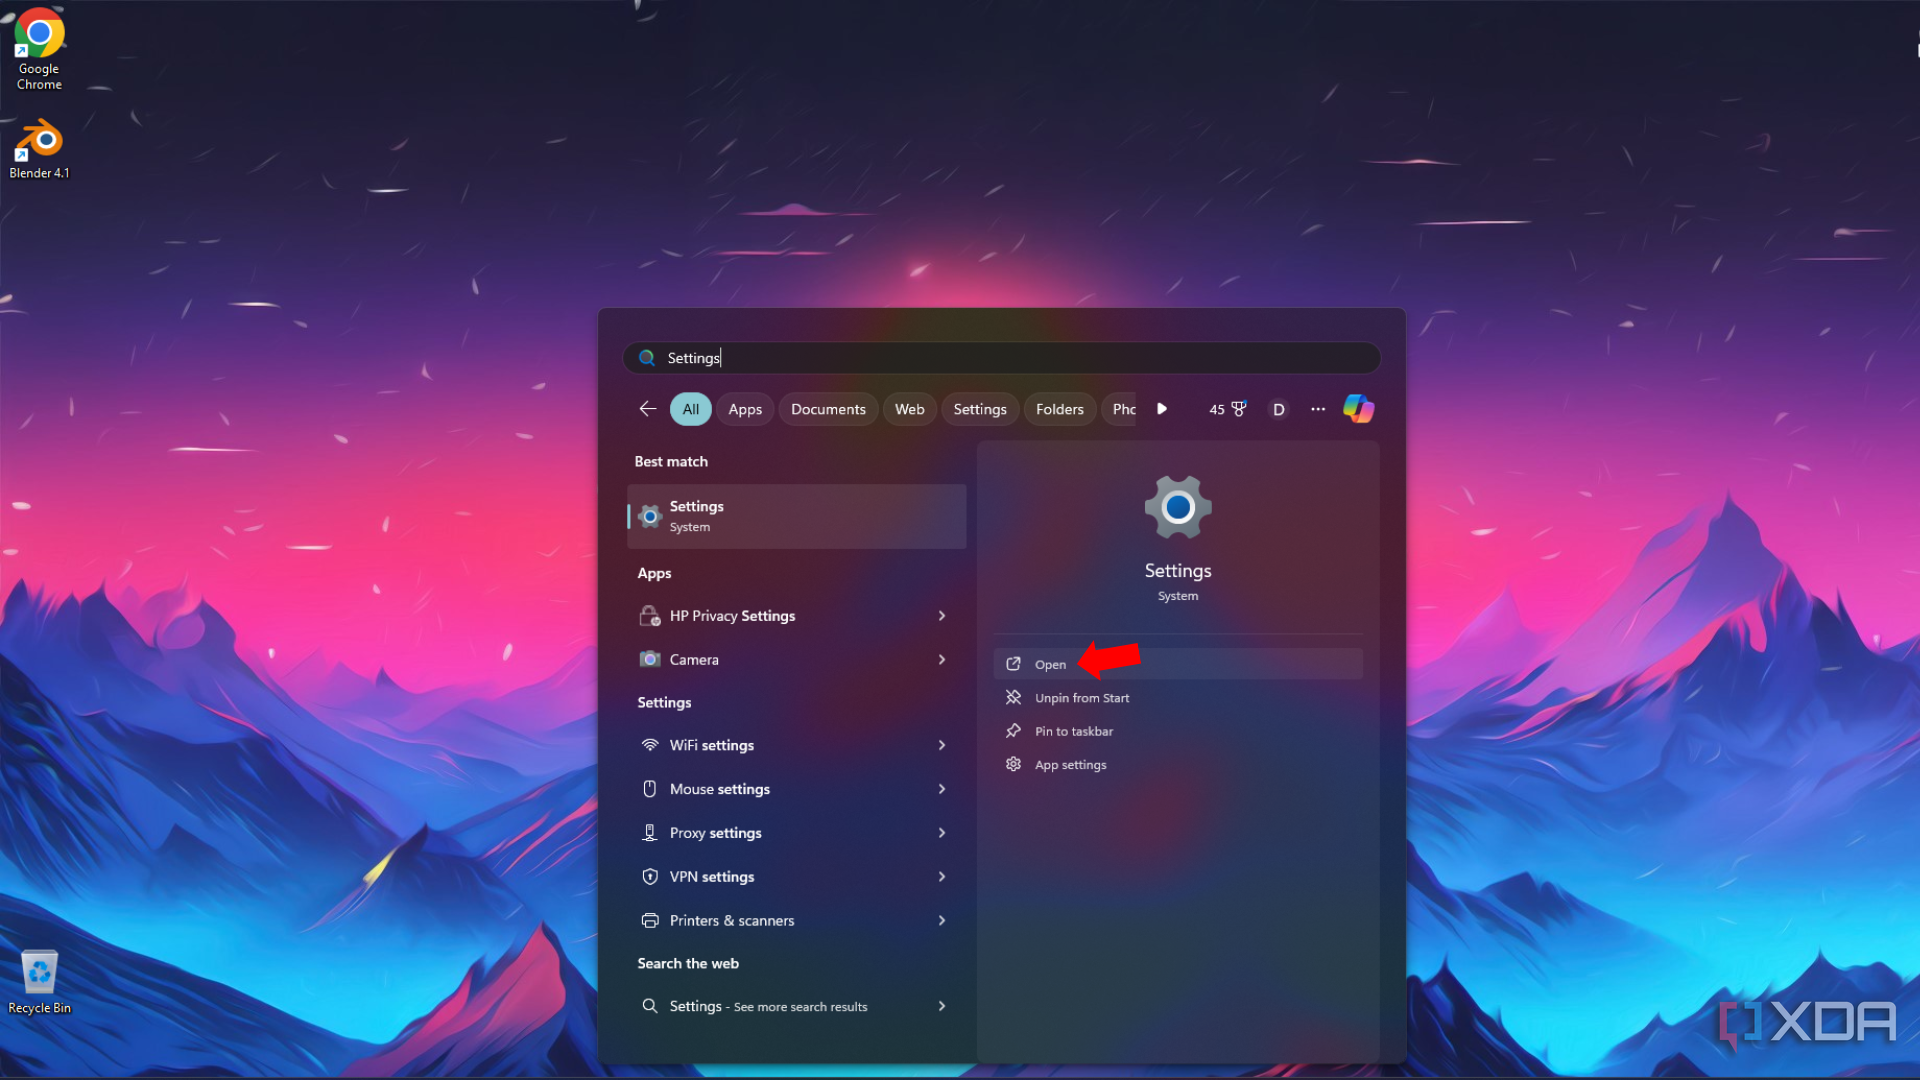
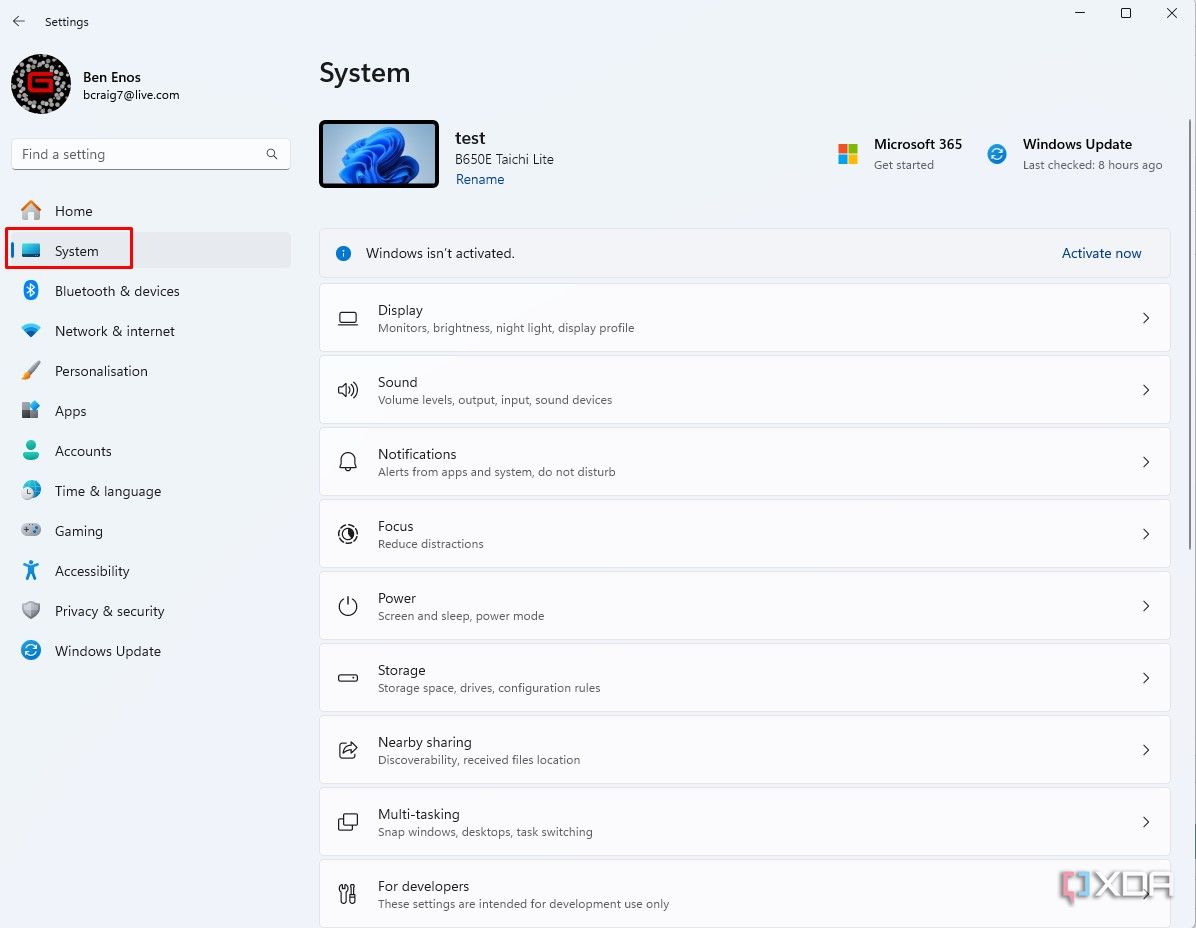
-
Select Storage > Advanced storage settings.
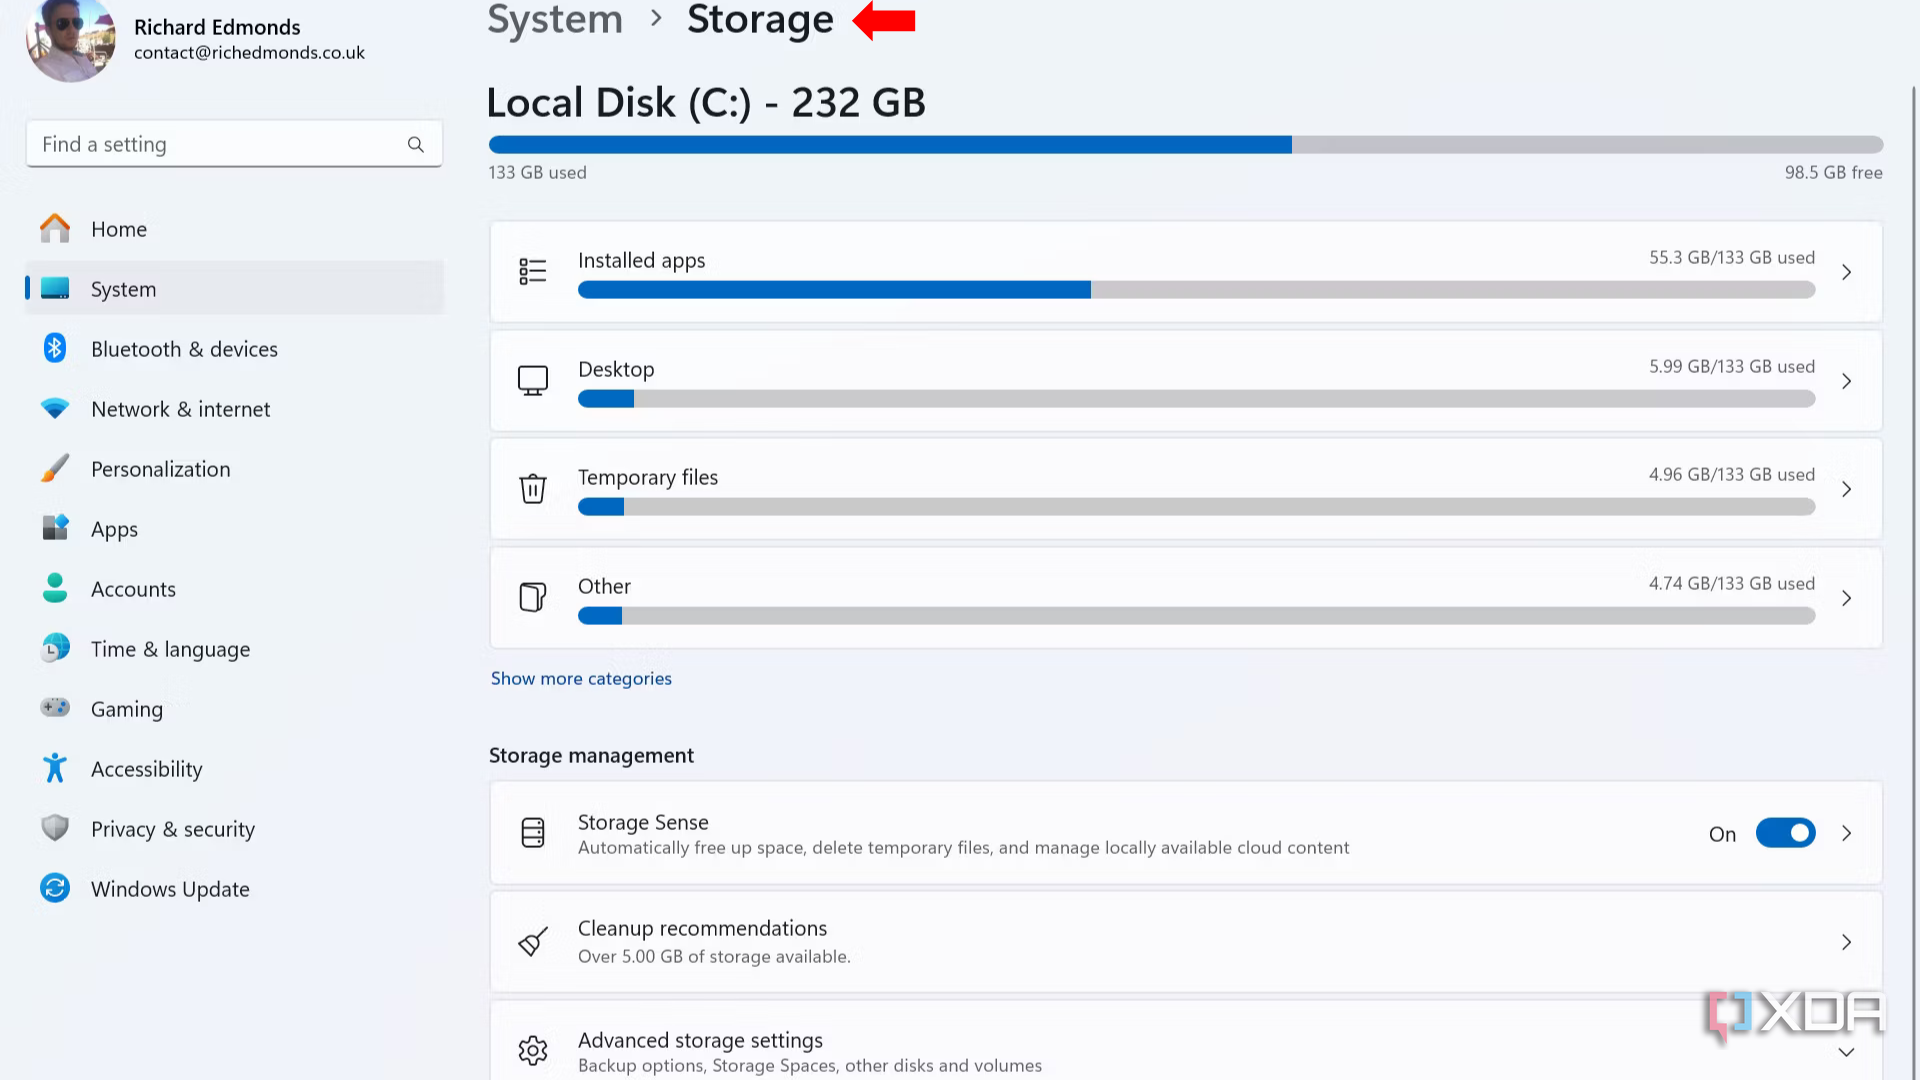
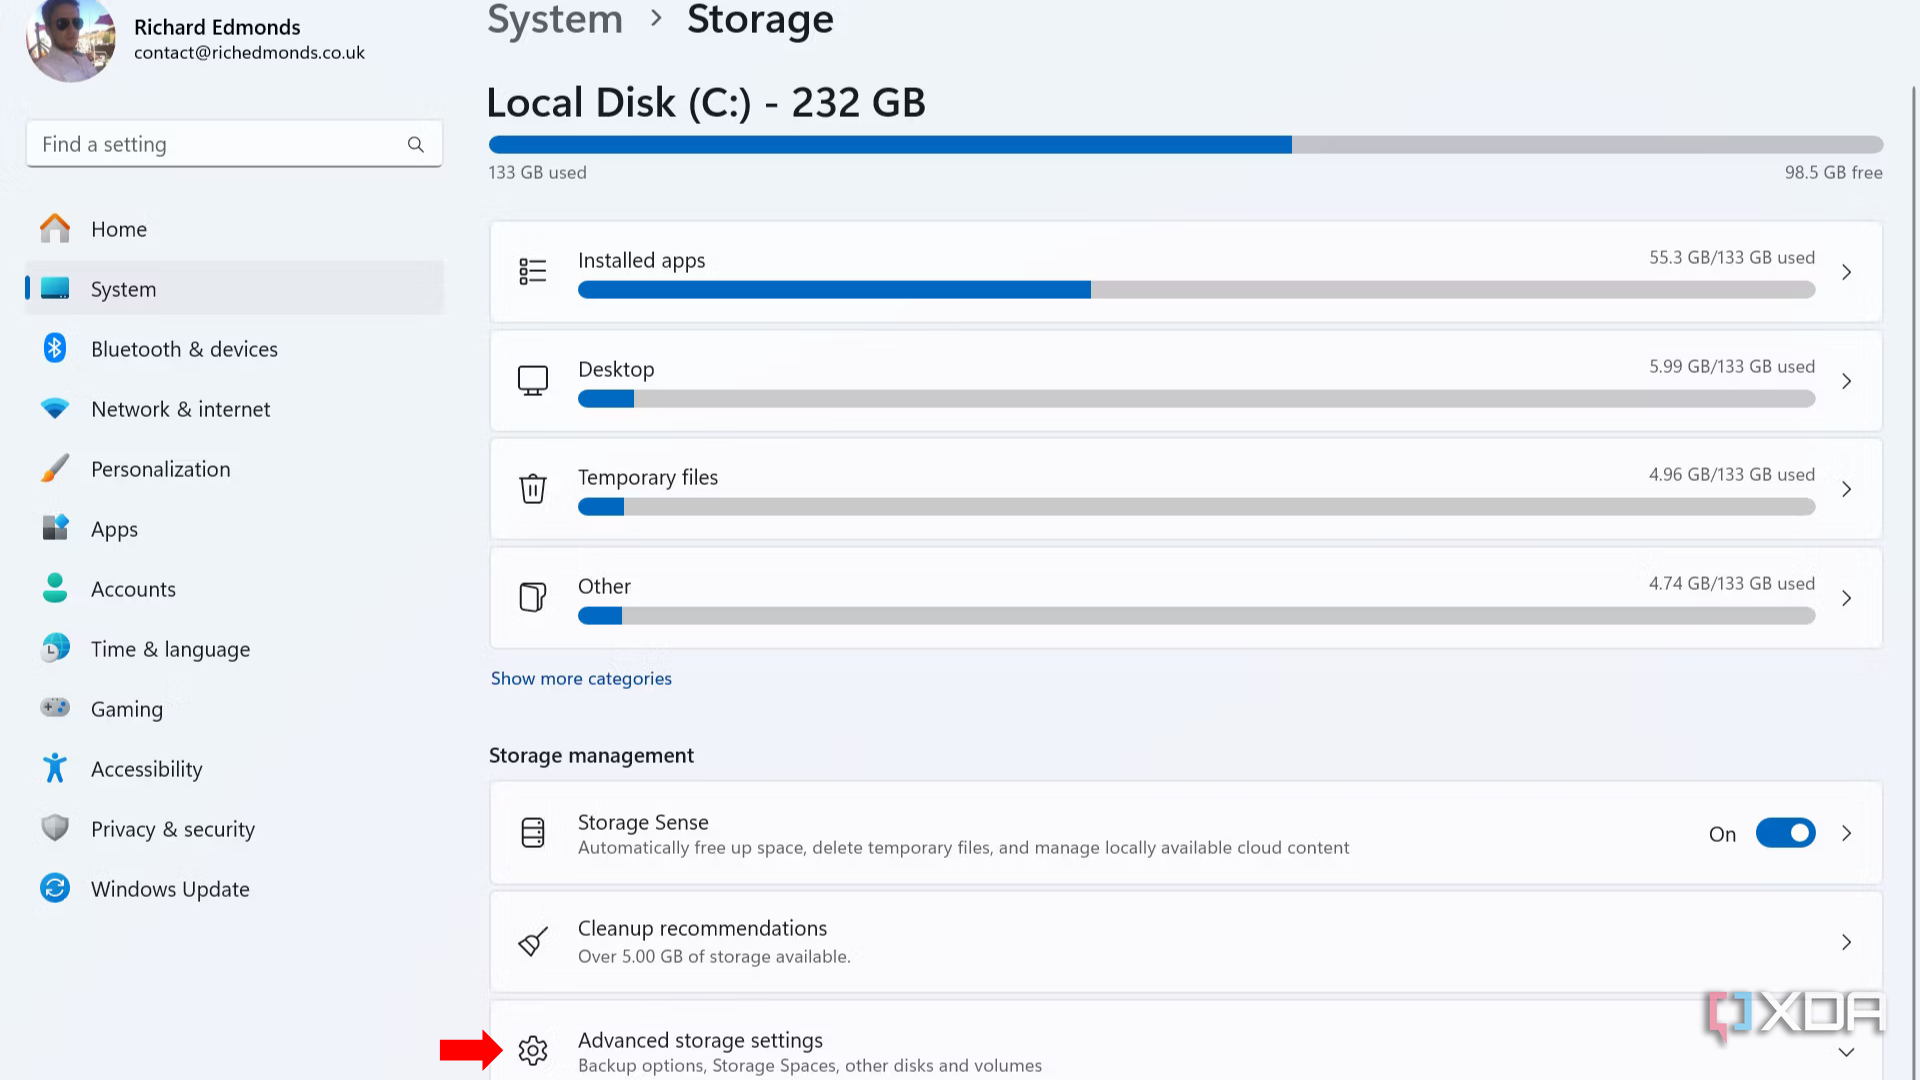
-
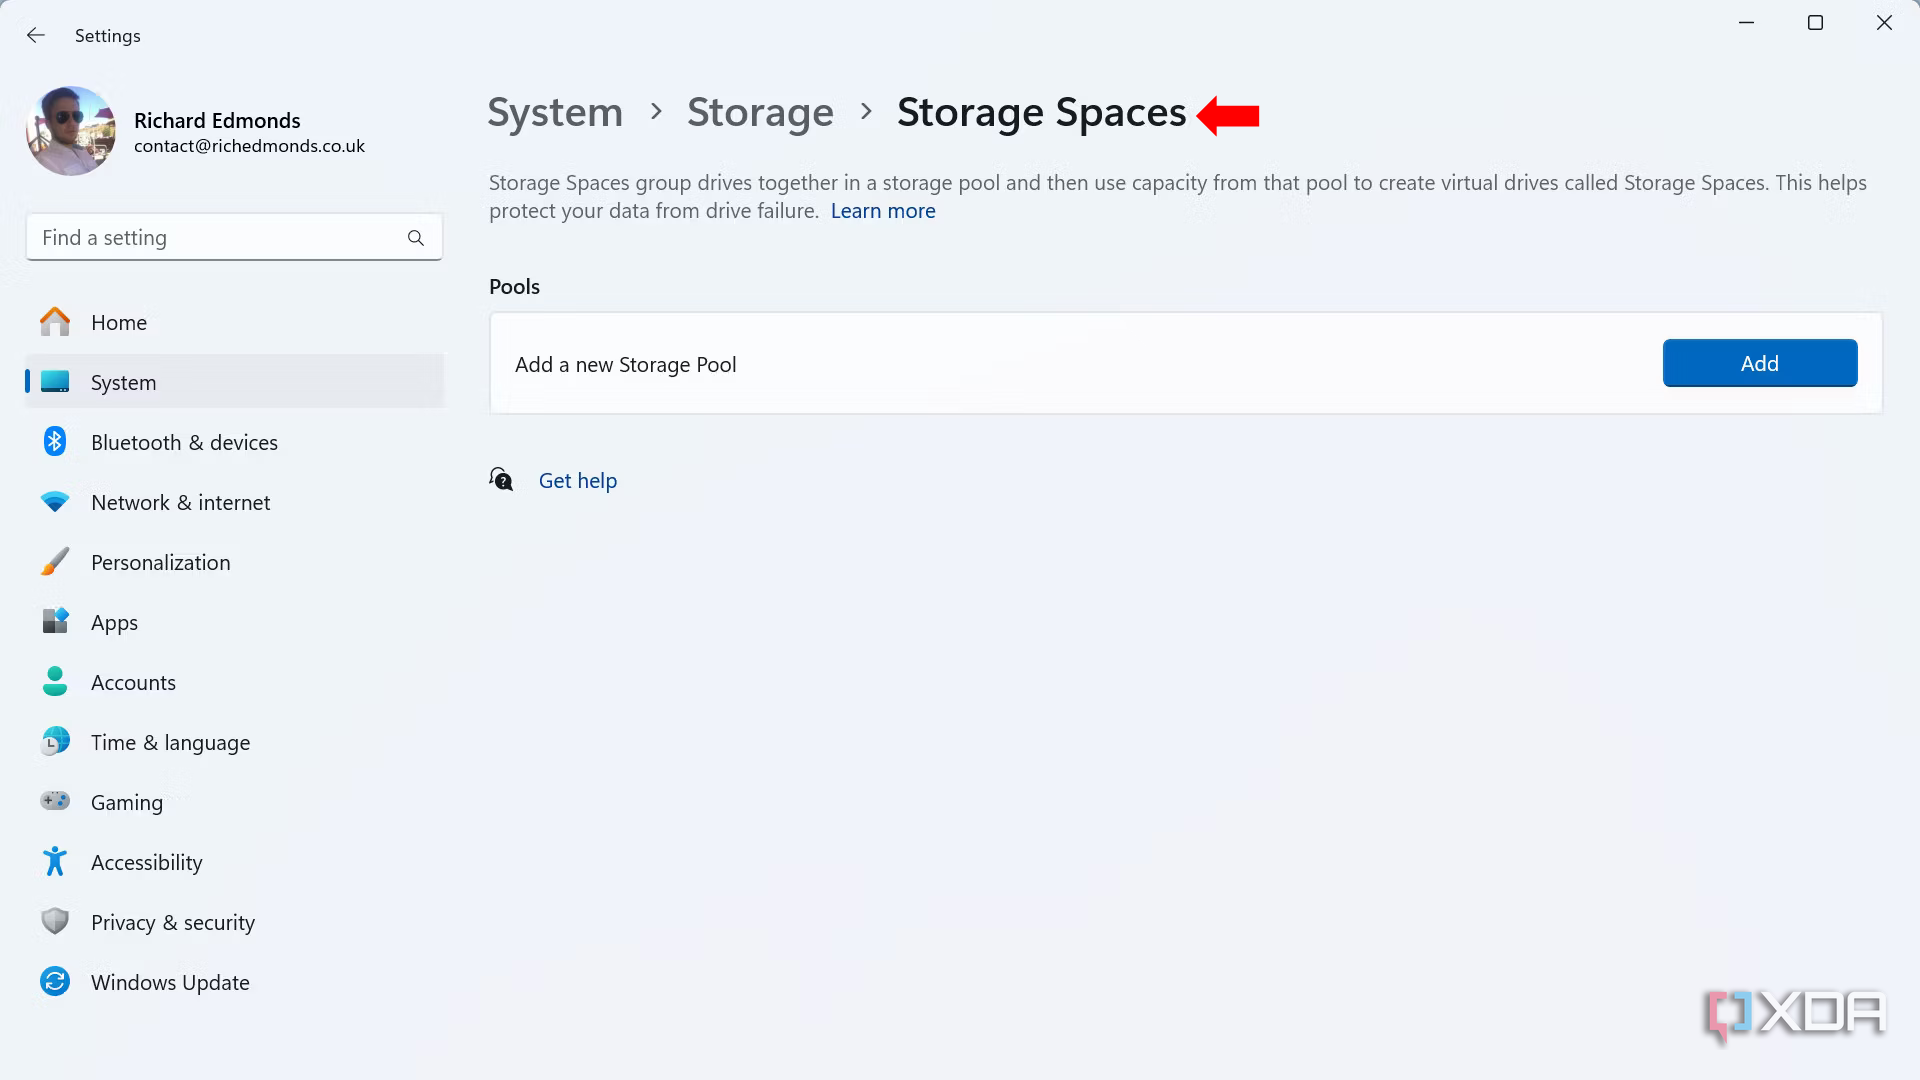
Select Storage Spaces, then click Add.

- Enter a custom name for the storage pool.
- Choose the connected drives you want to be part of the pool.
- Click Create.
- Set the desired pool size under Size & resiliency.
- Select a pool resiliency. Simple (RAID 0) indicates no data redundancy. Two-way mirror (RAID 1) requires at least 2 drives and can handle a single drive failure. Three-way mirror (RAID 1) requires at least 5 drives and can handle 2 parallel drive failures. Parity (RAID 5) requires at least 3 drives. Dual parity (RAID 6) requires at least 7 drives. I used Two-way mirror to combine the read/write speeds of two of my hard drives in a RAID 1 configuration, where all the data is copied to the second drive for redundancy. Your total capacity will be reduced by half, though.
- Click Create.
- Set a volume label of your choice.
- Set a drive letter (from the available options).
- Choose the file system. I recommend NTFS.
- Click Format.
- Open This PC to see your new storage pool (under the chosen drive letter and label).


Experiment with a speedier and safer PC
Setting up software RAID using Storage Spaces can be a simple and quick way to speed up your boot time, drive access time, and even game loading times, although the benefits might be minimal in some cases. You will have to sacrifice the total capacity, since using at least one drive for redundancy or parity is recommended. Users with more hard drives than SSDs will find this setup more useful, since they’ll be able to realize the largest performance benefits.
#software #RAID #Windows #speed #drive #access #add #redundancy
source: https://www.xda-developers.com/software-raid-windows-speed-and-redundancy/

