

Considering the sheer amount of space required to store high-resolution photos, Google Photos and other image management platforms seem perfect for backing up your precious shots. However, privacy – or rather, the lack thereof – is always an issue when storing your private data on external servers. There’s also the problem of constant subscription fees once your image and video collection hits a certain size.
Thankfully, self-hosted solutions can put an end to your image-storing conundrums, and Immich is easily one of the best tools for the job. Whether you’re a casual user or an ace shutterbug, here’s everything you need to know to run a private Immich server.
Related
5 reasons Immich is better than Google Photos and iCloud
Compelling reasons to retain your privacy and self-host your photos and videos with Immich
What’s Immich?
And what’s so great about it?

Unlike Google Photos, iCloud, Dropbox, and other cloud platforms, Immich lets you host an image server on your own hardware, thereby granting full control over your photo and video collection. While you may have to deal with the upfront cost of buying some storage drives, Immich can save you quite a bit of money in the long run, as you don’t have to pay a dime to access all its features.
UI-wise, Immich is identical to Google Photos, so you don’t have to deal with the complex interfaces that self-hosted apps are infamous for. It’s also armed with AI recognition provisions, multi-platform apps, automatic uploads, geotagging measures, and a handful of other features to make image management as painless as possible. The best part? As a lightweight container, Immich can run on low-power systems, including SBCs!
Deploying an Immich container
Depending on your home server OS, there are multiple ways to run an Immich container. On typical Linux distros, you can use Docker to host a containerized instance of Immich.
-
Head to the Immich GitHub link and download the example.env and docker-compose.yml files.
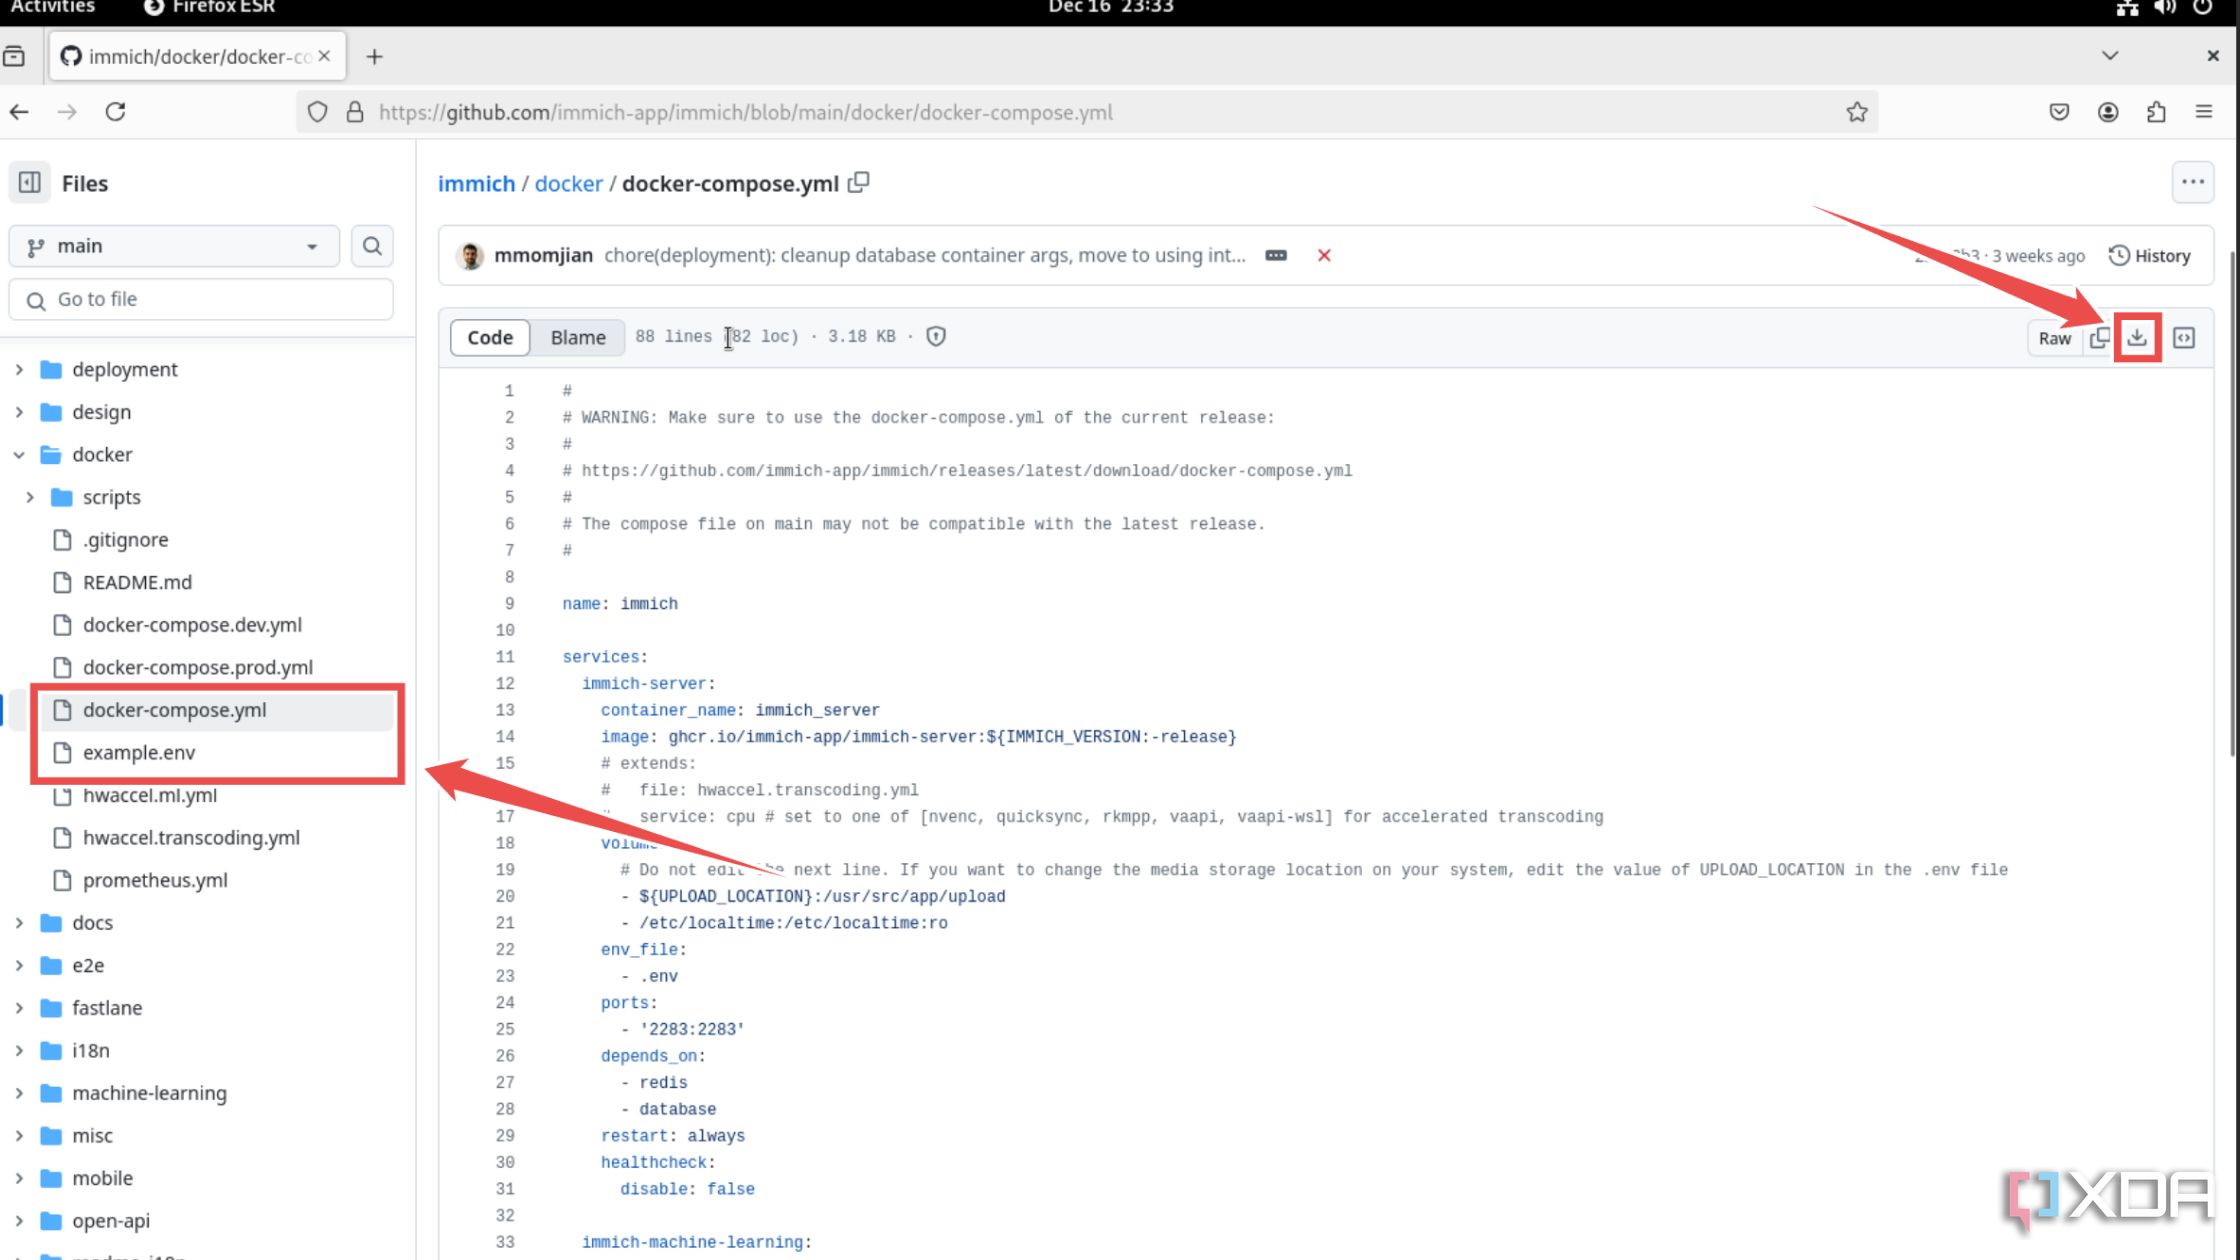
If you’re on a CLI distro, you can download them by executing the wget command followed by their URLs inside the terminal.
-
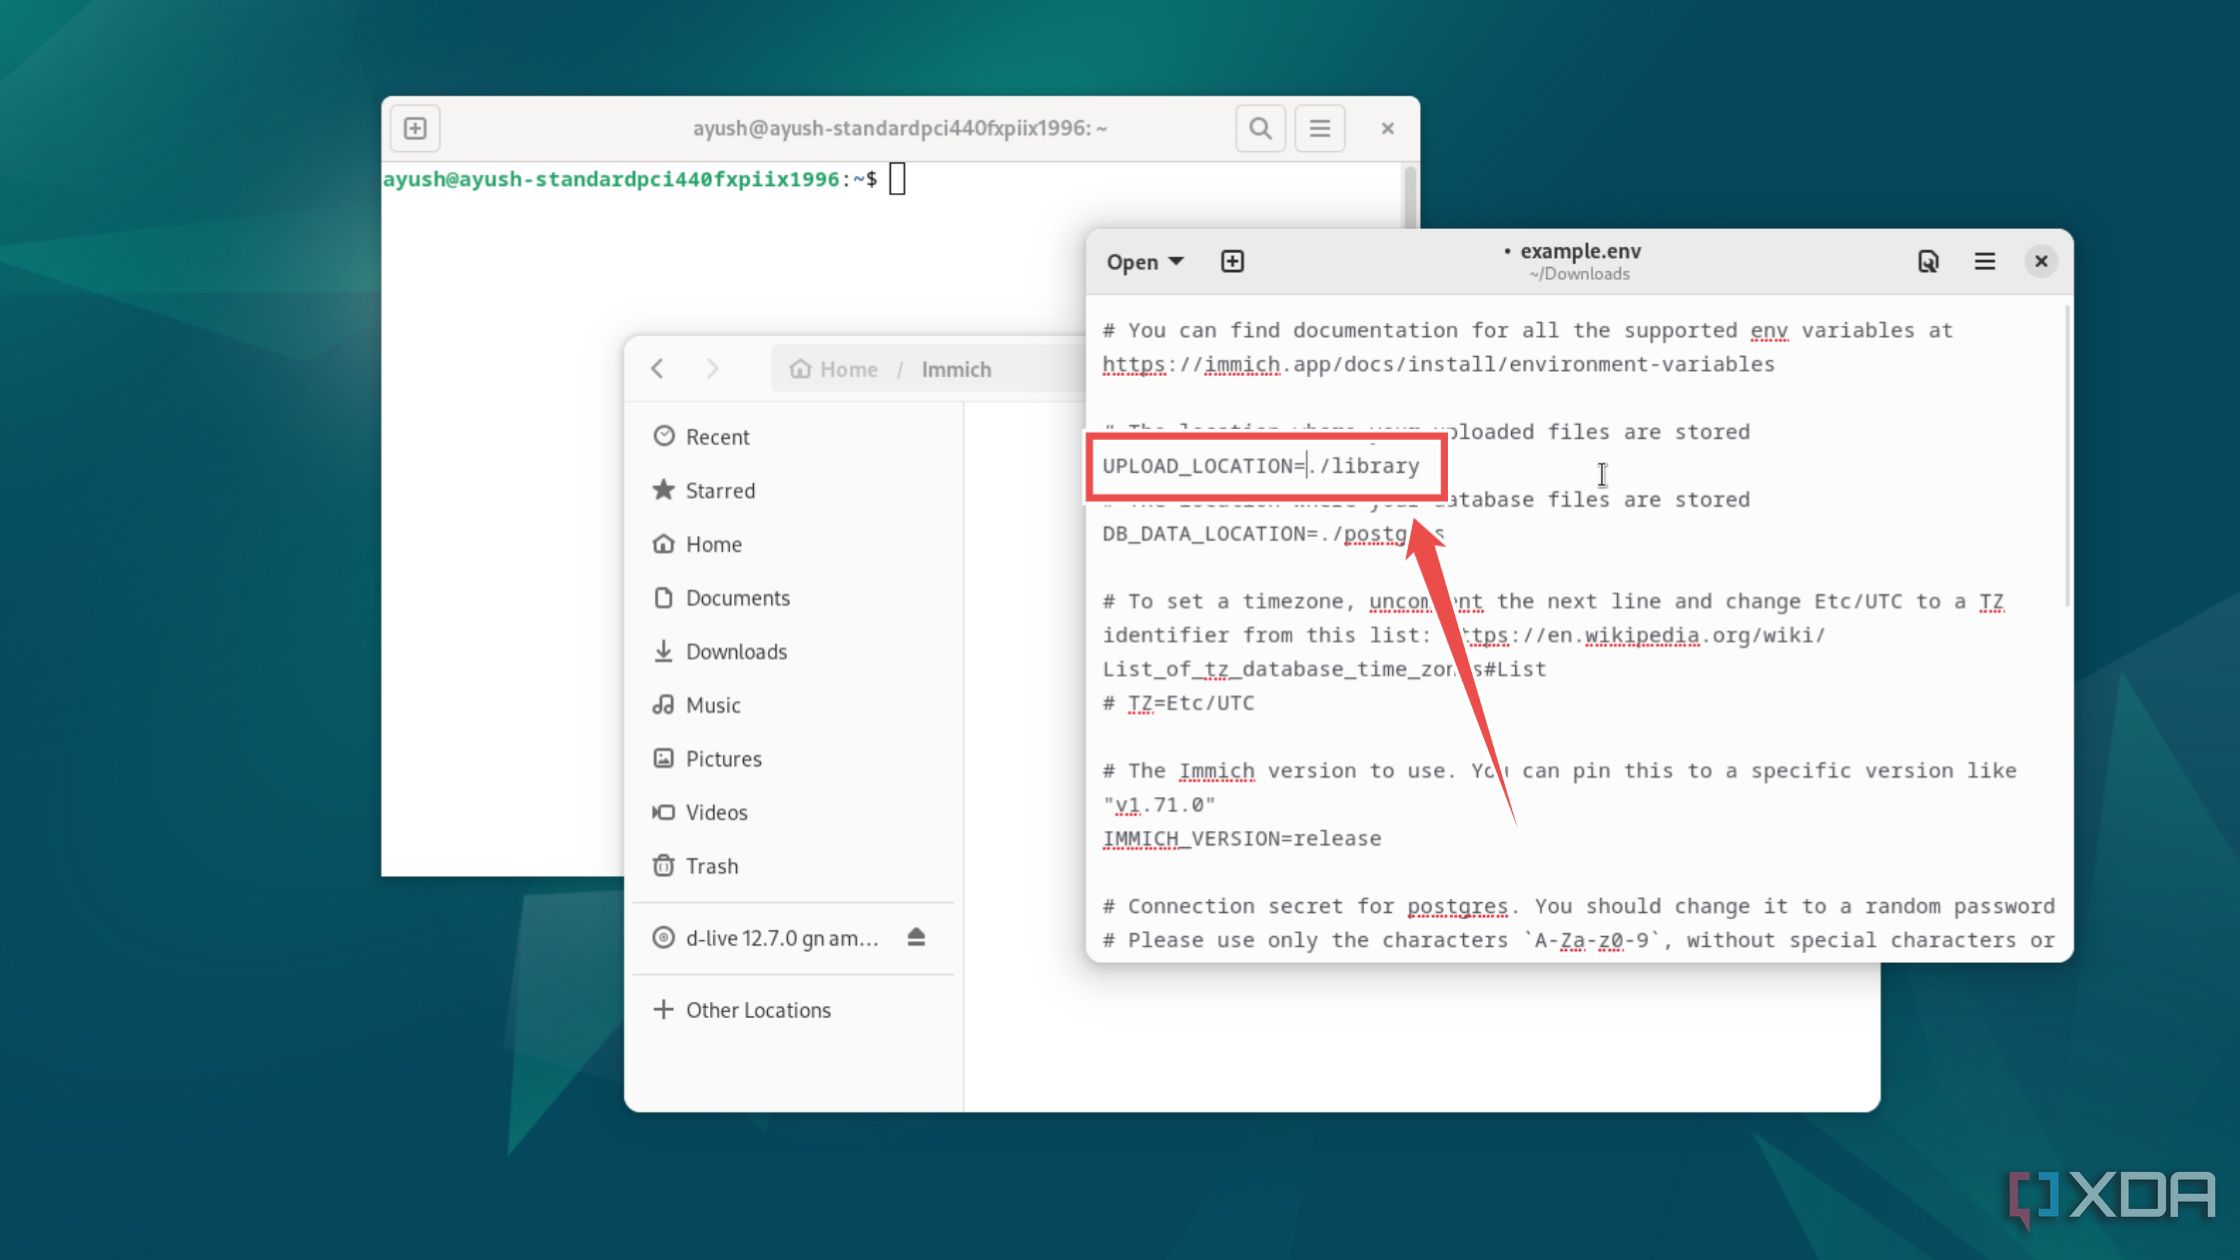
(Optional) If you wish to set a custom location for your Immich library, you can edit the UPLOAD_LOCATION string inside the example.env file.
-
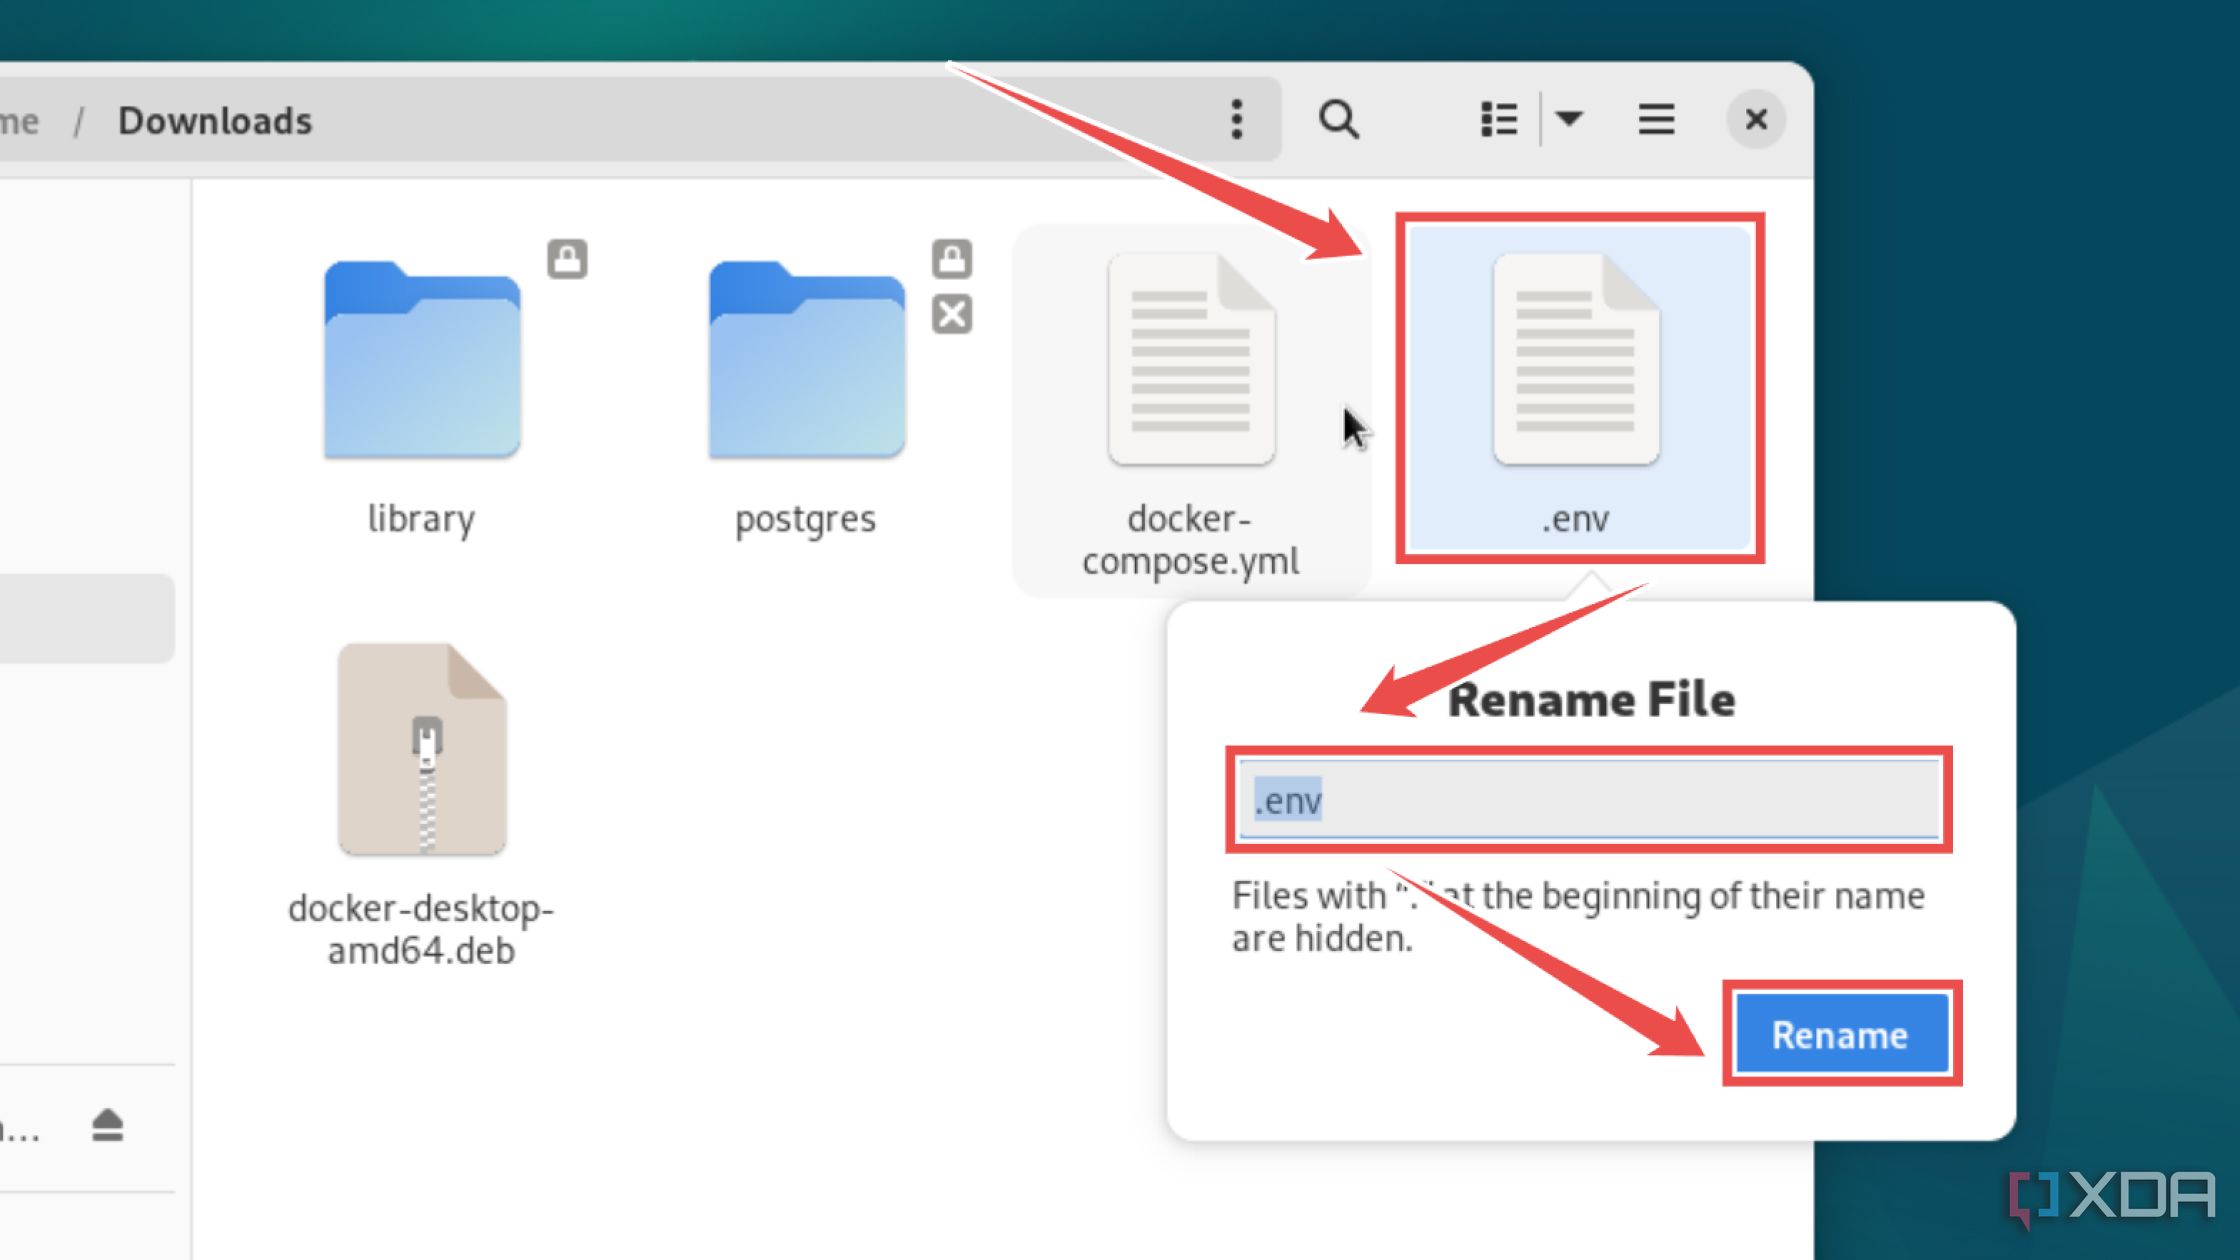
Rename example.env to .env.
-
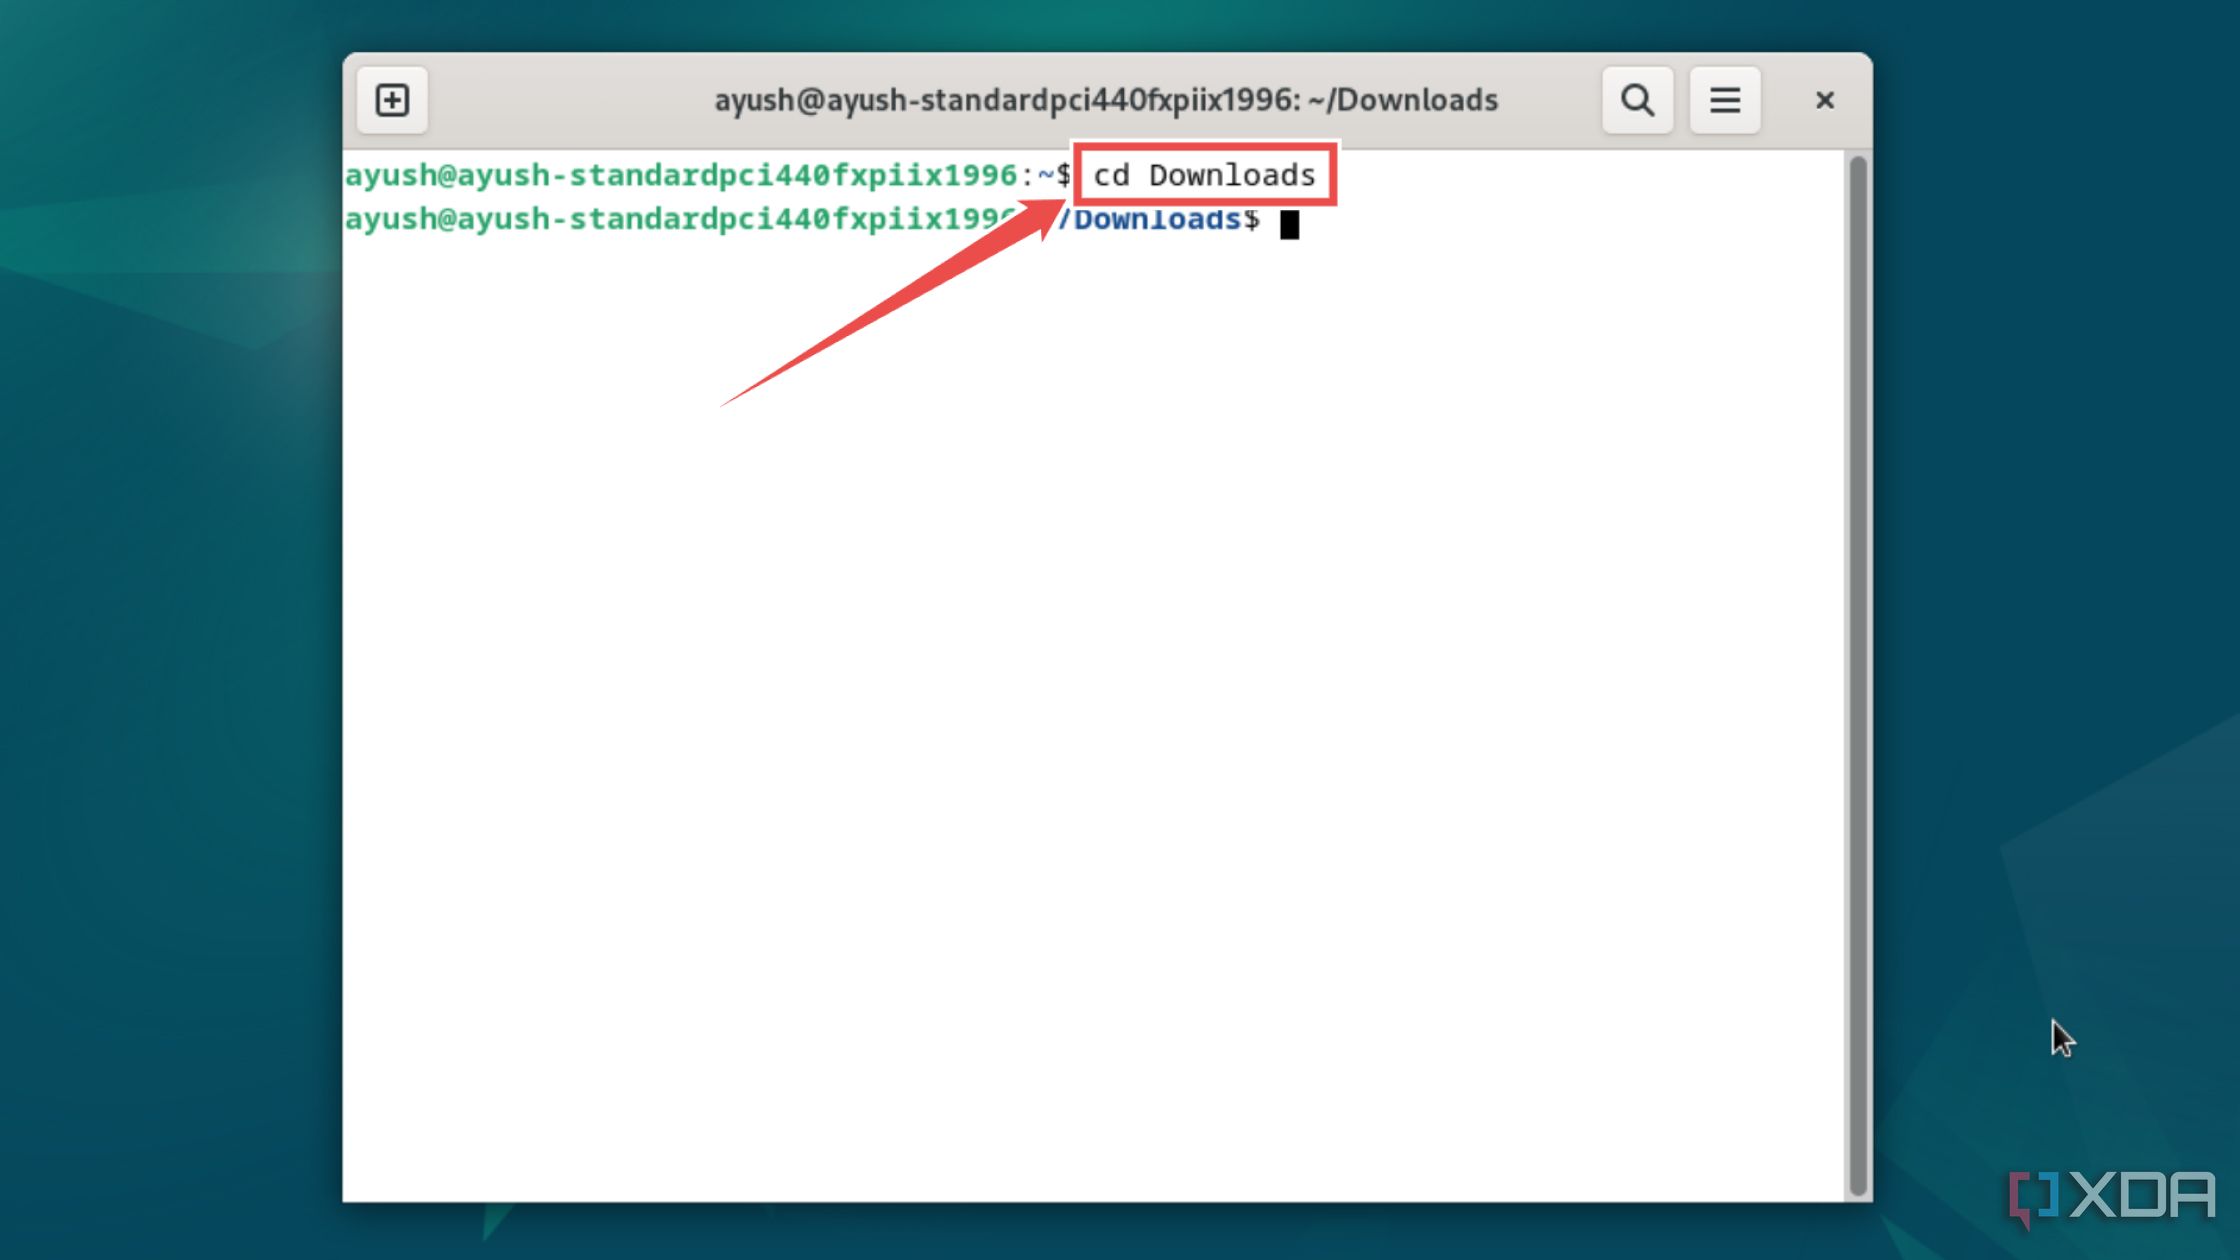
Launch the terminal app bundled with your distro and use the cd command to navigate to the directory containing docker-compose.yml and the now-renamed .env file.
-
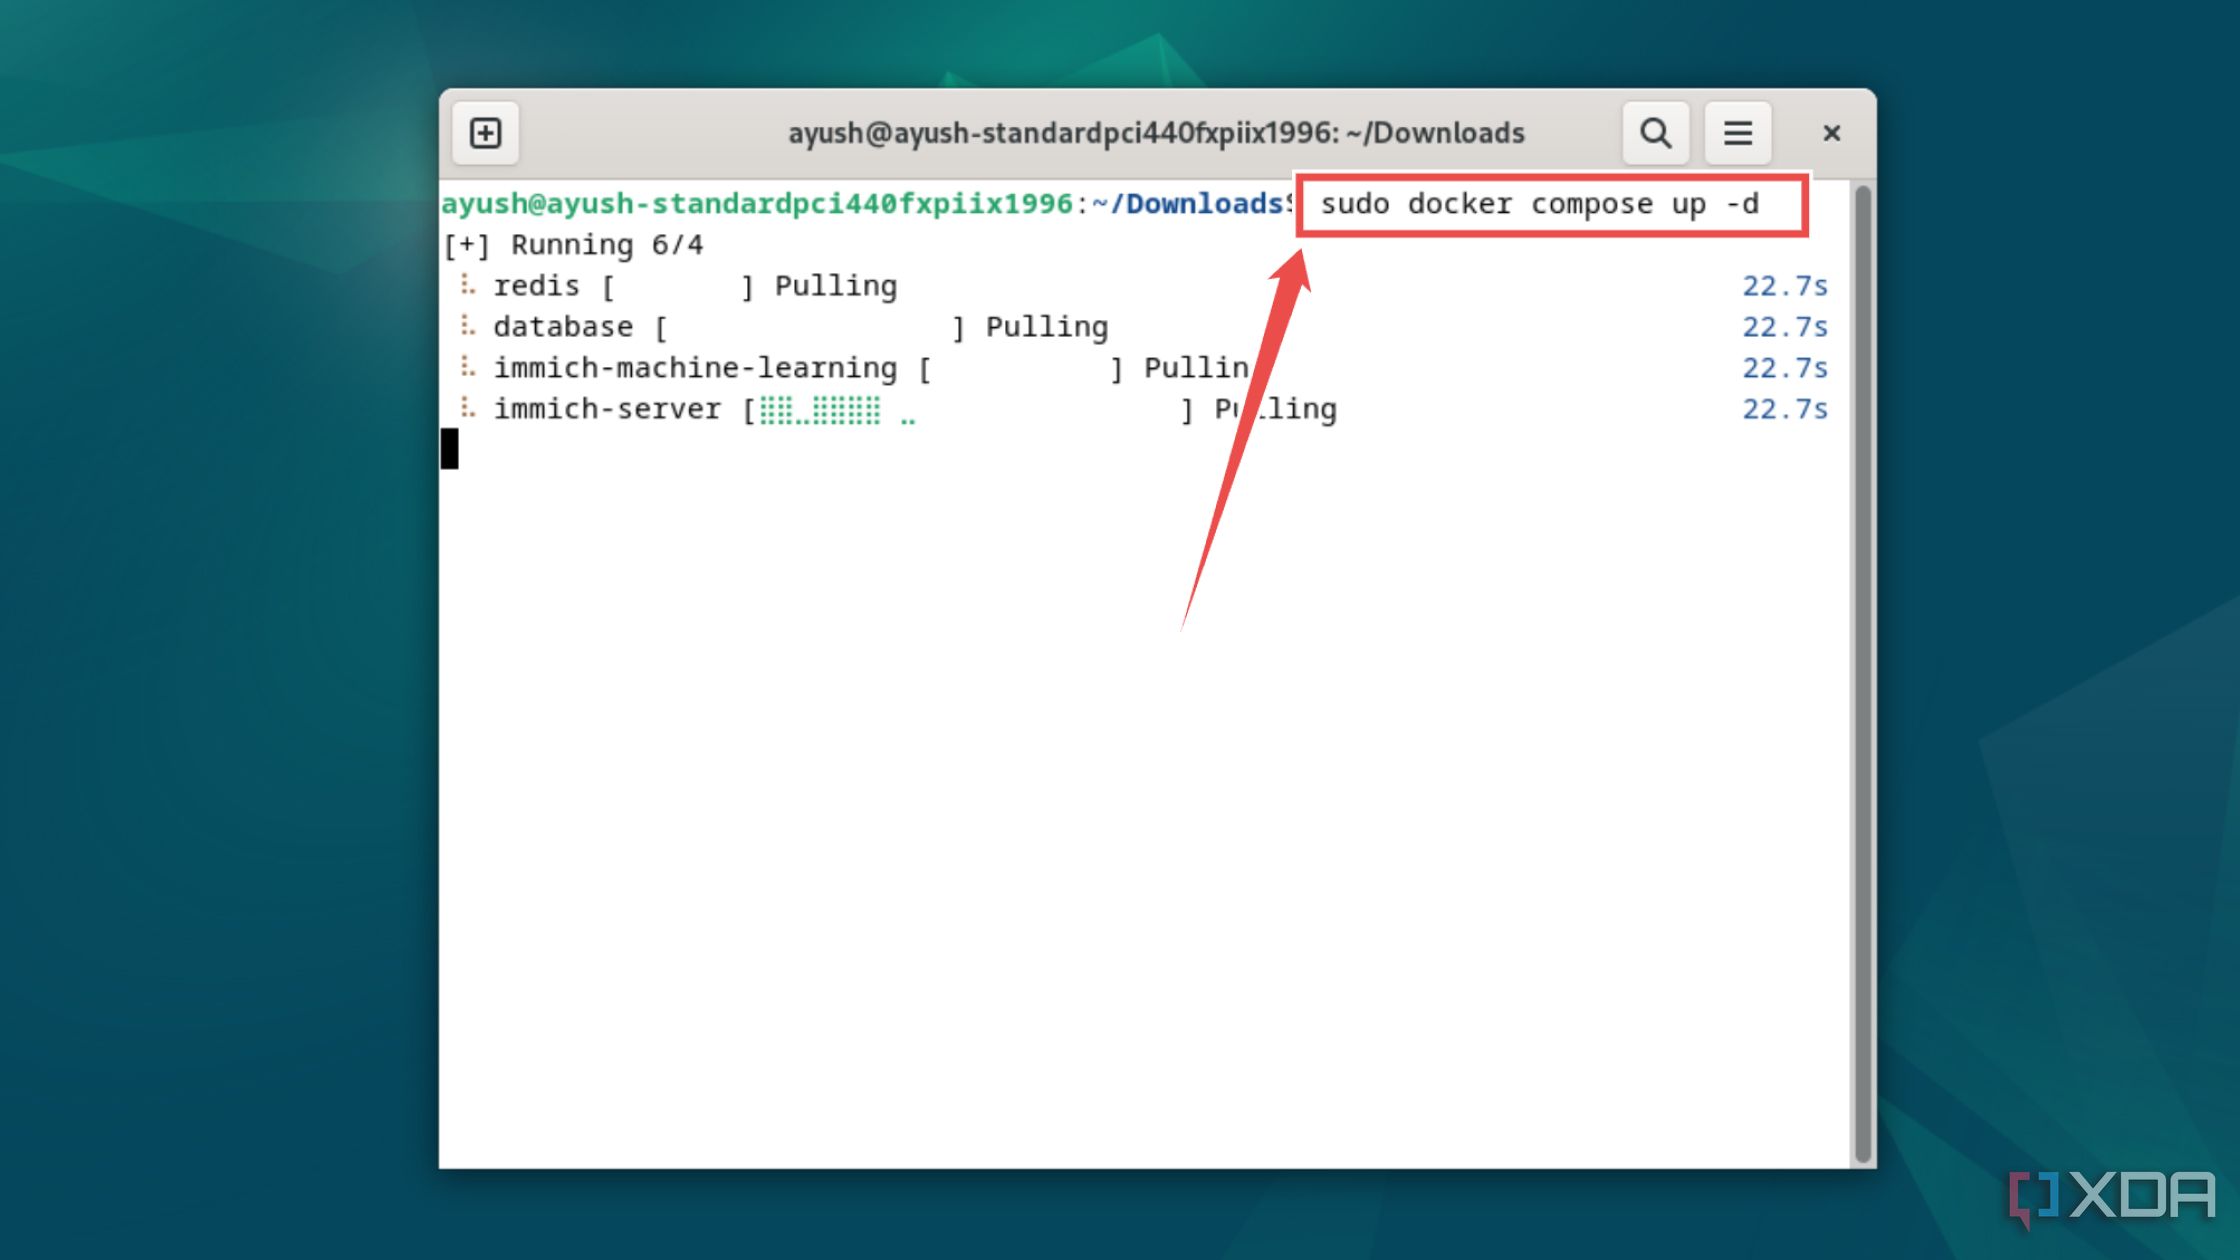
Finally, run the docker compose command to deploy the Immich container.
docker compose up -d


If you’re on Windows, you technically use Docker Desktop to run Immich. But for those who haven’t set up Docker Desktop yet, I recommend creating a Linux virtual machine inside VirtualBox or VMware Workstation Pro and replicating these steps within said VM.
Alternatively, many operating systems, including YunoHost, Unraid, and UmbrelOS, provide Immich apps inside their built-in application stores for an easier means to get your Immich server up and running.
Accessing the Immich web UI
Once Docker has pulled the images, it will begin hosting the Immich container and its necessary packages. Assuming you haven’t modified the port number in the docker-compose.yml file,
-
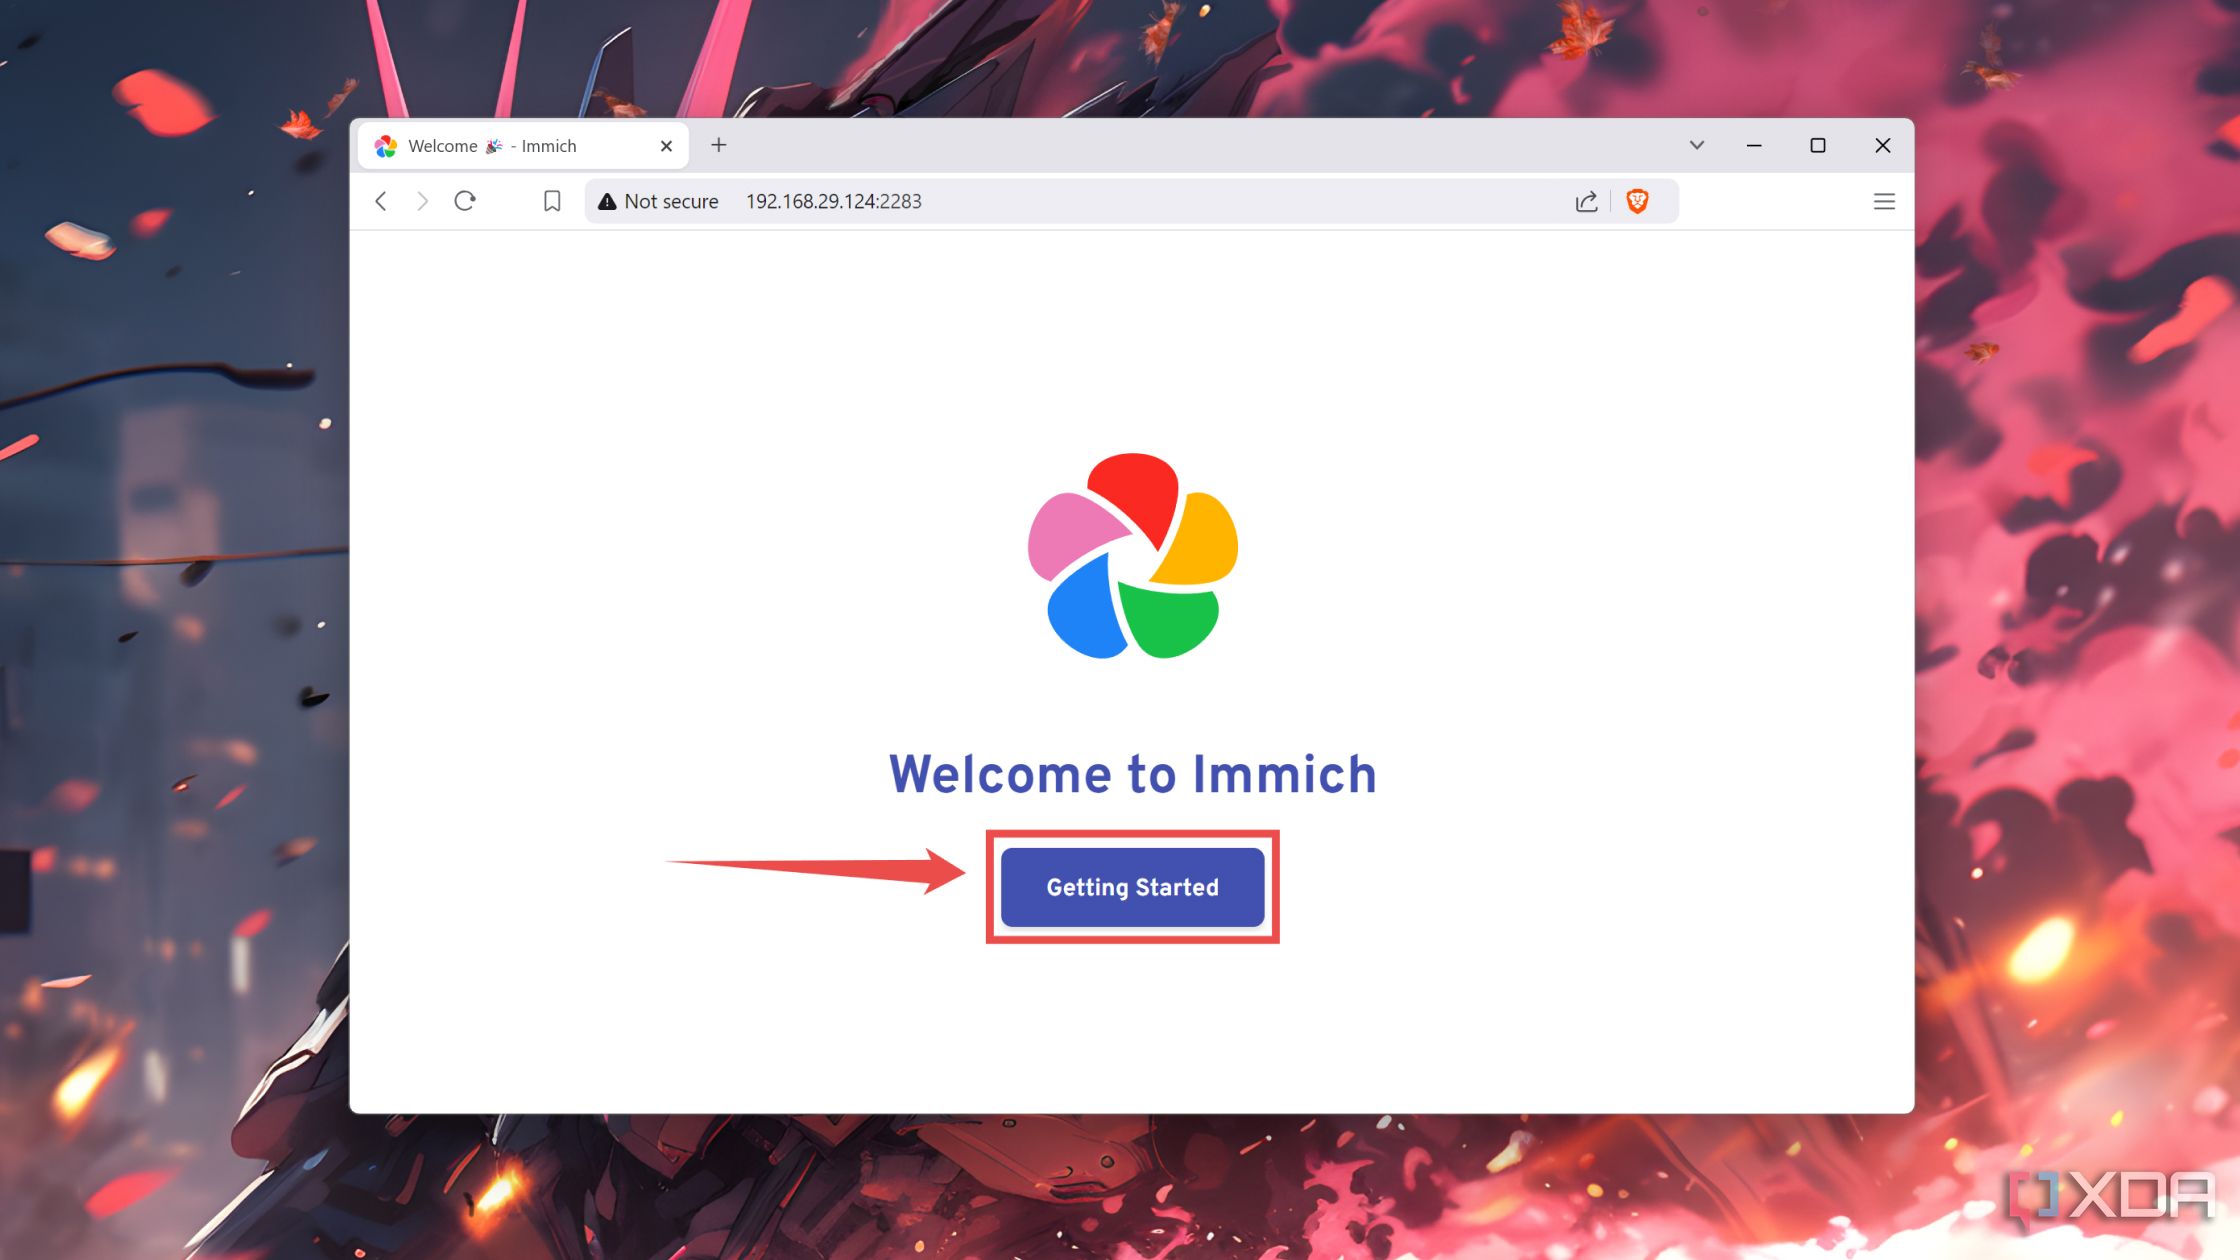
Type localhost followed by a colon (:) and the port number 2283 in the Search Bar of your favorite web browser to access the Immich server on your local machine.

Alternatively, you can replace the localhost string with the IP address of the machine running the Immich server if you want to access Immich from the other devices on your home network.
-
Tap the Getting started button.
-
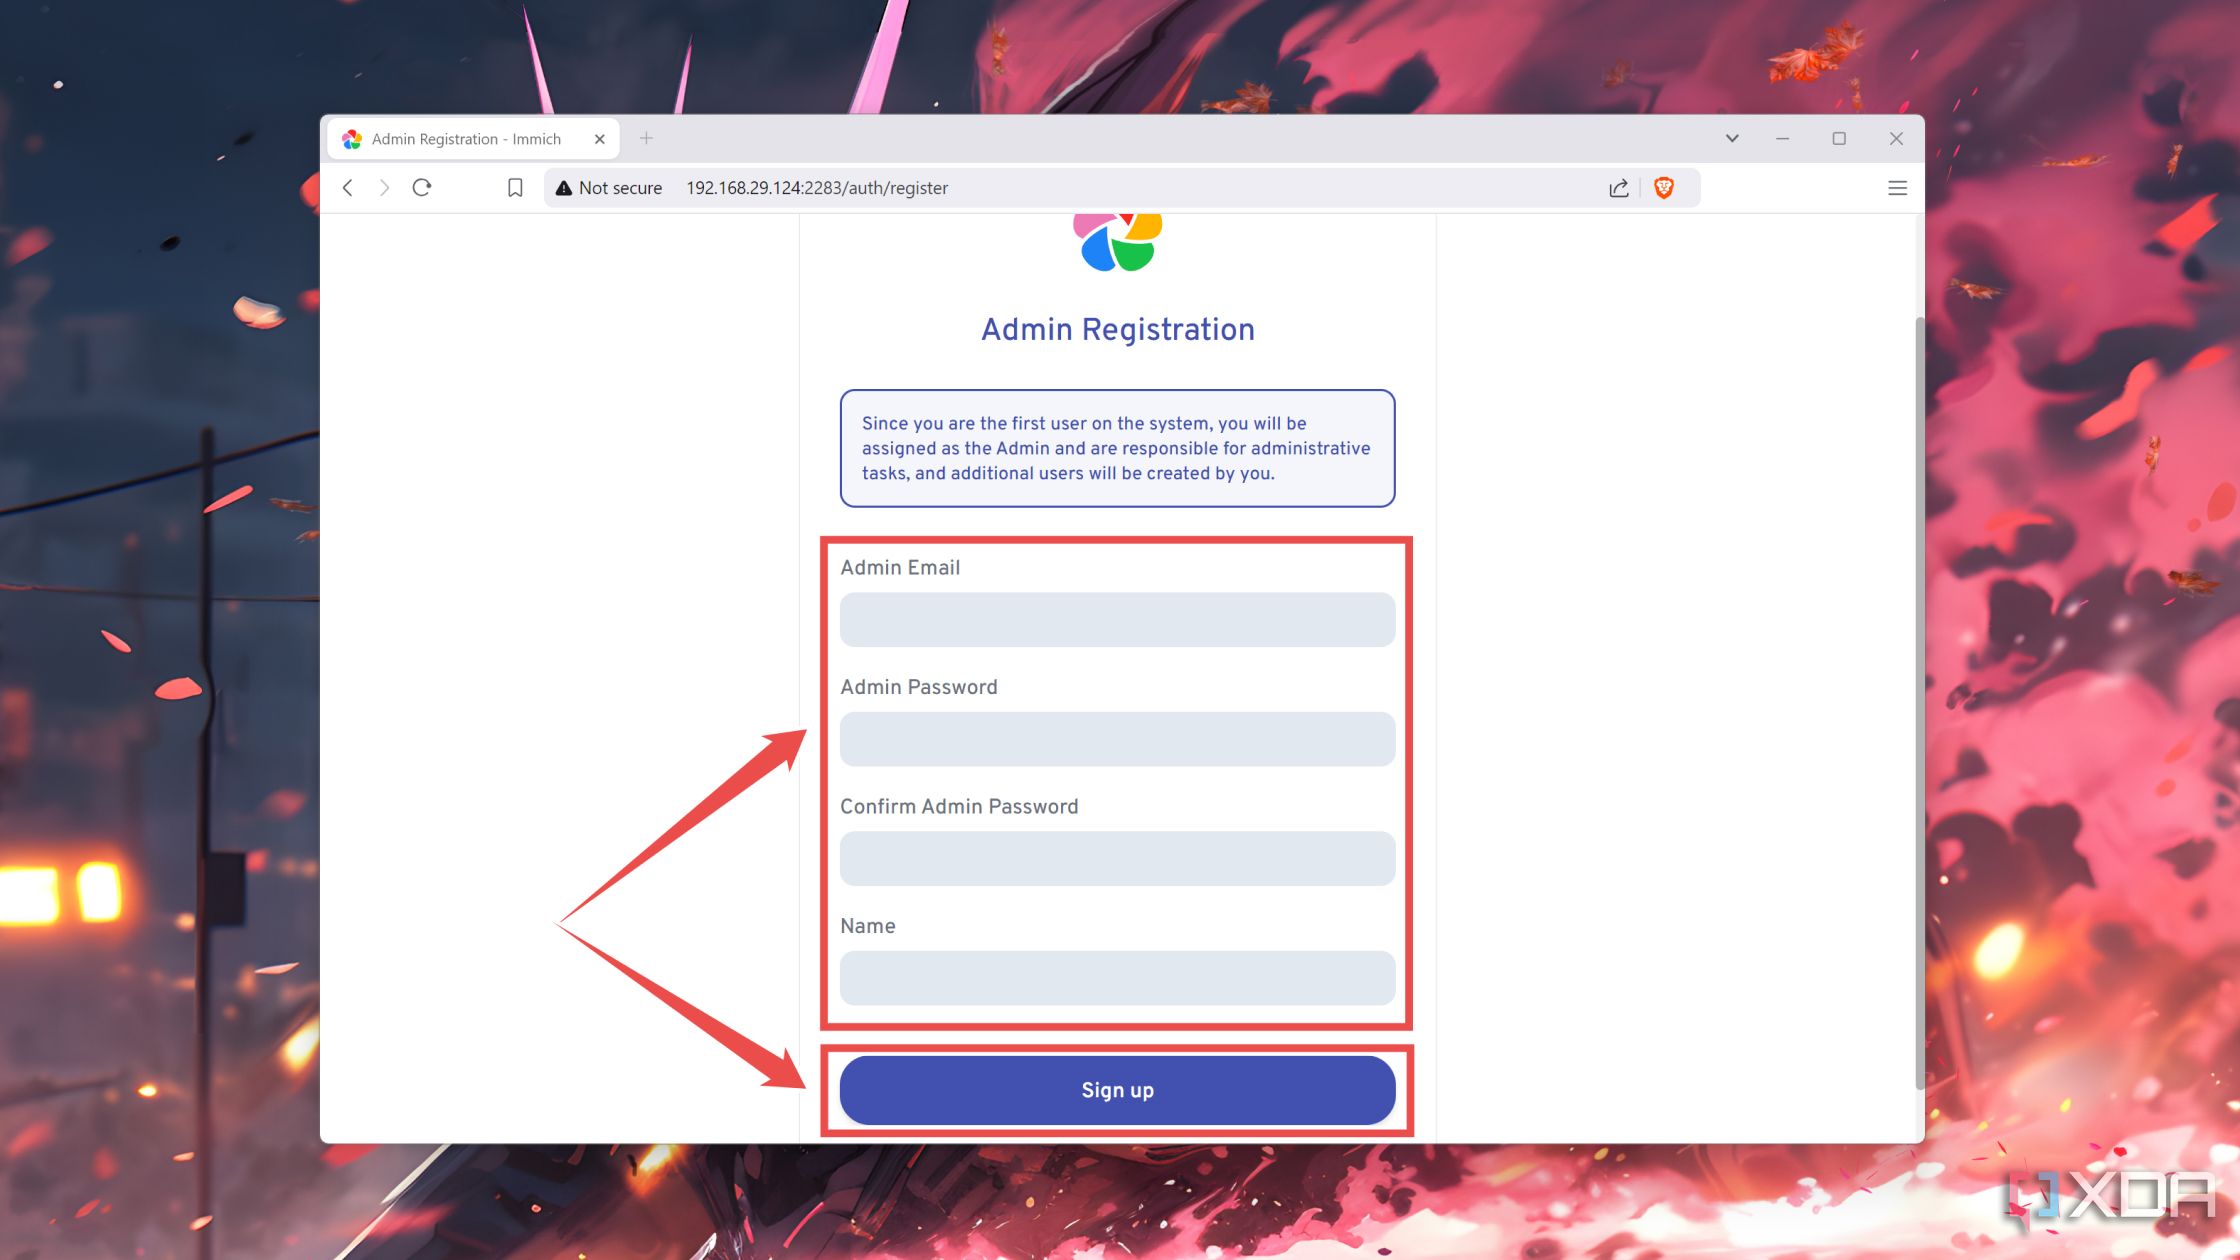
Sign up on your Immich server by entering the Admin Email, Password, and Name.
- Enter the Email and Password you set earlier to log into Immich.
-
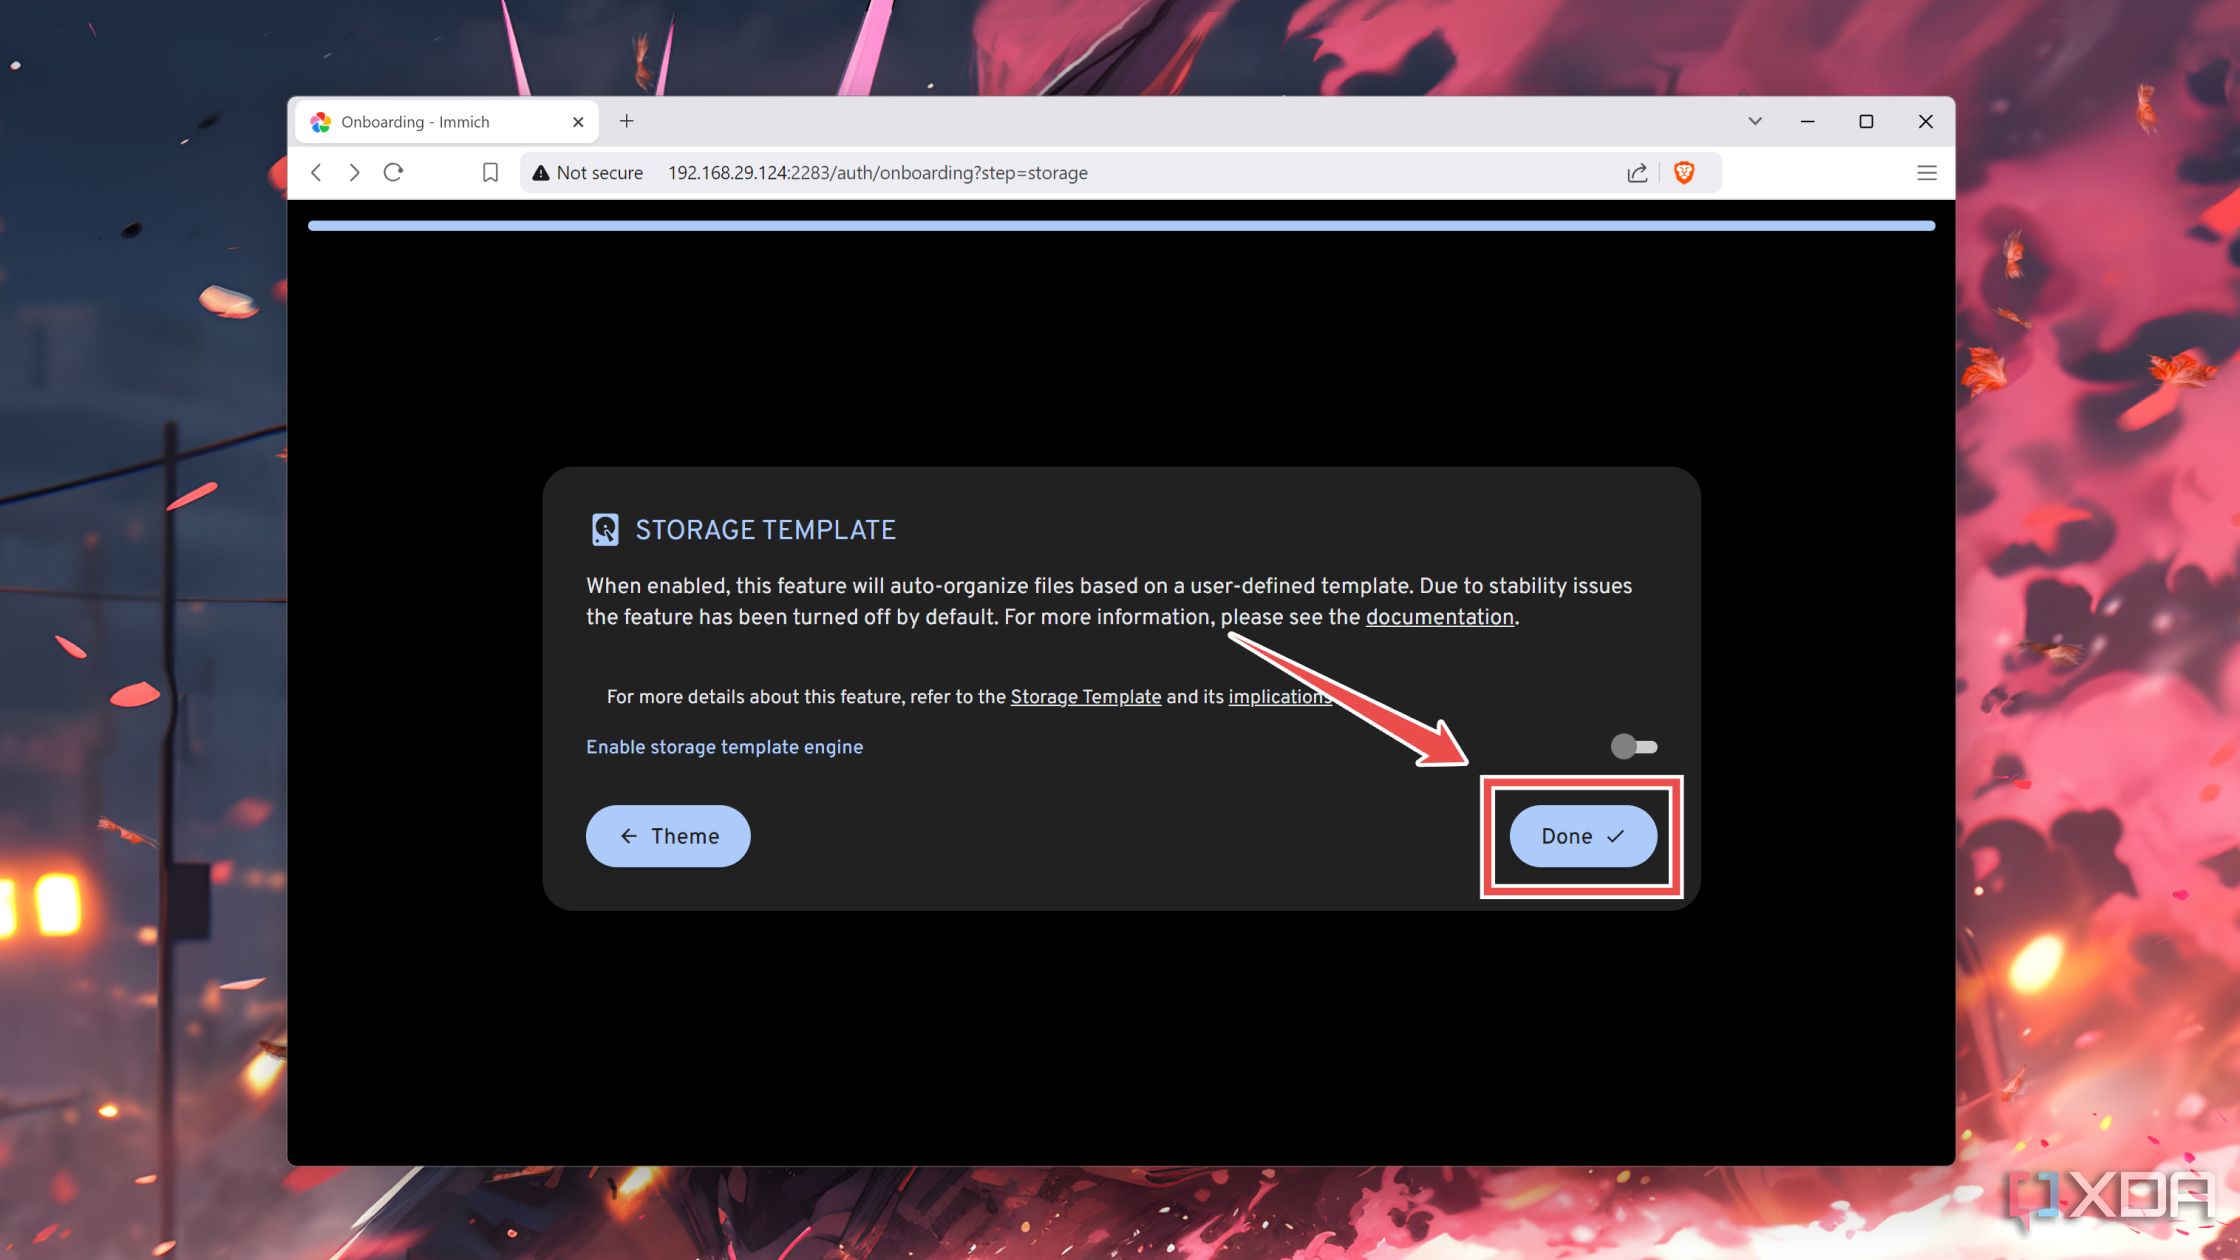
Leave the Theme, Privacy, and Storage settings at their default values and hit the Done button.
-
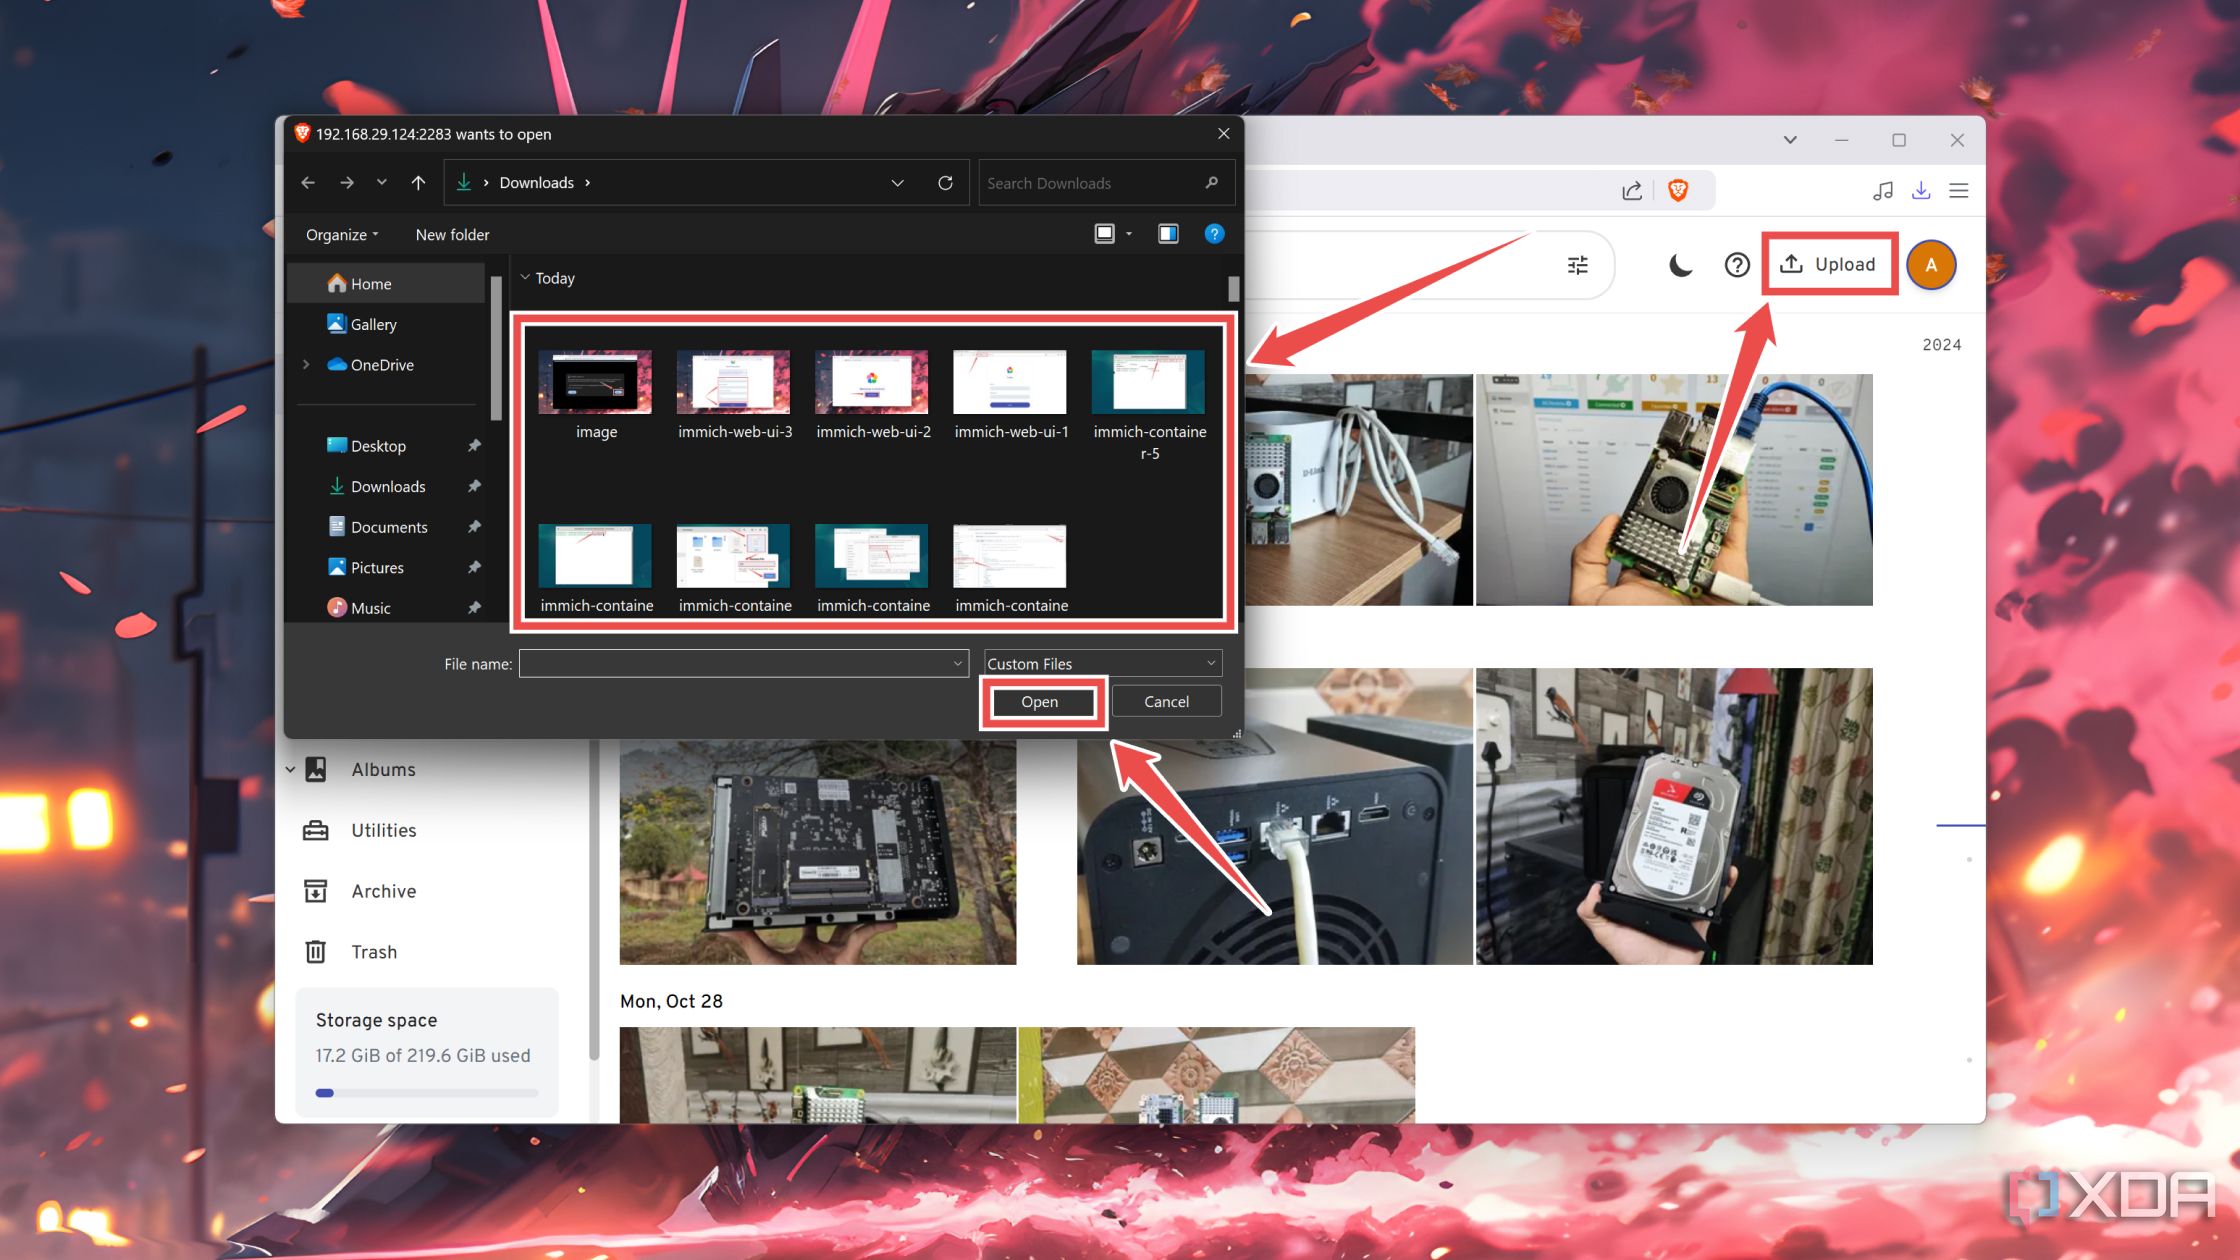
Once you’re on the Immich home page, you can add all your photos and videos with the Upload button.


Building a killer self-hosted Immich photo server

Once you’ve uploaded your media files to Immich, you can scan for duplicates via the Utilities tab. Aside from the convenient web UI, Immich also offers dedicated Android and iOS apps, allowing you to set up automatic backups for your mobile devices. If you’re concerned about the security of your private Immich server, you can leverage the OpenID Connect protocol by self-hosting an Authentik container on your workstation.

Related
5 self-hosted apps you need to be using that will improve your life
Make your life easier by hosting these cool apps on your home lab
#Heres #replace #Google #Photos #selfhosted #Immich #server
source: https://www.xda-developers.com/heres-how-you-can-replace-google-photos-with-a-self-hosted-immich-server/

