

Summer is synonymous with adventure, but the thought of planning an entire trip can often feel tiring. You need to juggle flights, hotel reservations, itineraries, to-do lists, and more within budgets. What if there were a way to centralize every detail, streamline your research, and transform chaotic planning into an organized process? Here is where a versatile productivity tool like Notion comes into play. Let me show you how I leveraged Notion’s flexibility to plan my entire summer trip with minute details.

Create a new Notion page
With a weather widget
While there is no shortage of travel templates in Notion, I prefer to start from scratch. After all, each trip is different, and I like to have control over every detail on my travel page. Let’s start with the basics.
- Launch Notion and click + to create a new page.
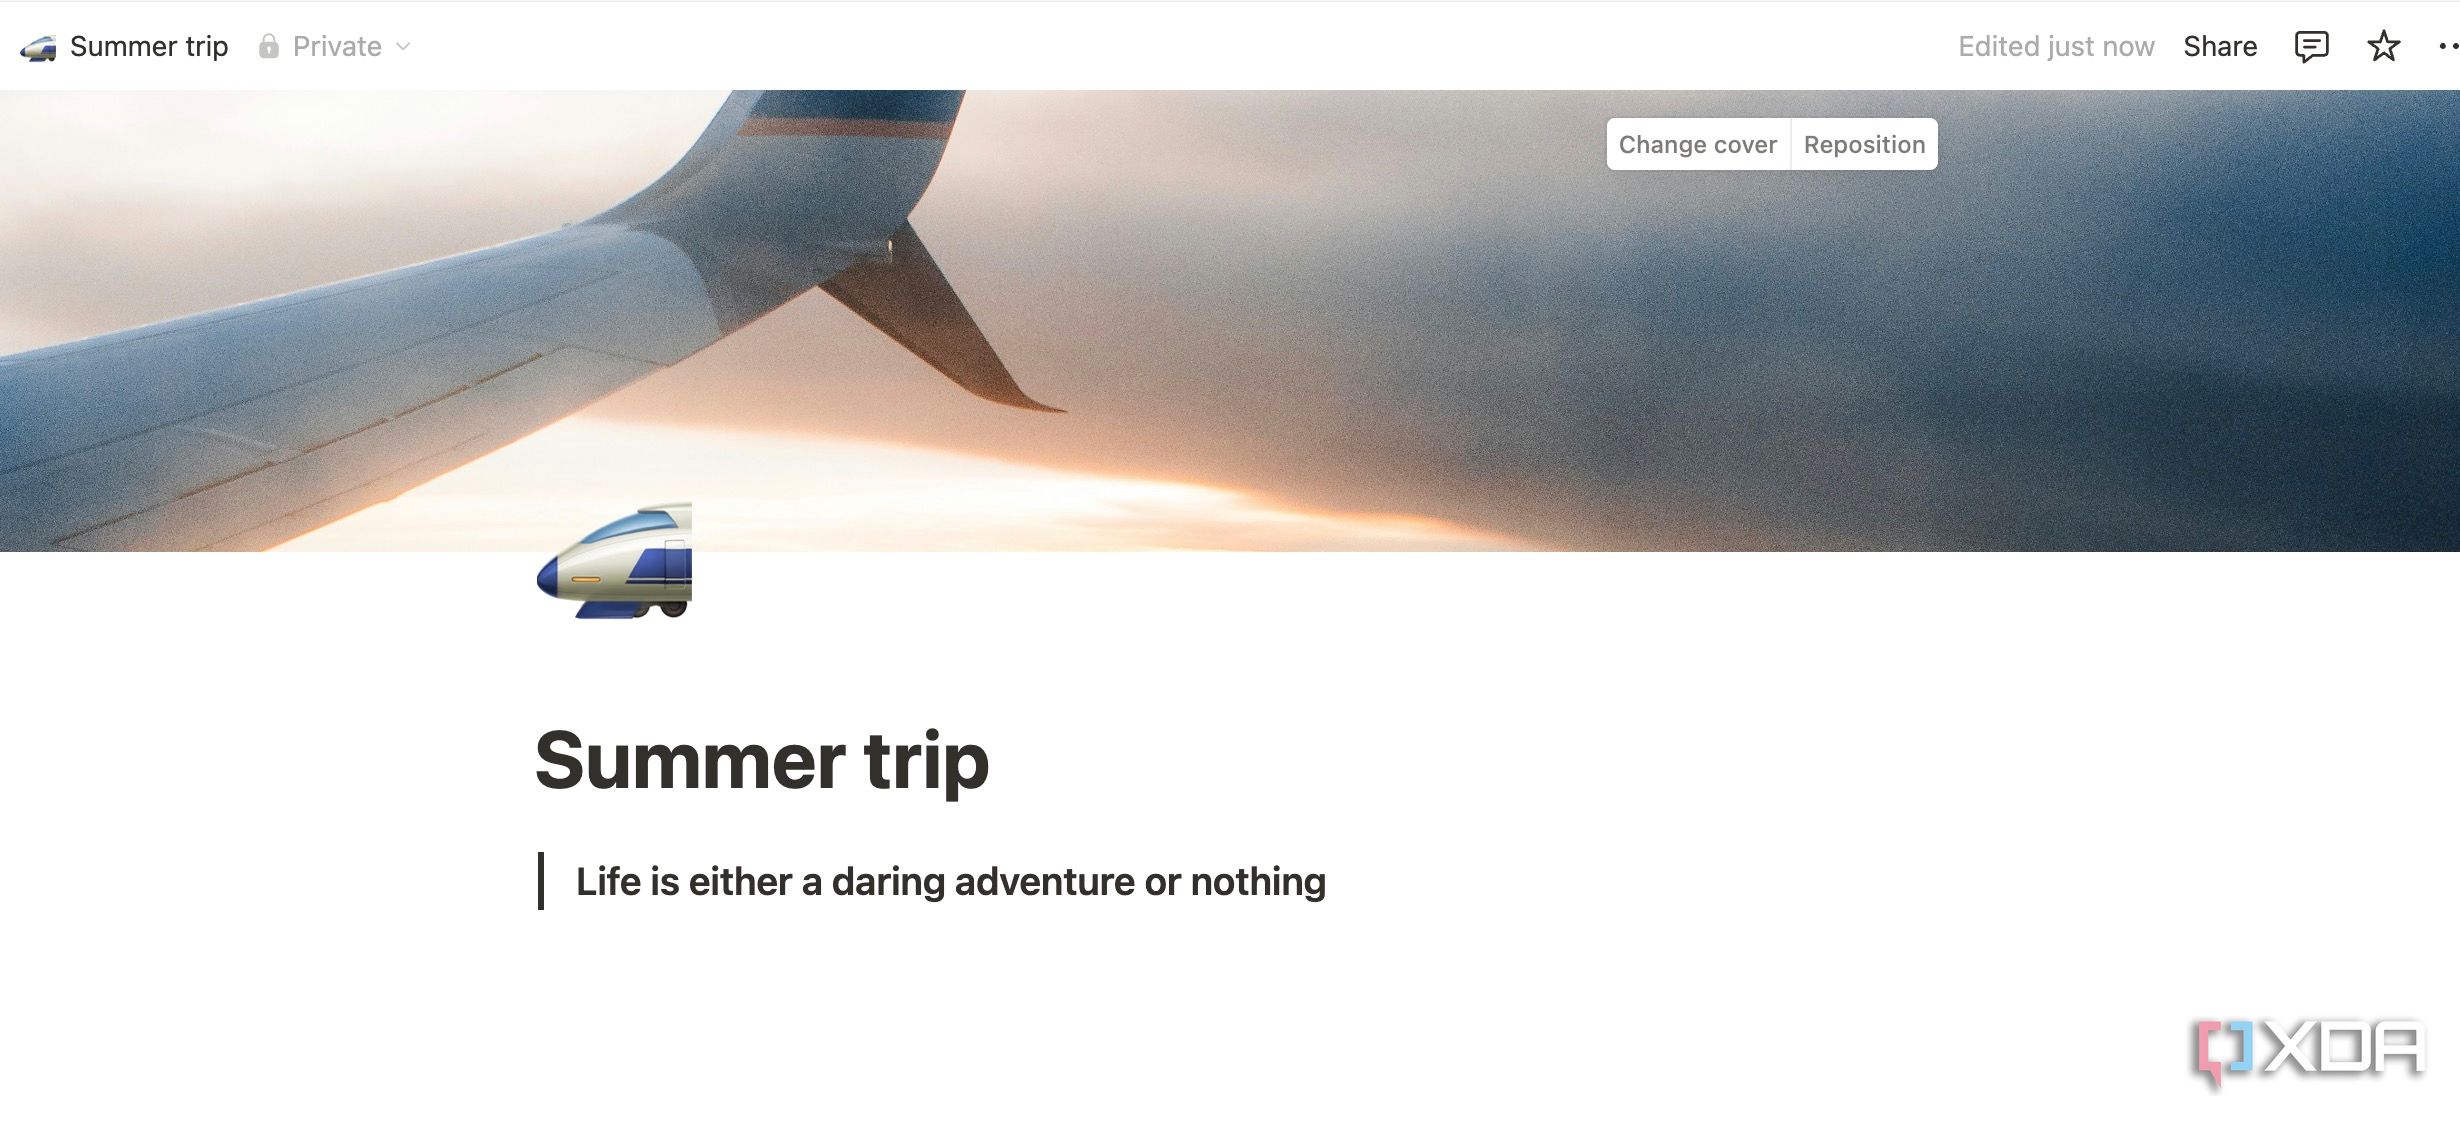
- Give it a relevant icon and apply a travel-related wallpaper at the top (like the Taj Mahal, the Eiffel Tower, or the Great China, depending on your travel places).
-
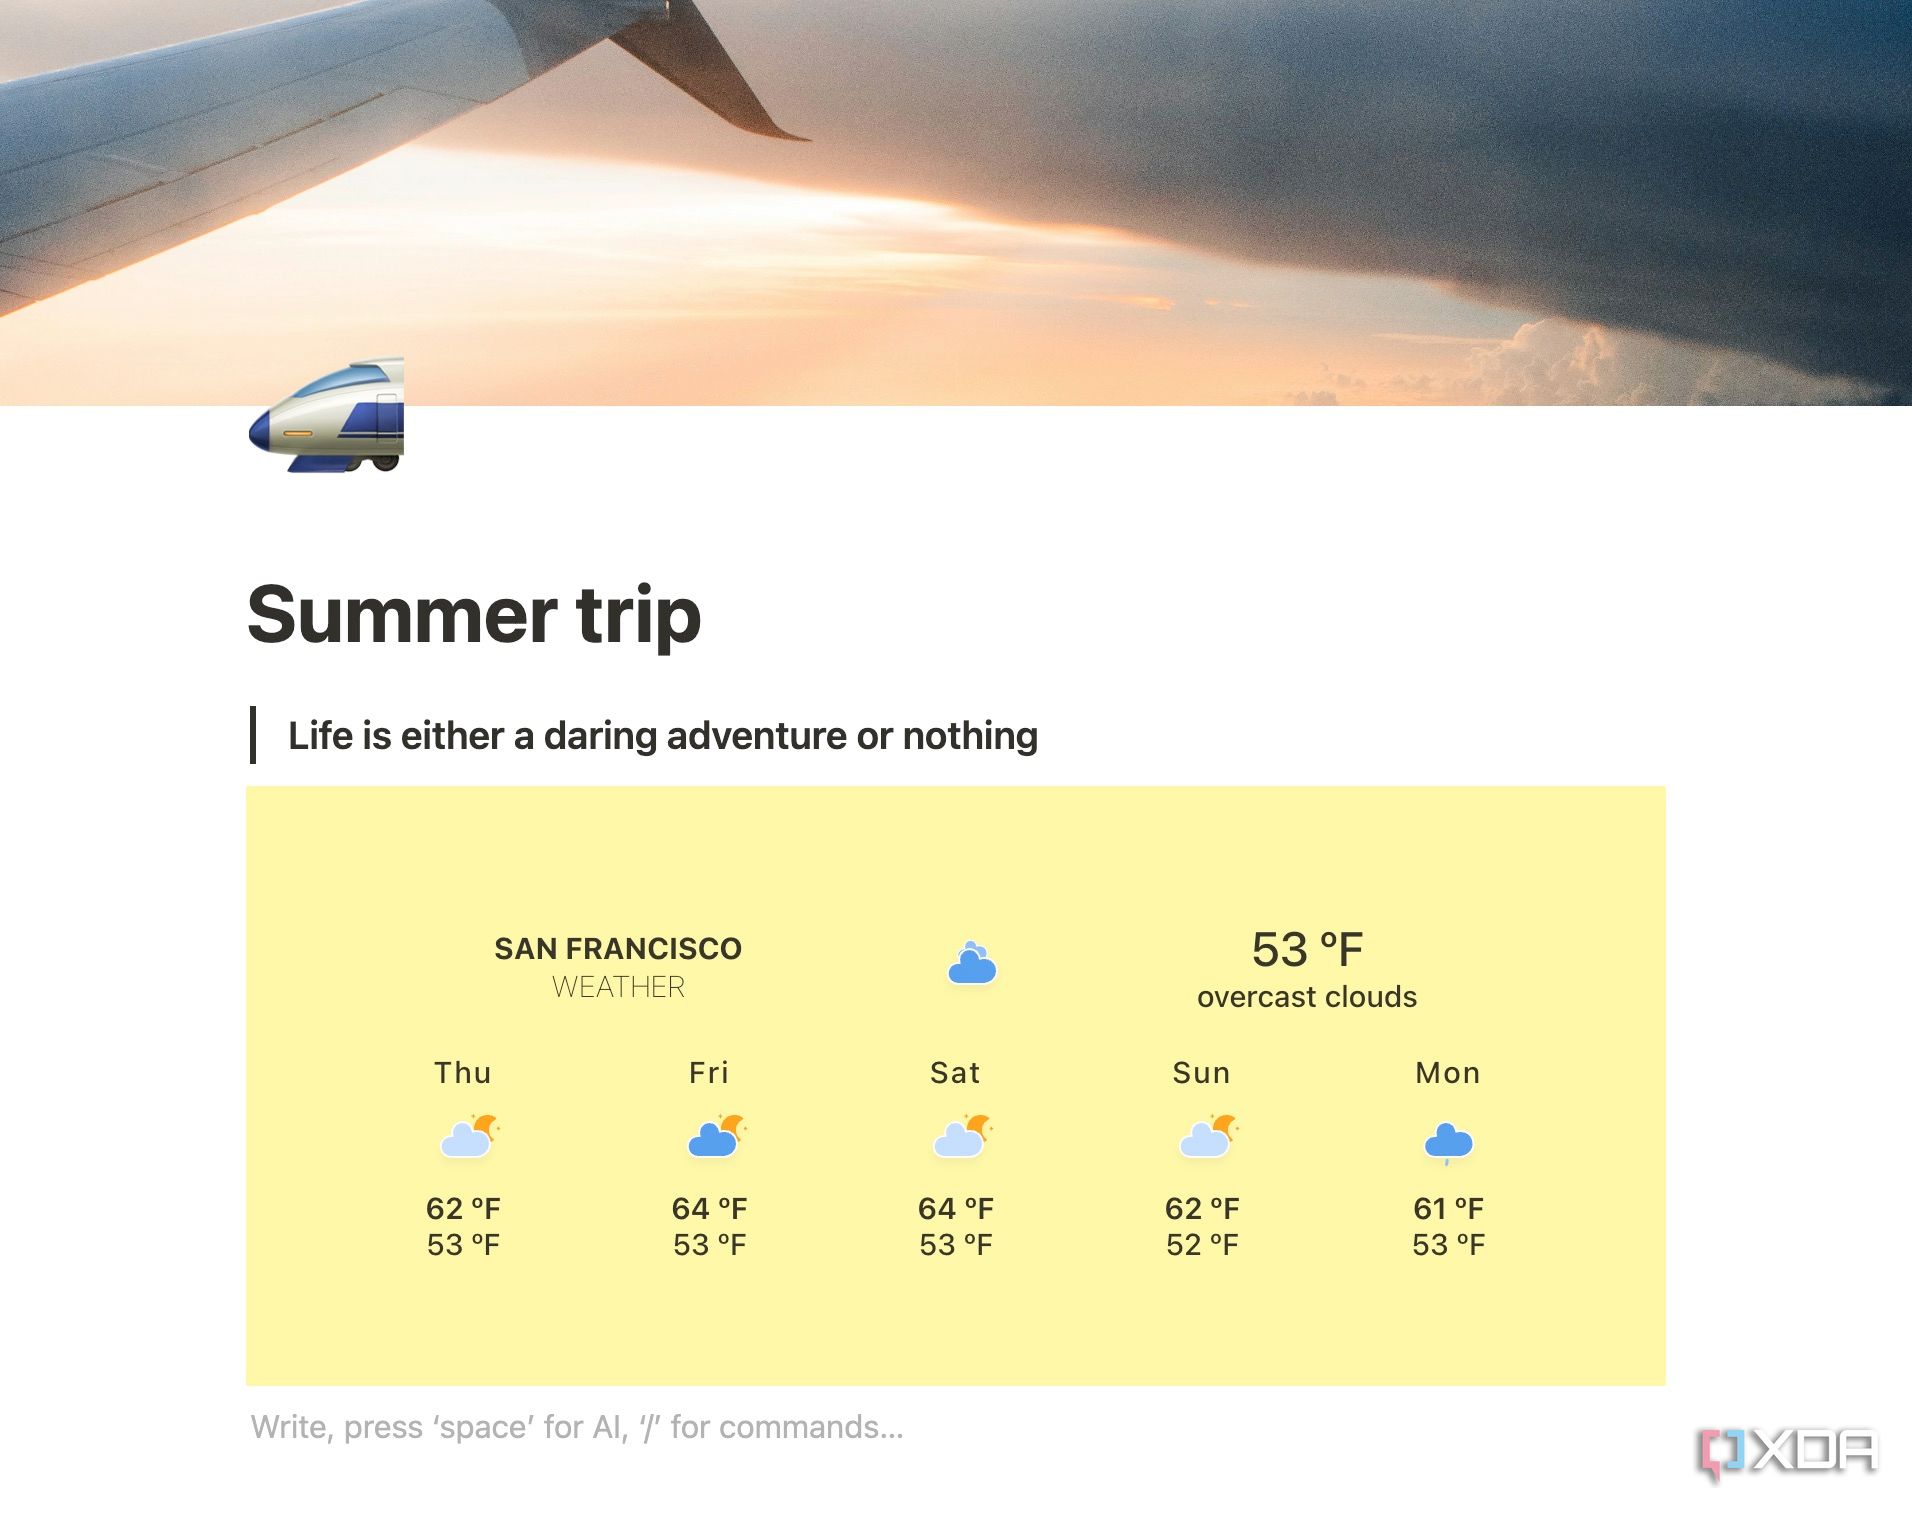
Add a neat travel-related quote using the same block and increase its size. Check the final screenshot below for reference.

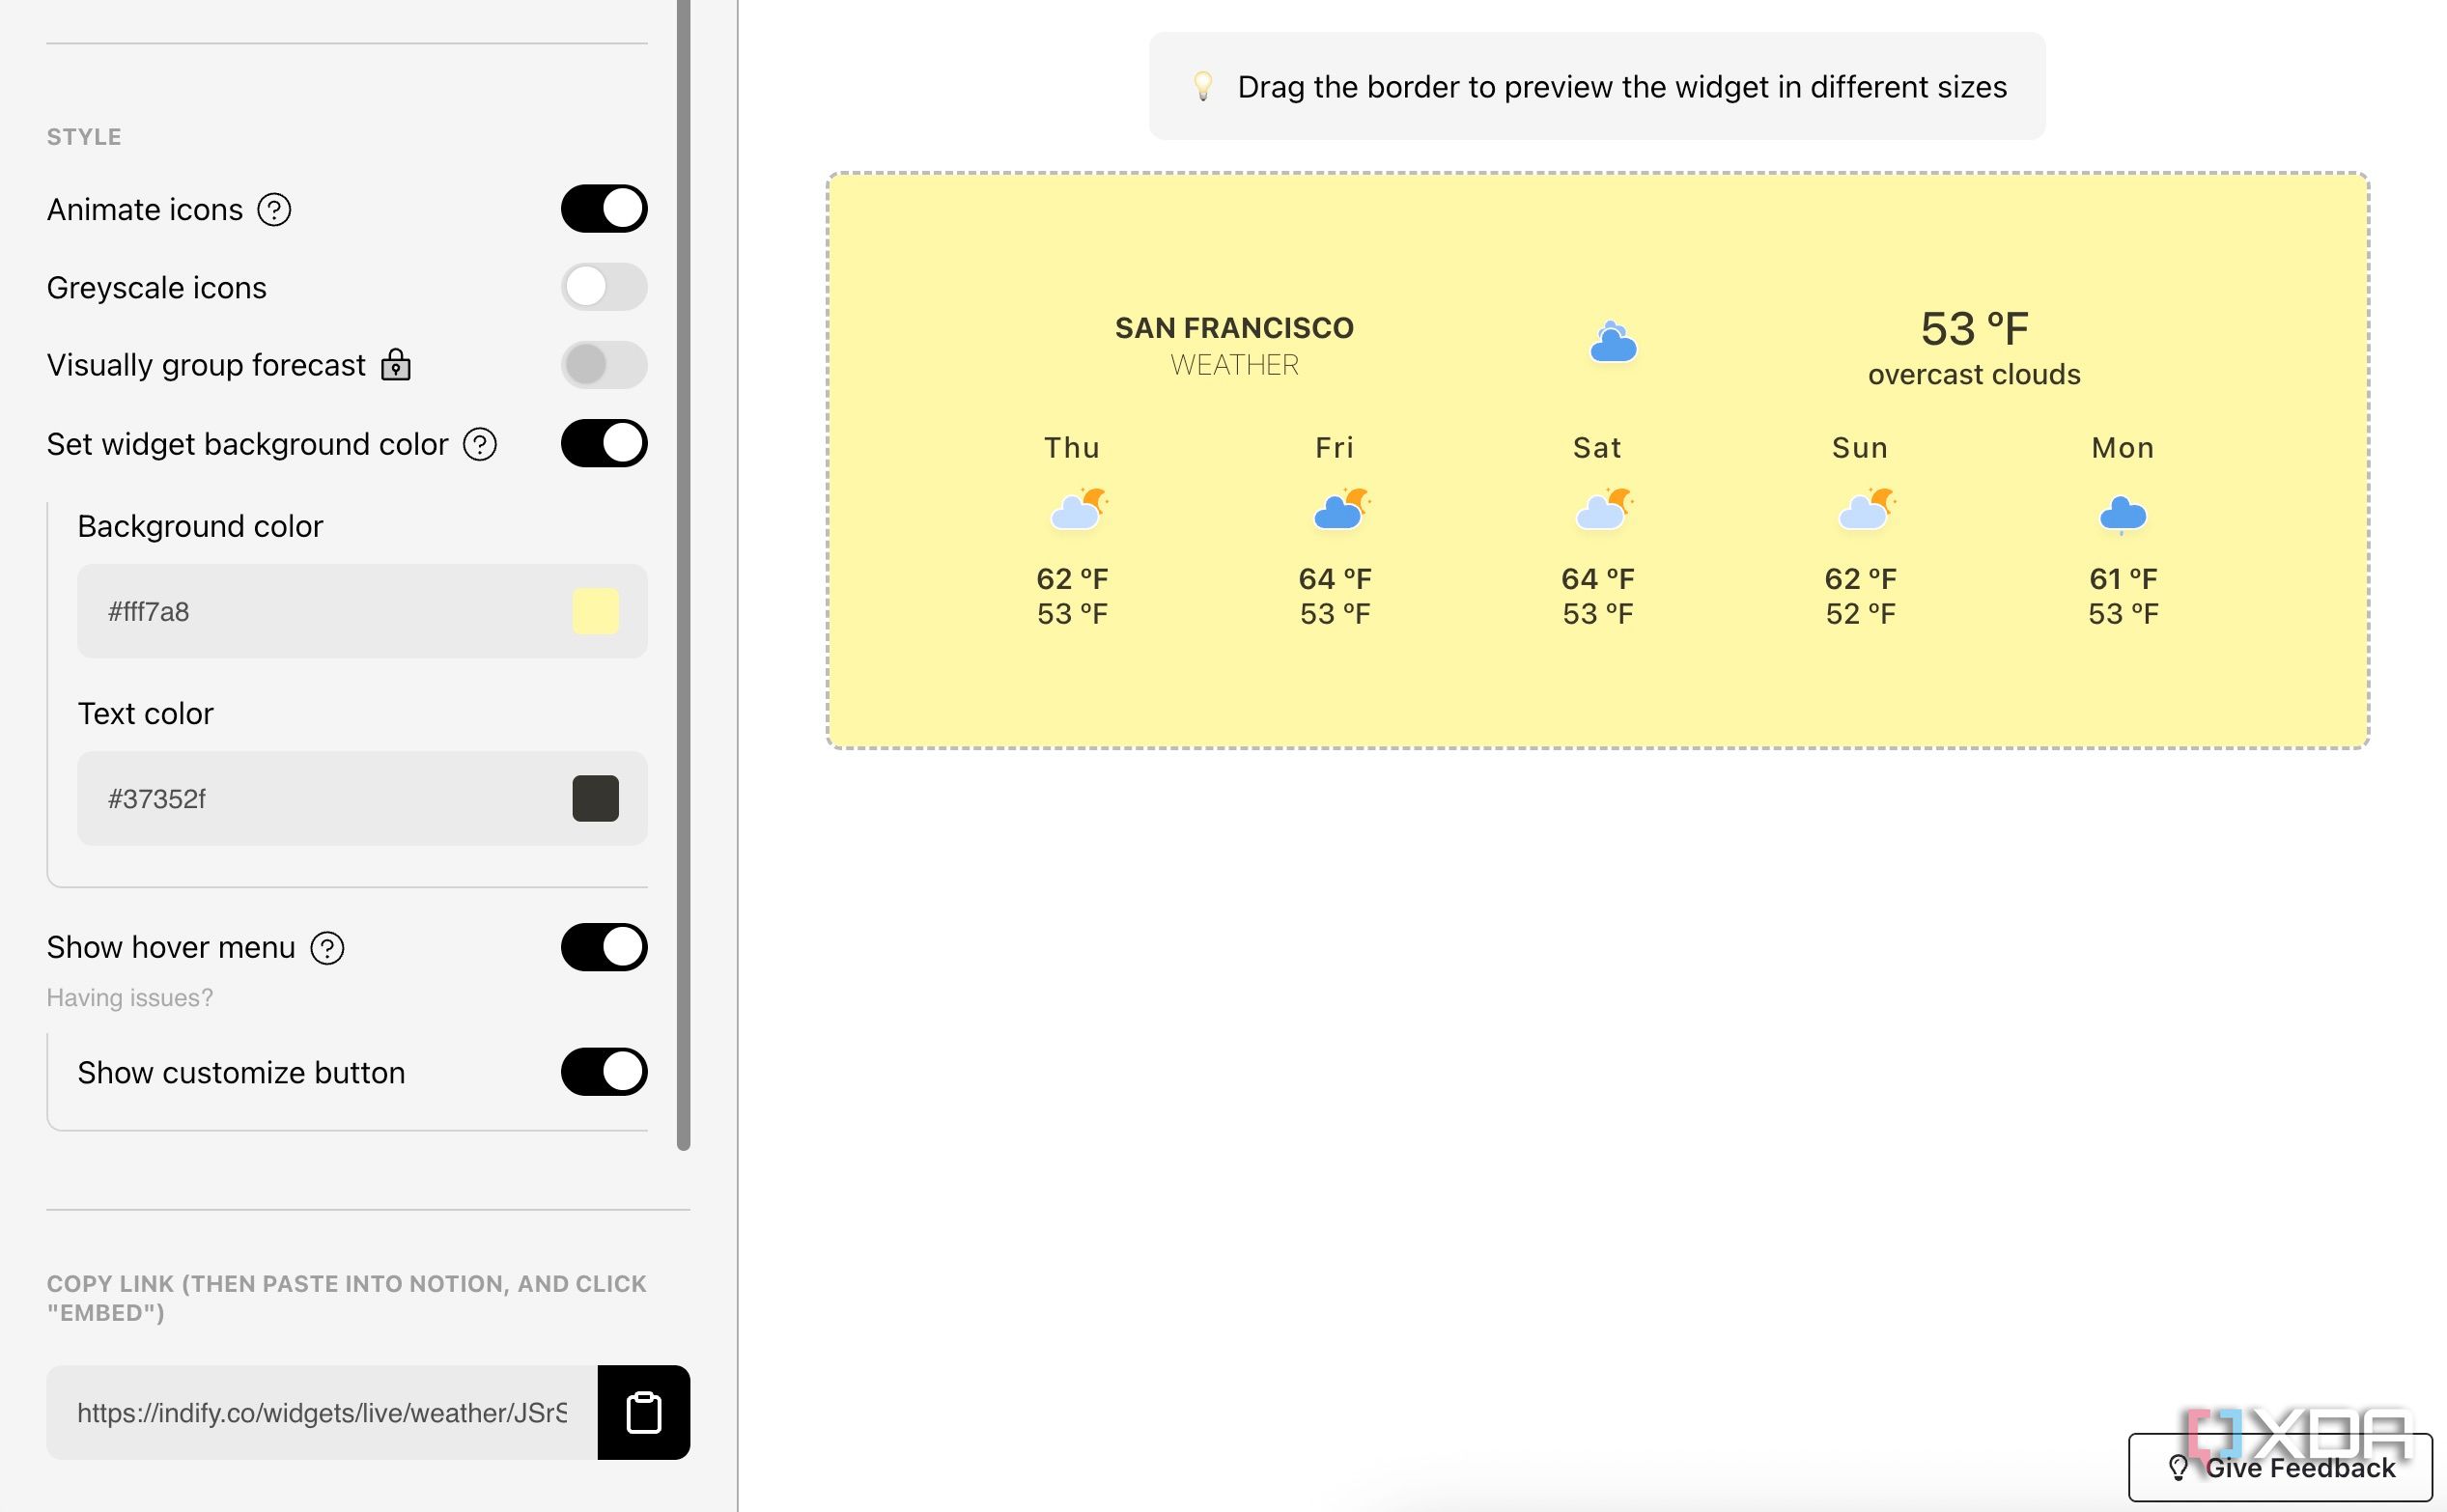
I have also added a widget to check weather details on my page. Since Notion doesn’t support widgets, I have used a third-party service called Indify to embed a widget. Here’s how.
- Head to Indify and sign up for a new account.
-
Check several widgets and pick weather.
-
Customize it from the following menu. You can change weather location, number of days, preferred units, background color and more. Copy the widget link and head back to your Notion page.

-
Type /embed and paste the link. Check your weather widget in action.


You can even get creative and set a countdown timer for your summer trip.
Create an itinerary database
The heart and soul of your Notion page
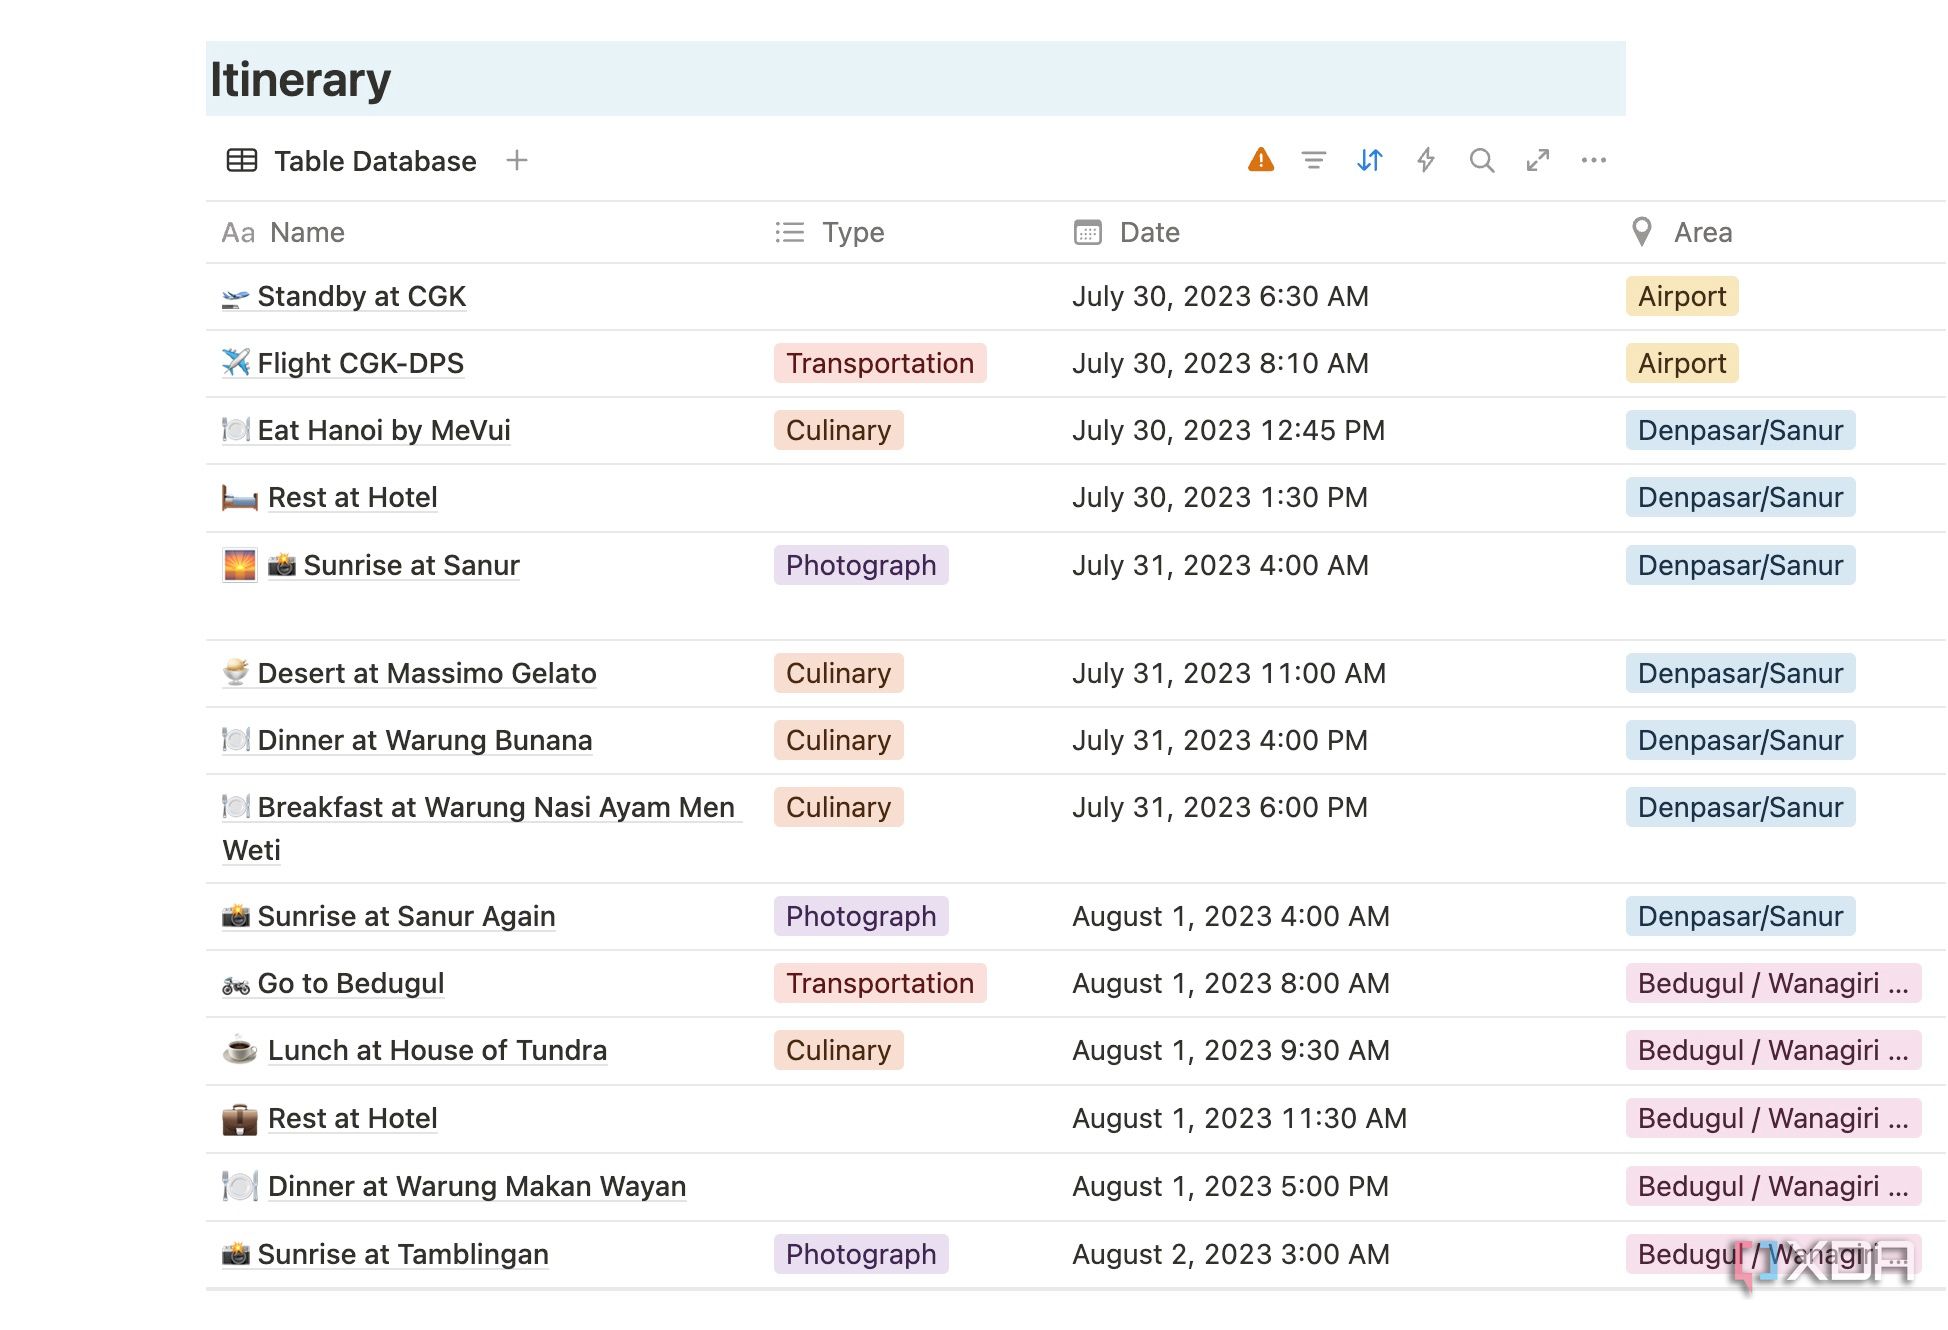
The heart of my Notion travel plan is the Itinerary database, designed to keep every minute of our summer adventure organized. Here, each entry represents a specific event or activity, defined by several key properties like date, type, area, and Google Maps location.
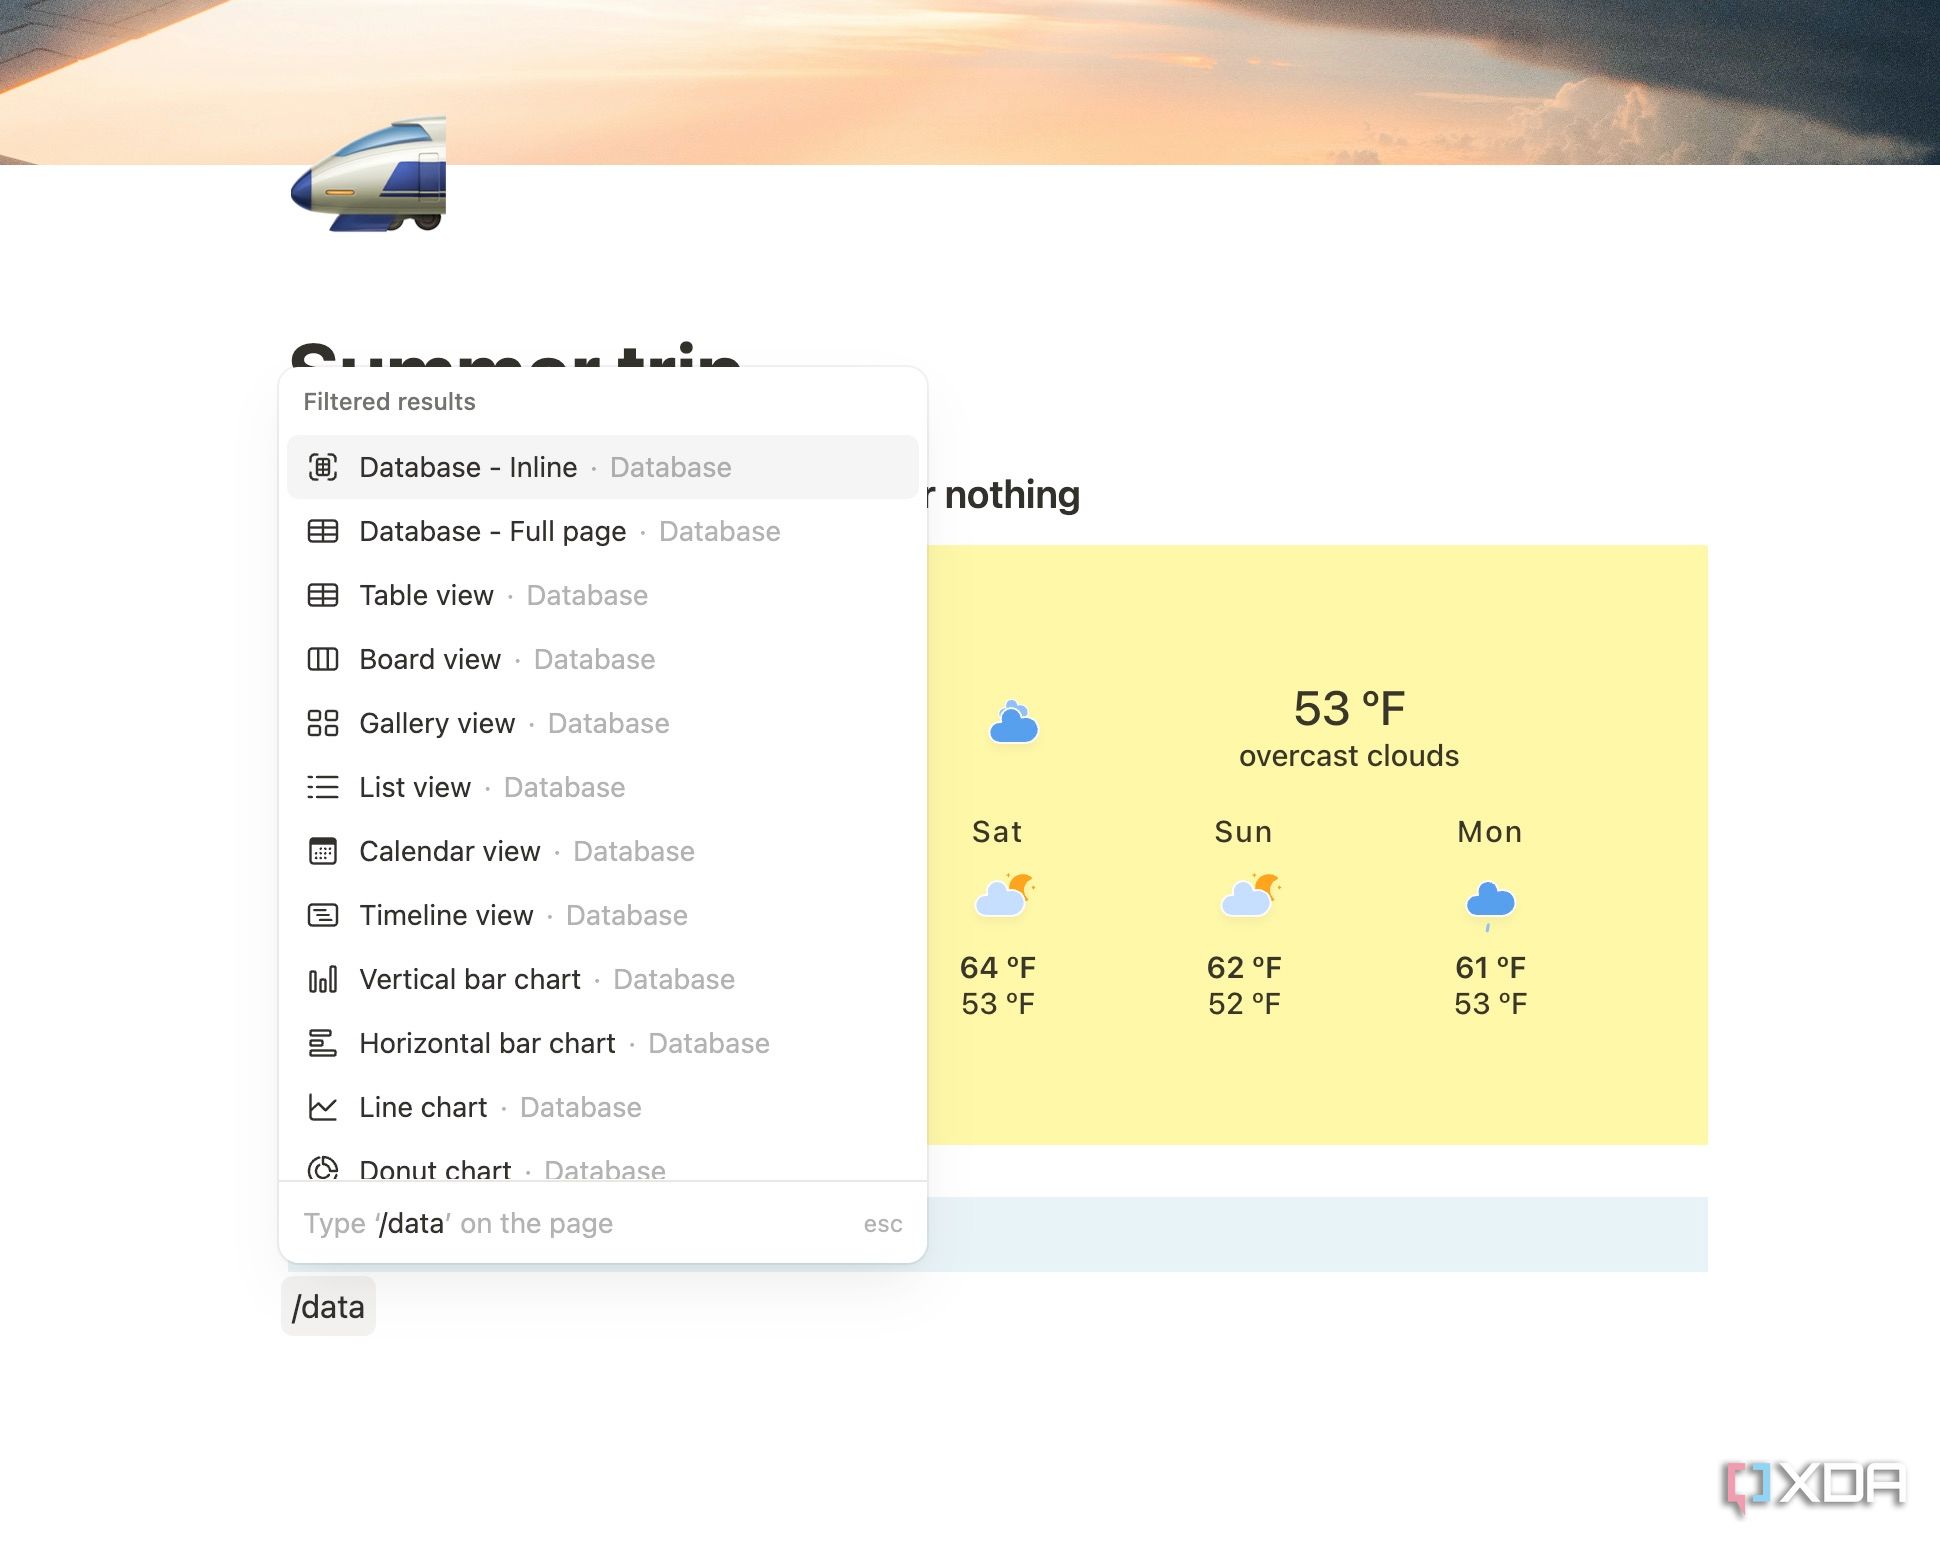
For example, I can add a Type column with categories like Flight, Accommodation, Food, Attraction, Travel, and more. I will start with a table database and quickly go over other views as well.
-
Type /table and insert a database. You can give it a unique name as well.
- Click the + icon to add columns with different properties.
-
Start adding activities and fill in the required details. Follow the screenshot below for reference.
-
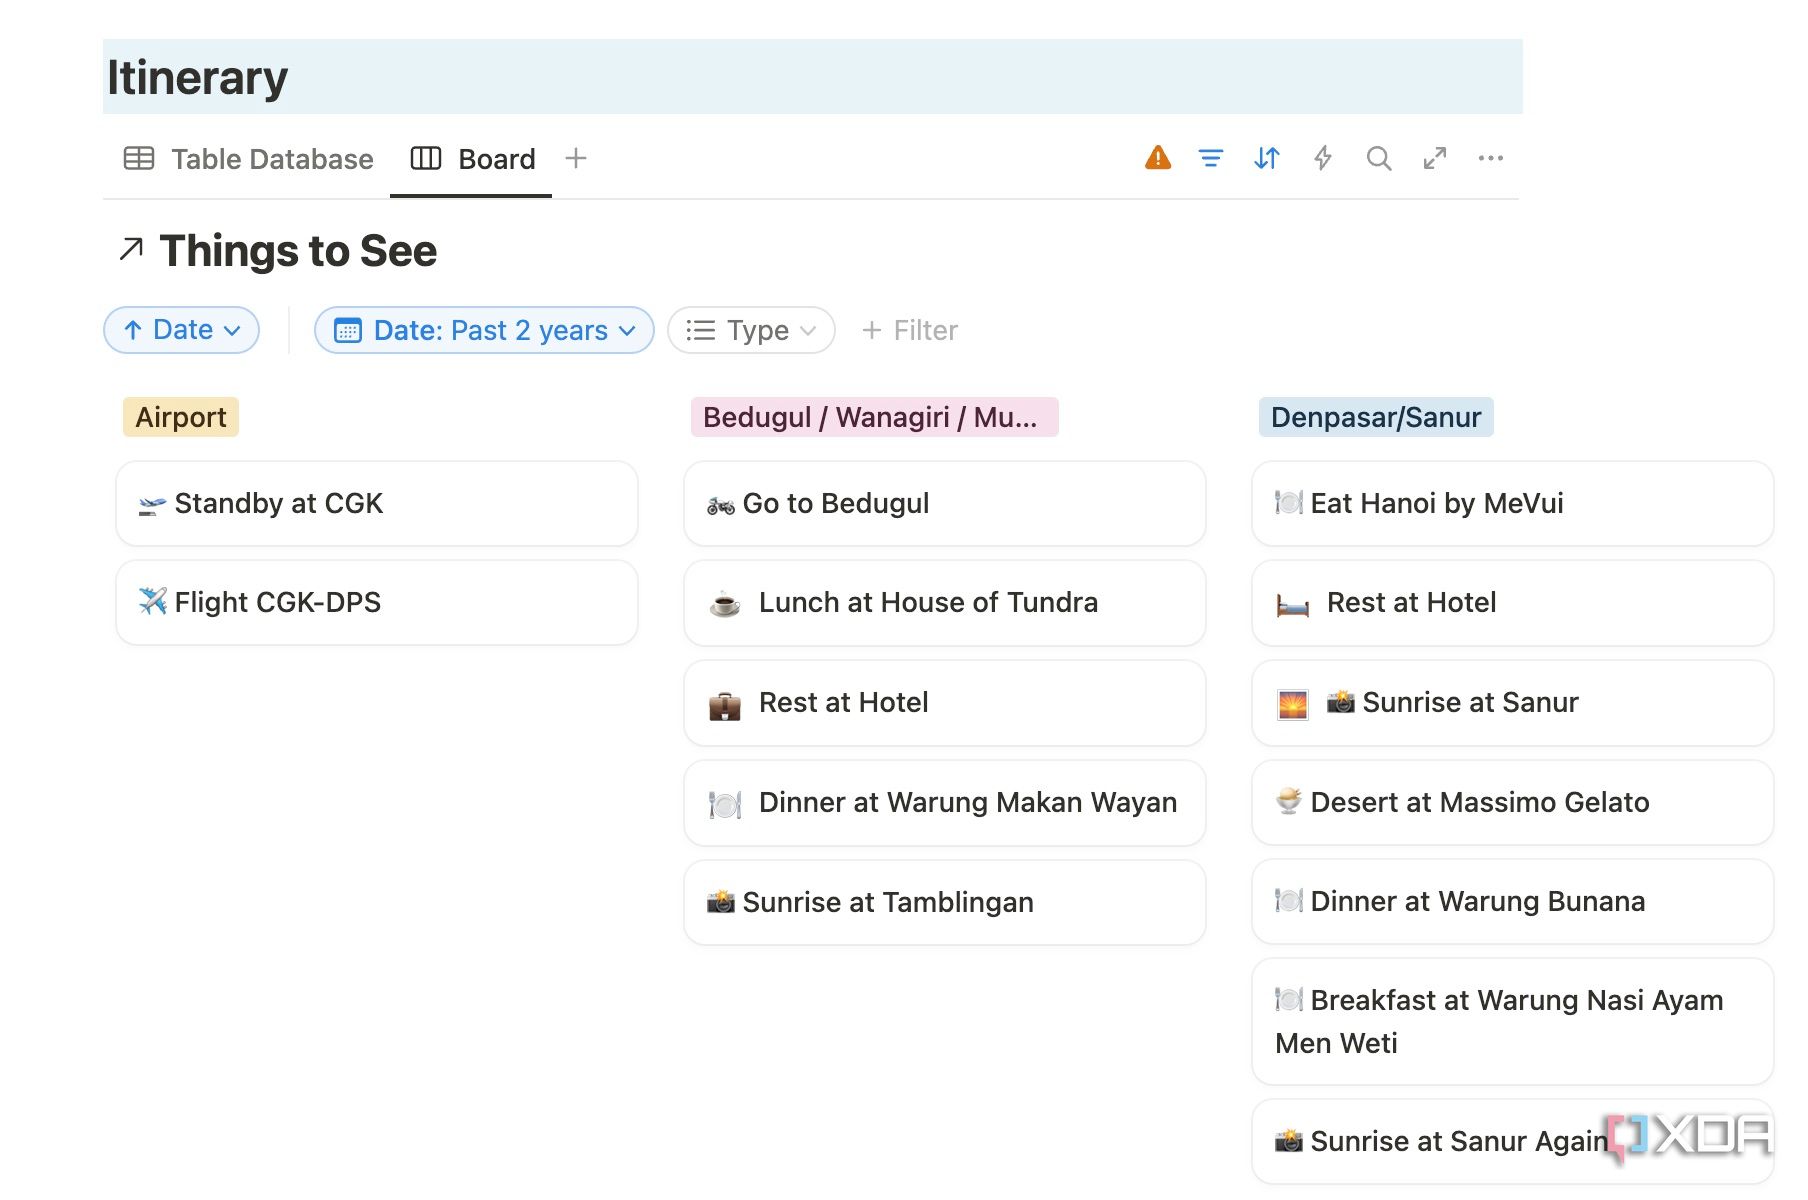
You can even add a new board view and review activities by place or date. There is also an option to add a gallery view.


Insert action items
And other necessary details

Let’s continue with our travel page. I have added action items and crucial emergency contacts right after the itinerary. Notion’s flexible page layout allows for a clean, two-column display of this vital information. On one side, you can create a simple yet effective action items list using a To-do list block or even a mini database.
In the second column, you’d place a dedicated emergency contacts section, perhaps using Callout blocks or a Bulleted list. Here, you can list names and numbers for critical contacts such as your travel insurance provider, bank’s international fraud line, local embassy, emergency services in your destination, and trusted family members or friends back home.

Related
I tried replacing OneNote with Notion as my main note-taking app and here is how it went
Can Notion replace OneNote for everyday notes? My findings
Create a gallery view for your favorite restaurants
Don’t miss a local cuisine

When planning a trip, a gallery view in Notion is an excellent way to visually curate and track your favorite restaurants, cafes, or food experiences. To set this up, simply create a new database dedicated to ‘Restaurants’ or ‘Food Spots.’ For each entry, you’d include the restaurant’s Name, a Type property, an Area property, and a Status property (must-visit, booked, or visited).
The magic happens when you add a Files & media property to upload mouth-watering photos of the restaurant, its dishes, or its ambiance.
Complete your travel planner
Keep track of expenses and shopping details

Aside from the travel page, I have also created separate pages for all my shopping items and expenses and linked them back to my main trip dashboard. For shopping, I set up a simple page where I could jot down items I wanted to buy, their estimated costs, and where I planned to purchase them.
Separately, for travel expenses, I built a dedicated database with properties for Category (e.g., flights, accommodation, food, activities), Estimated Cost, Actual Cost, and Date. This allowed me to track every dollar spent against my budget in real-time.
Once your ultimate travel plan is ready, make sure to share it with other visitors.
My trip planning workflow
I hope my complete Notion-powered system for planning an entire summer trip gives you motivation to design yours. By centralizing everything from flight details and accommodation bookings to daily itineraries and budget tracking, Notion doesn’t just help you plan, it lets you visualize your trip in style.
If you don’t feel like starting from scratch, use one of the Notion templates to complete your travel planning in no time.
#Heres #planned #entire #summer #trip #Notion
source: https://www.xda-developers.com/planned-entire-summer-trip-in-notion/

