

At one point or another, you may have noticed that Windows labels your Wi-Fi networks as either private or public networks in the Wi-Fi settings. In fact, by default, they’re all public networks, even if you’re using it at home.
There actually isn’t a huge difference between these two options by themselves, but they do influence a few other features in Windows 11, which are important for security reasons. Let’s take a closer look.
What’s the difference between private and public networks?
And why does it matter?
By default, any network you connect to on Windows 11 will be marked as a public network, and you have to go out of your way to change it to a private network. This is because private networks have different security settings in Windows that work under the assumption that you have full knowledge and trust in all the devices connected to the network. There are two major things that are impacted by this setting:
Network sharing
Windows comes with a feature that allows you to discover content on other PCs on the same network by communicating locally with them. This is why there’s a Network section in File Explorer, and if you ever enable it, you might see a few devices pop up here. But if you do try to enable this feature for the first time, you will see this warning, which explains a lot of what’s going on here:
Network sharing is disabled by default on public networks, and as we’ve mentioned, every network is considered public the first time you connect to it. When you try to enable this feature, Windows will ask you to either enable network sharing for public networks or turn your current network into a private network.
Enabling public sharing for private networks is a big security risk because it will make your computer discoverable by anyone else on the network. If you connect to the Wi-Fi at a local café, you risk exposing all your data to other users in the same network, so it’s a big risk. This is where setting a network as private is really helpful, since it helps ensure that your device is only discoverable on the networks that you trust.

Related
How to map a network drive on Windows 11
If you want to access a folder on another PC on your network, you can map a network drive on Windows 11. Here’s how to do it.
The Windows firewall

Another aspect of Windows that plays into private and public networks is the firewall. Windows come with a software-based firewall that manages incoming and outgoing network connections to block potentially dangerous activity. When an app asks for permission to get through the Windows firewall, you’ll usually see a warning pop-up that asks if you want to allow the app to communicate on public networks or only on private networks.
For most cases, the Windows firewall shouldn’t be as much of a security risk, but if you use a program that might be leveraged to gain access to your sensitive data, it’s a good way to only set it up for private networks, so that other users on public Wi-Fi can’t exploit that vulnerability. Certain firewall rules can open entire TDP ports, which could mean extra attack surfaces when you’re connected to an untrusted network.
In fact, the Windows firewall even has a third network type that it accounts for: domain networks. However, you can’t set this network type just by using the Settings app, and it’s meant for enterprise users.

Related
How to set up and use the firewall on Windows 11
The Windows Firewall works well out of the box, but here’s how you can set it up
Should you use a private or public network type?
If you have to ask, the answer is probably clear
There’s a reason why Microsoft makes all networks public by default, and that’s simply security. Public networks have more restrictions out of the box, particularly when it comes to network sharing, which is disabled by default on these networks. If you don’t have a specific reason to change this setting, you probably shouldn’t mess with it.
Setting a network as private is useful if you need to enable certain features that can expose your computer to other PCs on the network. If you need to use network sharing, it’s much better to set the network you’re on as a private network than it is to enable network sharing on public networks. But it’s also extremely important to make sure that the networks you set as private are secure. You should only change this setting if you’re on a home network or in an office where the network is reserved for employees.
If you need to do things like sharing files and you’re in a public setting, an app like LocalSend, Quick Share from Google, or even the built-in nearby sharing feature in Windows 11 are safer solutions.
How to set a network as public or private
Changing the type of a network in Windows 11 is a relatively trivial task. Here’s how it works:
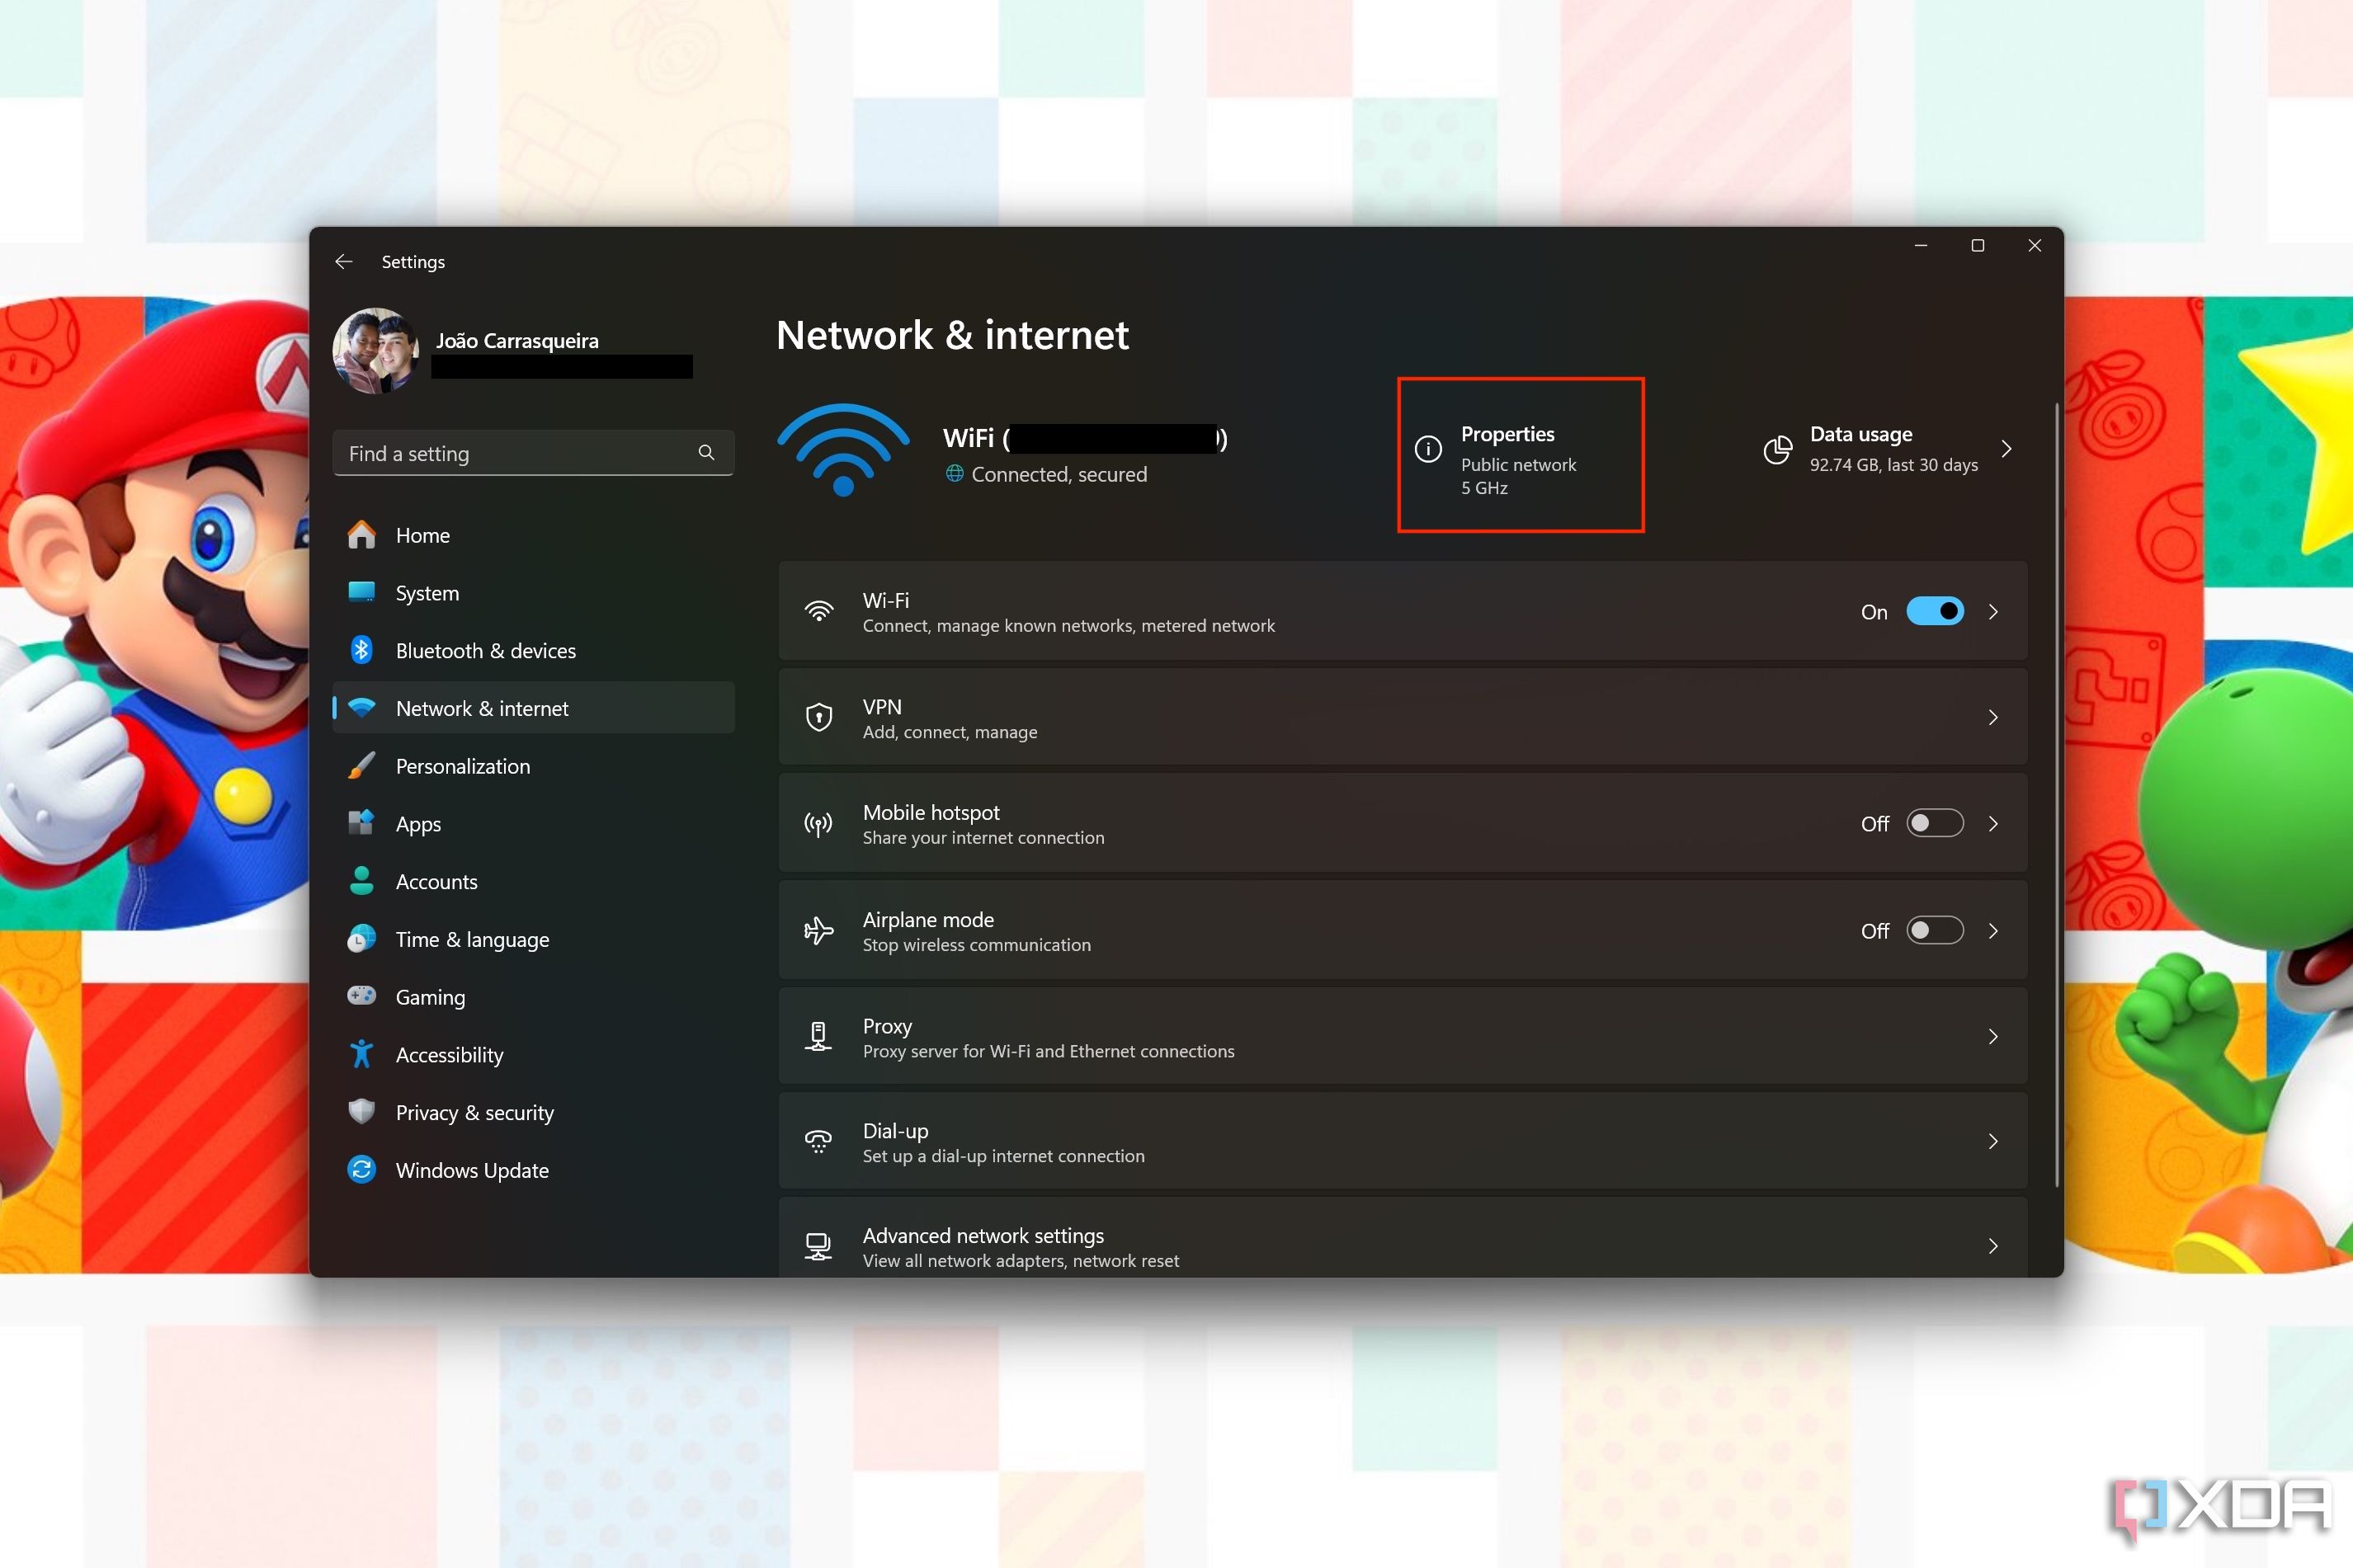
- Open the Settings app.
- Select Network & internet from the menu on the left.
-
In the header at the top, click Properties (it should say whether it’s a public or private network underneath).
-
Choose either Public network (Recommended) or Private network.
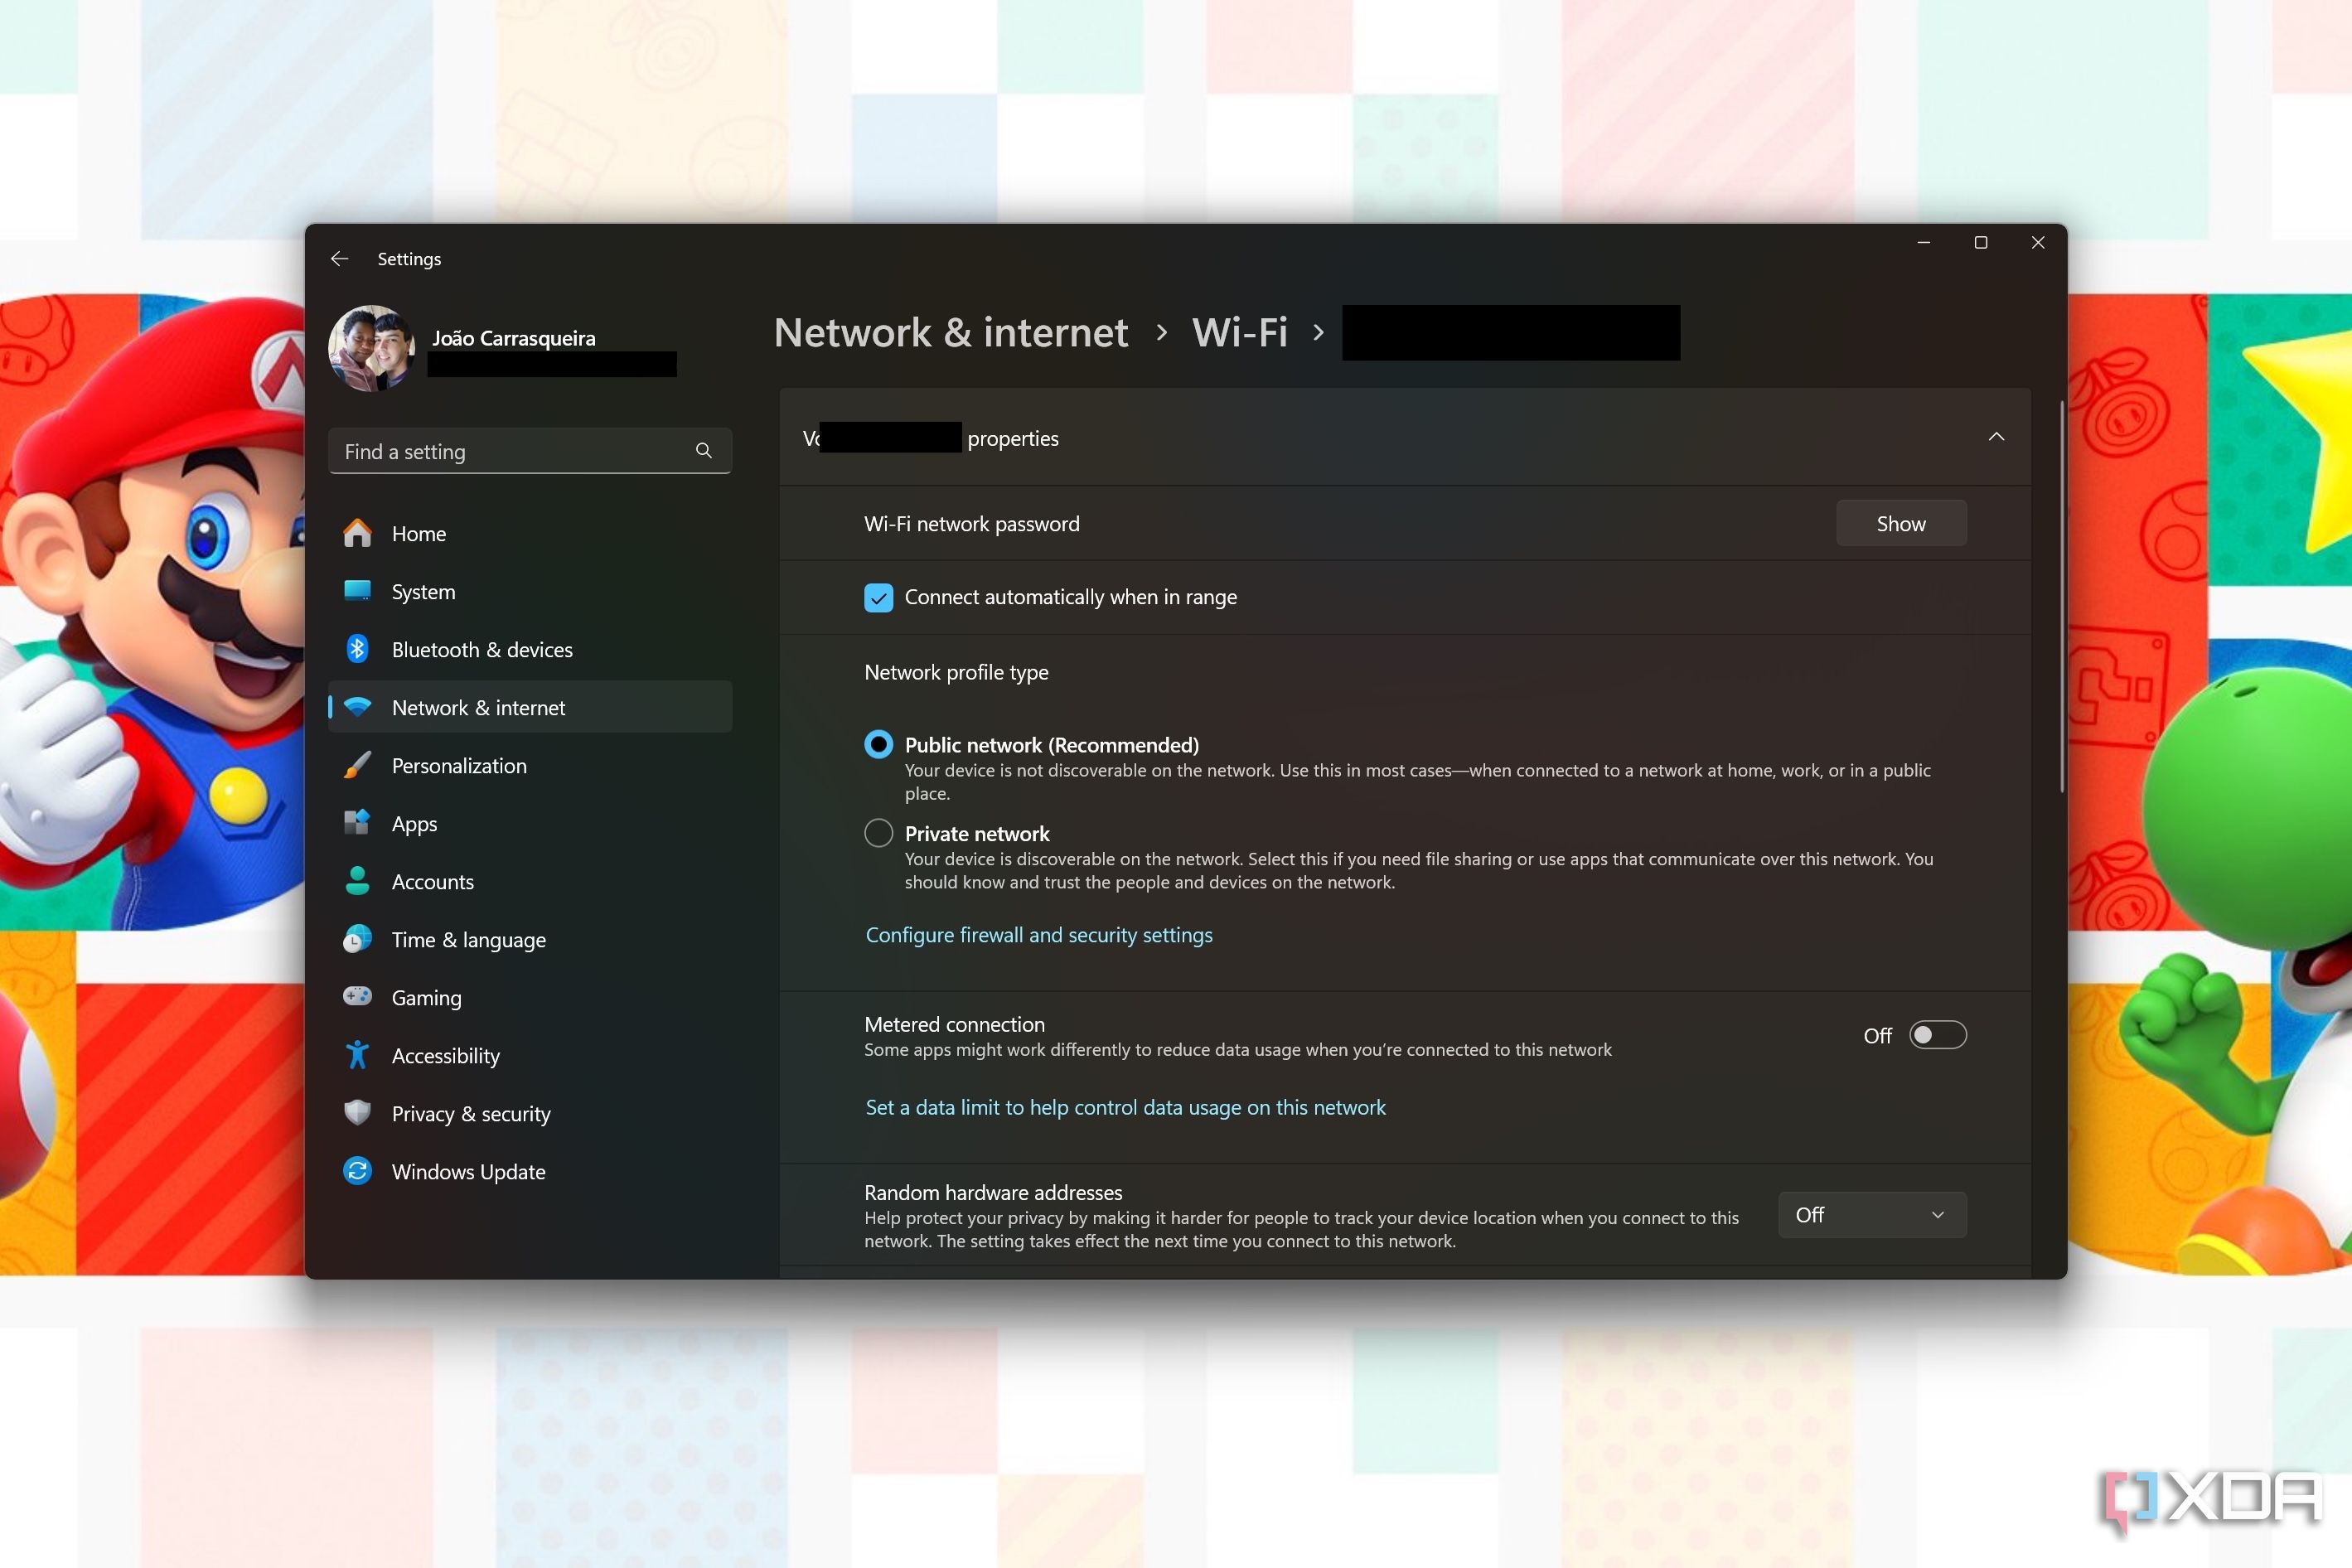


That’s all there is to it, and you can easily revert any change you make here.
How to manage network sharing on different networks
On top of this, it’s also a good idea to make sure you’ve chosen the right network and sharing settings to ensure your device isn’t discoverable by people you don’t trust. Here’s how:
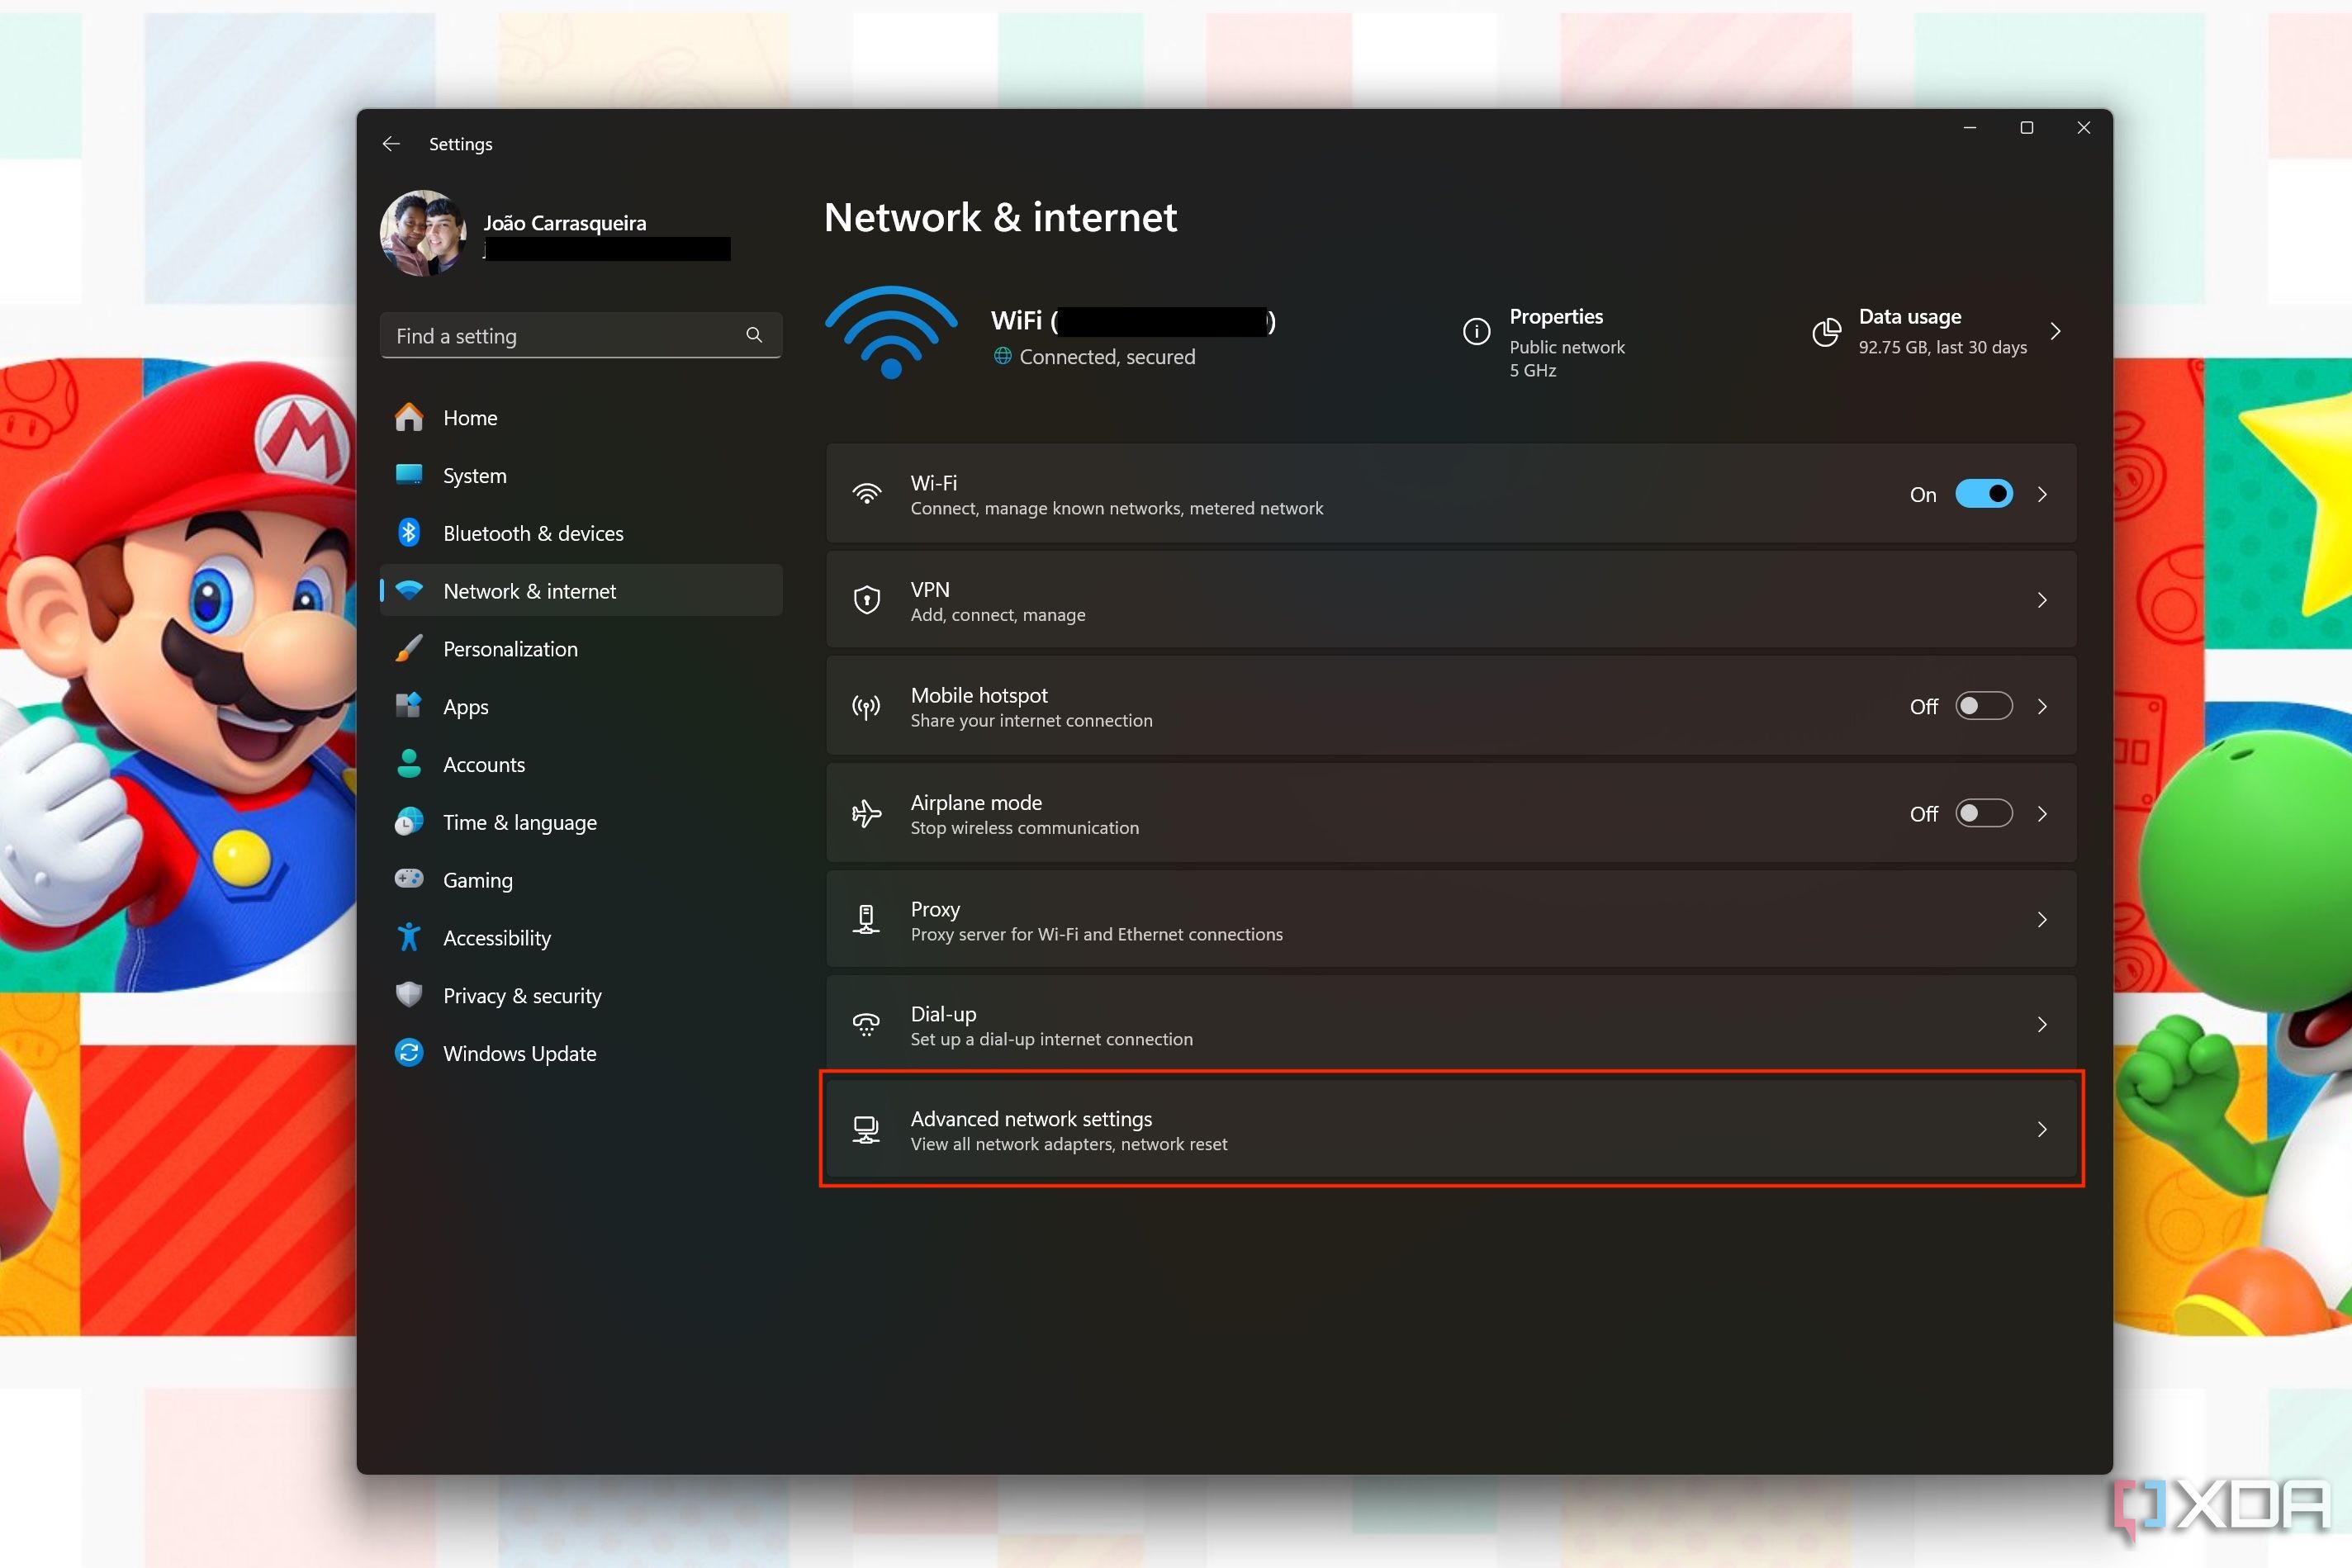
- Open the Settings app and go to Network & internet.
-
Click Advanced network settings.
-
Choose Advanced sharing settings.
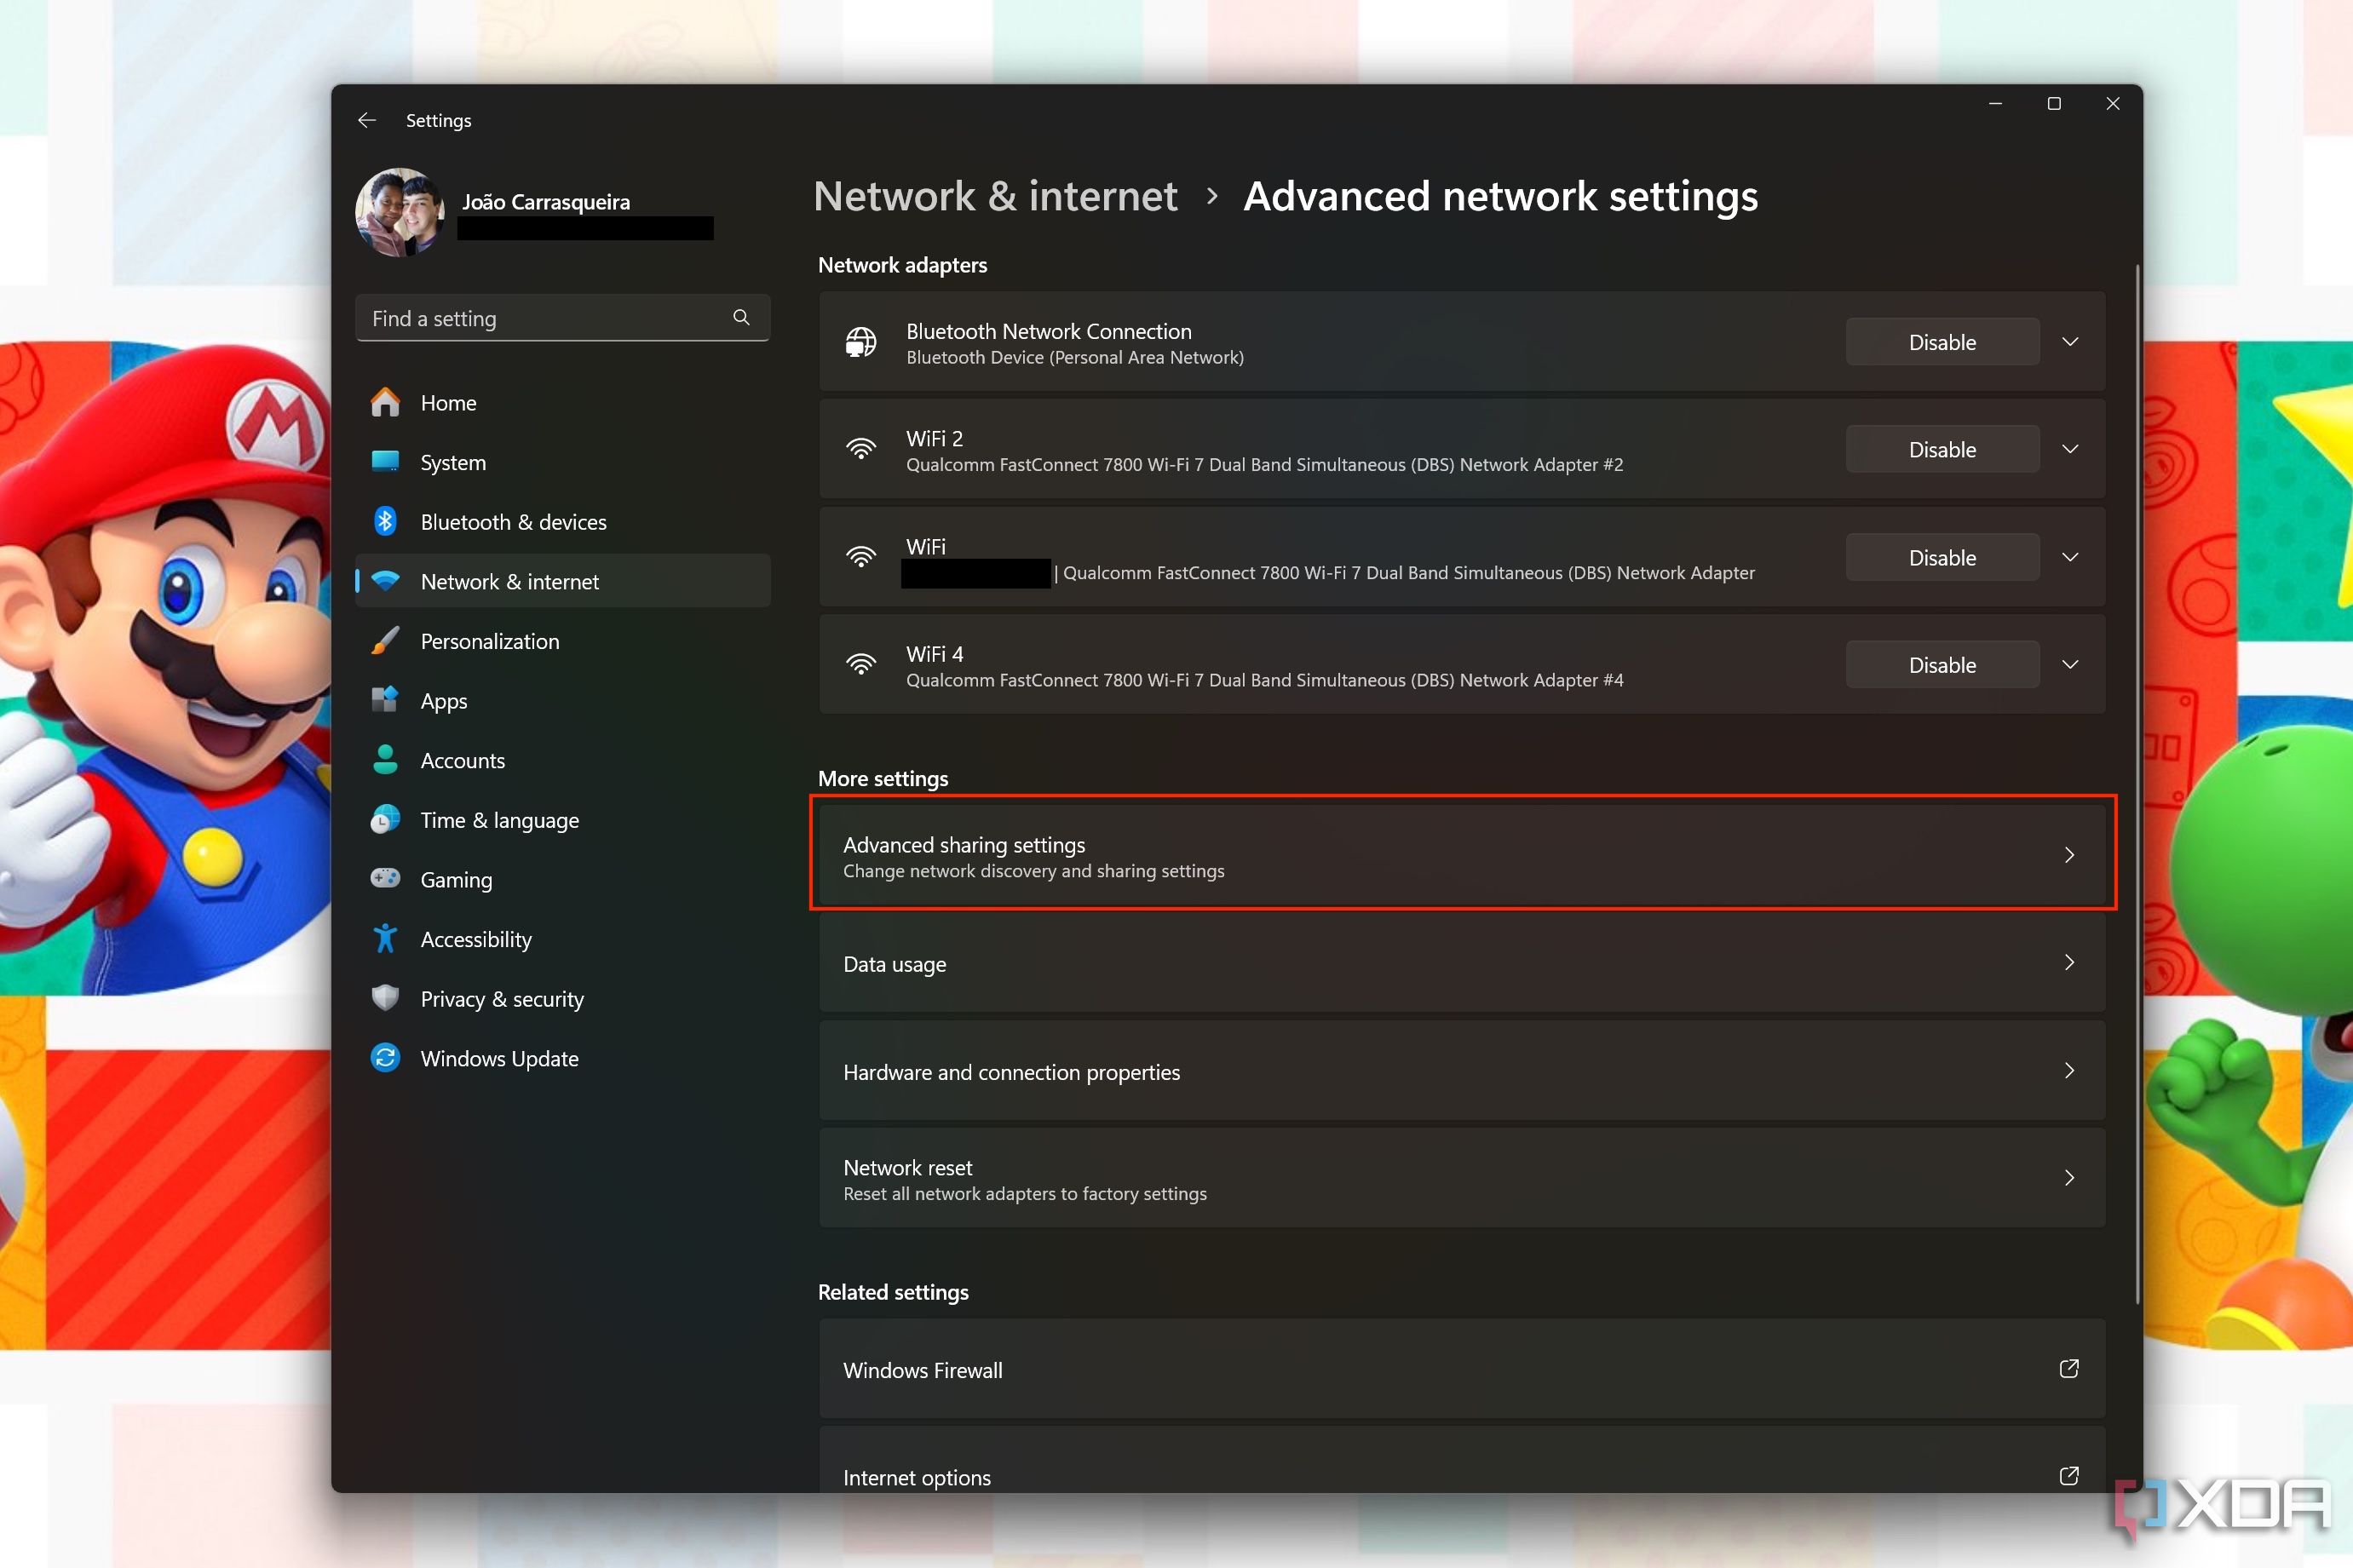
-
The section for your current network profile should be expanded by default. You can choose to turn Network discovery on or off, as well as File and printer sharing. These options are on by default for Private networks, and off by default for Public networks.
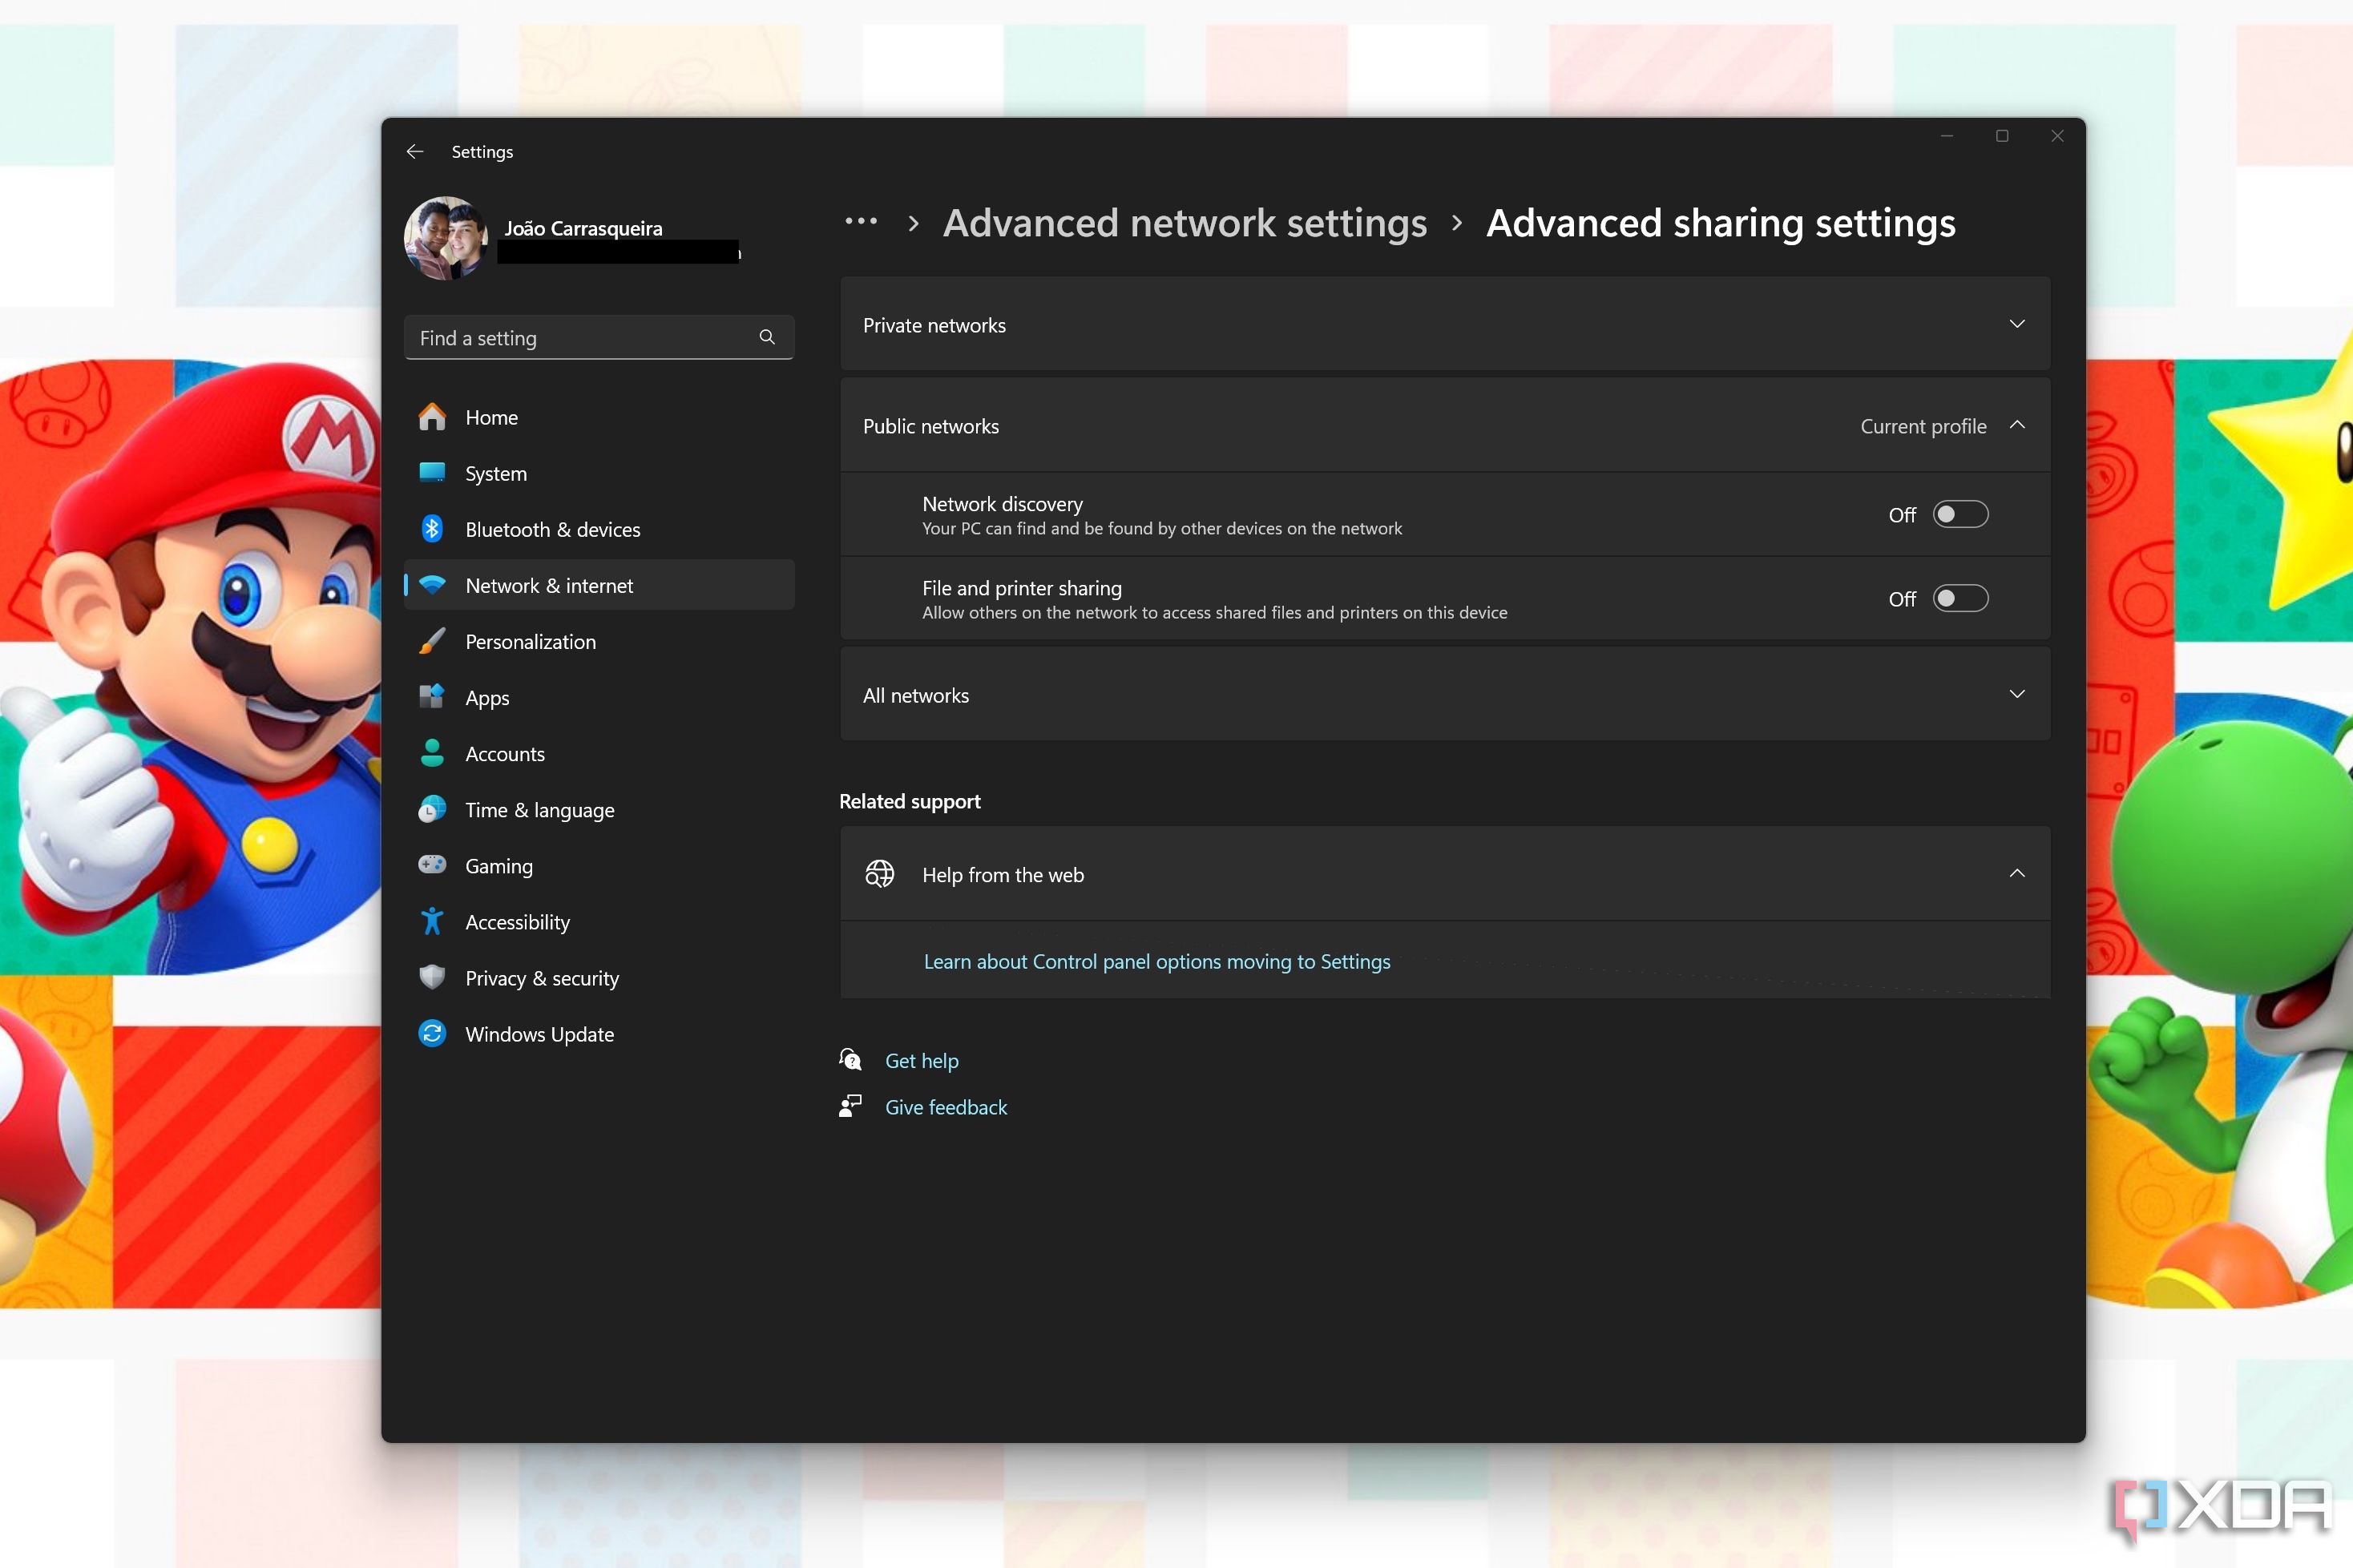
- You can expand the other section to change settings for that network type, too. One thing to note is that public networks do not allow discovered devices to be set up automatically.


Be careful how you use your networks
Understanding the difference between public and private networks on Windows 11 isn’t exactly difficult, but it is important to bear in mind in order to ensure your data is secure. If you’re not sure what difference it makes, you’re better off not touching these settings. If anything, though, it’s good to double-check to make sure you didn’t accidentally change these settings to make them less secure.
#public #private #network #Windows #matter
source: https://www.xda-developers.com/windows-public-private-networks/

