

No operating system will run without encountering a problem. This isn’t to say all operating systems are inherently flawed which allows an error to render them unusable, but through installing, removing, and using additional software, things can (and often do) go wrong. During day-to-day use of a Linux distribution such as Ubuntu, you might come across an issue with your installation. It could be because Ubuntu is not booting correctly, or maybe a specific driver for something like your keyboard, mouse, or even the soundcard is malfunctioning.
Whatever the issue, there’s a recovery mode for accessing tools to free up disk space, repair broken packages, and many other tasks. This guide will show you how to access it!
How to boot Ubuntu into recovery mode
Getting Ubuntu into recovery mode involves using the GNU GRUB boot loader menu. From here, you can get the recovery mode option.
- Boot your Ubuntu-powered desktop, virtual machine, or your Ubuntu laptop.
- After BIOS, press and hold the Shift or Esc key on your keyboard. (If you boot into the Ubuntu login screen or see the Ubuntu logo, you have waited too long. Reboot and try again.)
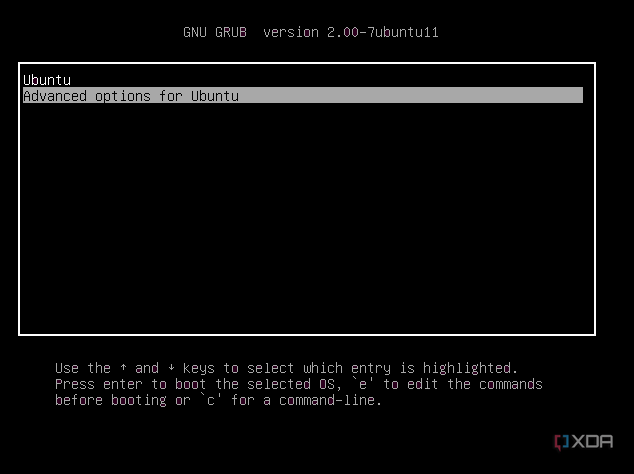
- In the GNU GRUB Menu, choose Advanced Options for Ubuntu.
- Pick one of the kernels on the list to use, making sure to choose one that says “(Recovery Mode)“.
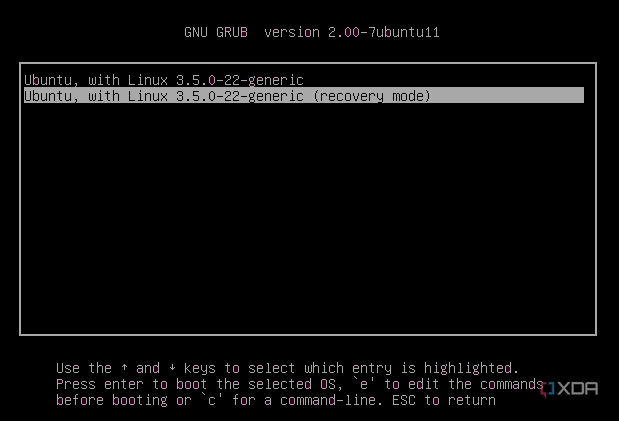
- Press the Enter key.


Now that the recovery menu is open, we have some tips that you might want to look into in the next section. Depending on what issue you might be having, you’ll want to pick one of these options to diagnose or fix your computer.

Related
How to set up Ubuntu
Once you boot from an Ubuntu installer, here are the steps needed to set up the operating system.
What you can do in recovery mode

Ubuntu’s recovery mode is vital for troubleshooting and fixing problems with the OS. It’s what can be used even if Ubuntu fails to bring you to the login screen. Once in recovery mode, you’ll see several options in the recovery menu. Simply select the one you want and press Enter on your keyboard to use it.
- Resume will take you back to a normal boot.
- Clean can be used to clean your Ubuntu install and remove old and unnecessary packages that may cause issues.
- Dpkg can fix package manager issues if you have problems installing or updating apps.
- FailsafeX is handy by running Ubuntu in a failsafe graphics mode, should you have issues with your graphics card or if Ubuntu keeps booting to a black screen
- Fsck will check for file system errors.
- Grub will attempt to update the GRUB bootloader currently in use.
- Network will activate networking hardware to update drivers.
- Root will give you the ability to execute terminal commands as a root user. (This is for extreme situations only, since it has access to all files on the system.)
- System-summary shows information about your computer, should you have to share it with an IT admin.
Each option can address different problems with Ubuntu. Some can even be used within the OS itself if you can successfully boot to the desktop. All that said, we hope you now understand how to boot into recovery mode on Ubuntu. As you can see, getting into this mode is easy, and there are several options you can use to fix issues with your system.
#boot #Ubuntu #recovery #mode
source: https://www.xda-developers.com/how-boot-ubuntu-recovery-mode/

