

Windows comes with a search feature that helps you find the file or folder you require. However, you don’t realize how sluggish and incompetent it is until you urgently need a file and search for it, only to keep waiting for the search to get completed and list the results. This becomes even more challenging when you have to search for something among a large amount of data.
Searching on Windows shouldn’t be frustrating, and that’s where Everything comes in. It’s a tool designed to make searching faster and more efficient. Installing and using it is pretty straightforward, but first, let’s understand what it is and its features.
Everything is a simple yet powerful Windows third-party tool specifically designed to make your search smoother. It efficiently indexes every file and folder on your entire drive to instantly display the search results. But what makes it faster than Windows default search?
While the native Windows search feature indexes file names along with their content, the Everything tool only indexes file and folder names, making the search process quicker. Further, Everything continuously keeps track of system changes, like newly added files, deleted files, renamed files, and more, updating indexes almost instantly. Windows, on the other hand, performs re-indexing periodically instead of in real-time.
Apart from being super quick to search, Everything is also lightweight and utilizes low system resources to function despite being active in the background. It has an intuitive UI, making it useful for users at every experience level. It also comes with a portable version that you can carry on your USB storage device and use on any Windows PC. By default, it also shows the hidden files and folders in search results, which you can exempt from the settings.
How to install and configure the Everything app on Windows
Download and Install Everything
Installing and preparing the Everything app for the first use is a breeze. Here’s how to do that.
- Open your browser and visit the official download website of the Everything tool.
- Under the download page, select the installer type that fits your system configuration or the portable version’s zip file.
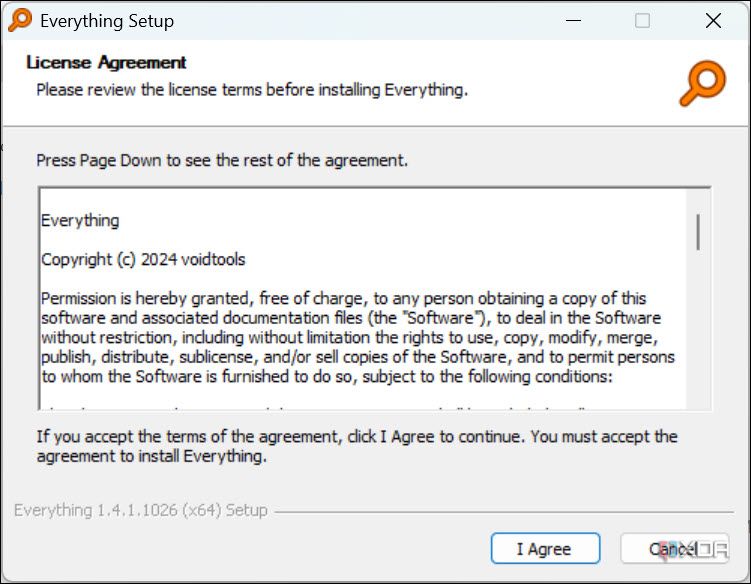
- Once the installer is downloaded, run it, review the agreements, and follow the onscreen instructions to install the program successfully.
- At the final step, check the Run Everything option and click the Finish button.
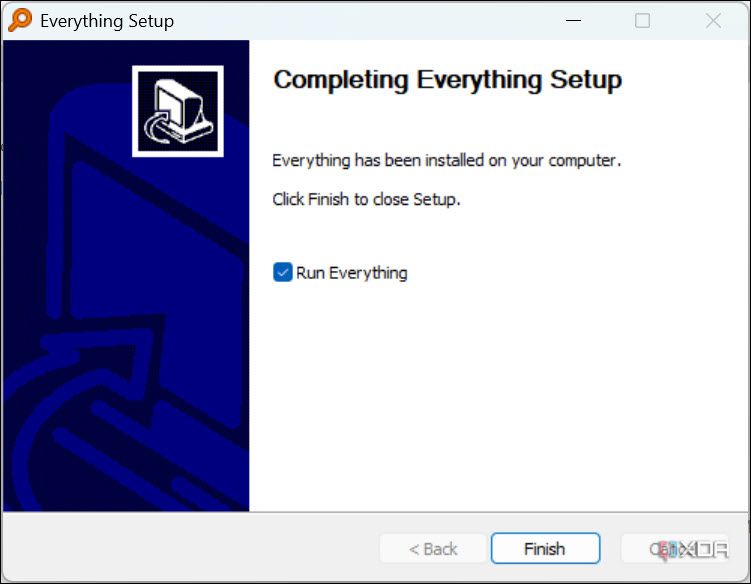
- As soon as the app is launched, it will take just a few seconds to automatically index all the files and folders on your system to its database.


Configure Everything’s settings
After the indexing is complete, you can start using the tool immediately. However, before that, configuring a few settings will help you get the best results from the app. These will also let you have more control over the app. Follow these steps.
All the following settings are optional and do not affect the tool’s actual functioning. You can skip these and directly start using the tool if you’d like.
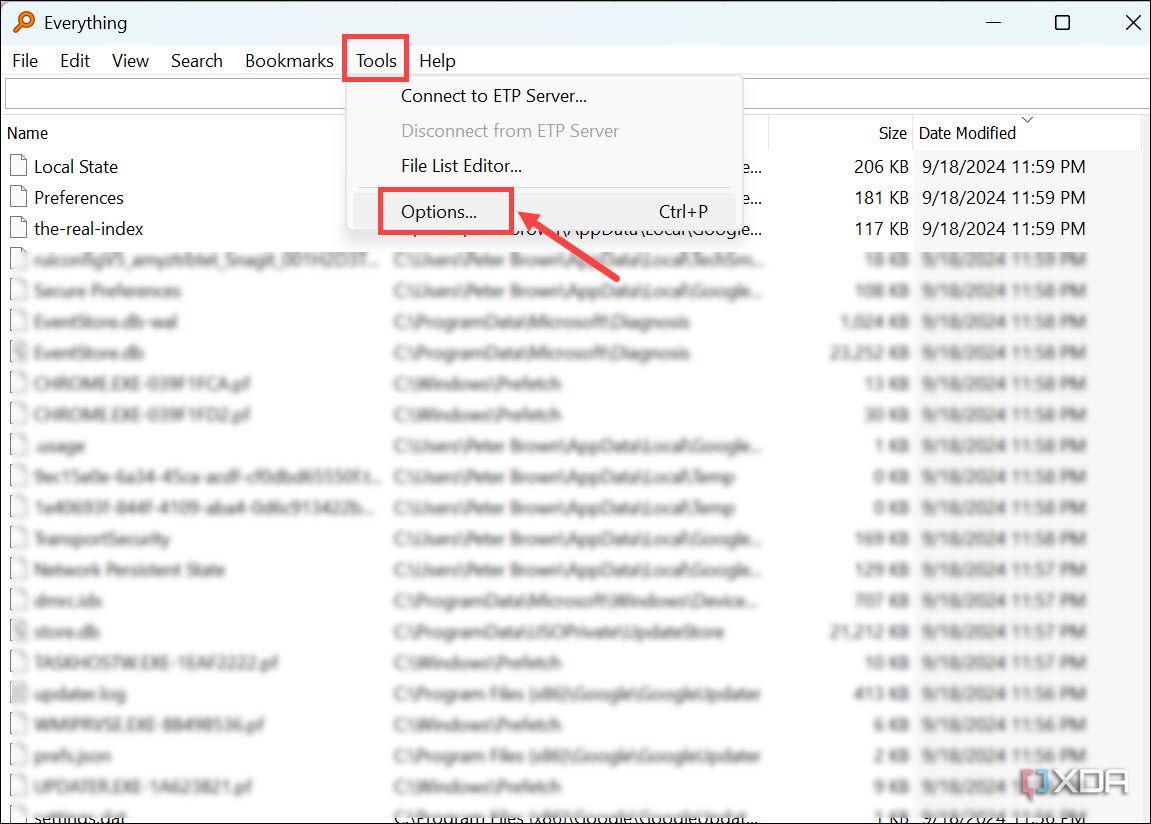
- Under the Everything app window, click the Tools section on the top menu and select Options.
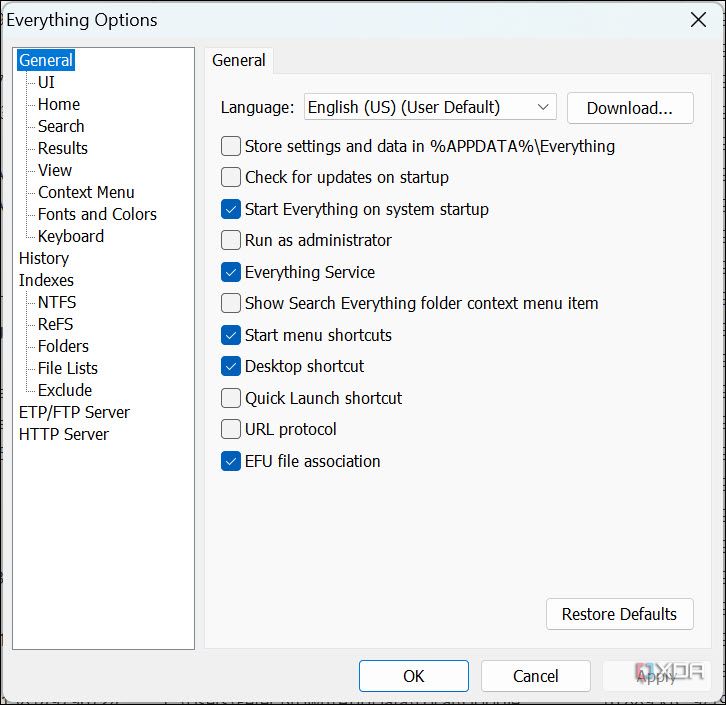
- First, configure the General settings, such as UI elements, the app’s home section, keyboard shortcuts, and more.
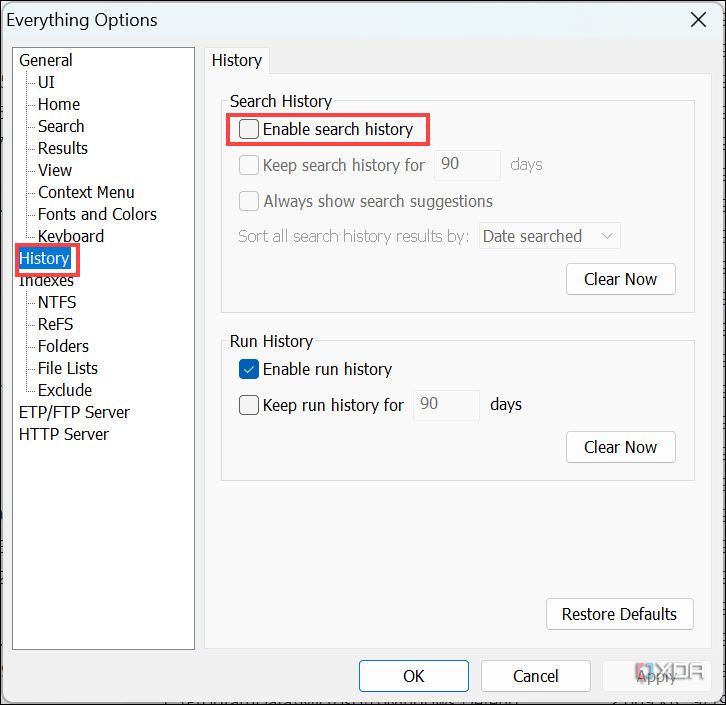
- Next, switch to the History section on the left and enable the search history to keep a record of your searches.
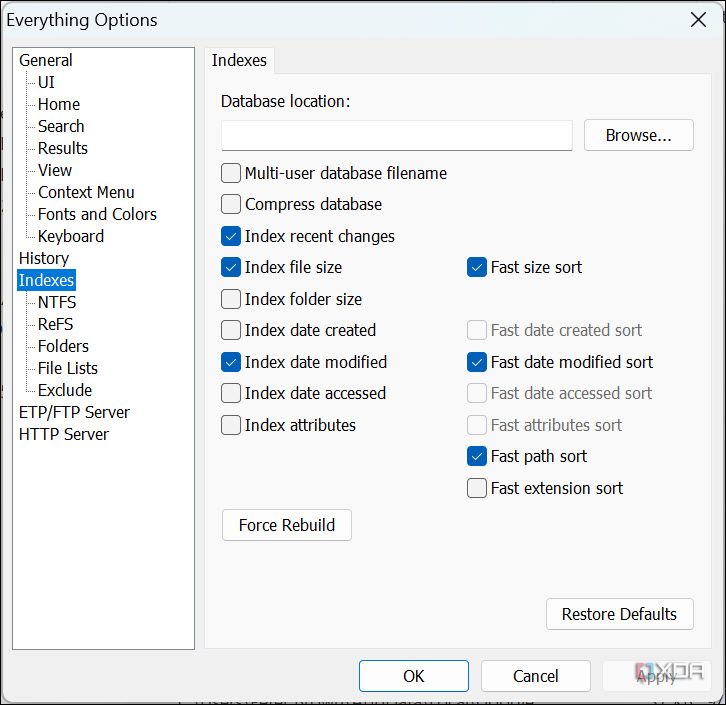
- Next, switch to the Indexes section to enable some index options like Index folder size, Index date created, Index date accessed, and more. You can also disable any default option that you don’t prefer. There’s also a Force Rebuild button to forcefully rebuild the index.
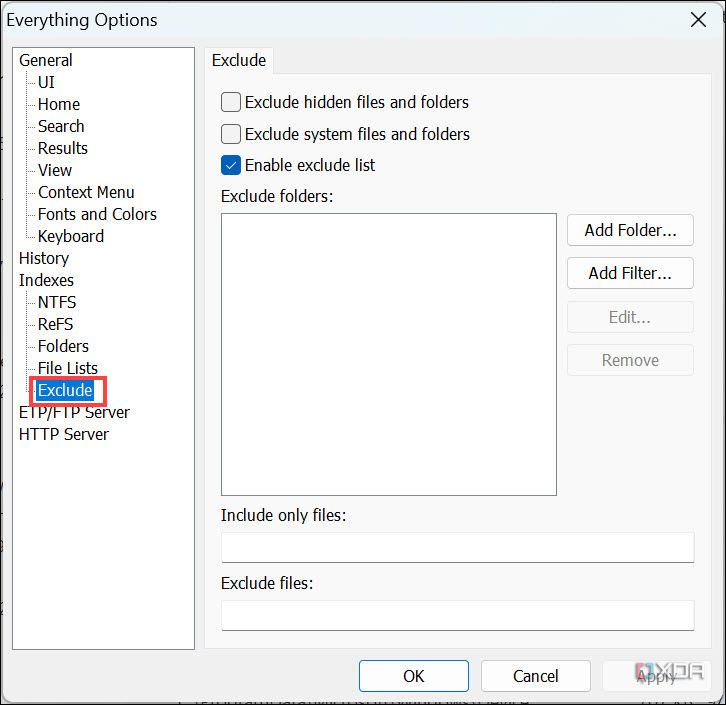
- Under the Indexes section, switch to the Exclude sub-section. You can designate folders and files that you want to exclude from the Everything Index. There’s an option to exclude hidden files and folders here.
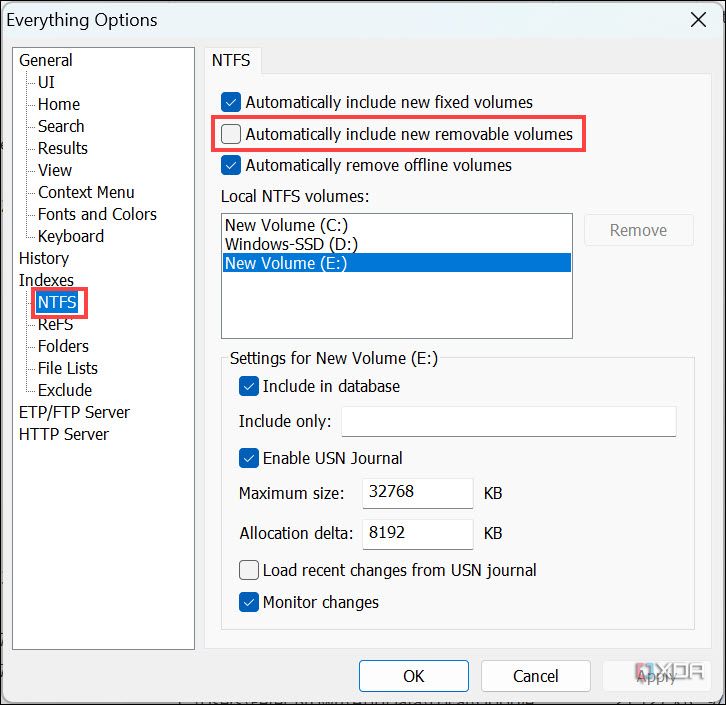
- To automatically include a removable USB drive in the index, switch to the NTFS sub-section under the Indexes section and enable the Automatically include new removable volumes option.
- After making all the relevant changes, finally click Apply and OK to exit the Options window.


How to use the Everything app to search on Windows
After successfully installing and configuring its settings, you are ready to open and use the Everything tool. Here are the different ways you can search.
Search in the normal way for a file or folder

This is how you most commonly use the Everything app. Just type the file or folder name that you want in the search box, and the tool will immediately start displaying all the related results. The more specific you type the name, the more specific the result.
Search for a file or folder in a specific location
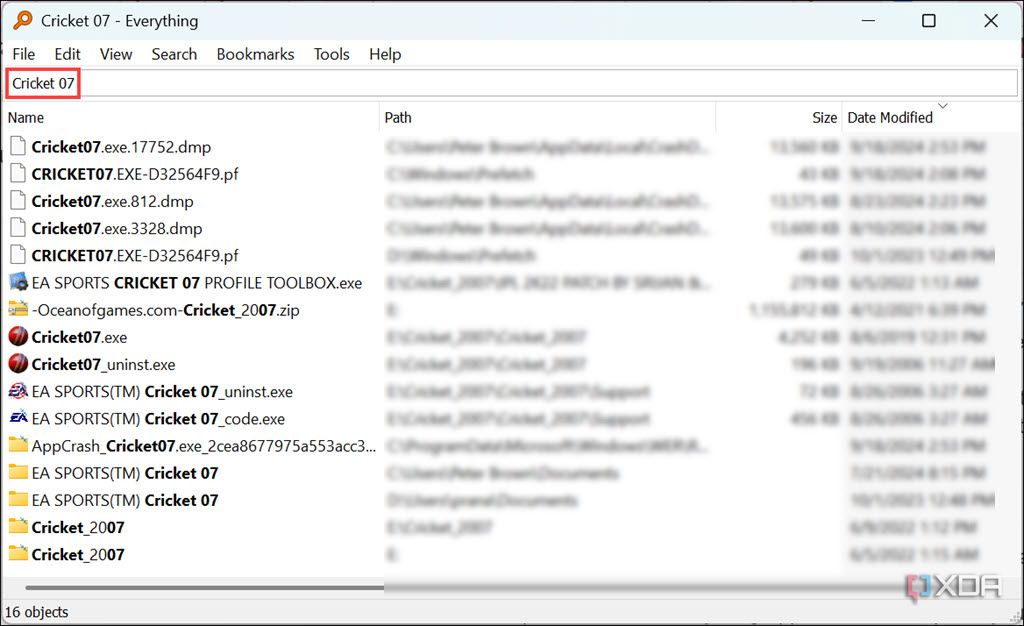
If you want to limit your search to a specific hard disk partition or a specific folder. You can do that simply by adding the location of that partition or folder. For instance, if you want to search for “EA Sports Cricket” in E: drive, type E: EA Sports Cricket in the search box.

Likewise, if you want to search for “EA Sports Cricket” specifically in the Cricket_2007 folder of E drive, type E:\Cricket_2007 EA Sports Cricket query.

Search for a file type
If you are searching for a specific file type, for example, DOCS, PDF, CSV, or HTML, you can limit Everything’s search result to that file type only. Type *FILETYPE for this purpose. For example, using *csv on the search box will list all the files with the .csv extension.

You can use this search feature to determine the number of specific file types present on your system. For example, using
*pdf
will list all the PDF files on your device, and at the bottom of the app window, you’ll see the exact total number of PDF files present.

Use boolean operators
You can use the boolean operators in the search query to make your search results even more specific and advanced.
- The AND is the default boolean operator on the Everything app. So, for example, if you want to search files or folders containing Cricket and 07, just use the Cricket 07 query. The space between the terms acts as an AND operator, and it will list all the items containing both terms.
- To apply the OR operator, use the | (vbar) between the two terms. For example, Cricket | 07 will list all the items that either have Cricket or 07 in their name.

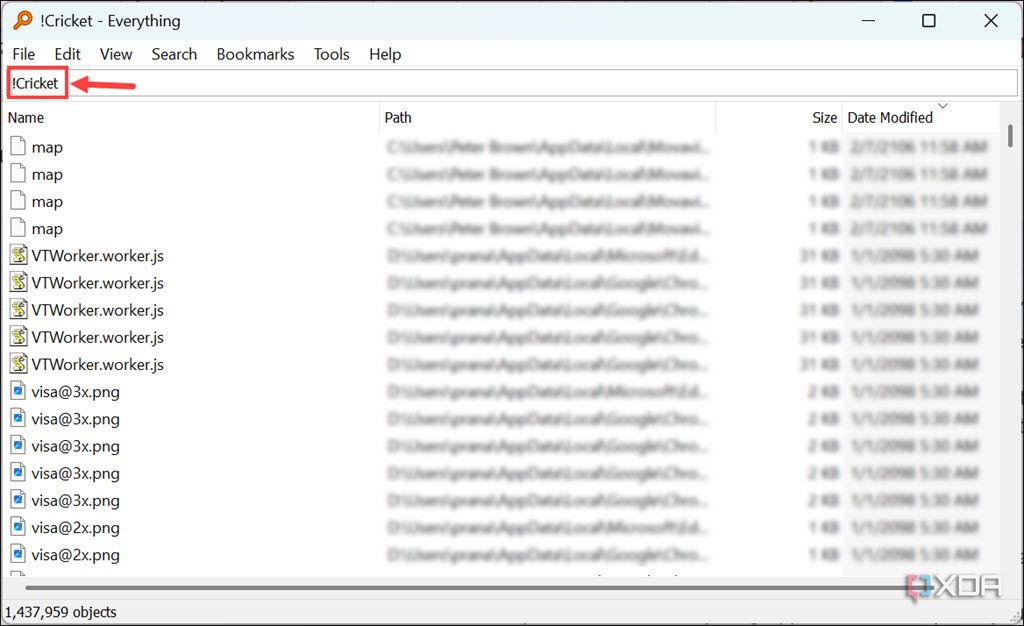
- To exclude a particular term in the search results, you can use the NOT boolean operator (!) before the term. For example, if you want to find things without the term Cricket, type !Cricket in the search box.


Use wildcards
When you don’t precisely remember the file name but remember the first and last character, or some characters in the middle chronologically, wildcards come into handy. For example, if you use the a*z query, all the files and directories that start with a and end with z will be listed.
Similarly, if you use the a*m*z query, all the items containing the a, m, and z chronologically in their name will be shown. Searching for *z will list all the items ending with z, and searching for a* will display the result with all items beginning with a.
Other than that, if you want an even more specific result with items’ names that contain a certain number of characters, you can use ? in the query, with the ? as a placeholder for each character you have in mind. For example, searching for a?t will show all the files and directories with exactly three characters that start with a and end with t.
Searching for a??? will list all the items with four characters that start with a. Similarly, ???z will display all the items with four characters ending with z.
Include spaces in the search

If you’re searching for a file or folder name that includes spaces, simply enclose the entire name in double quotations. For example, “amazon music” will ensure Everything searches for that exact phrase instead of interpreting it as separate words.

While searching for files and folders on Everything, you can utilize the Search menu for advanced options, including adding filters, matching cases, matching whole words, matching paths, and using specific file types (Document, Audio, Executable, Folder, etc.).
Apart from these, Everything offers a whole lot more. For a full list of supported syntax, go to
Help > Search Syntax.

Enhance your search on Windows with Everything
Everything will literally save the day for Windows users who have to deal with large volumes of files or frequently need to find documents quickly. Once you’ve started with Everything, you’ll wonder how you ever got by with Windows’ default search. Its lightning search speed and wide range of search features, all while using minimal system resources, make it one of the best third-party tools that you should definitely install on your Windows PC.
#Windows #search
source: https://www.xda-developers.com/improve-windows-search-with-everything/

